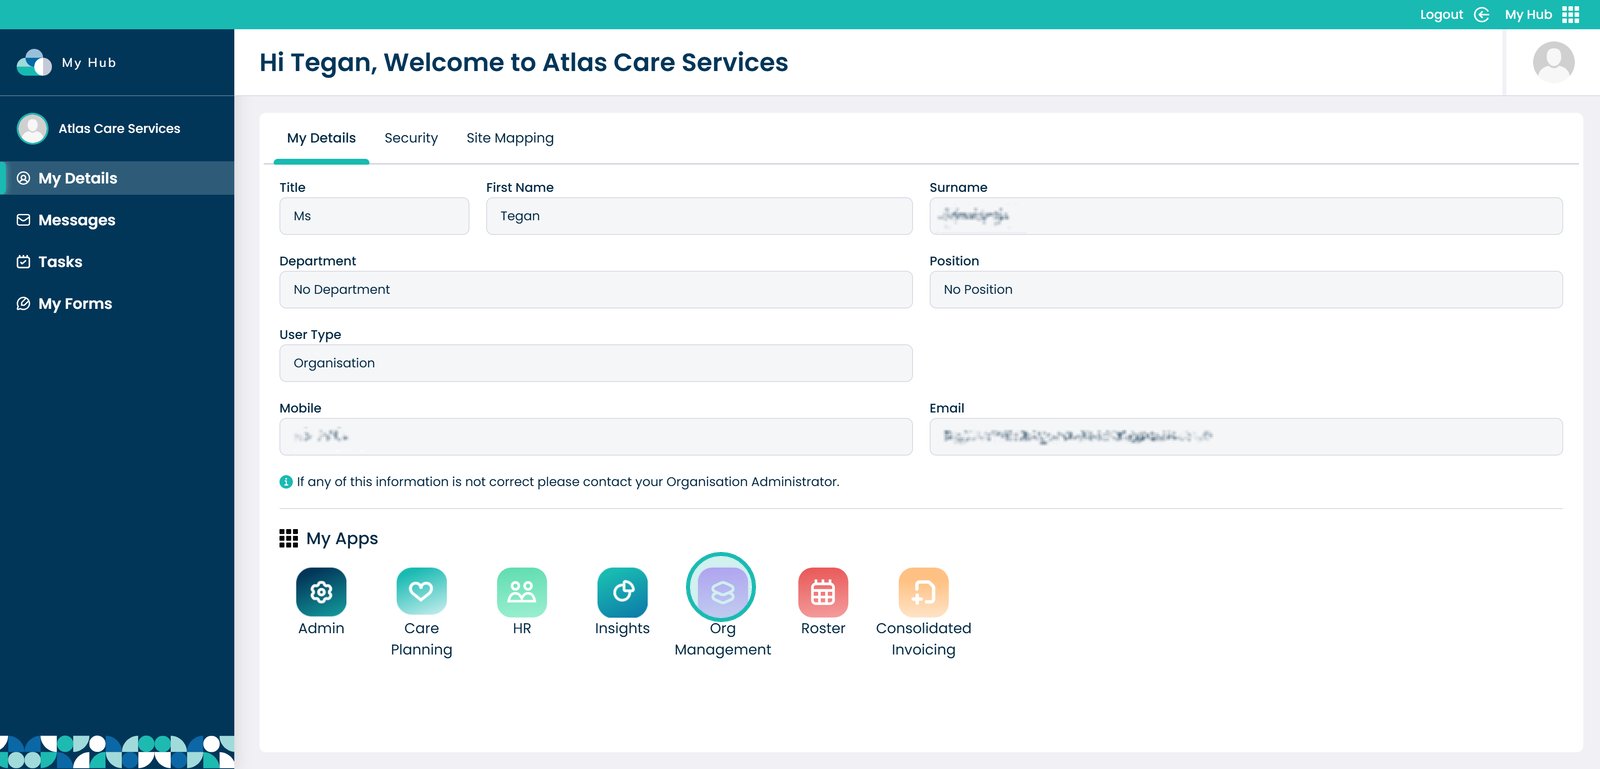
1. For this guide, you will be shown a few examples of choosing an action within the ‘Bulk Actions’ tool. To get started, In the ‘My Hub’ dashboard, click the ‘Org Management’ app.
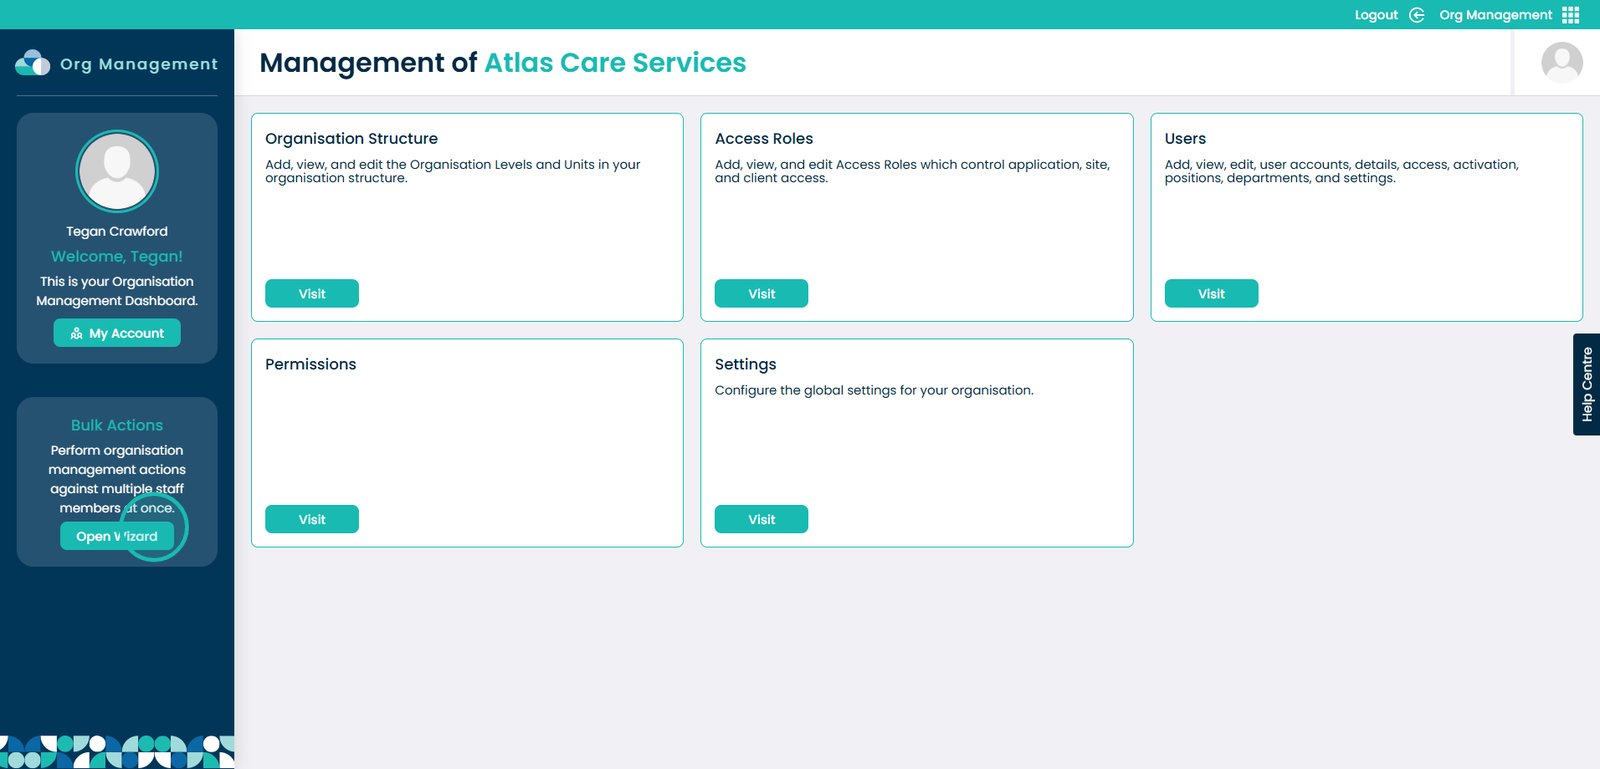
2. Next, you then want to click the ‘Open Wizard’ button under ‘Bulk Actions’.
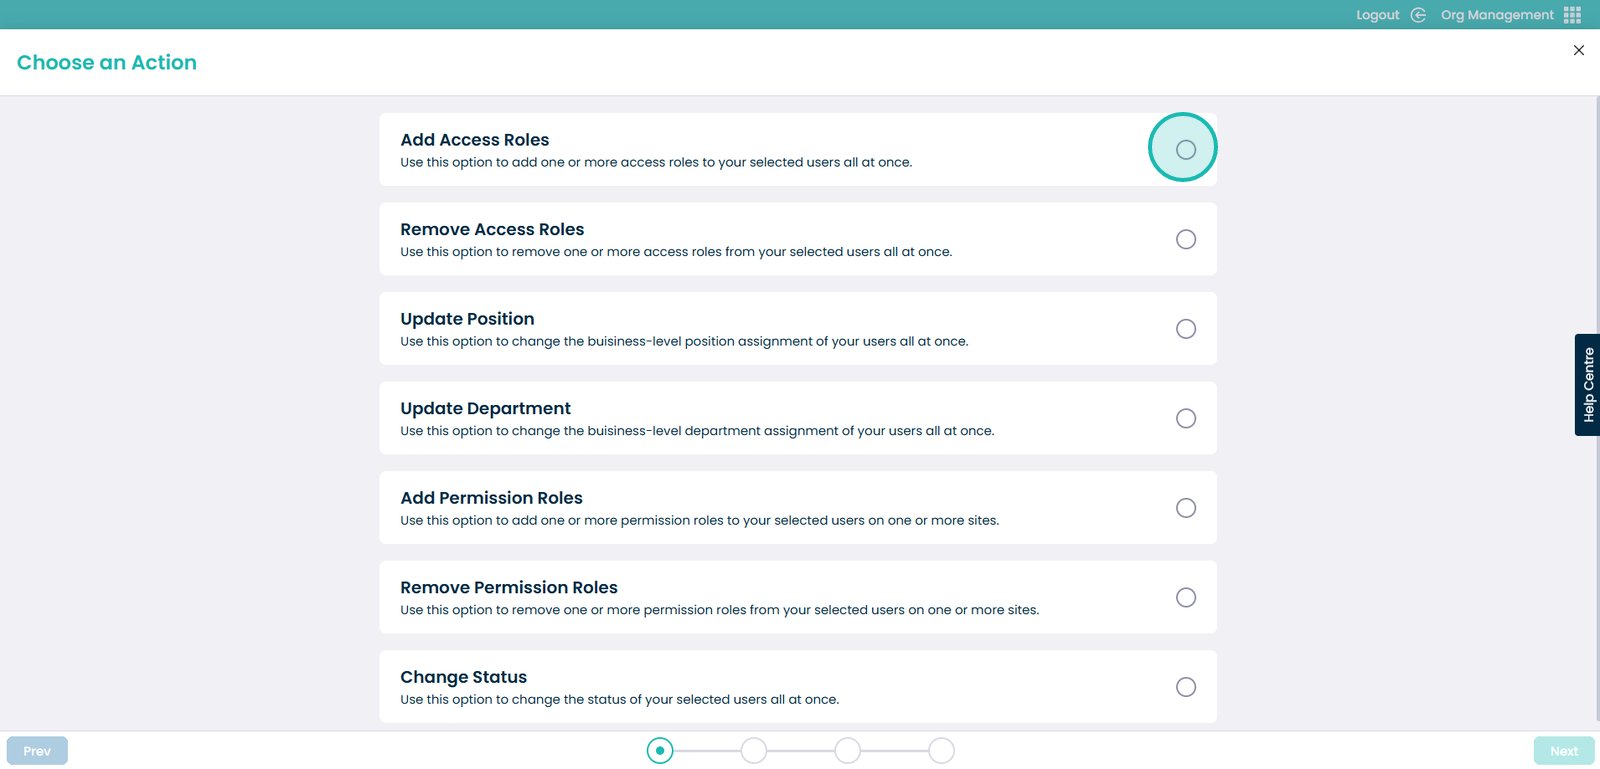
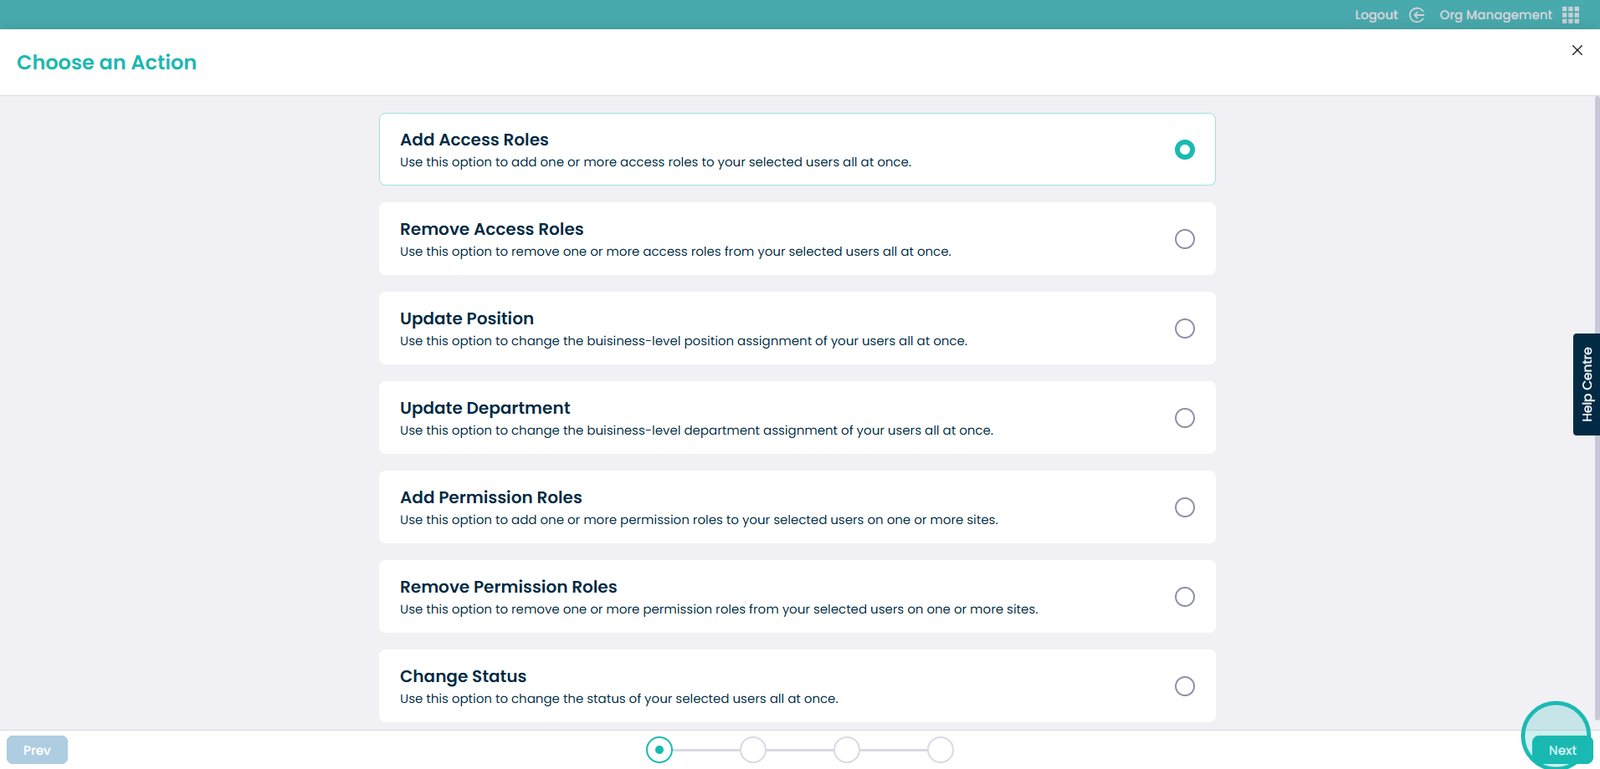
3. Here, you will see a list of available actions. For the first example, I will choose ‘Add Access Roles’.
4. Click the ‘Next’ button.
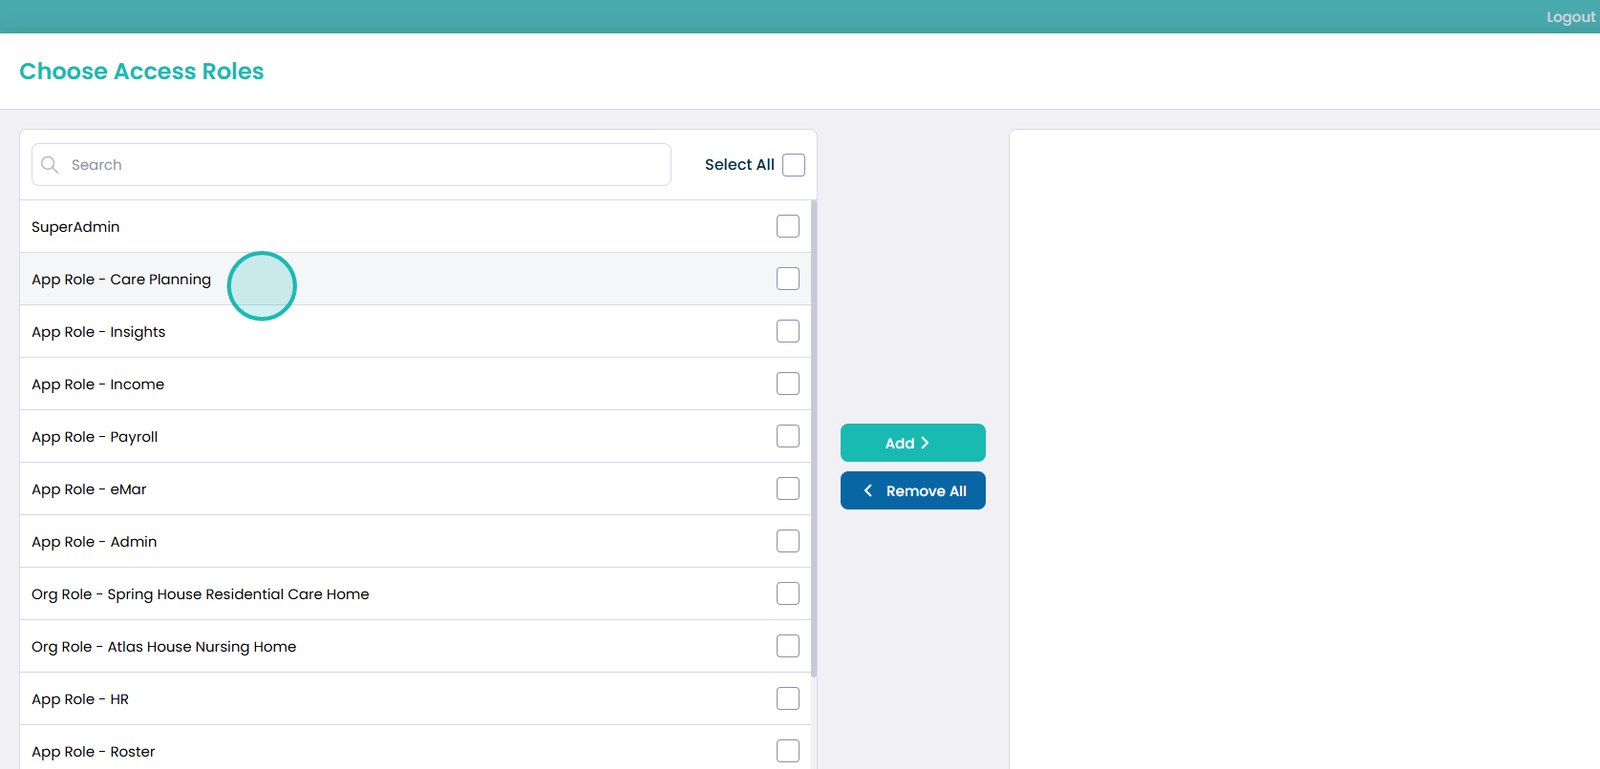
5. Next, choose the access role for the user you’ll be assigning this to.
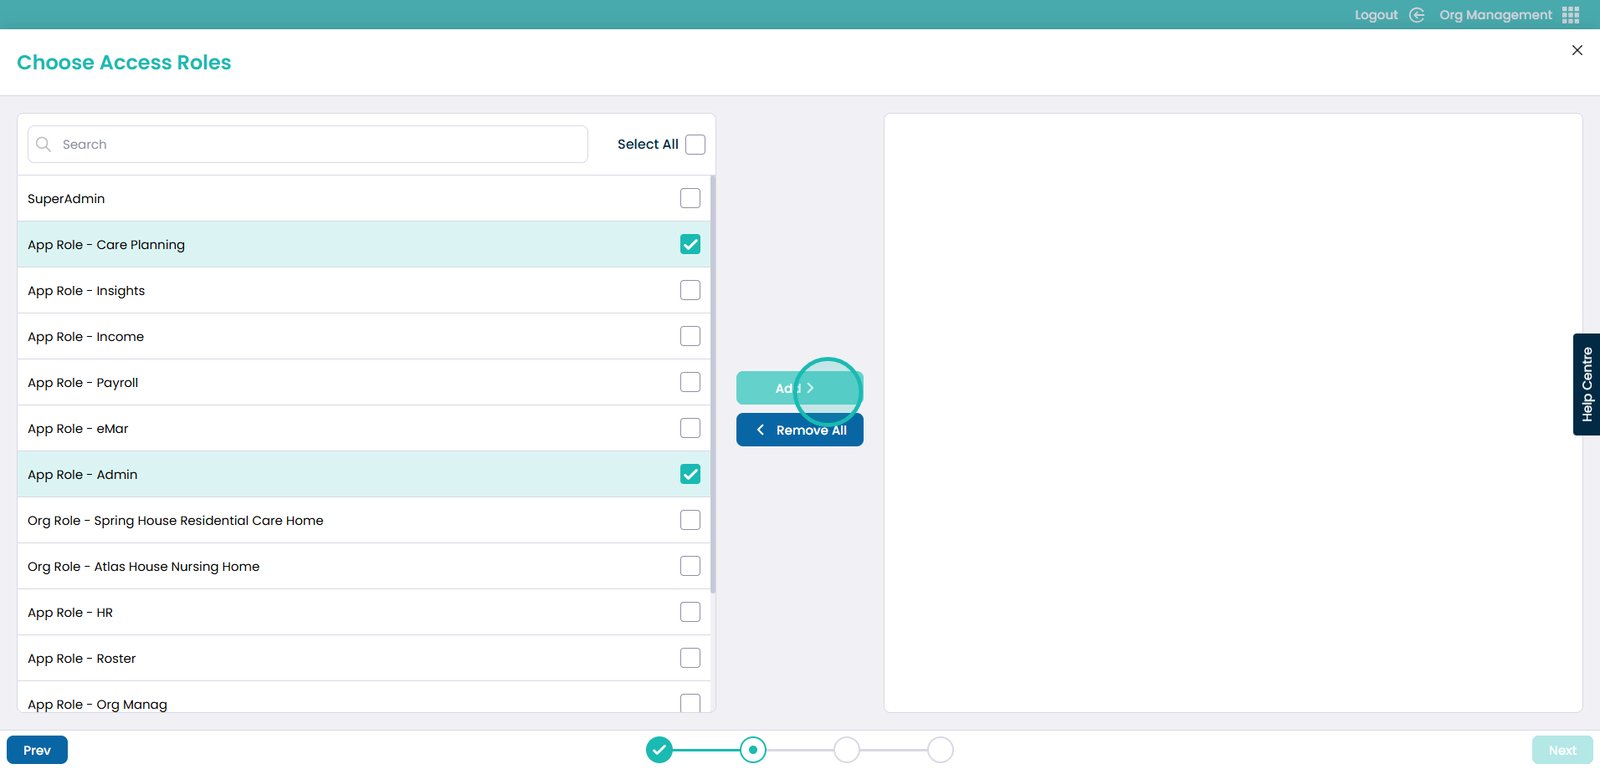
6. Once choosing the access role, select the ‘Add’ button.
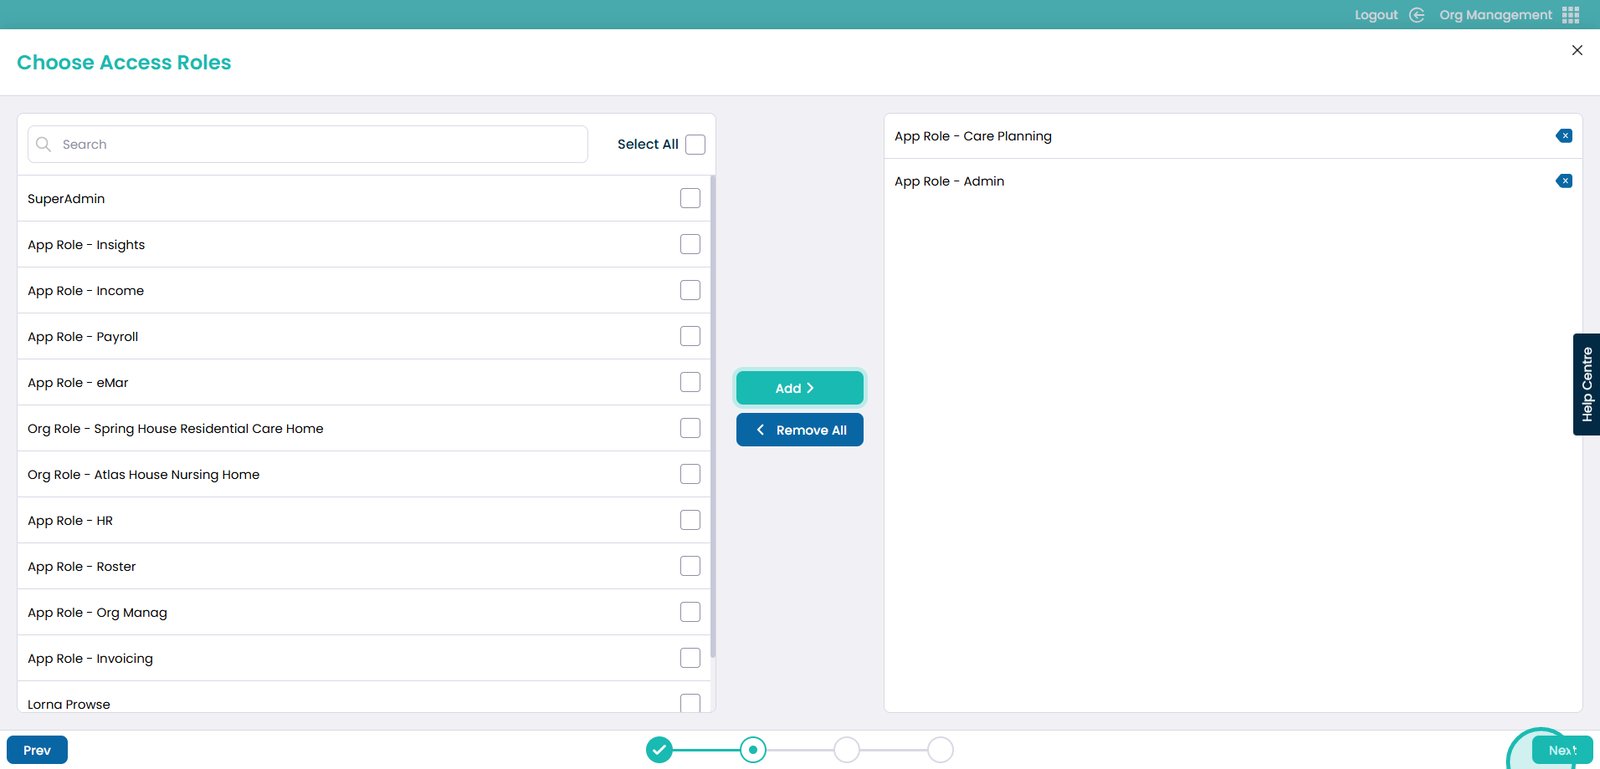
7. Next, click the ‘Next’ button.
8. Then, choose the users you would like to process.
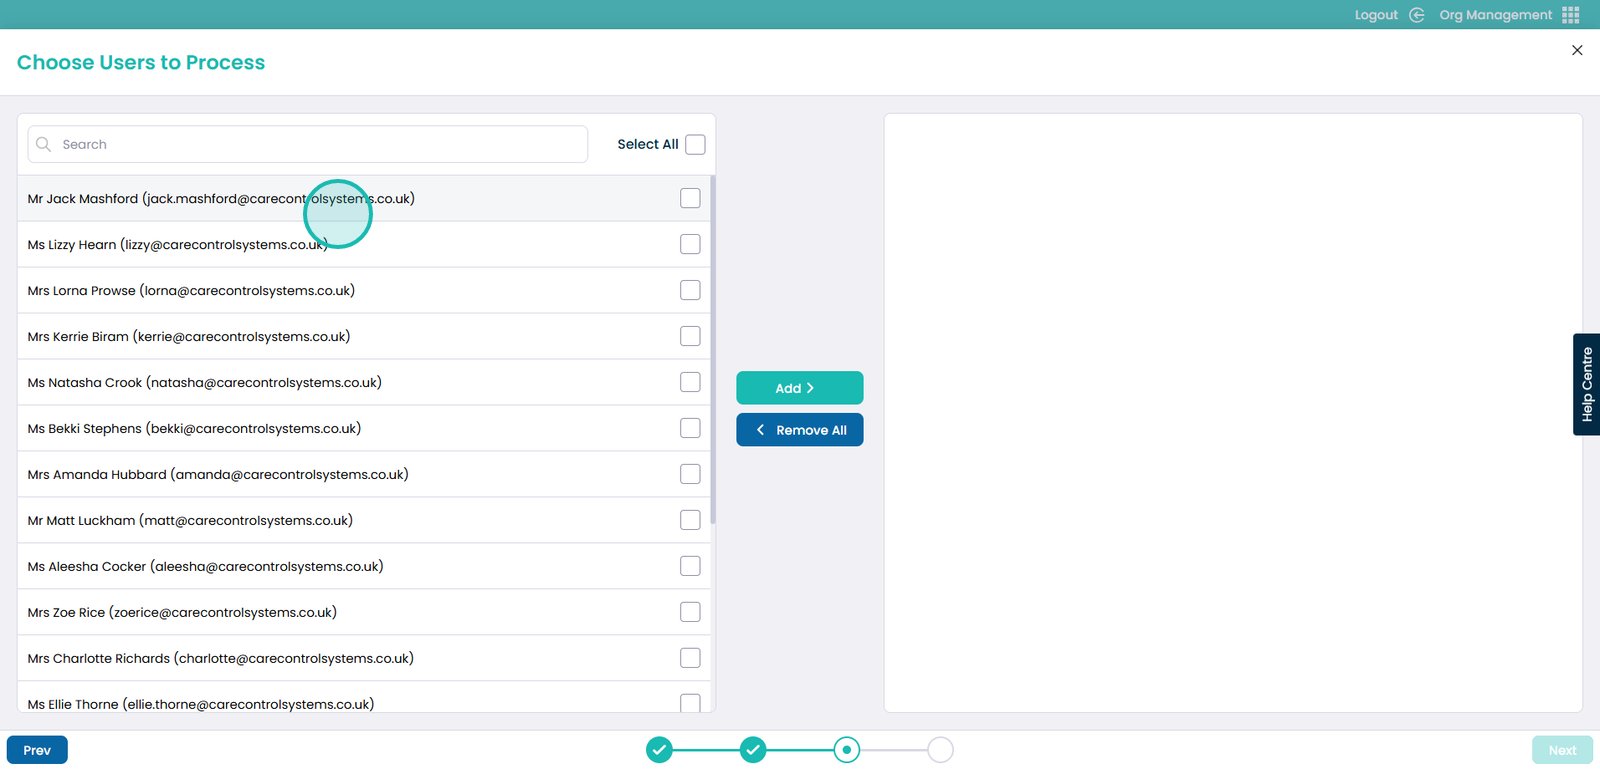
9. Then select the ‘Add’ button.
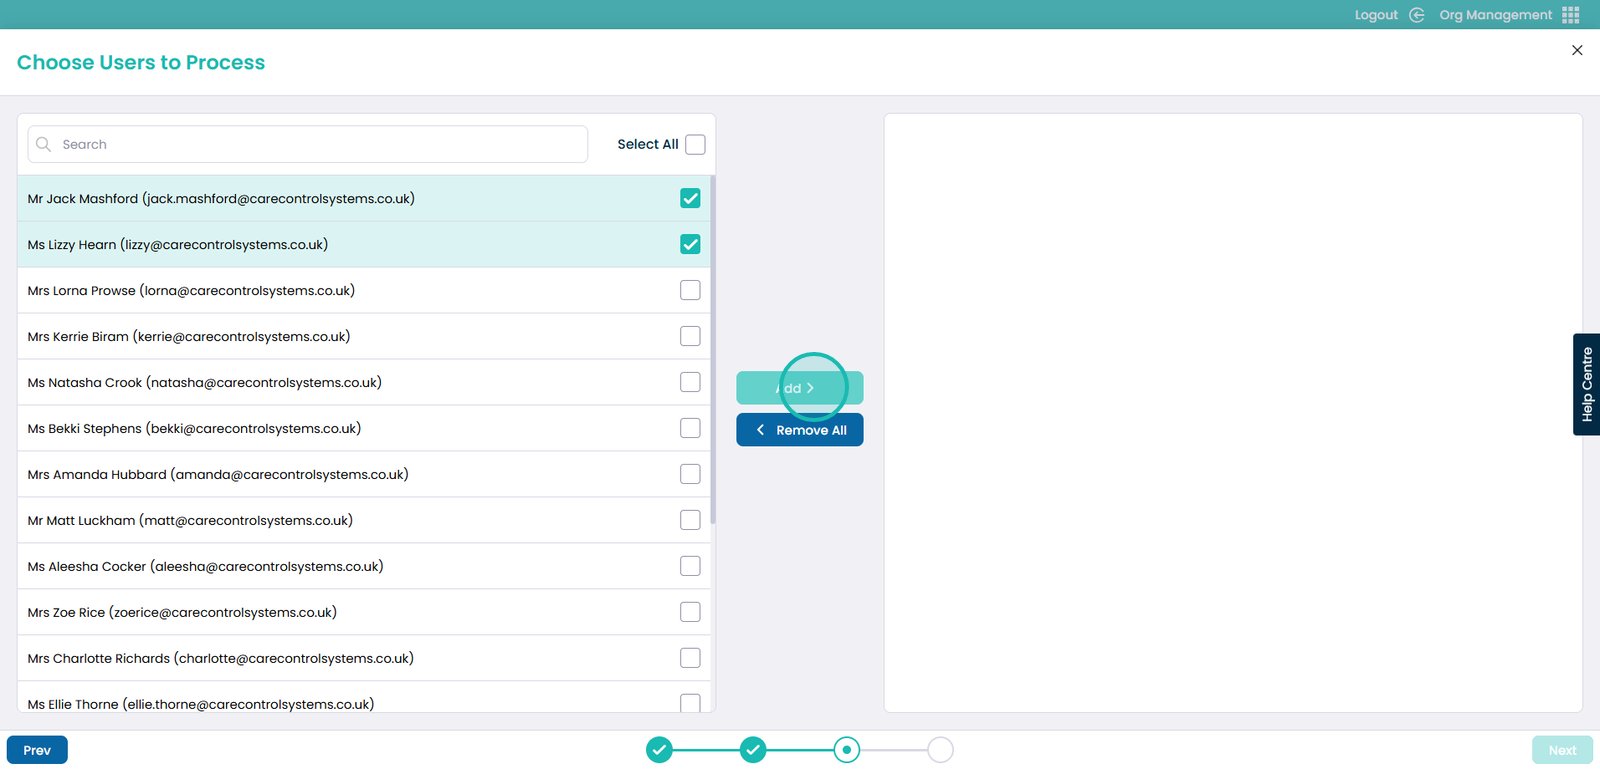
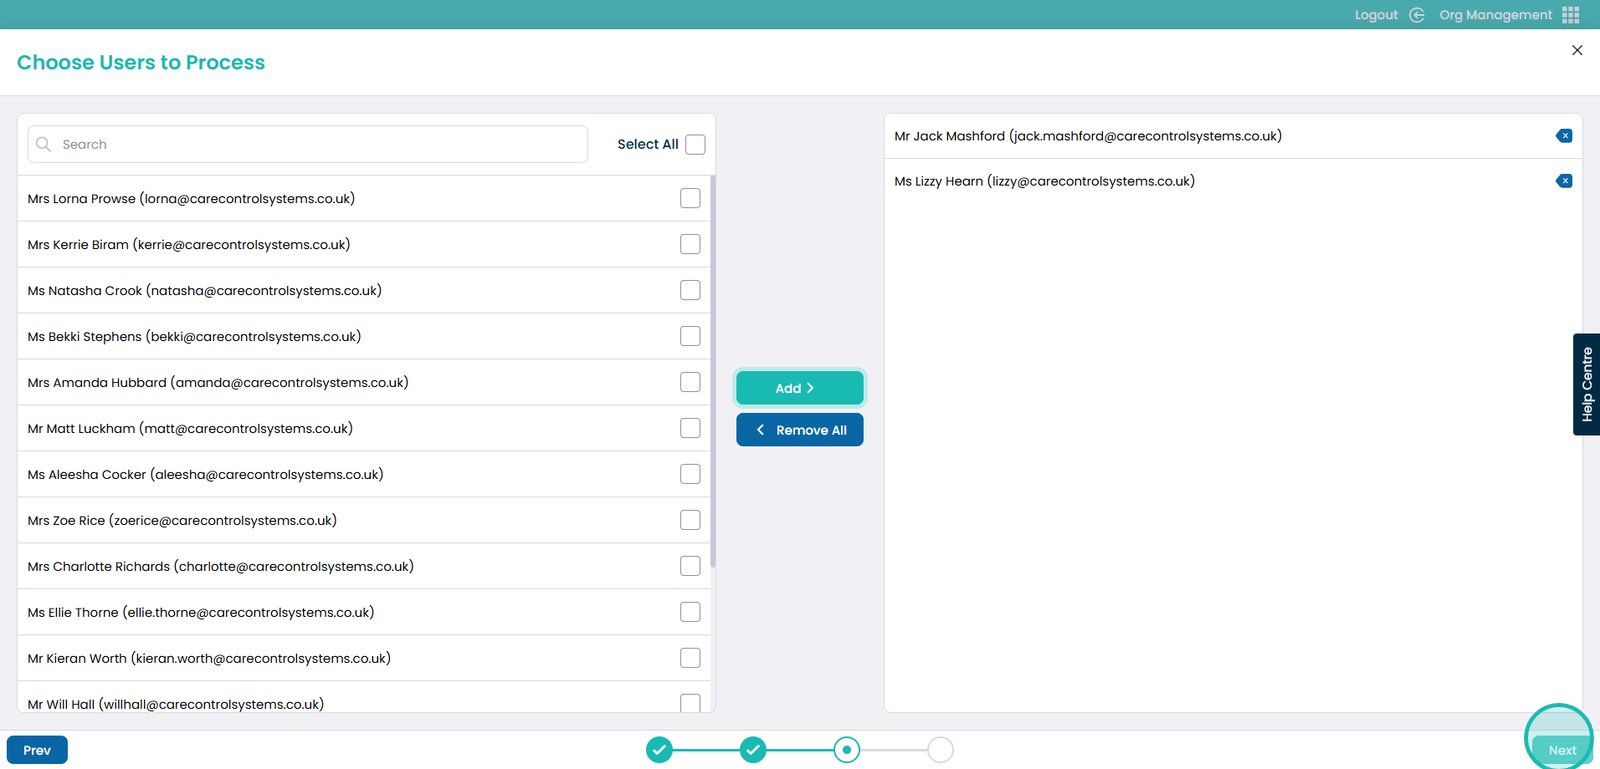
10. Click the ‘Next’ button.
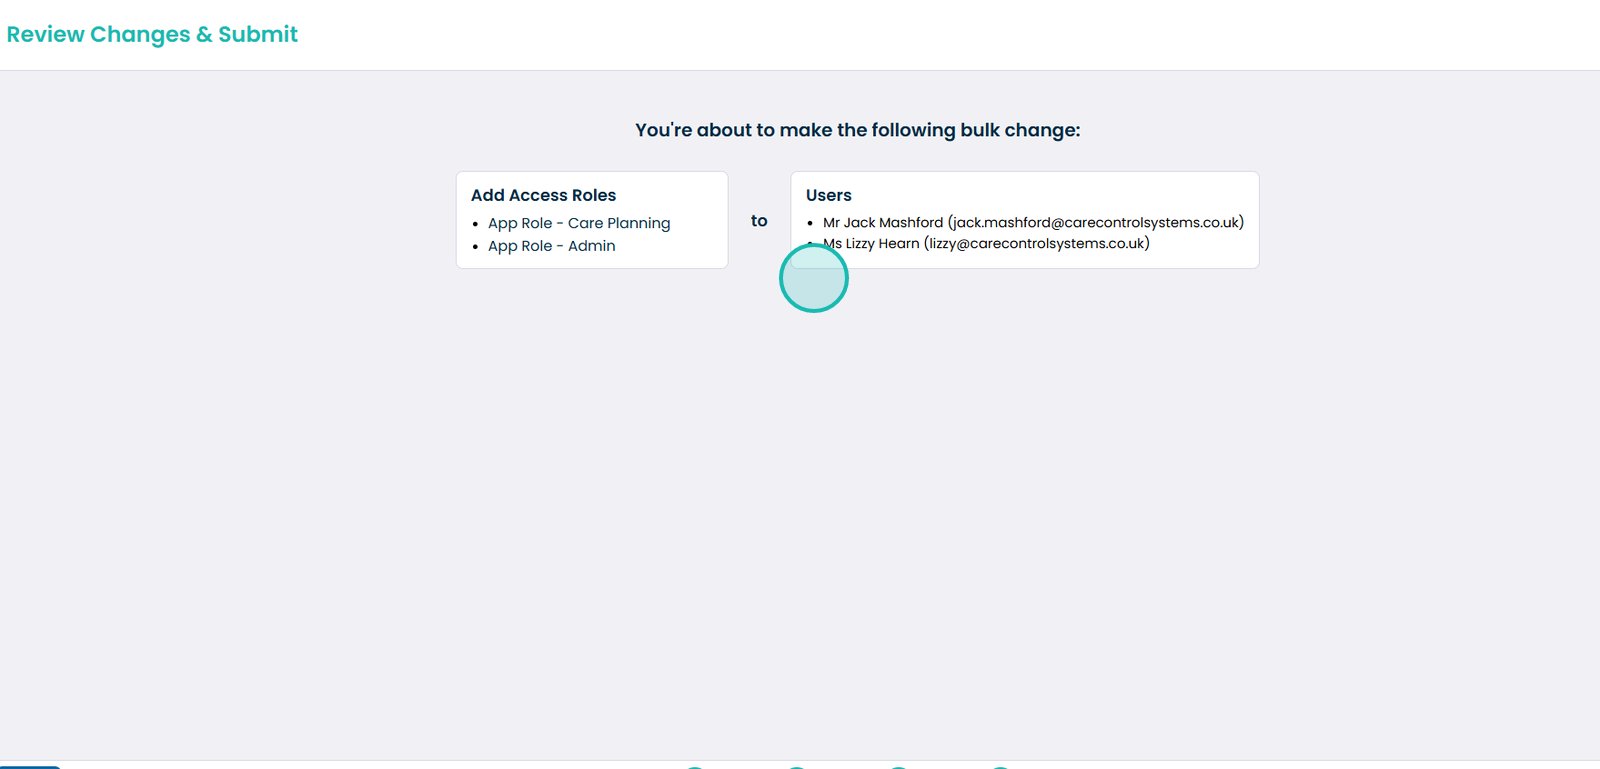
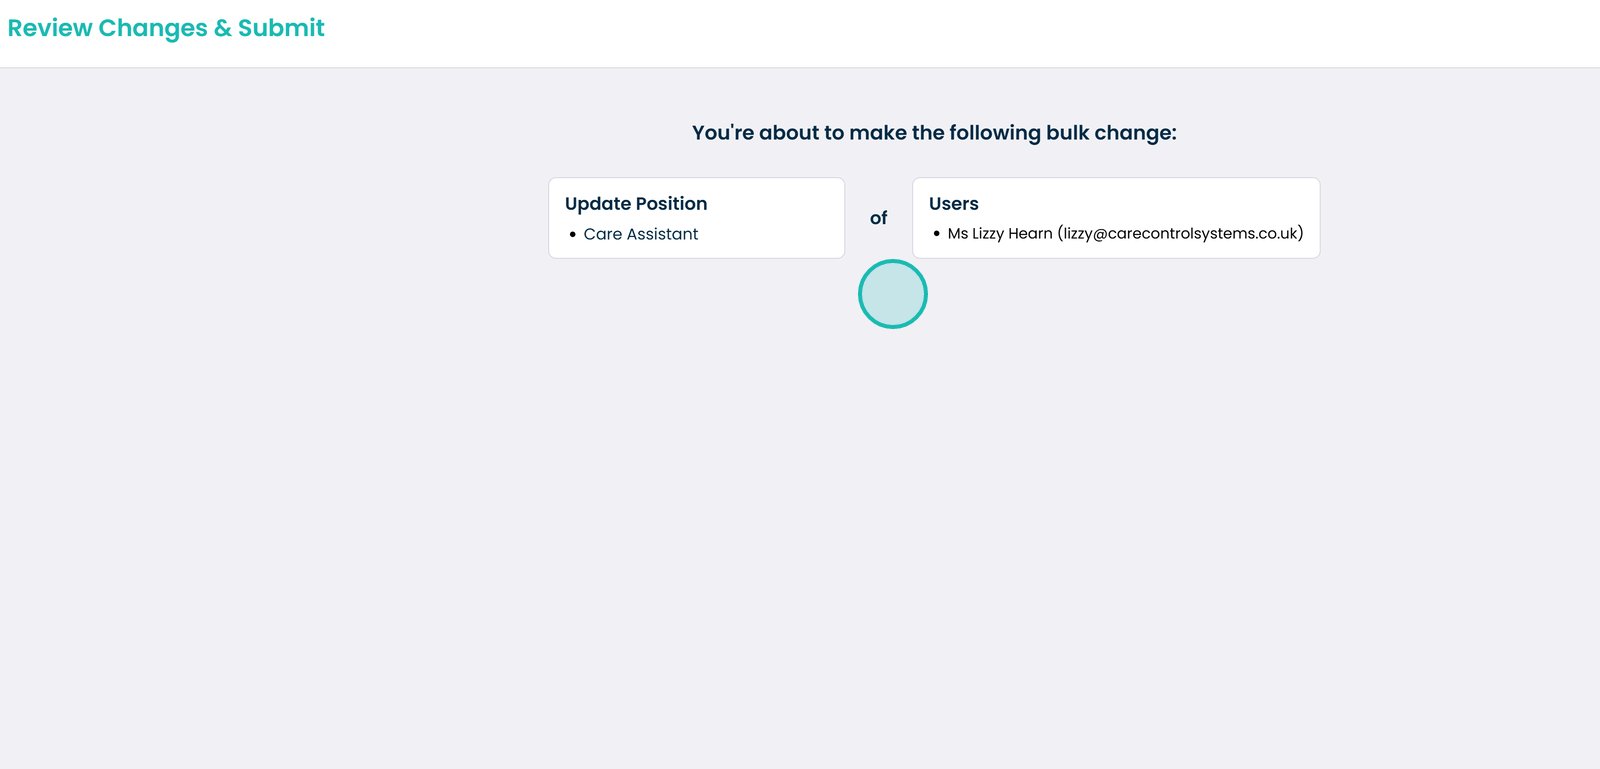
11. You will then see a visual workflow of the following bulk change. Once you have reviewed these changes, make sure to click the ‘Submit’ button at the bottom right.
12. Another example when choosing an action is ‘Update Position’. Use the same process and select ‘next’ when done.
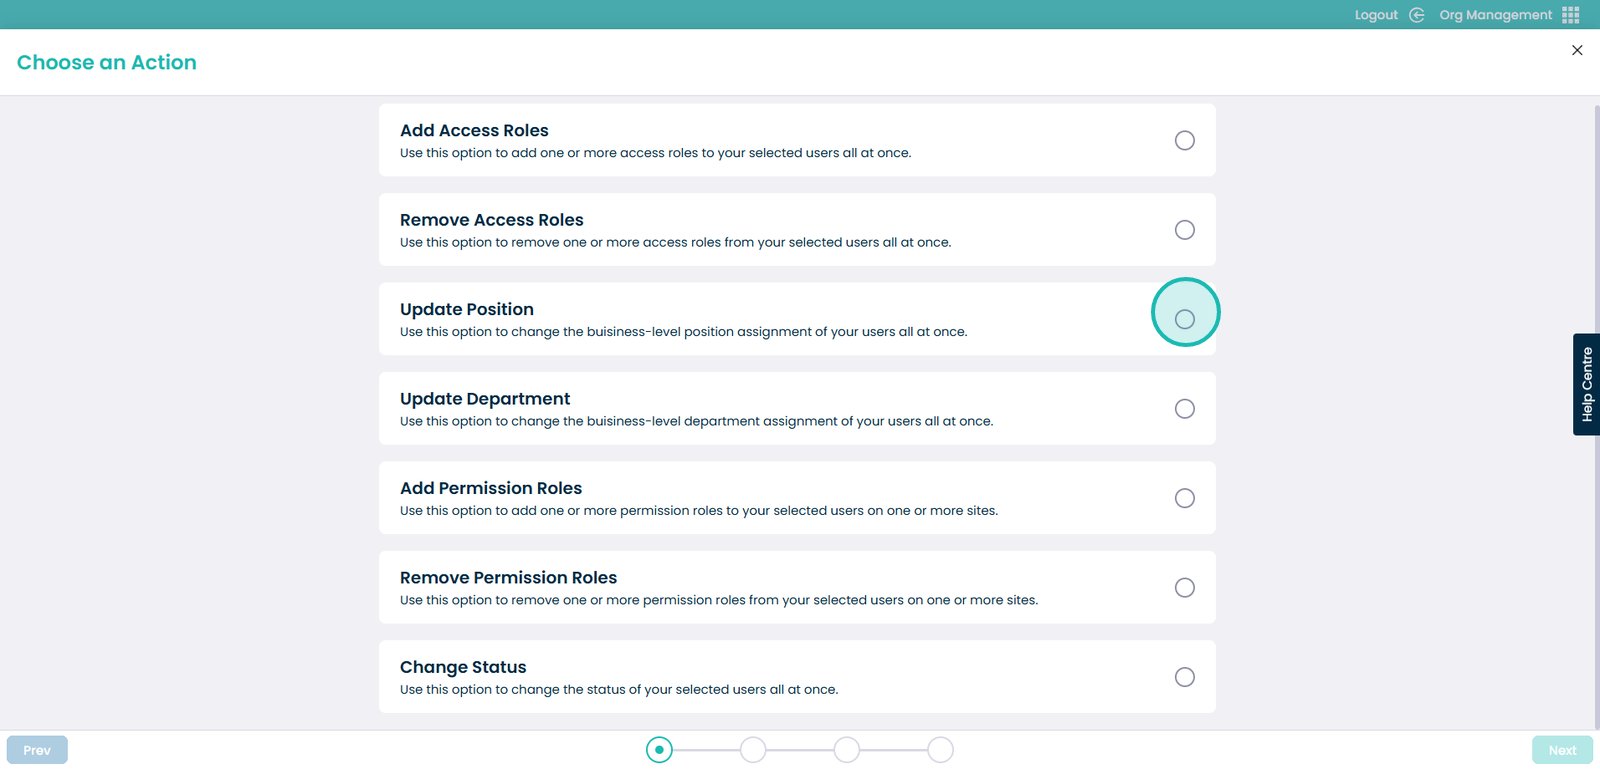
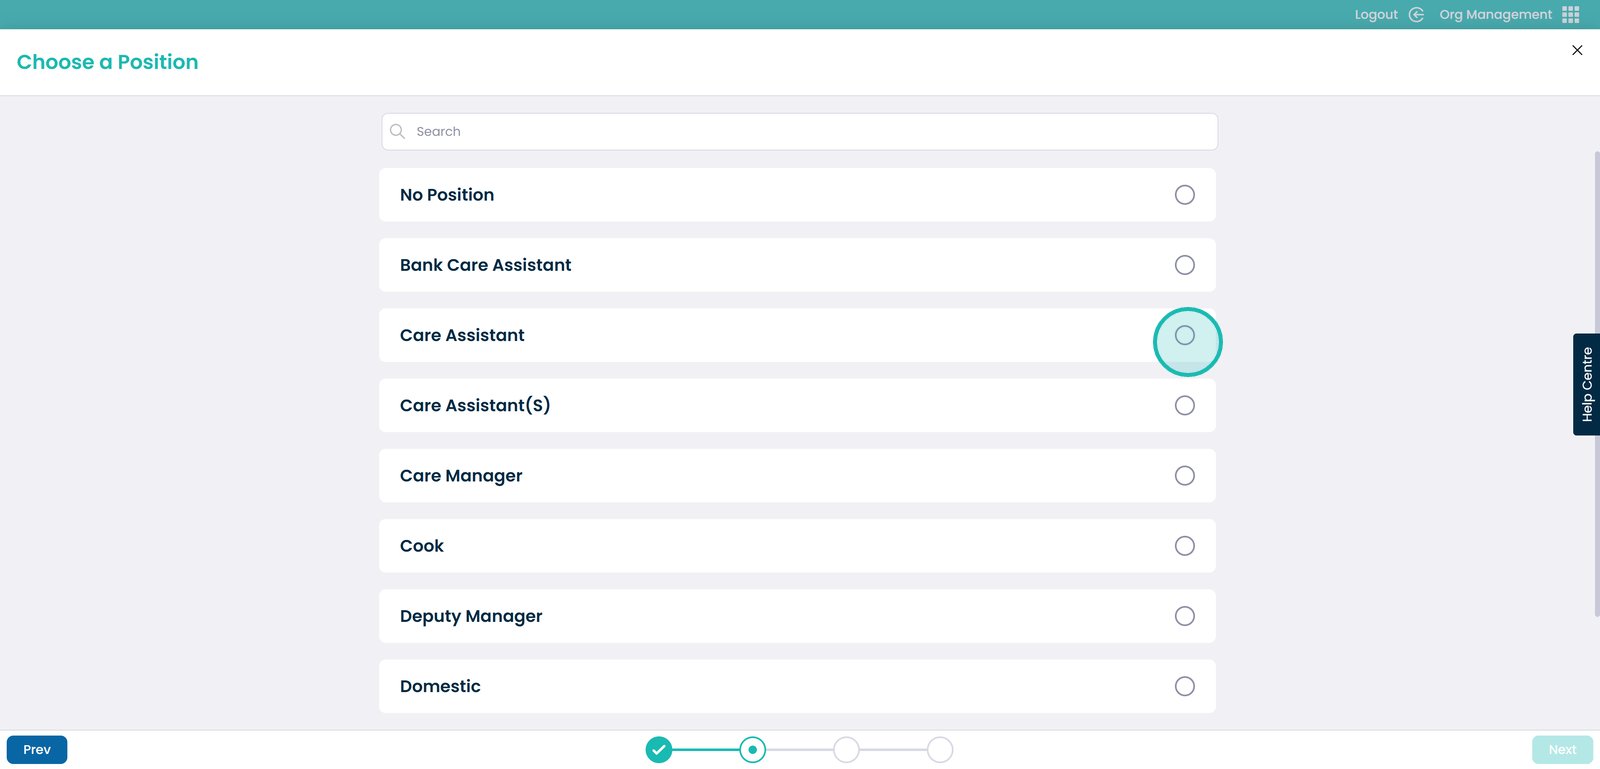
13. This will then present a list of positions.
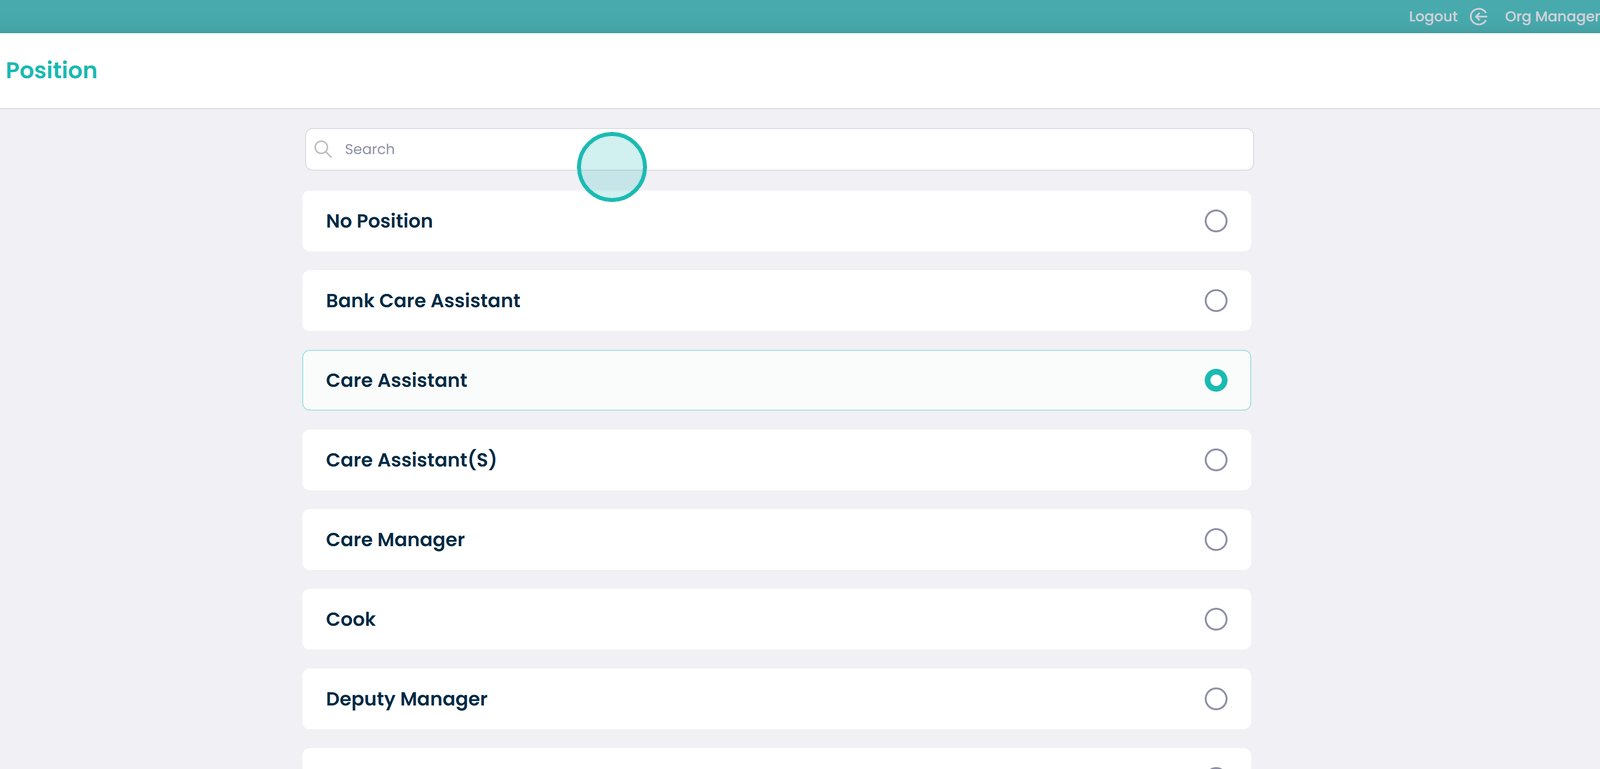
14. You also have the option to search for a position by using the search bar.
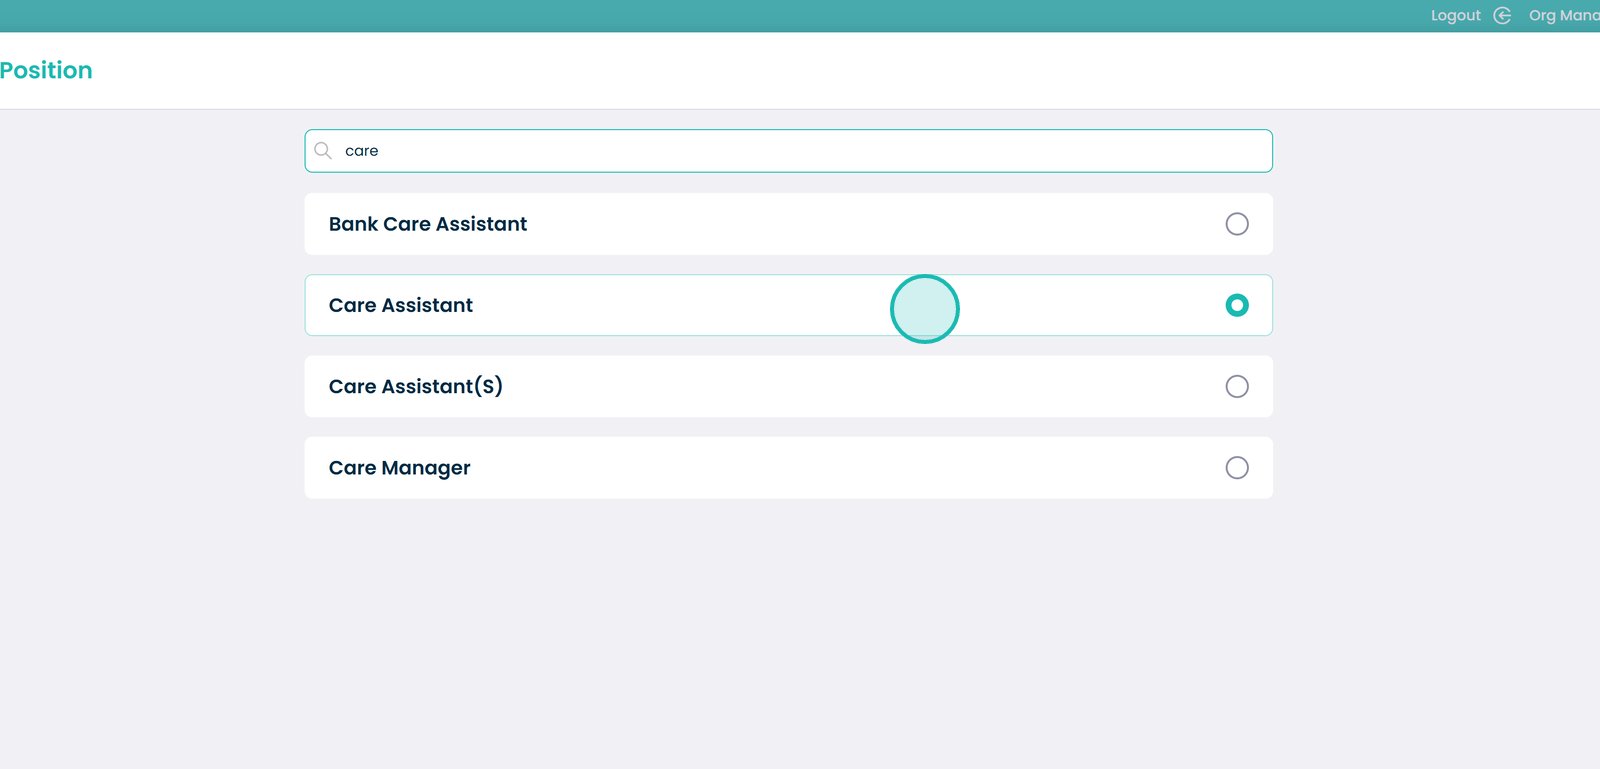
15. Select the position.
16. You will now need to select the users you want to assign to the updated position.
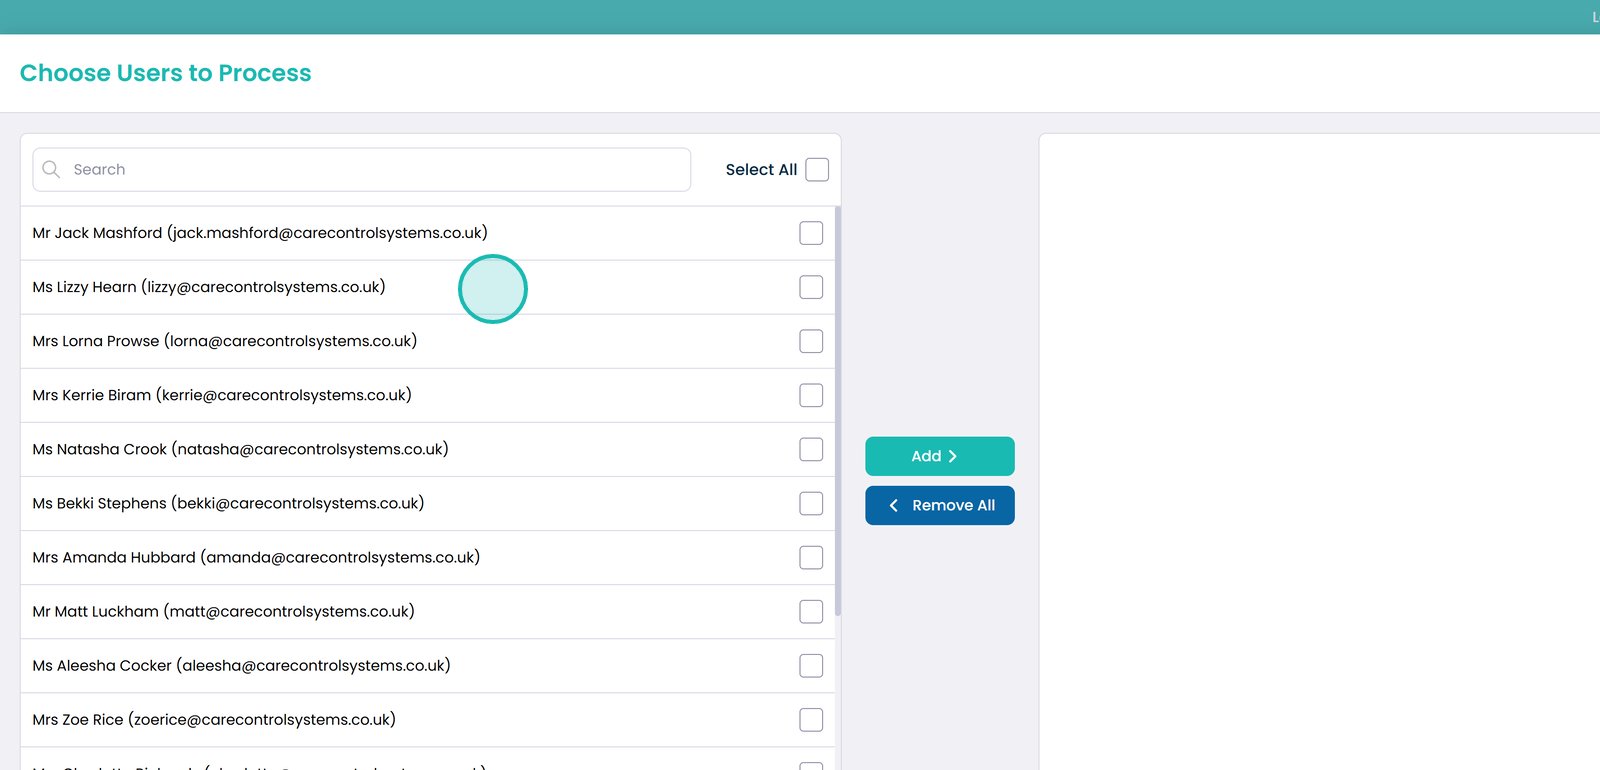
17. Click the ‘Add’ button once you had chosen the users. Then click the ‘Next’ button on the bottom right.
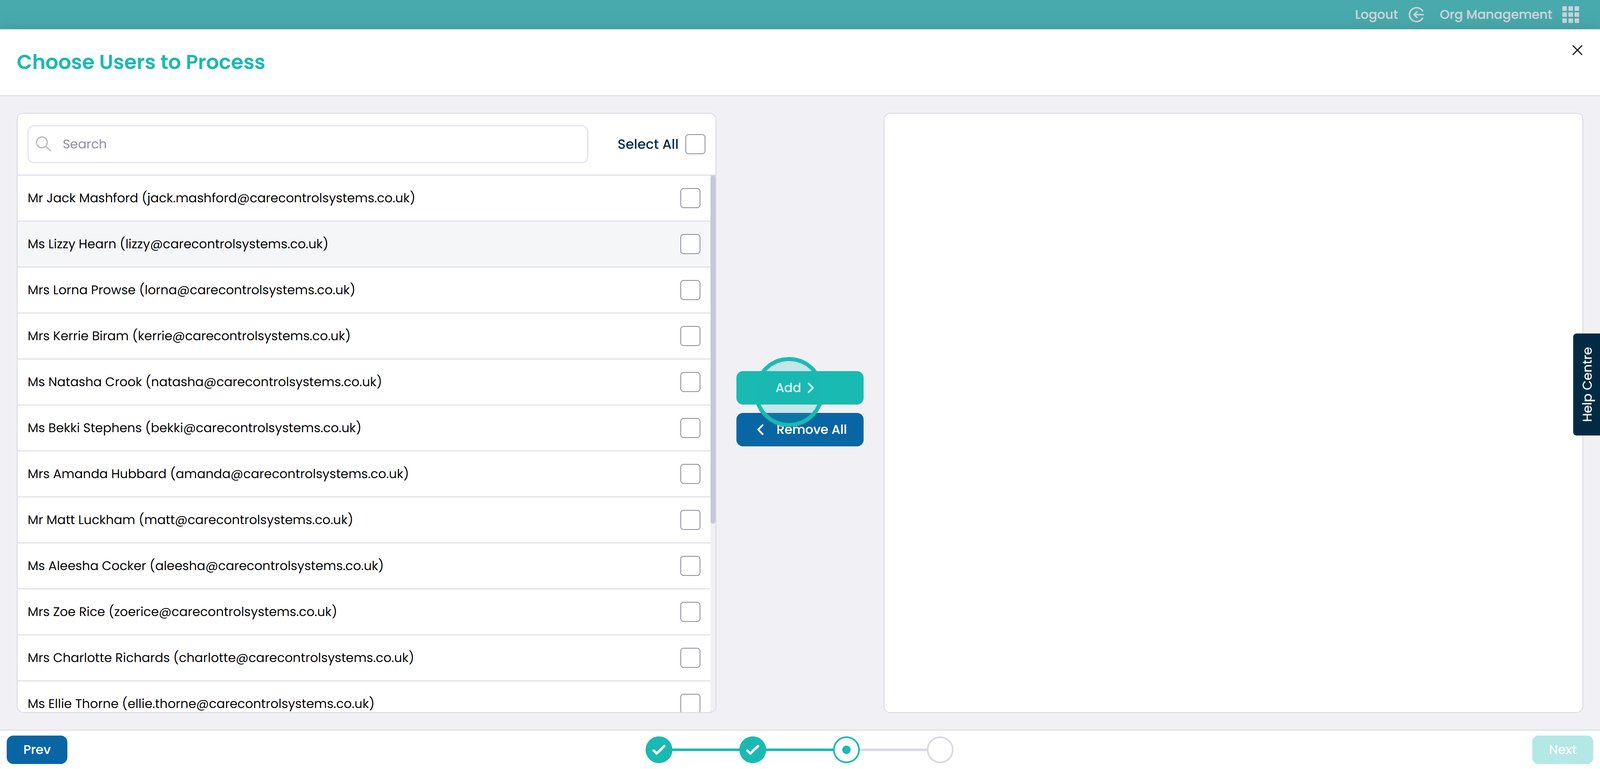
18. You will then see the same page previous to the first example. A visual workflow of the changes you are making to a users position.
19. Another example when choosing an action is ‘Add Permission Roles’.
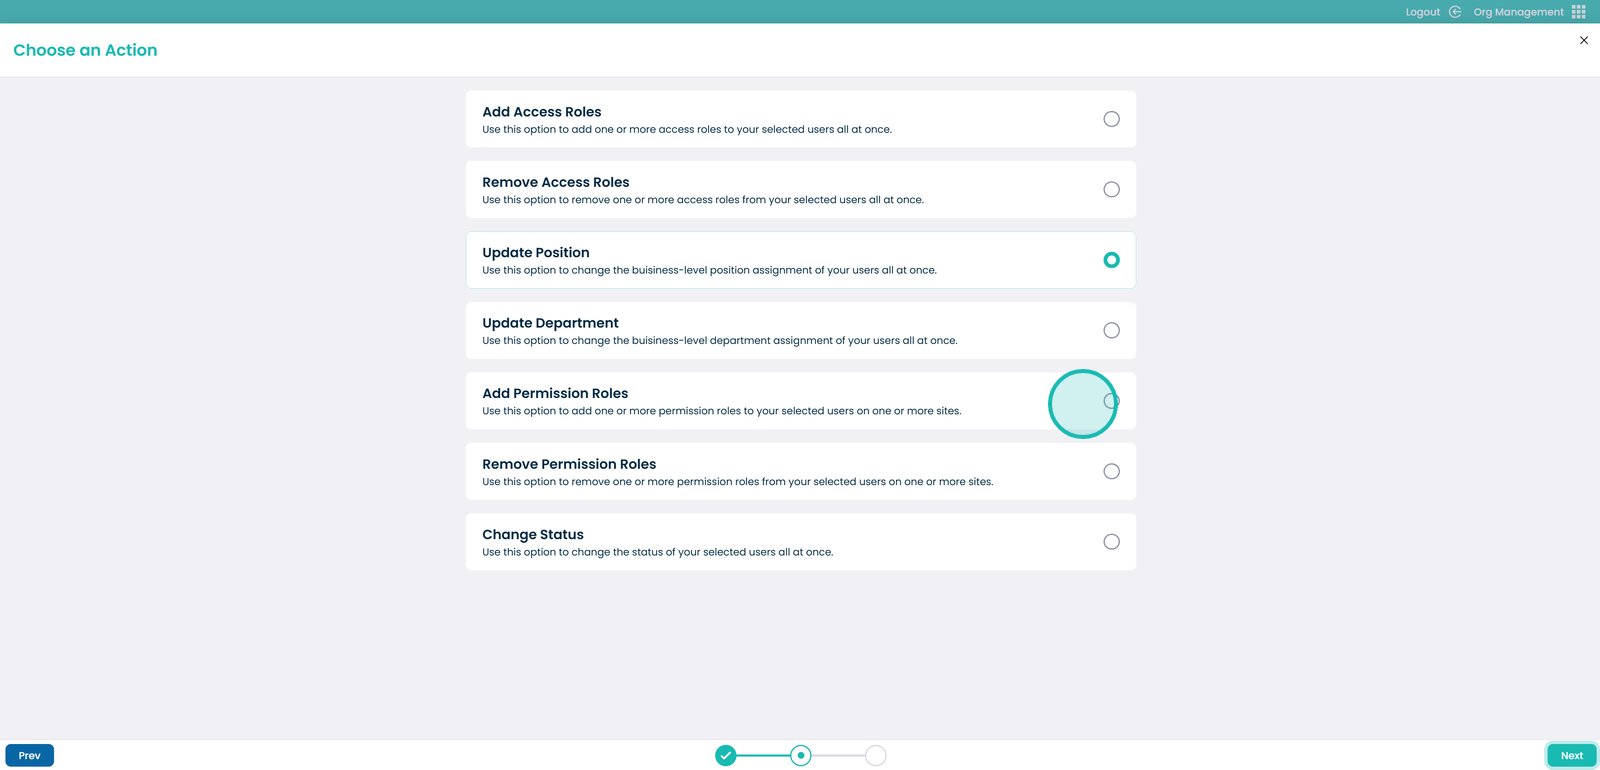
20. Next, click the ‘Next’ button.
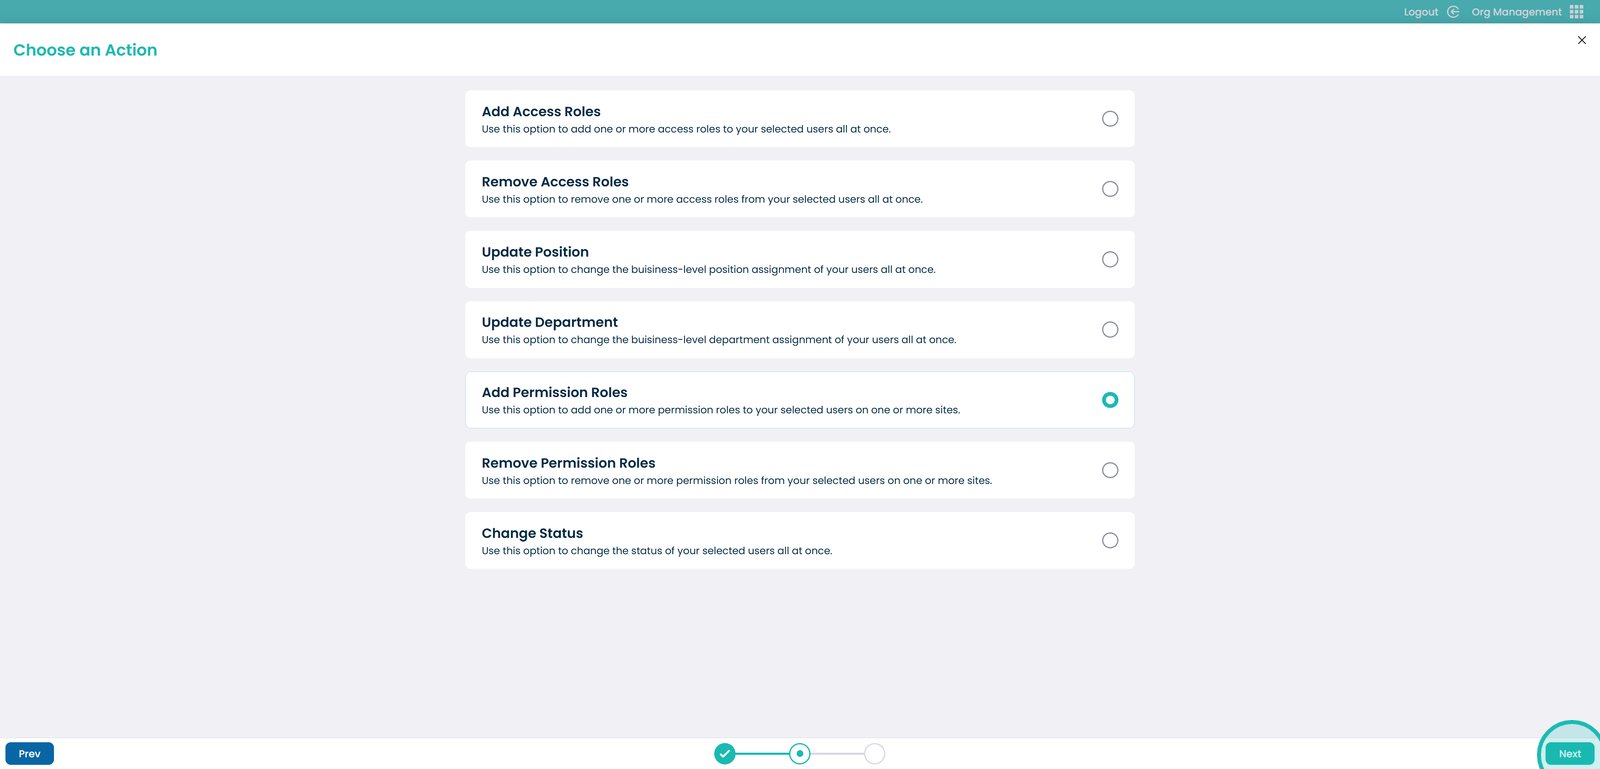
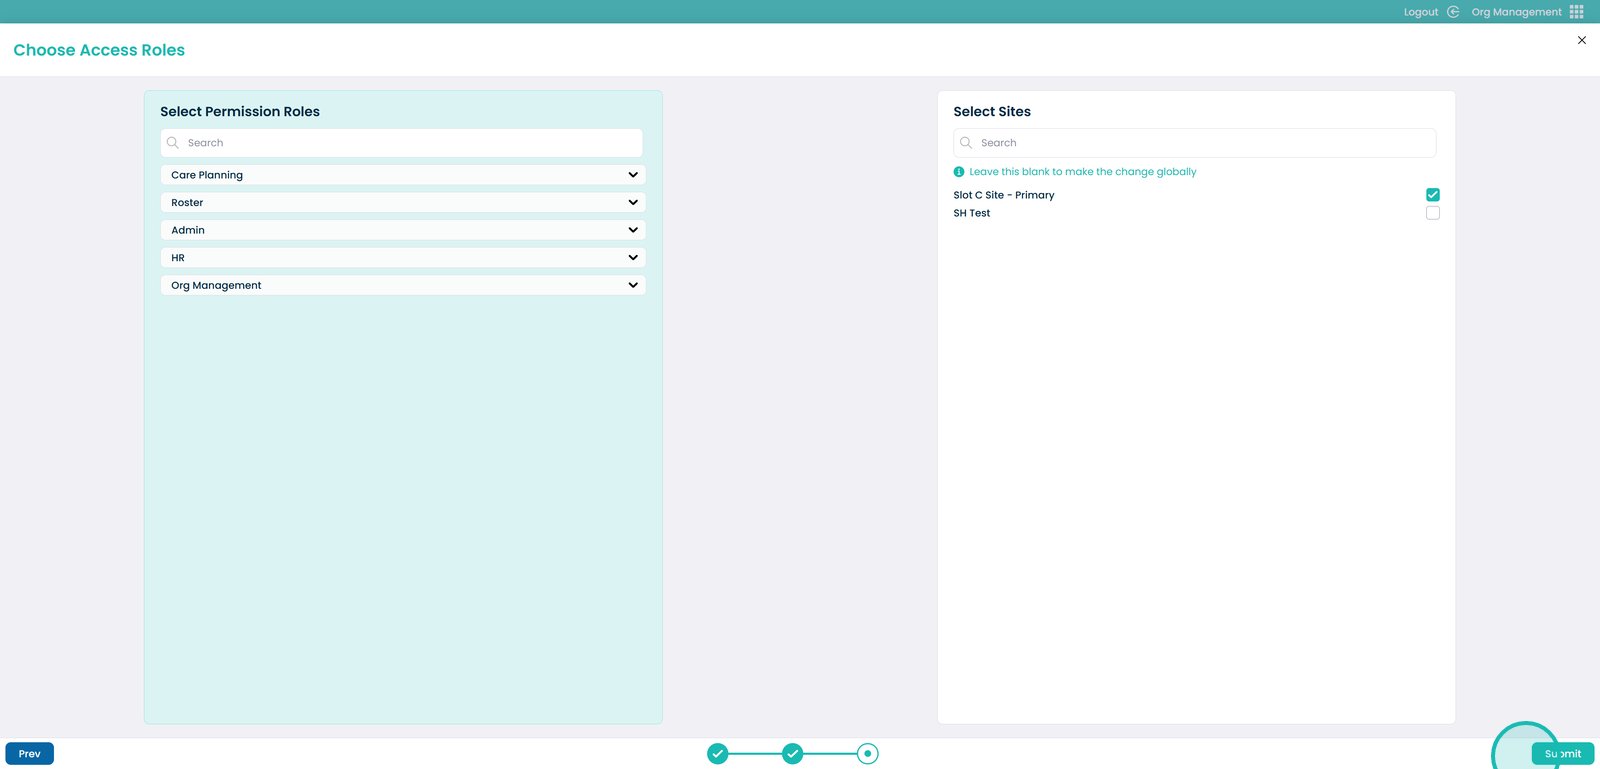
21. As you’ll see, this action works slightly differently. That’s because it requires you to select both a permission role and a site before proceeding.
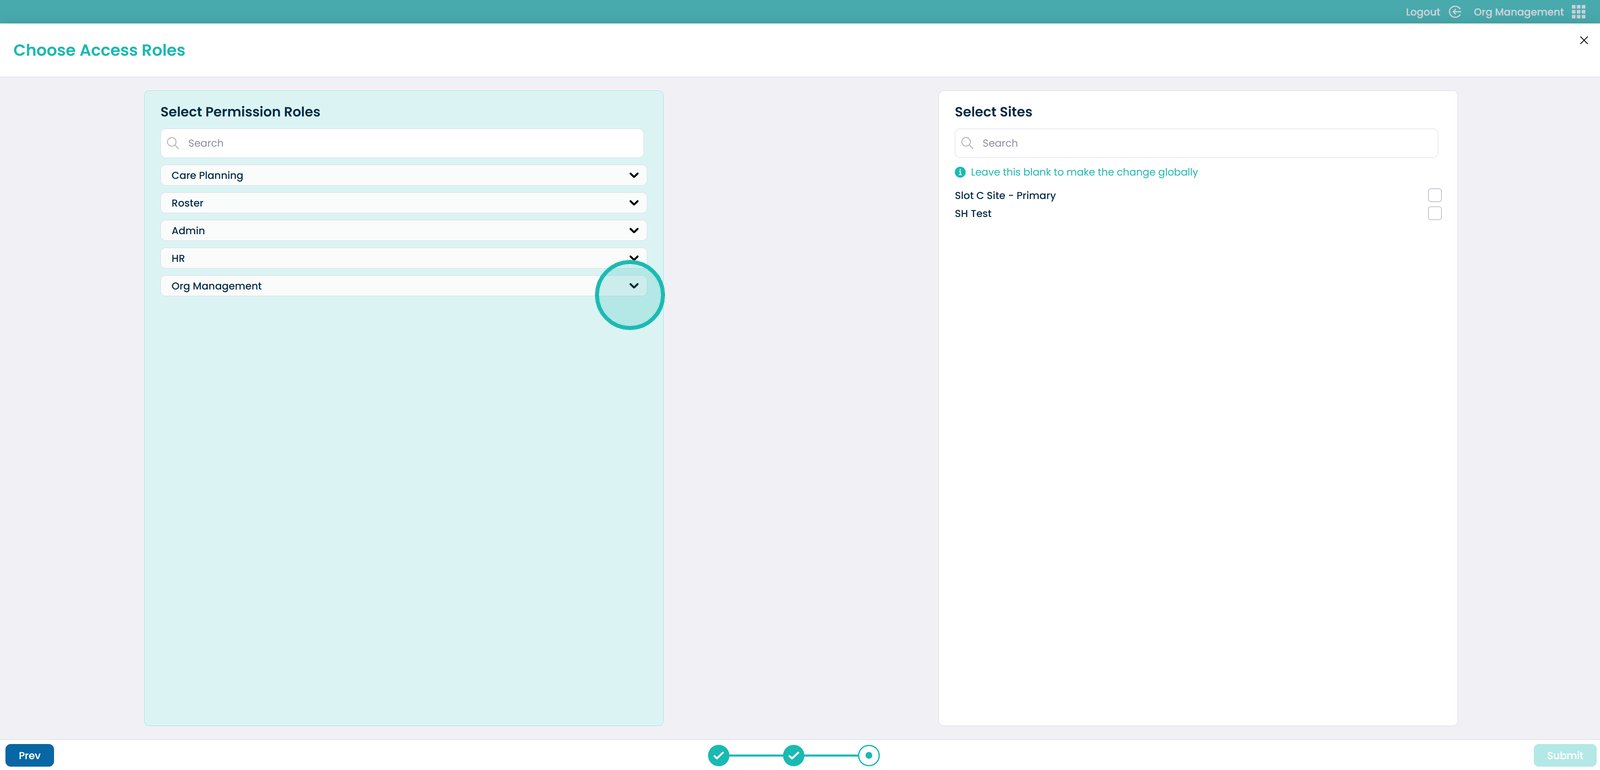
22. Here you will see a drop down arrow. You are then able to click these which will showcase the permission roles which are contained within those applications.
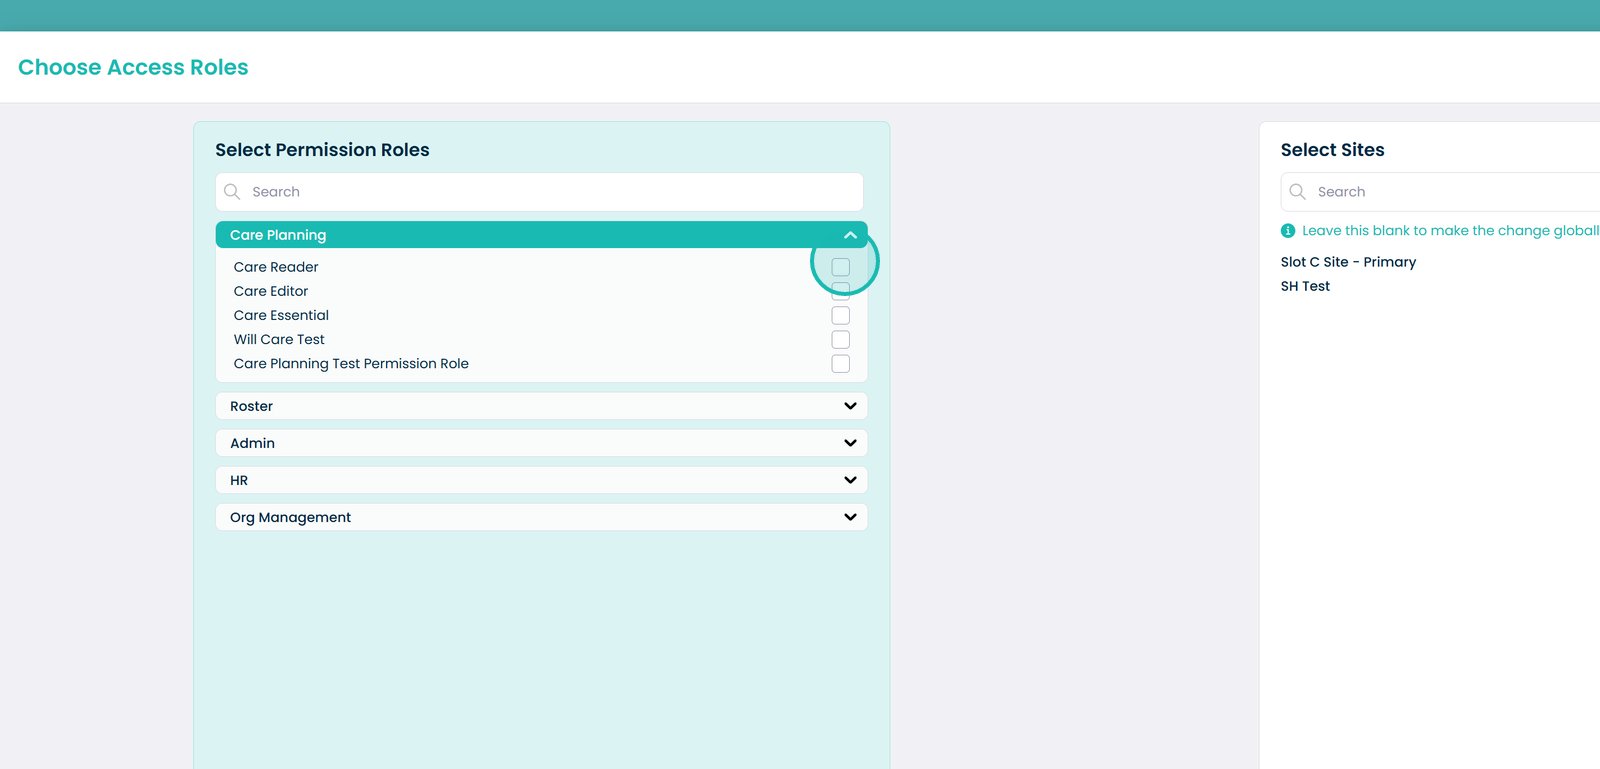
23. Once you have chosen the permission role, you can then select the site you want to add it to. You also have the option to search for a site. And if you’d like to make this change globally, do not choose a site and instead, leave this section blank.
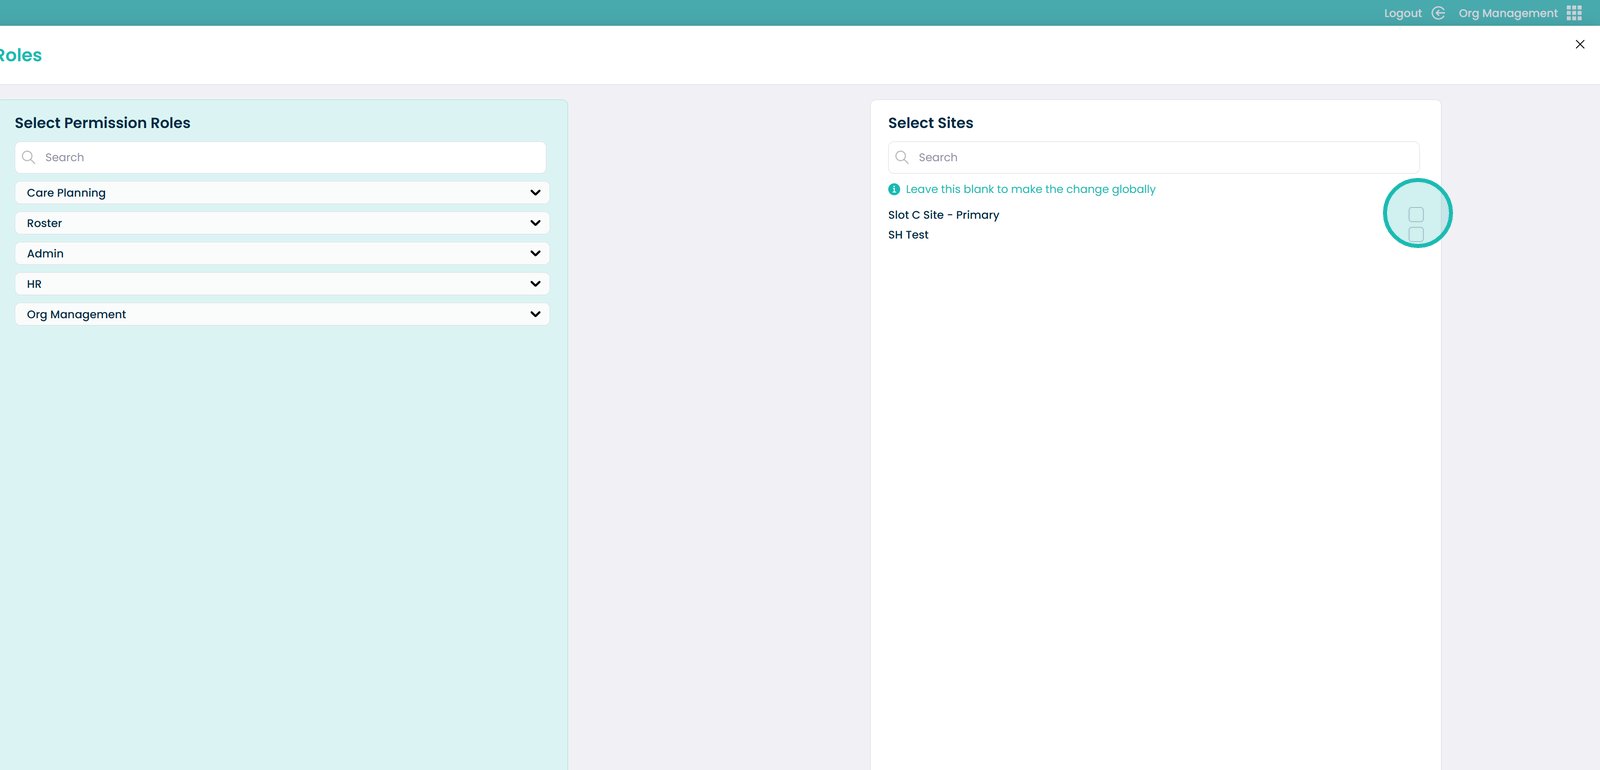
24. Once you have chosen the permission role and site, you can the click the ‘Submit’ button to save any changes.