Consents on Care Control – Care Control Learning Hub

Consents on Care Control

This guide will cover how to create and assign Consents on Care Control Windows

1

In the Administration of Care Control Windows, navigate to the Consent Templates tool, which can be found under the Care Planning tab.

2

A new window will open. Here, a list of the consents currently active on your system will be displayed. You can create a new one by scrolling to the bottom of the list.

There will be a blank row in which you can enter the name and category of the consent as well as set the frequency and default status.

3

After completing the basic information, press Build Consent to configure the written body of it.

4

A note builder window will open. Here you can type in the large text box as well as use prompt fillers from the blue options on the right hand side.

These prompts appear as square brackets in the template, [x], but are replaced by specific information when the note is completed. For example, the prompt ‘[Full Name]’ is replaced by the service users full name when the consent is recorded.

5

After building your note template, you can test it by selecting a service user from the drop-down list, then, press Test Template.

An example of the note will be displayed in the box below.

Press Save Note Template when you are happy with the set-up. The consent is now complete. 

6

We can now complete a consent for a service user. 

Begin by selecting Show Care Plans from the Administration of Care Control Windows screen.

7

Select a Service User from the left-hand list, then choose Consents & MCA‘s from the right-hand list.

8

You will be taken to the respective area of the service users care plan, where active consents and capacity assessments can be viewed.

To add a new one, press Click to Edit Care Plan.

9

A new button should appear labelled ‘Add New Consent‘. Press this to continue.

10

Select the Consent from the first drop-down list. This will load the consent detail in the orange box below, as well as reveal some further options.

11

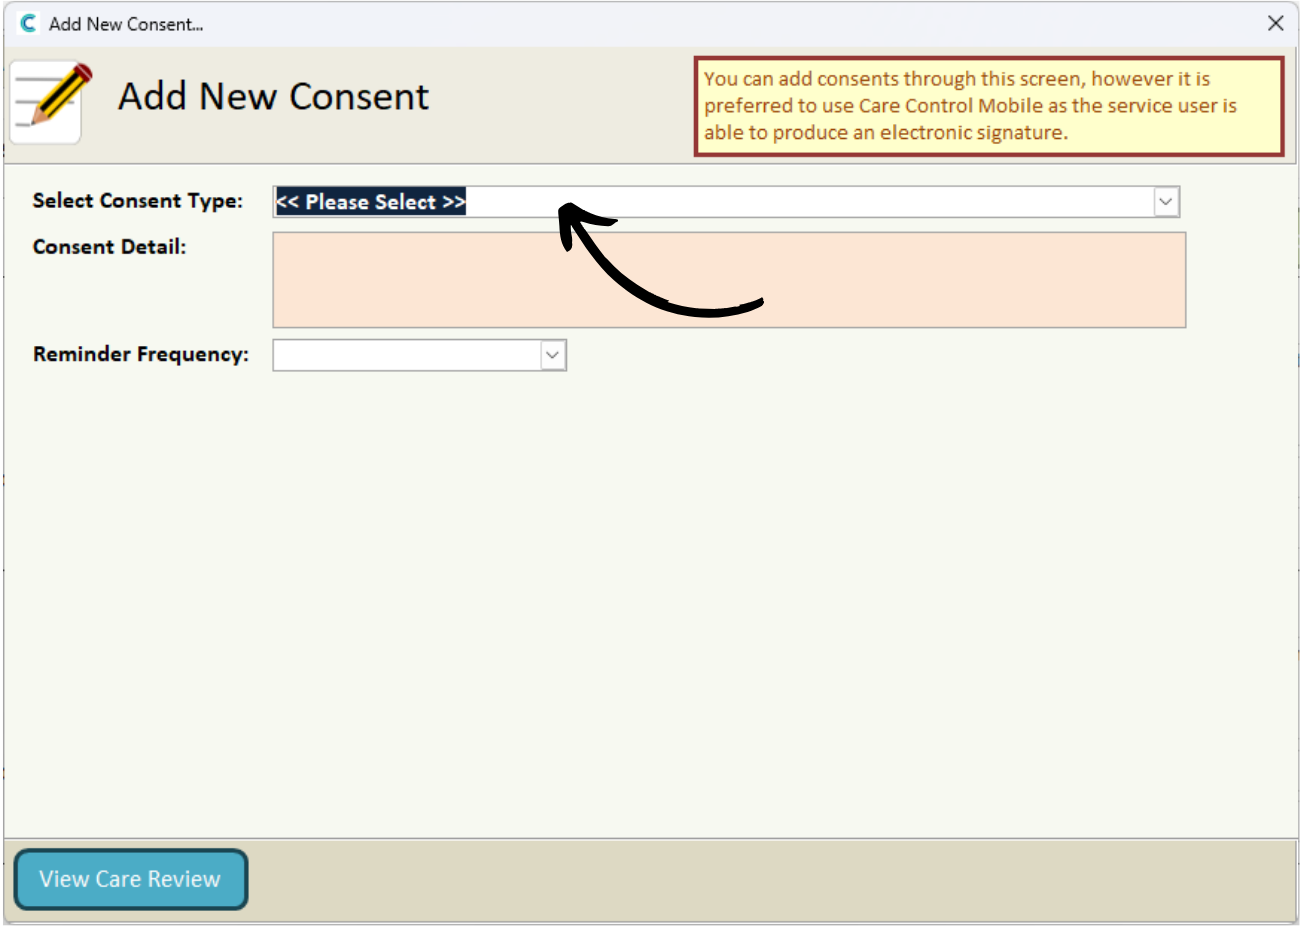
Next, select the Reminder Frequency – this is the period of time until the consent will need to be re-done.

Next, choose whether the service user has the capacity to provide the consent, and whether the service user can sign the consent.

Then, enter who witnessed the consent and press Save Consent to complete the process.

Please note – signatures can be recorded digitally when completing consents on Care Control Mobile.

12

From this area of the care plan you can also Expire Active Consents. Press the blue button to continue.

13

Begin by selecting the active consent from the left hand list.

Then, enter a reason for expiry and press Save & Continue.

Powered by BetterDocs

Important links

Contact

support@carecontrolsystems.co.uk

01822 738 100

v2.40