This guide will cover how to access and create Custom Tasks on Care Control Cloud. These can be used for service user tasks or other events that need recording.
1
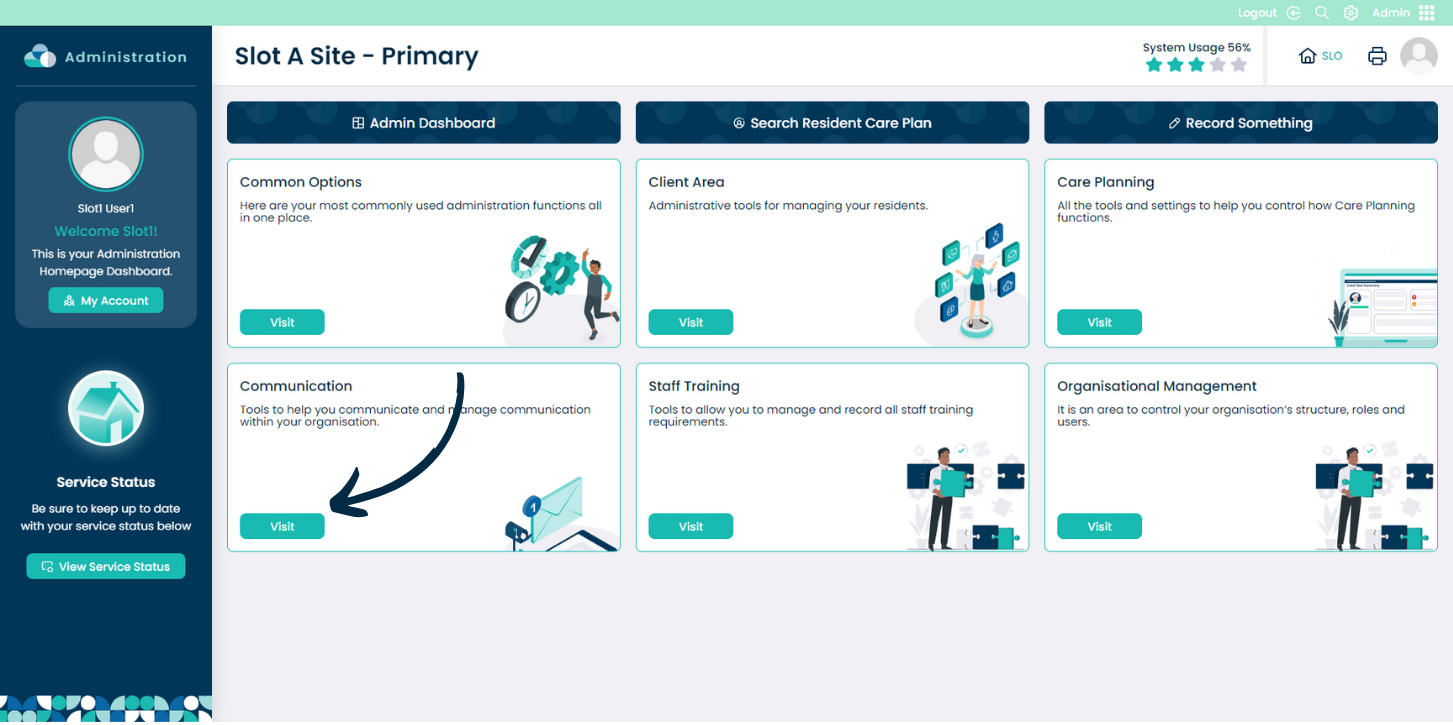
From within the Admin application on Care Control Cloud, navigate to the Communication area.
2
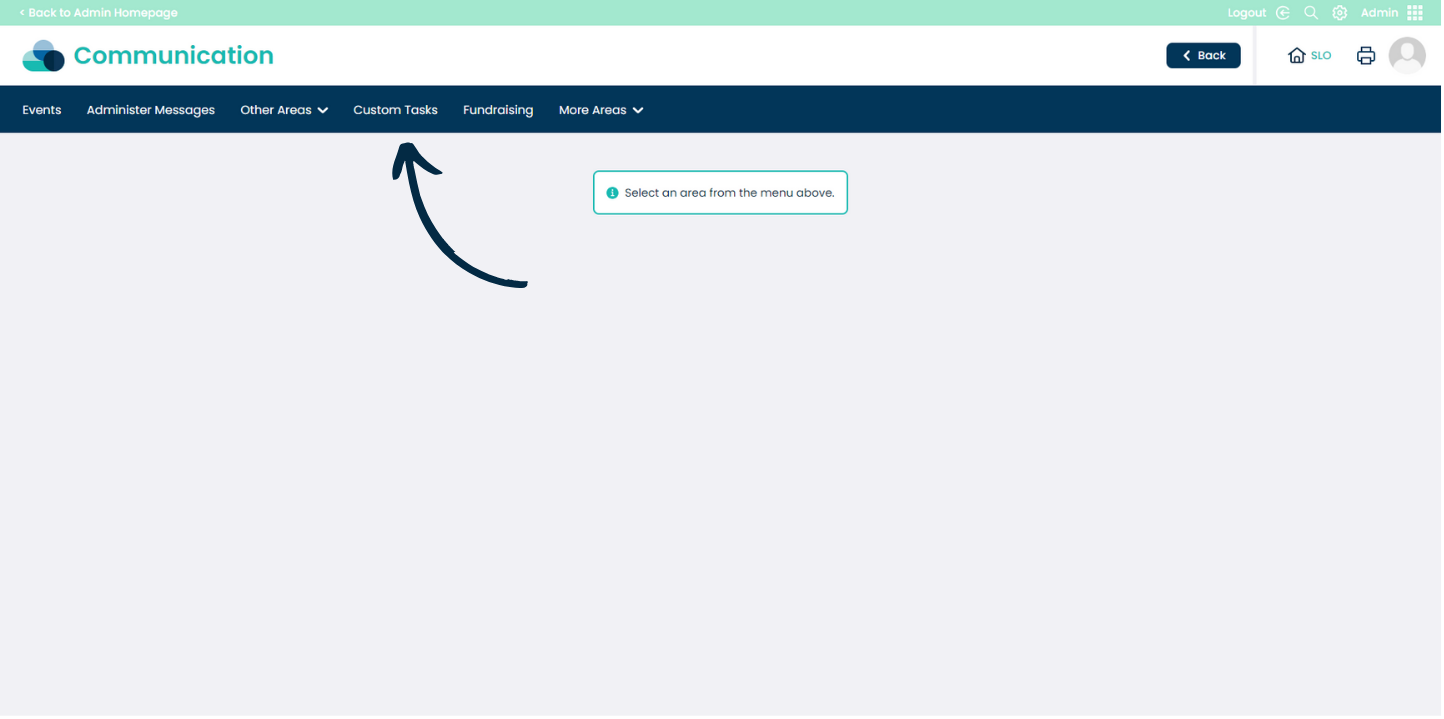
Here, select Custom Tasks from the options along the top of the page.
3
A list of the tasks currently on your system will be displayed.
To add a new one, press Create Task.
4
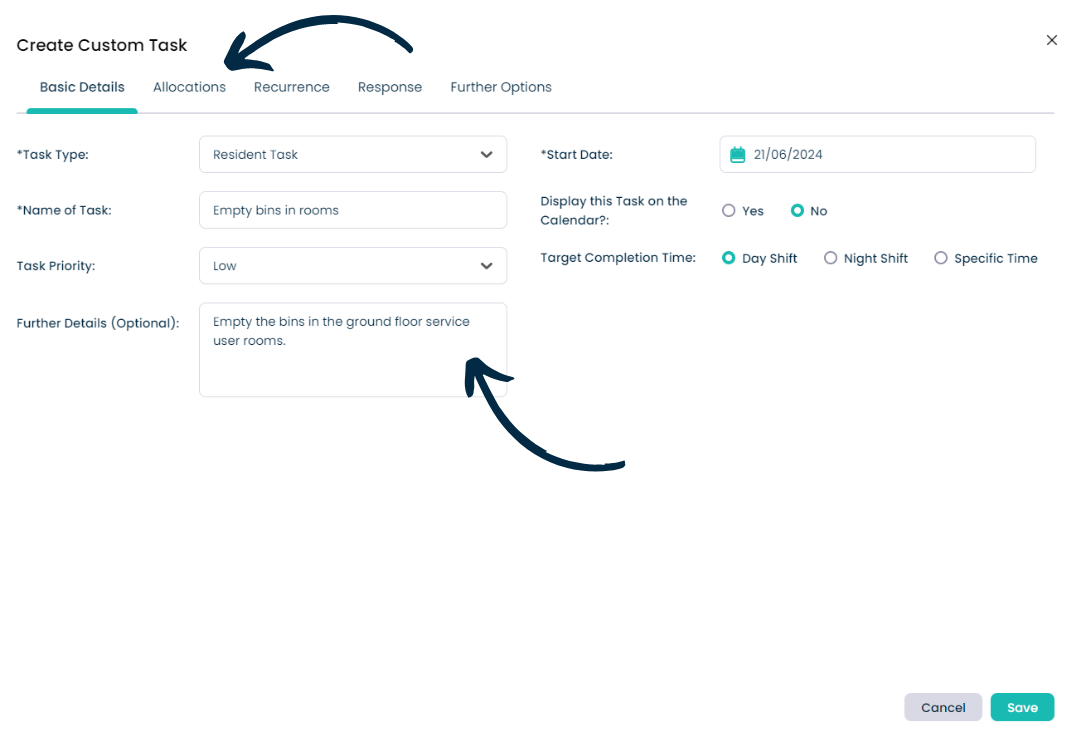
A blank form will open – split into 5 tabs.
First, enter the Basic Details of the task, including the type, name, priority and start date.
In this example we are creating a low-priority resident task.
5
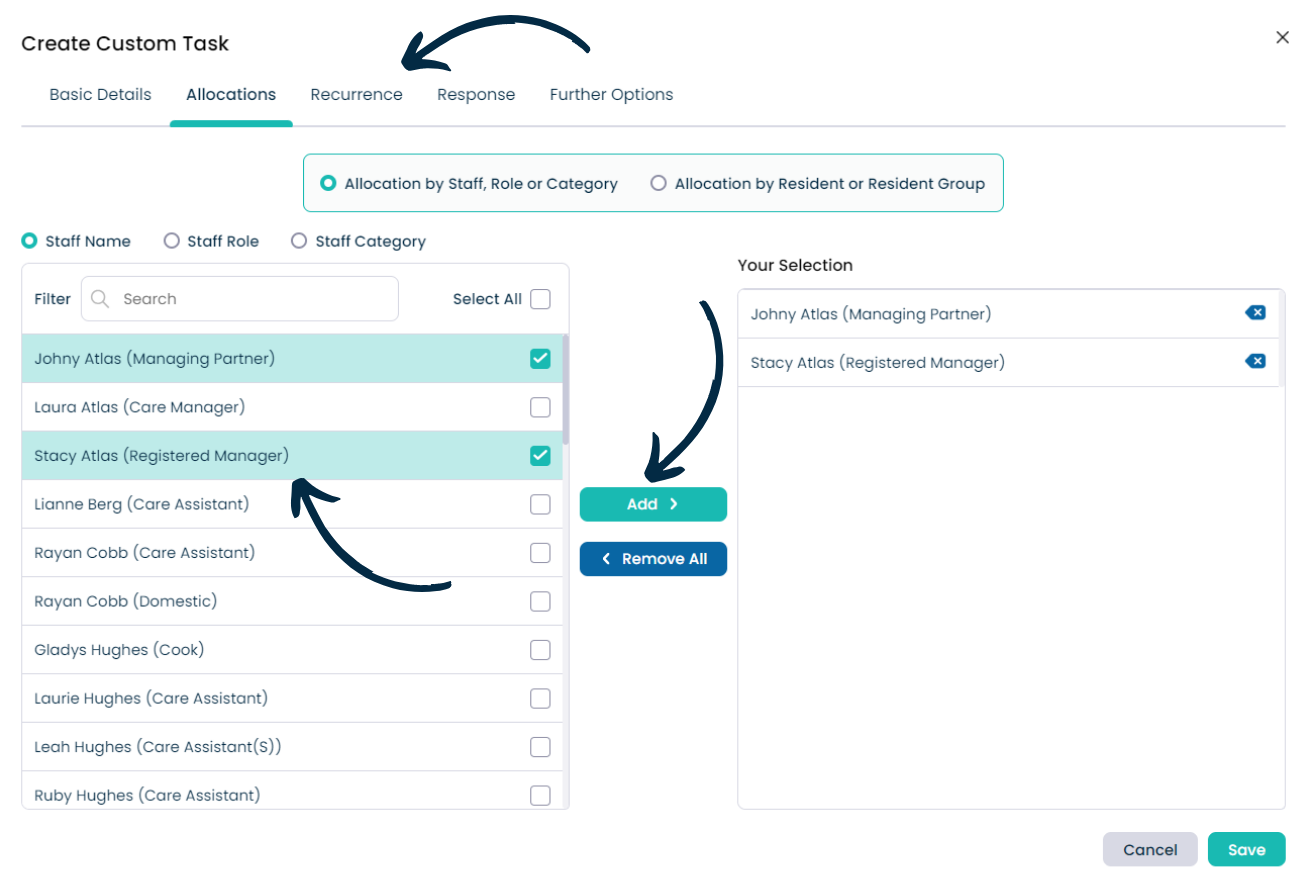
The next tab, Allocations, determines which staff can complete the task when required.
Select the staff member, role or category from the left hand list and press Add to move them to the right hand side.
6
The Recurrence tab is where the frequency of this task can be configured.
If the task is recurring, enter its Start Date and set-up a Recurrence Pattern.
In this example, our task recurs weekly every Monday. You can use the blue box on the right hand side to show the example dates that the task will appear.
7
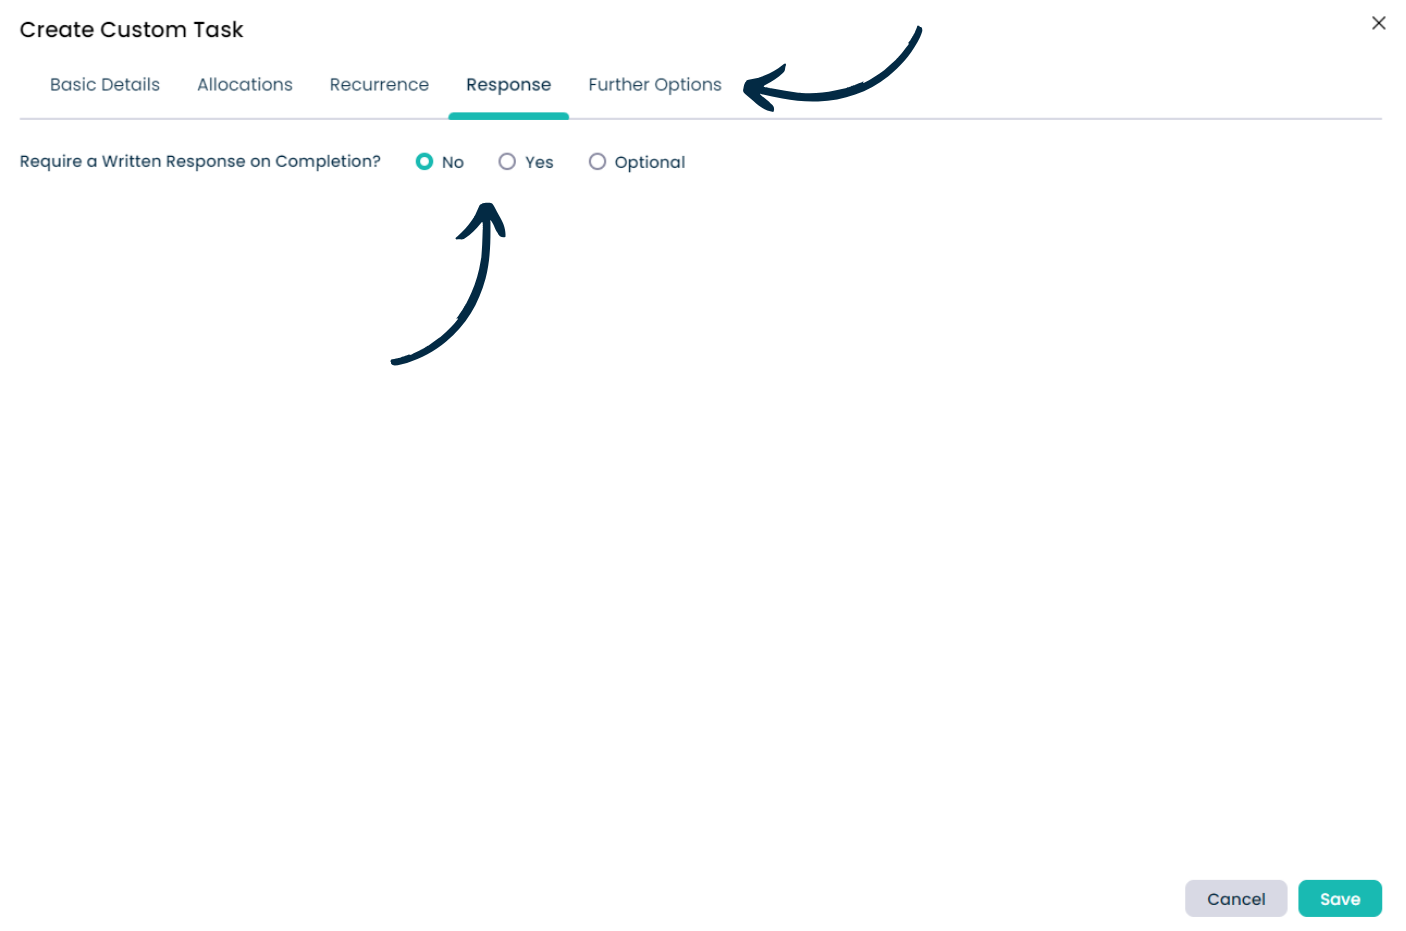
If your task requires a written response when it is completed, select Yes in the Response tab.
8
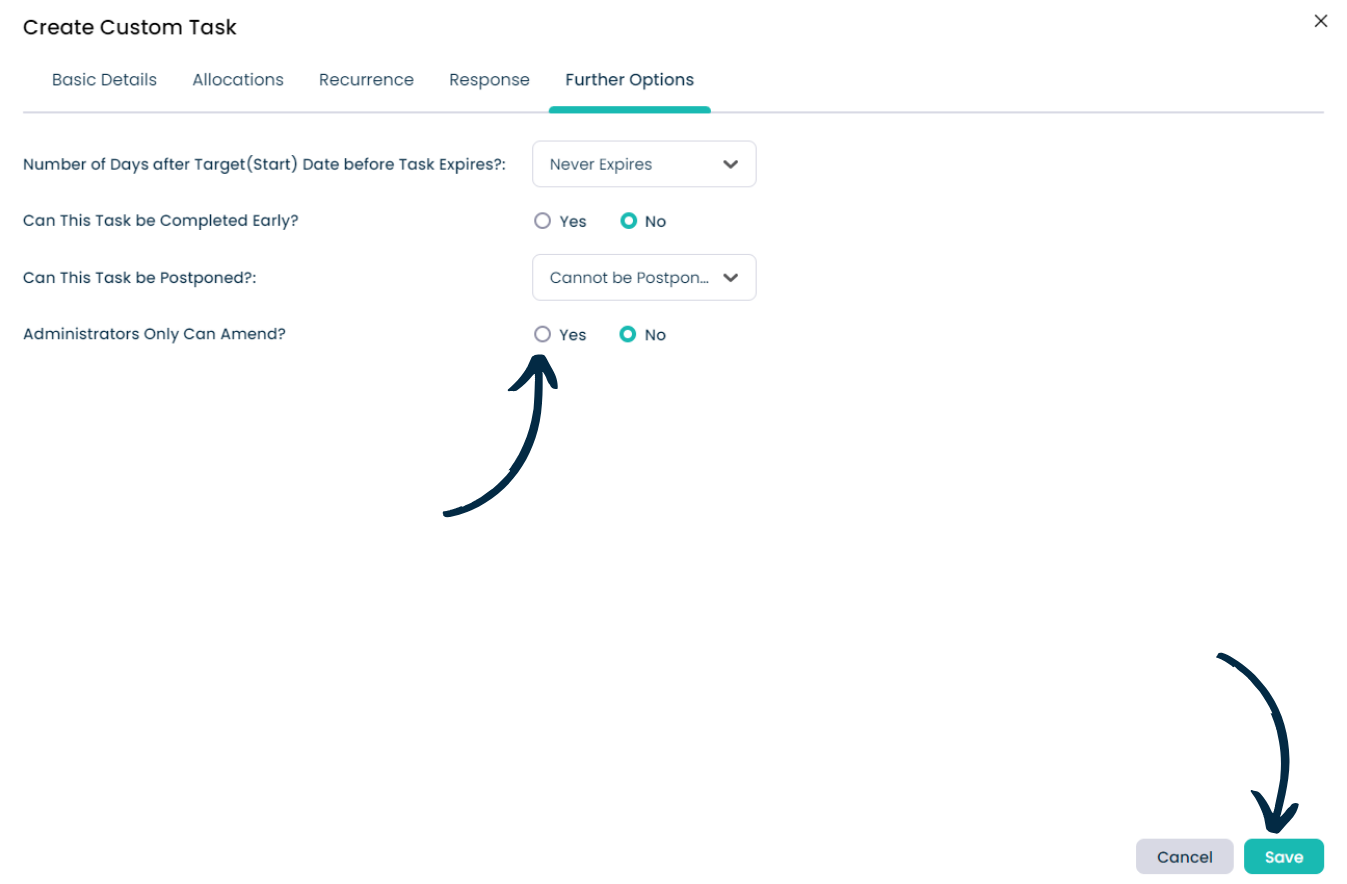
Finally, the Further Options tab contains some extra settings for your new task. This includes the expiry of a task after it occurs, whether or not the task can be completed early or postponed as well as who can edit the details of a task.
After you have completed all the tabs, press Save to complete your task. It will now appear in the list on the Custom Tasks dashboard.