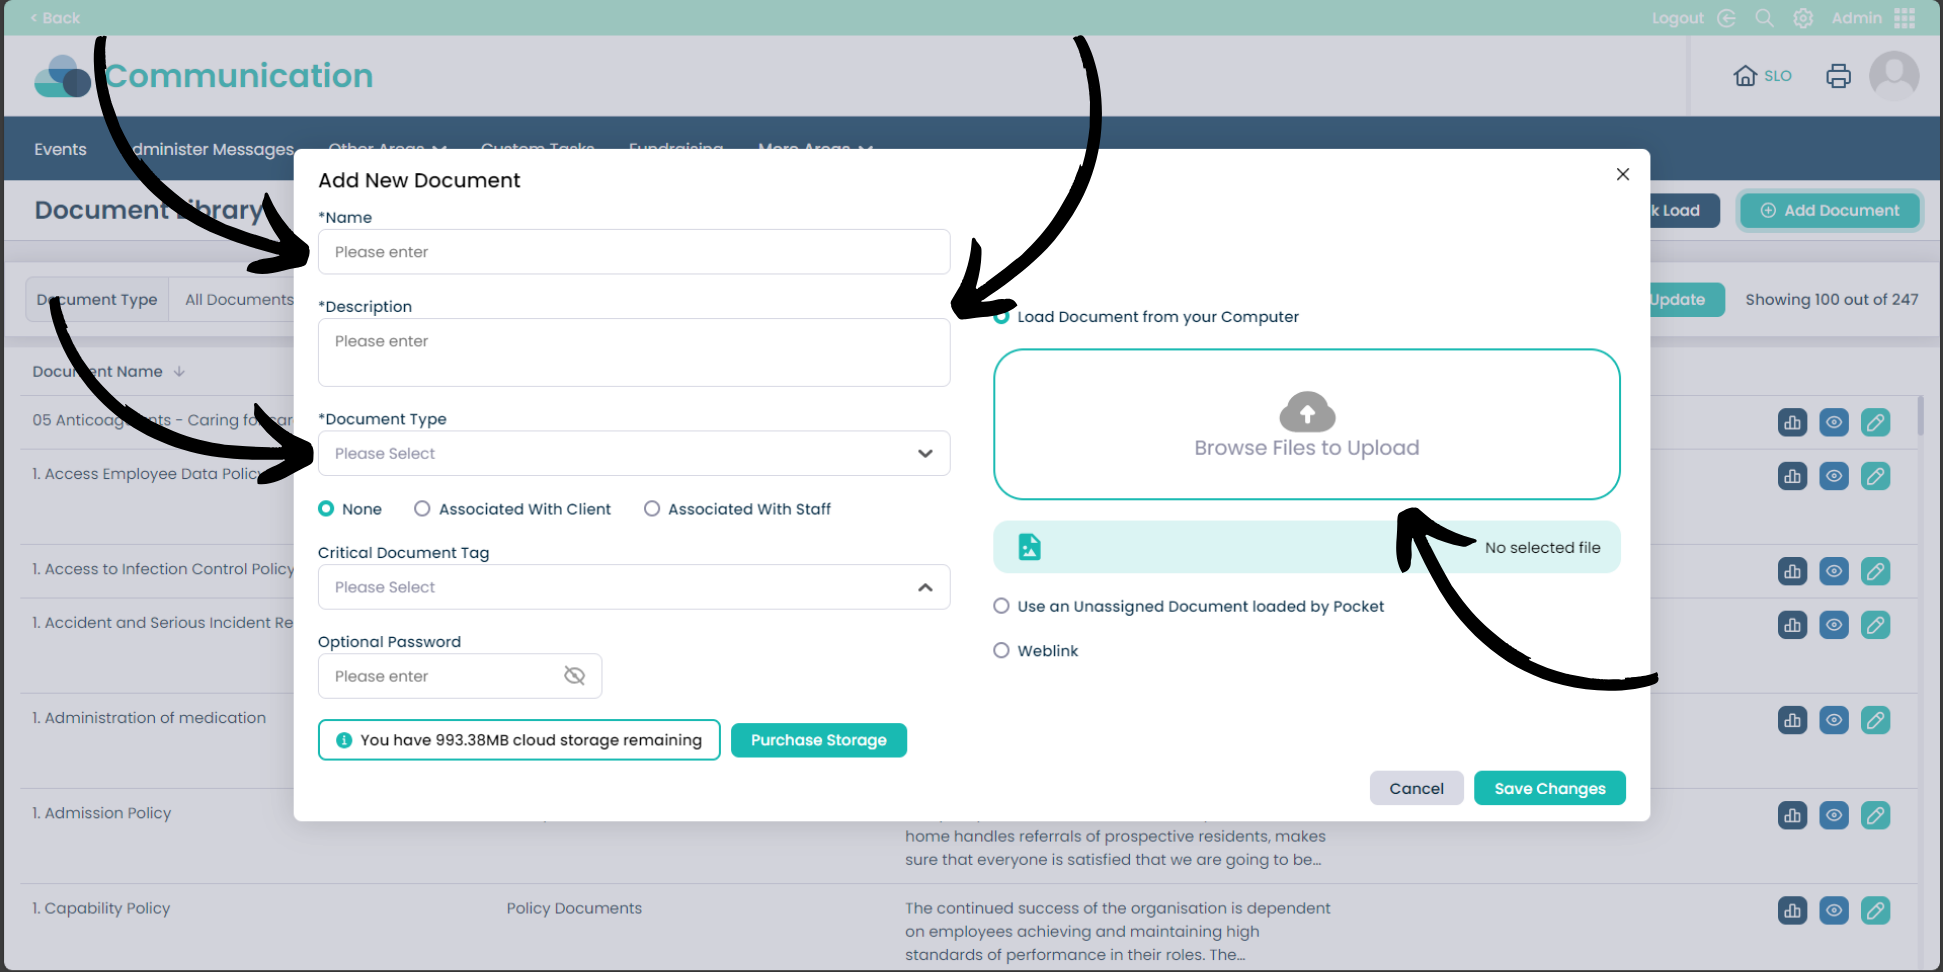
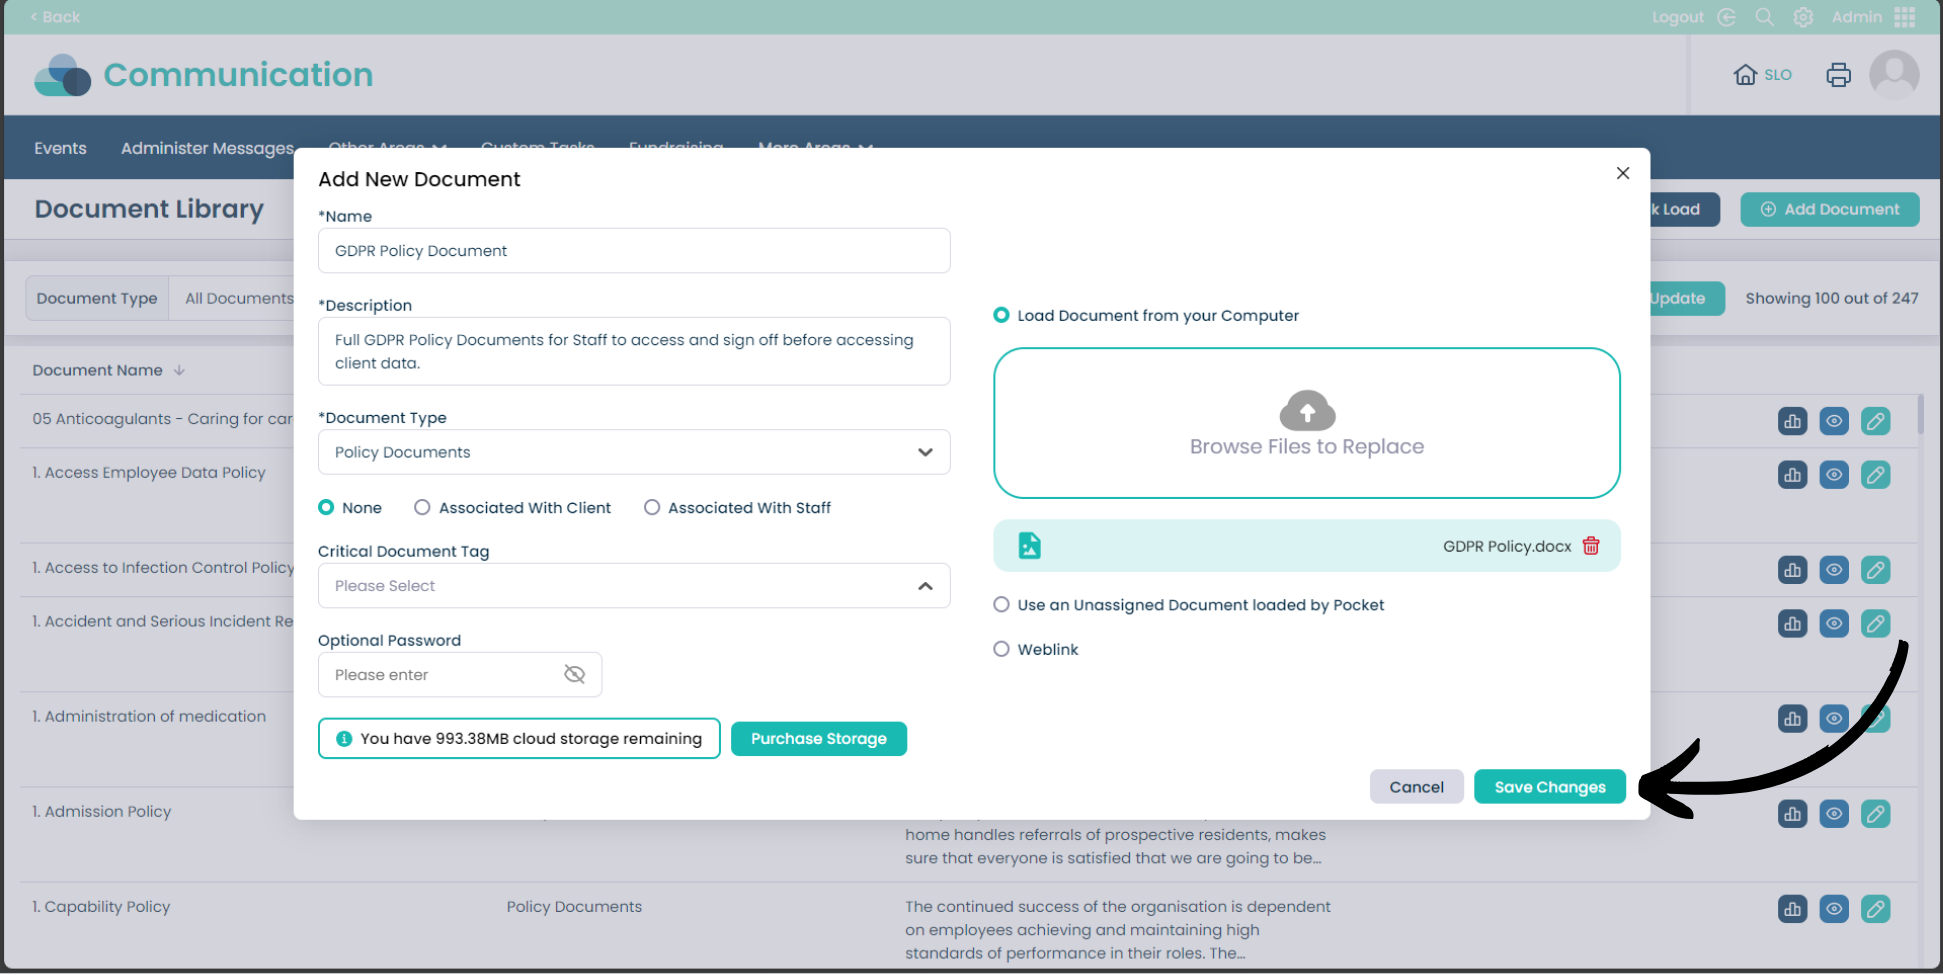
If the document is held elsewhere online you can choose to paste the link here.
5
Once you have filled out the form, select Save Changes to upload the document to the Document Library.
Ensure that all boxes with an Asterisk are filled out to prevent an error occuring.
6
Now you have clicked Save Changes the pop-up box will disappear. You can now see the new file under Document Name.
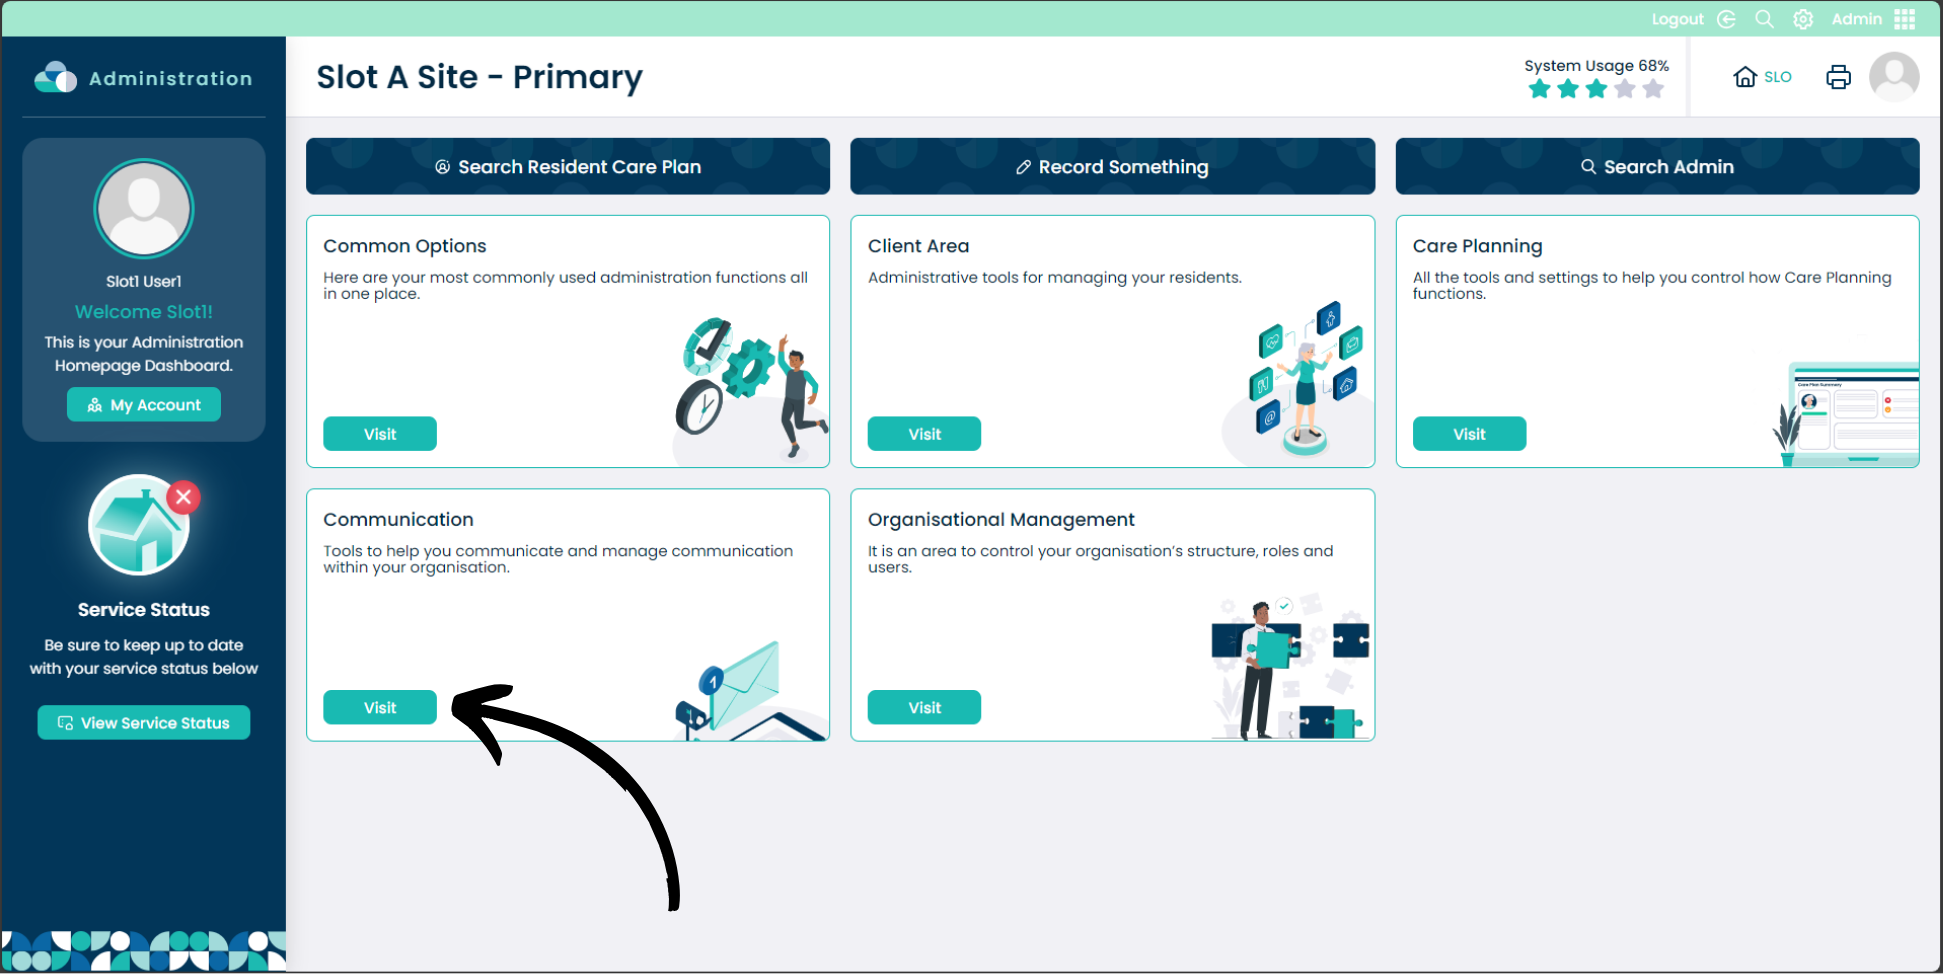
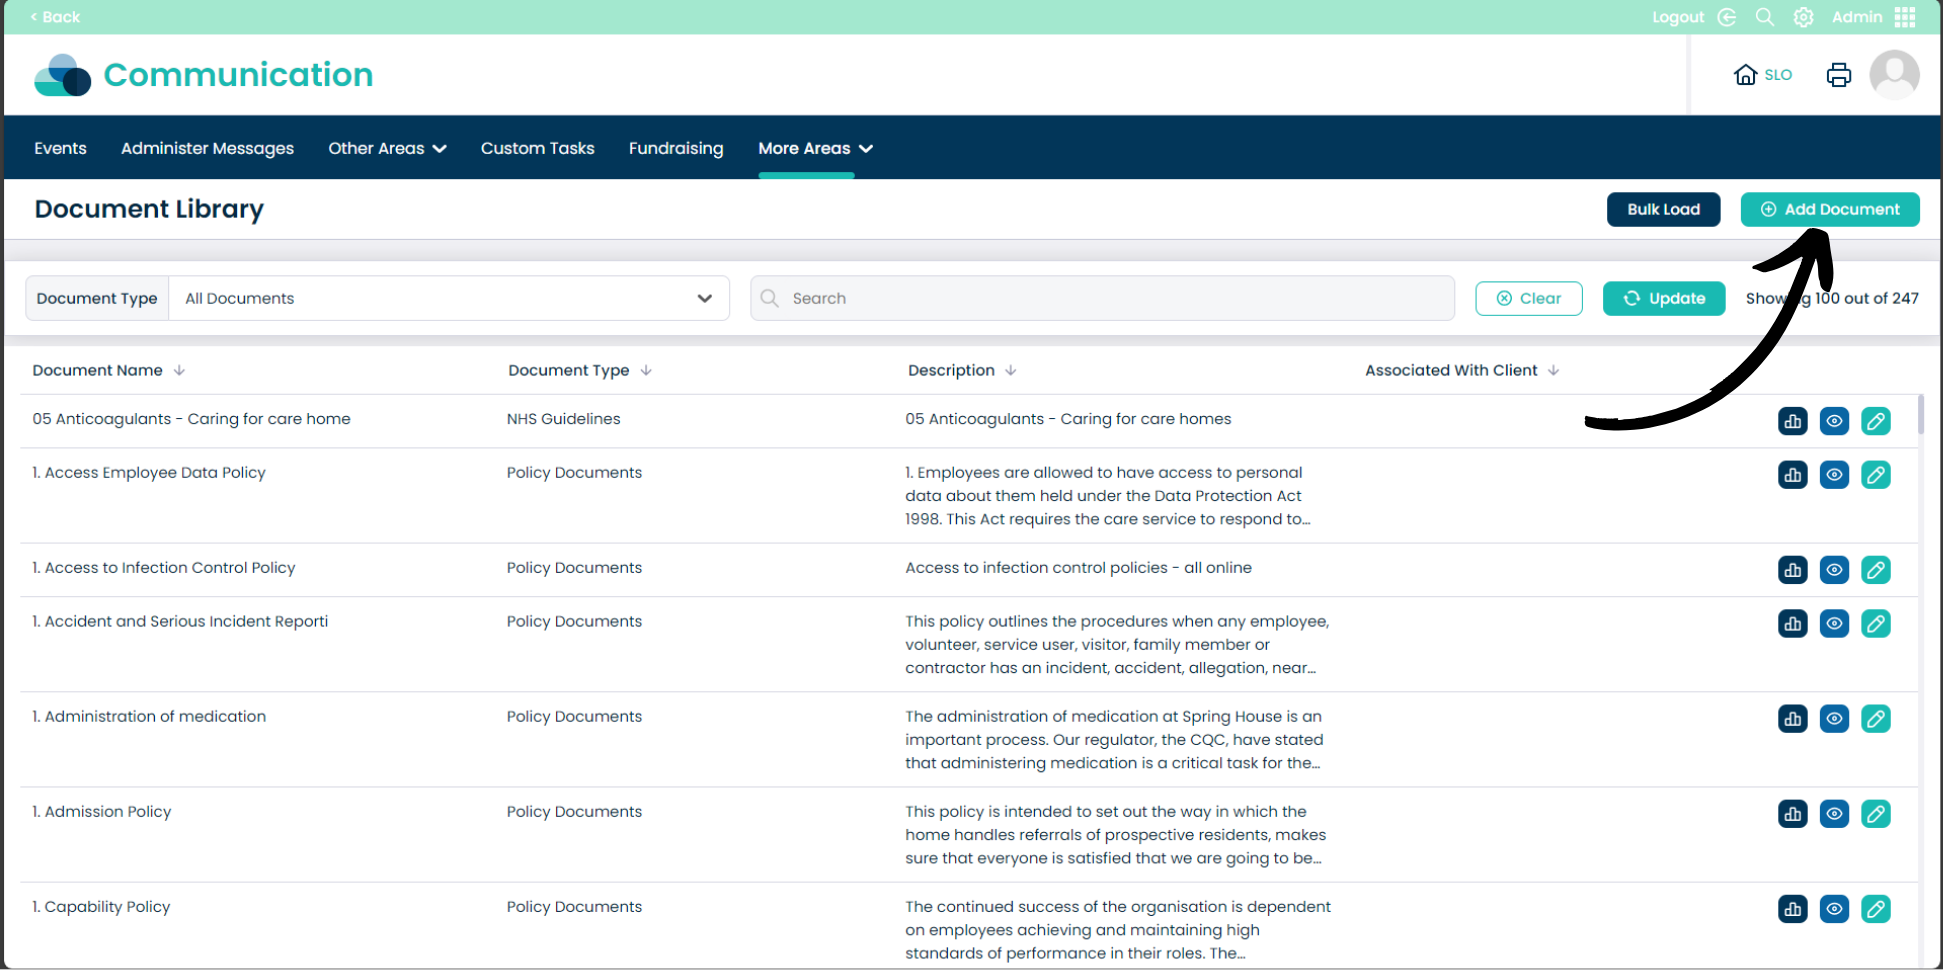
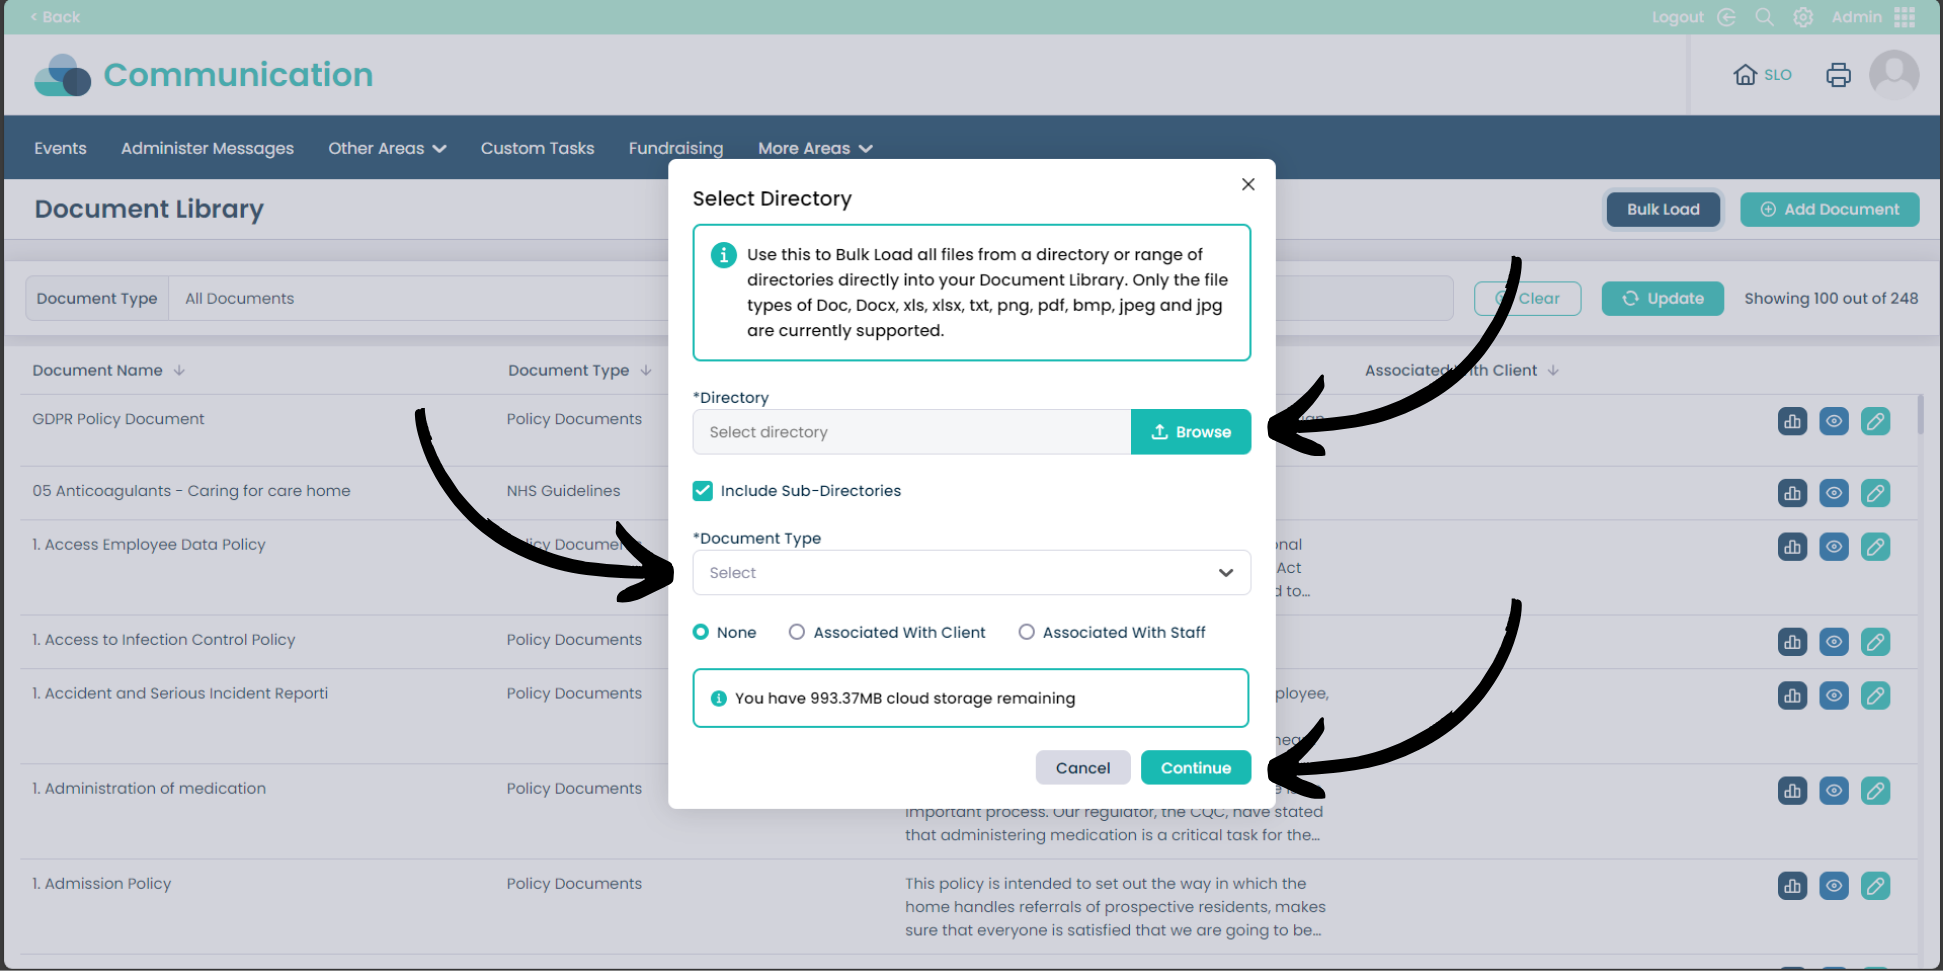
If you need to upload a large amount of files, click the Bulk Load button on the top right of the screen.
7
The Bulk Load pop-up will appear, this time it will ask you to select a Directory. A Directory is a folder that is on your computer system, instead of selecting a single file, make sure to select a folder.
Tick the Include Sub-Directories box if there are folders within the folder you selected that require uploading too.
Document Type allows you to choose from a drop-down list to choose what category the document should be within.
Associated With Client/Staff is similar to before, you can select a specific client or staff member to associate the files with or None.
Click Continue to publish the documents to the Document Library.
8
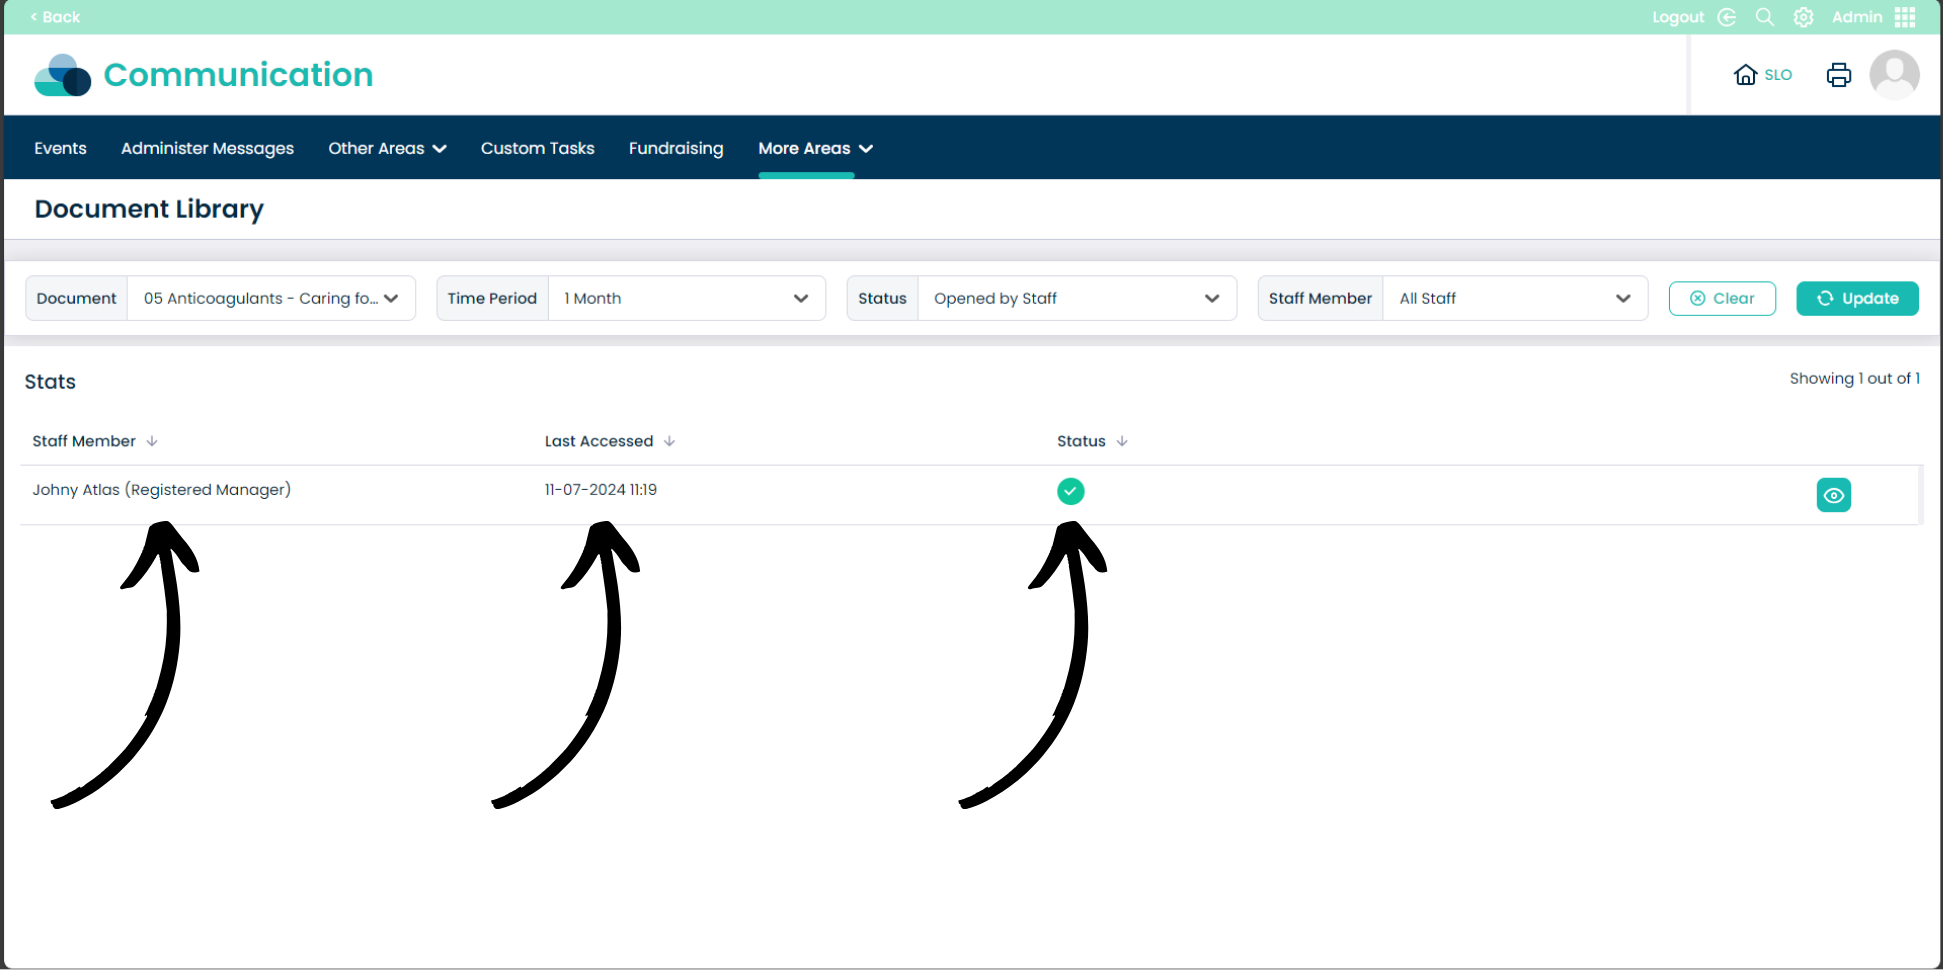
When viewing Documents there are three icons to the right of the document screen. Each of these icons will take you to different pages.
The Navy Blue Graph icon will take you to a page that shows who has viewed the documents and at what times, section 9 will cover this page.
The Blue Eye icon opens the document to view.
The Teal Pen icon allows you to edit the document, this will be covered in section 11.
9
After clicking the Navy Blue Graph icon you will be taken to this Stats page. This page allows you to monitor who has viewed the document, at what time they viewed it and gives an indicator for the Status of their viewing.
10
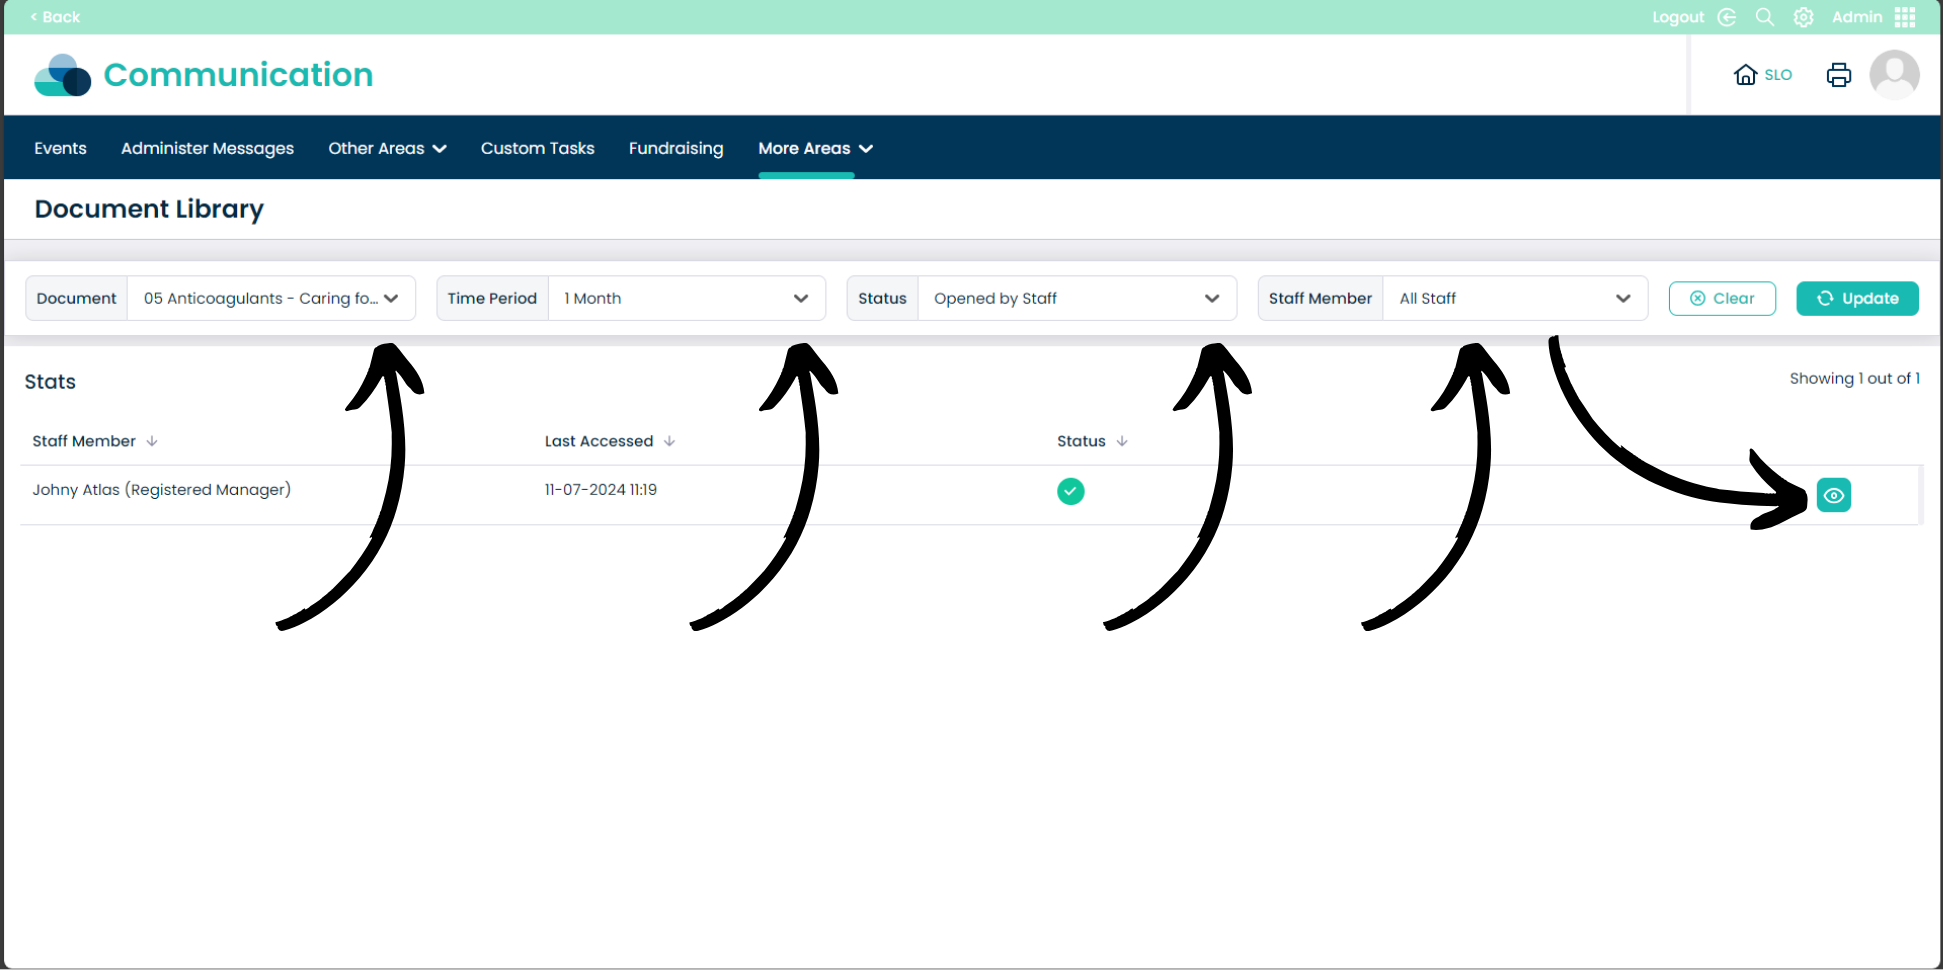
From the tabs at the top of the screen you can select Document to change what document information you are viewing.
Time period will change the Stats page for different time periods.
Status allows you to sort by who has opened the document or if they have not.
Staff Member allows you to select specific staff members to show in the Stats page.
The Clear button will reset the filters.
The Update button will refresh the Stats page dependant on the filters selected.
Clicking the Teal Eye icon will give you further detailed stats about the Staff Member viewing the document.
11
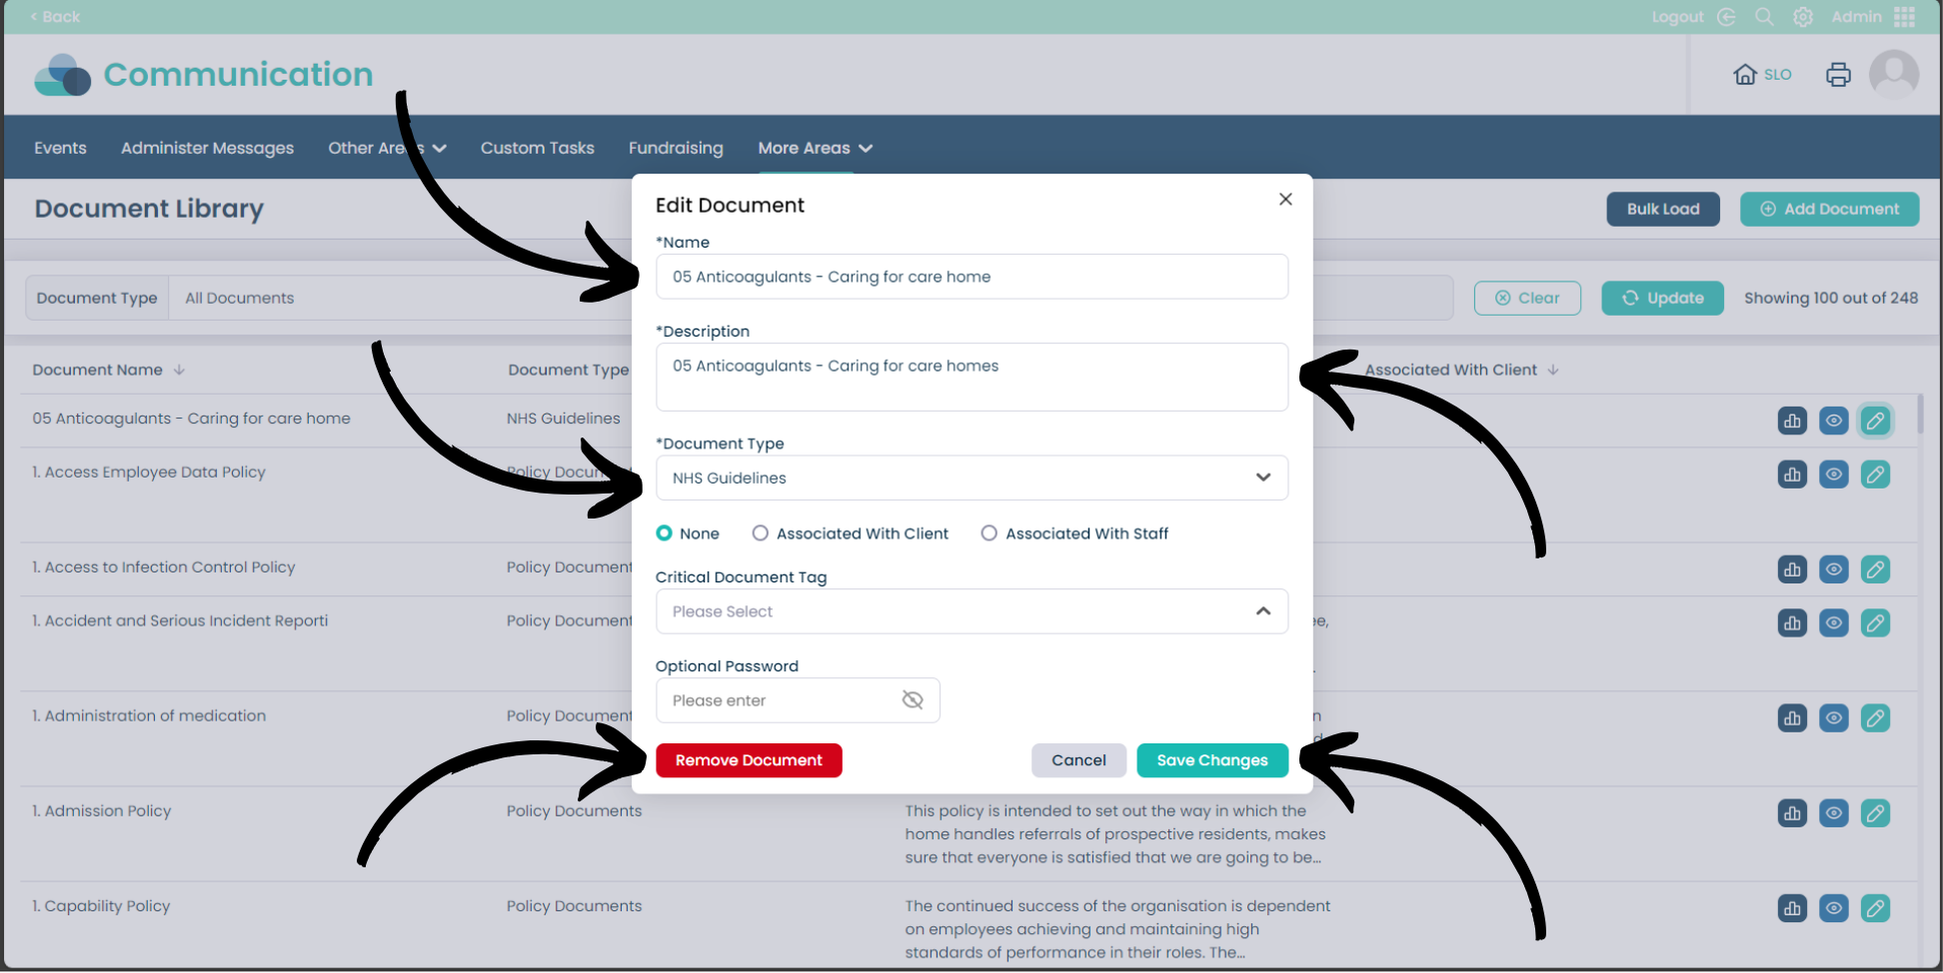
After clicking the Teal Pen icon the Edit Document pop-up will appear. Within this pop-up you can edit documents quickly.
You can also select Remove Document to delete the document from the Document Library.