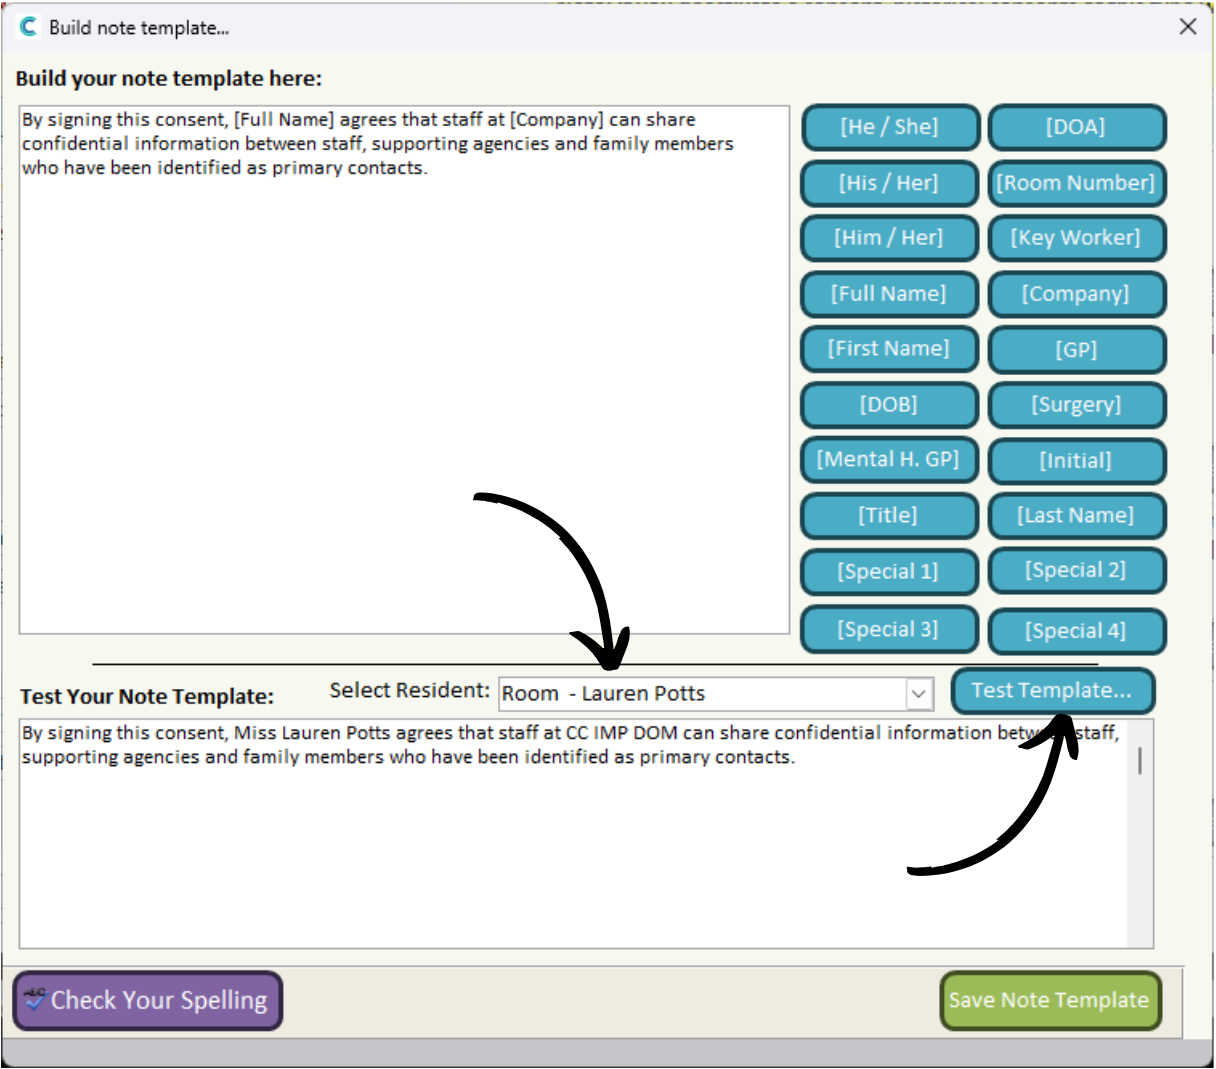
After building your note template, you can test it by selecting a service user from the drop-down list, then, press Test Template.
An example of the note will be displayed in the box below.
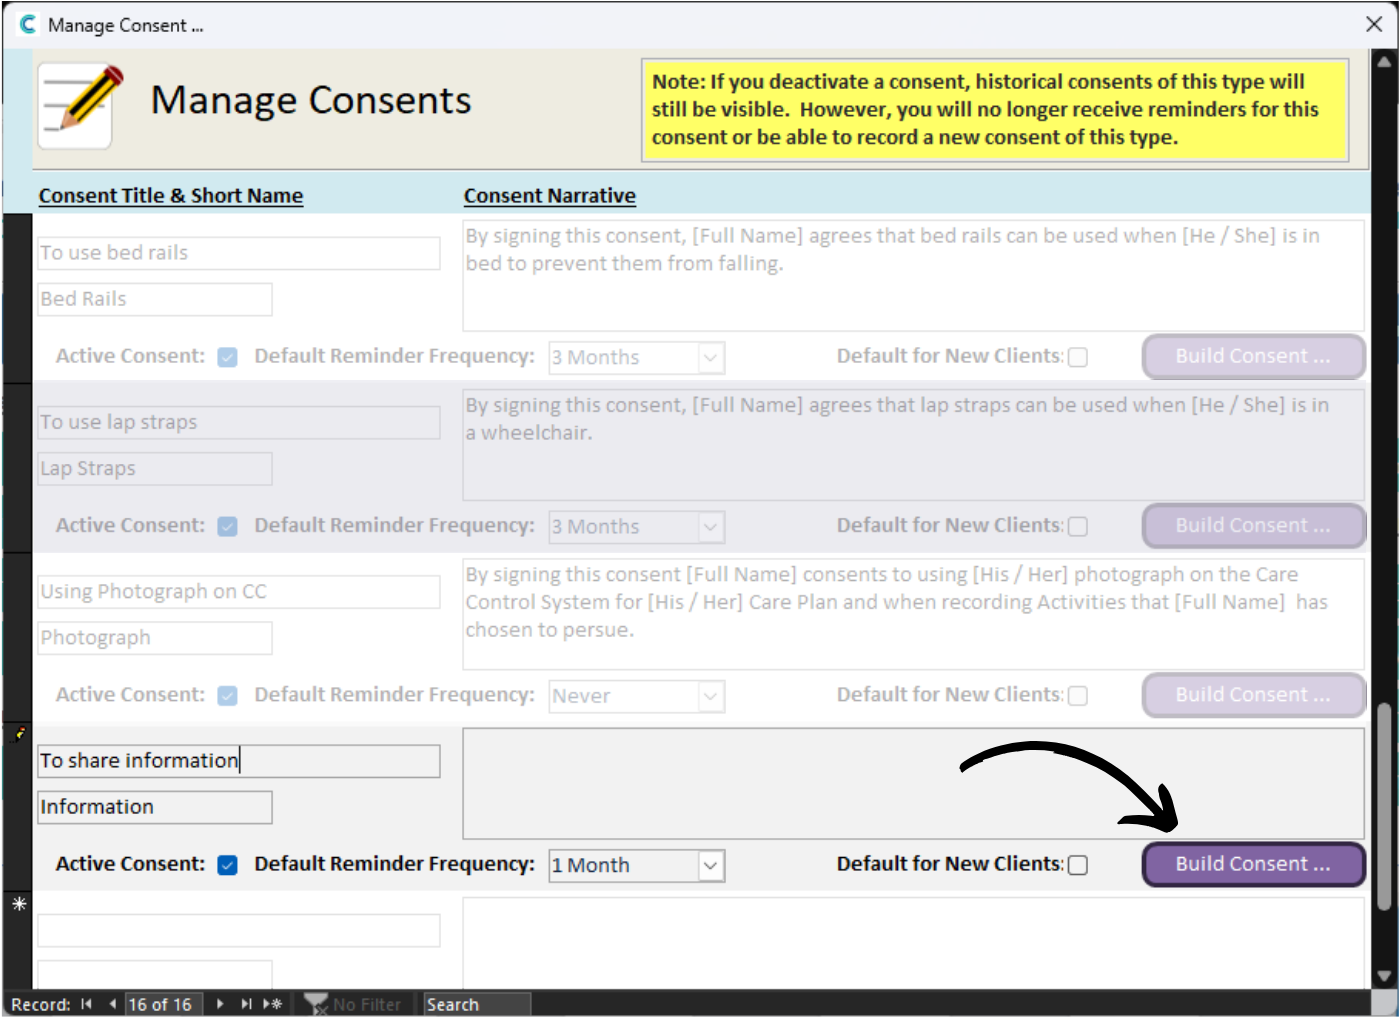
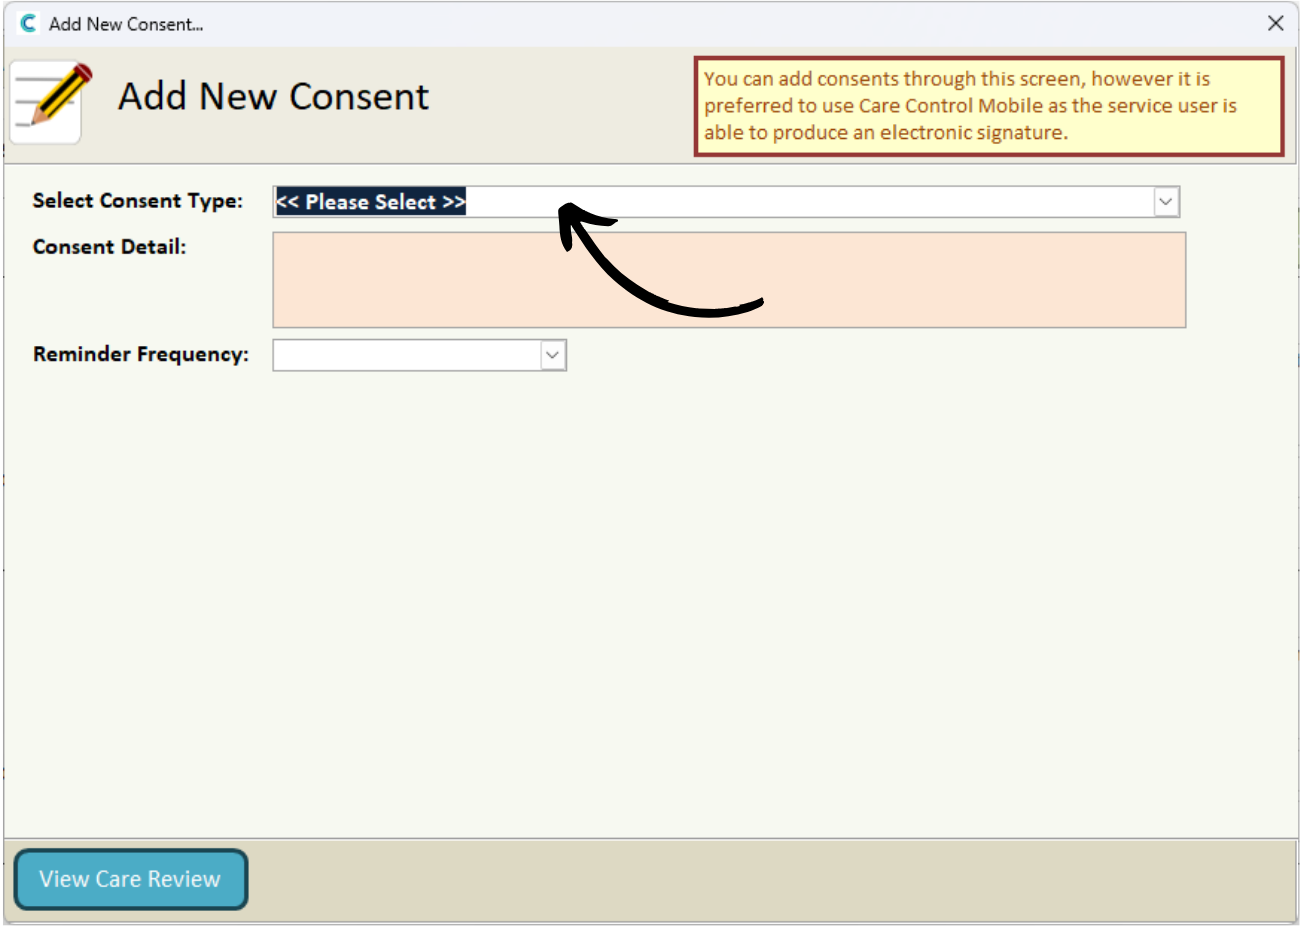
Press Save Note Template when you are happy with the set-up. The consent is now complete.