This guide will cover creating a Checklist in Care Control Cloud
Step 1:
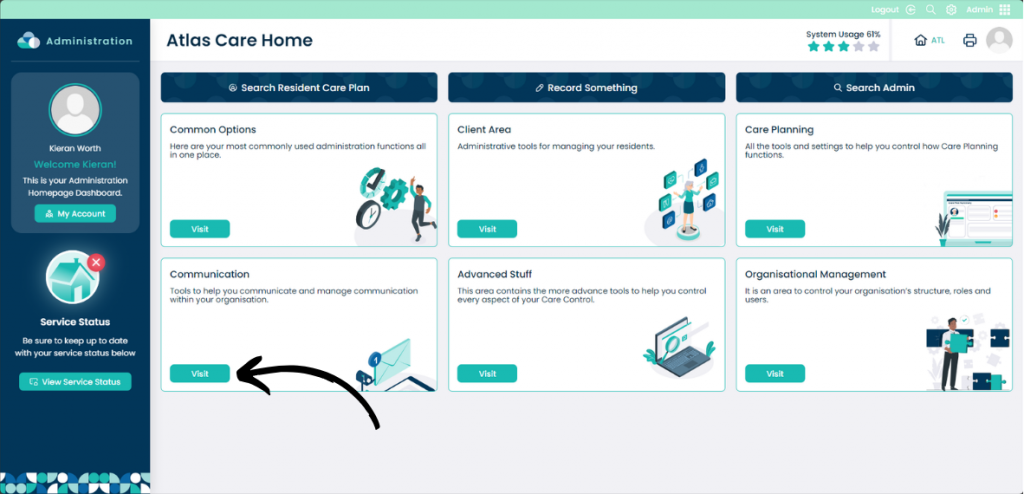
From within the Administration menu in Cloud, select Visit under Communication.
Step 2:
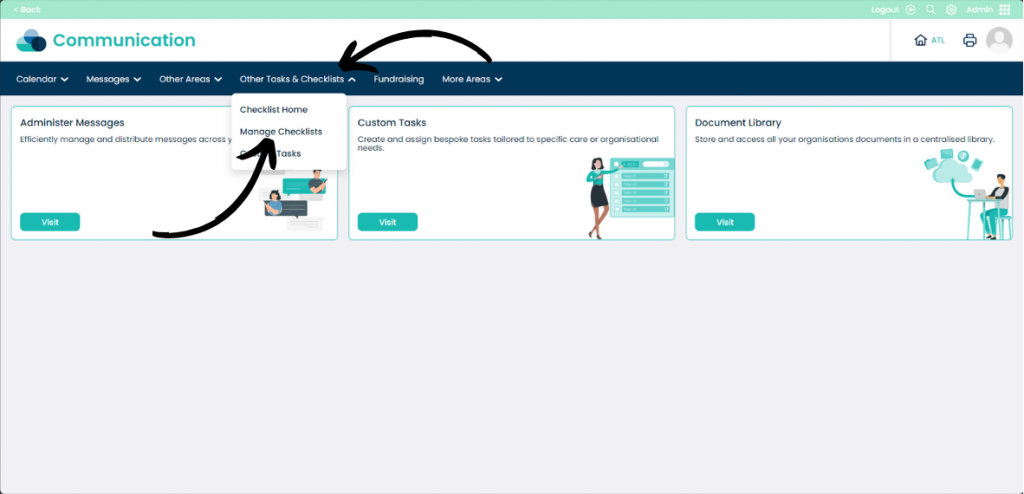
Click Other Tasks & Checklists then select Manage Checklists.
Step 3:
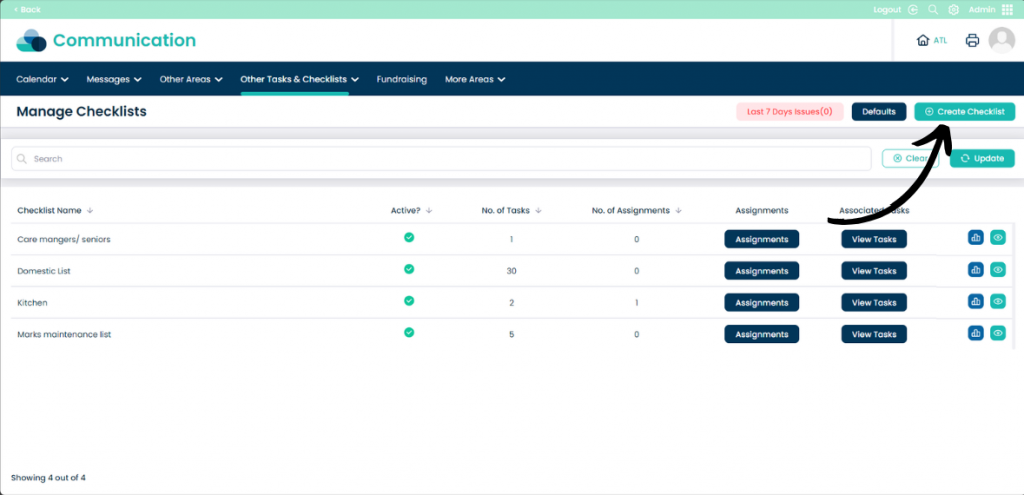
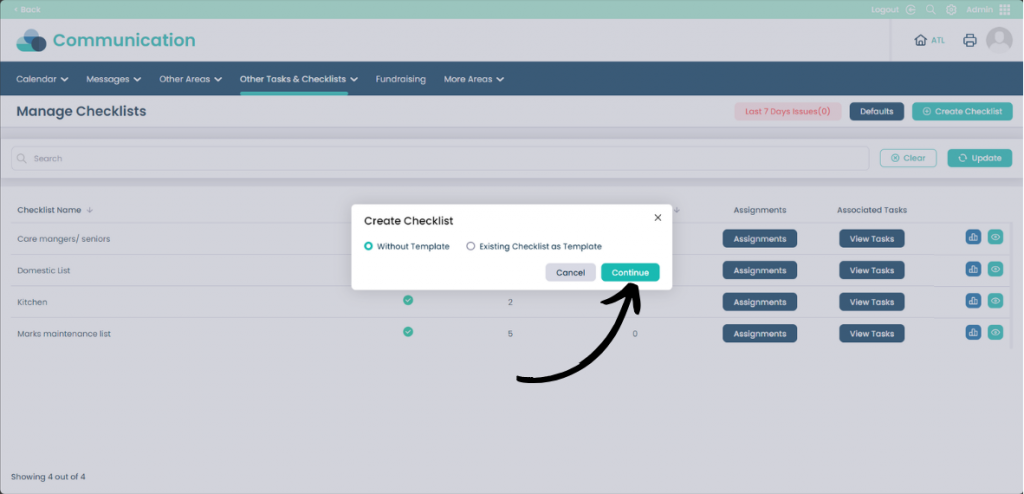
To create a new Checklist click Create Checklist.
Step 4:
As this is a new Checklist select Without Template and then Continue.
Step 5:
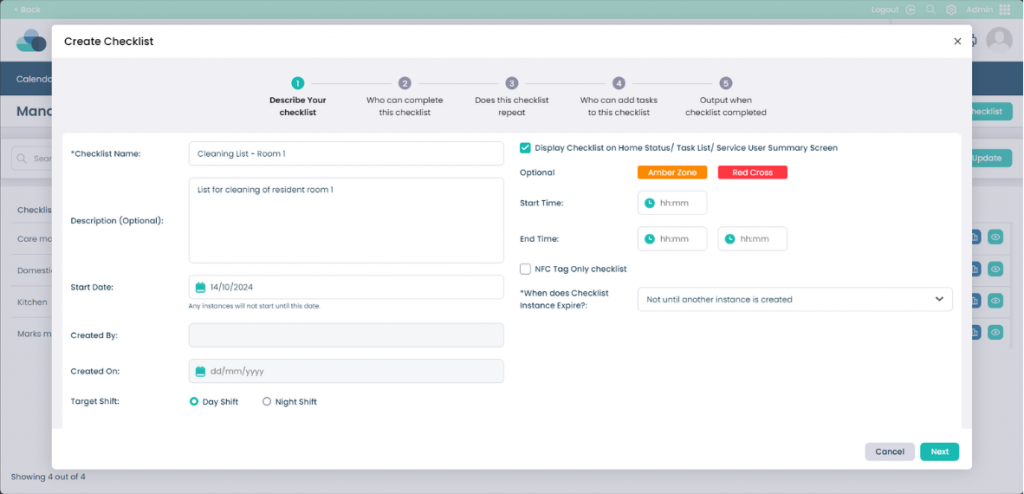
Input all of the details into the text boxes to set the details for the Checklist.
Checklist Name = This is the name for the checklist.
Description = Optional input, can be used to better describe the Checklist.
Start Date = Indicates when the Checklist should start from.
Target Shift = Describes what shift the Checklist is allocated on.
Display Checklist on Home Status/Task List/Service User Summary Screen = Shows the Checklist to remind users to complete it.
Start Time & End Time = Optional selection for when the Checklist can be completed within the time frame.
NFC Tag Only Checklist = Required if you use NFC tags for completing Checklists.
When does Checklist instance expire? = Chooses when to create another Checklist after this one is completed.
When completed click Next.
Step 6:
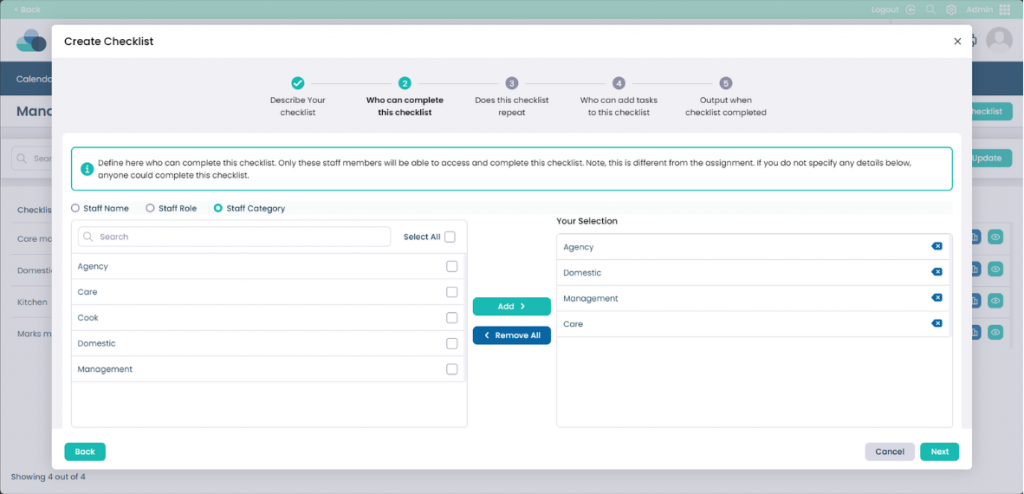
On this page you can select who is able to complete the Checklist. You can select from individual staff members using Staff Name, Choose from Staff Role or select Staff Category. Once you have made your selection click Add and then click Next when you are happy with your selections.
Step 7:
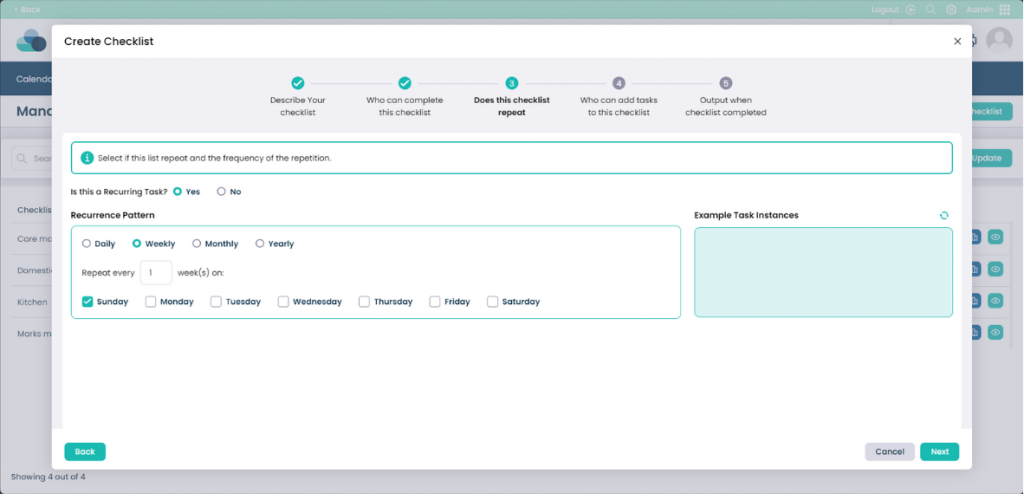
On this page you can select if the Checklist repeats. Select Yes on Is this a recurring task? if the task needs to repeat.
Then select the Recurrence Pattern and choose when you would like the task to repeat. When done click Next.
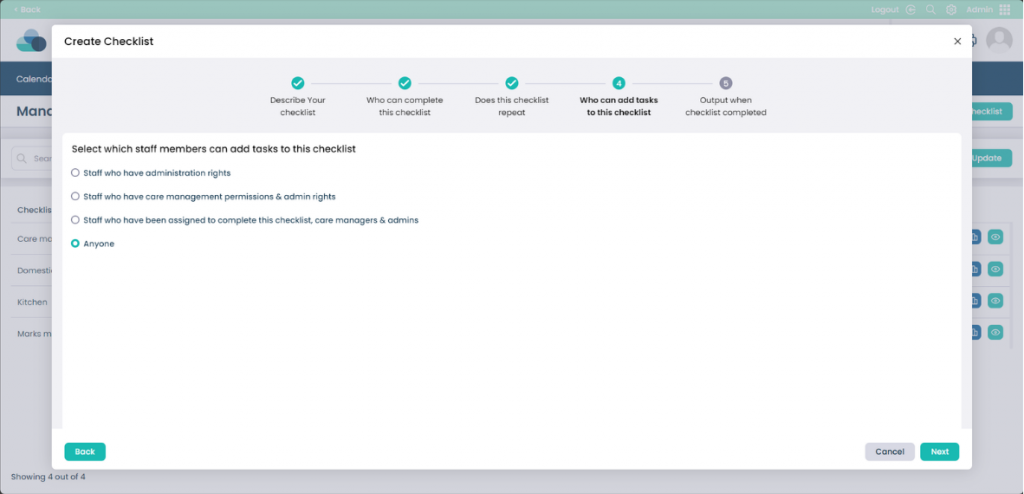
Step 8:
Use the checkboxes to choose which staff members can add tasks to this checklist. When happy with your selection click Next.
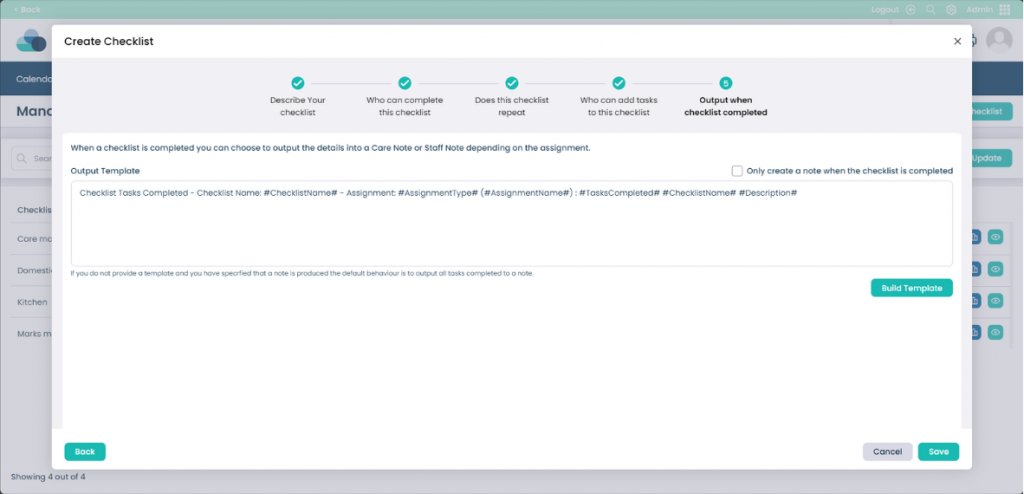
Step 9:
This page shows the output for the checklist once it has been completed. It will already be pre-populated with information. You can also use the box to show Only create a note when the checklist is complete if the checklist needs to be fully completed to create a note.
When happy, click Save and your checklist settings will be created.
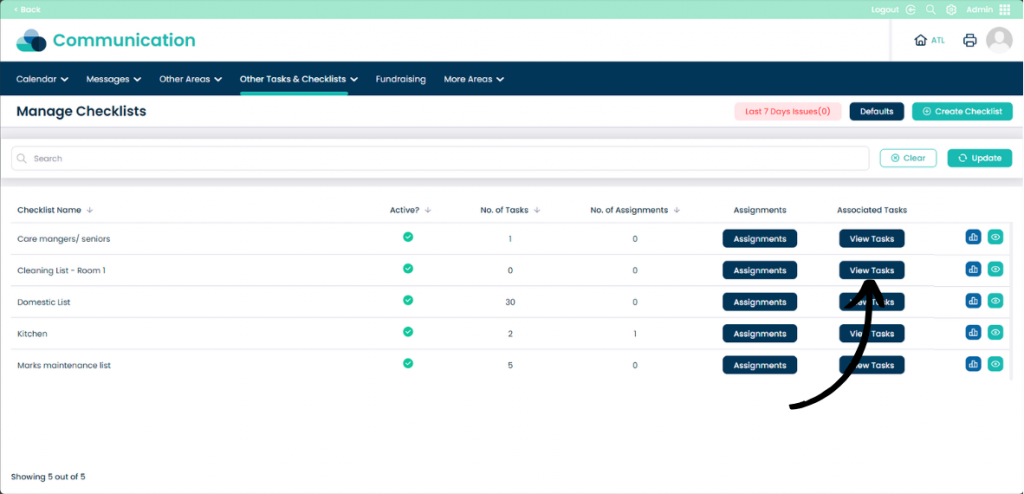
Step 10:
When the checklist has been made, click View Tasks to start adding tasks to it.
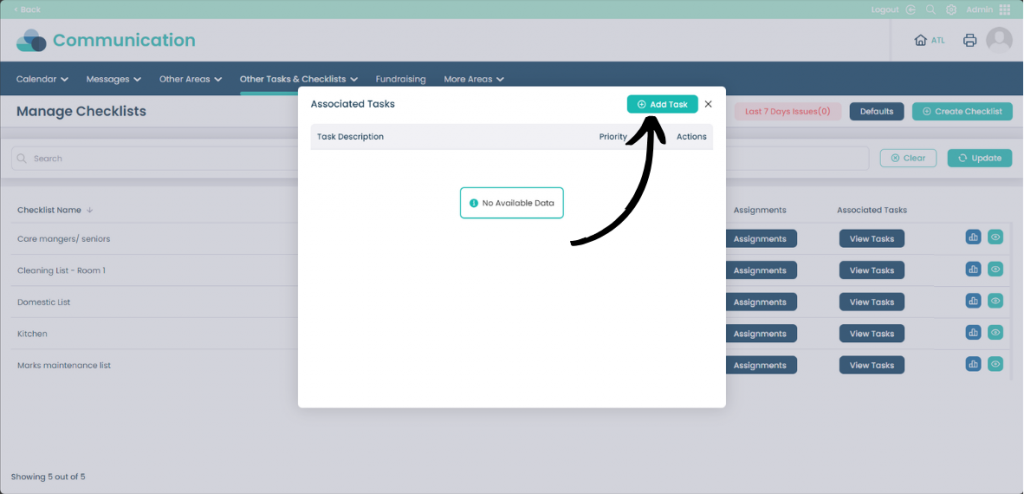
Step 11:
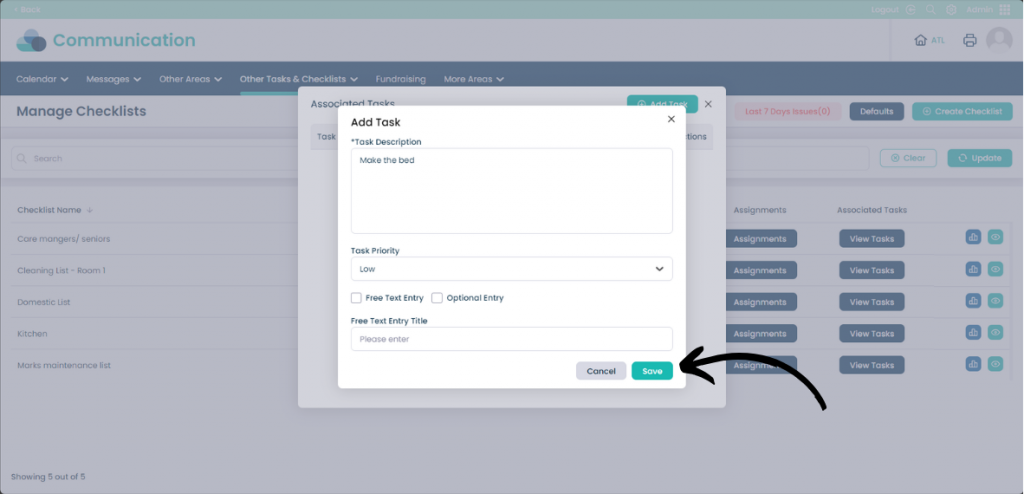
Click Add Task.
Step 12:
Input the details of the task into the Task Description. Set the Task Priority. You can include Free Text Entry if the person can input custom text or Optional Entry if the task does not need to be completed.
When done click Save. Repeat this process to add all Associated Tasks to the list.