How to Add, View, and Manage Linked Documents
This guide explains how to add and manage documents linked to a service user, including uploaded files, unassigned documents, and web links.
Takes 5 minutes
For: Care Staff & Seniors
Updated: 27th July 2026
Introduction
The Linked Documents area allows you to add and manage documents connected to a service user. You can upload a new file, assign an existing document, add a web link, apply additional security, and update or remove documents when required.
In this guide you'll learn how to:
- Open Linked Documents and select a service user
- Add document details and categorise the file
- Upload a file, assign an existing document, or add a web link
- Apply a critical document tag or password
- View, edit, or remove a linked document
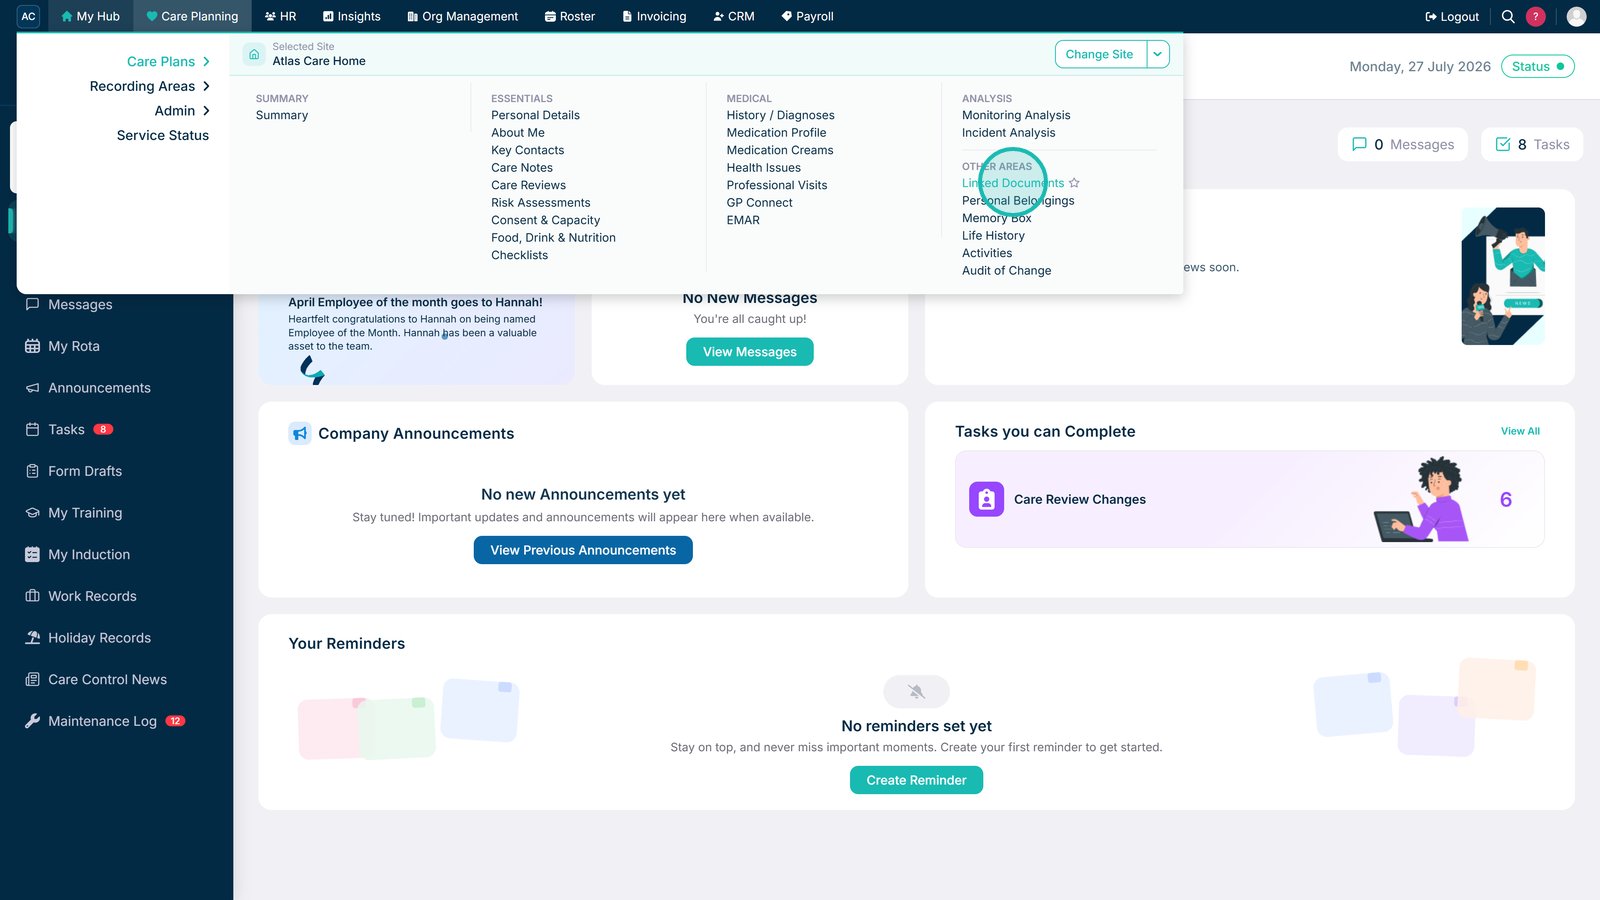
Open Linked Documents from the left-hand menu.

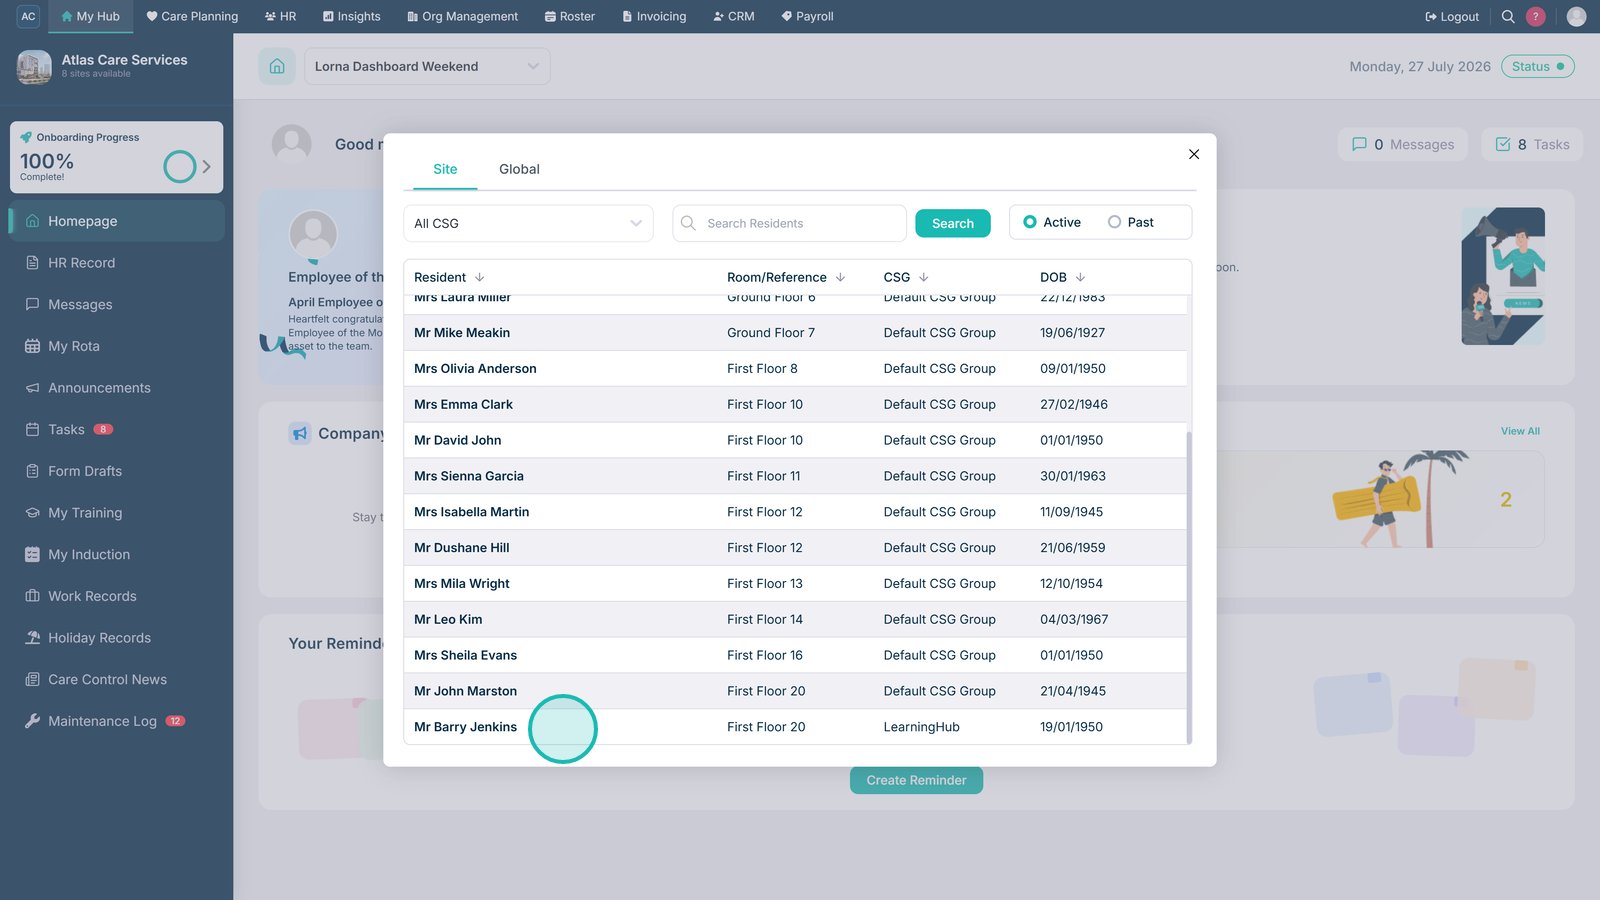
Select the service user whose documents you want to manage.

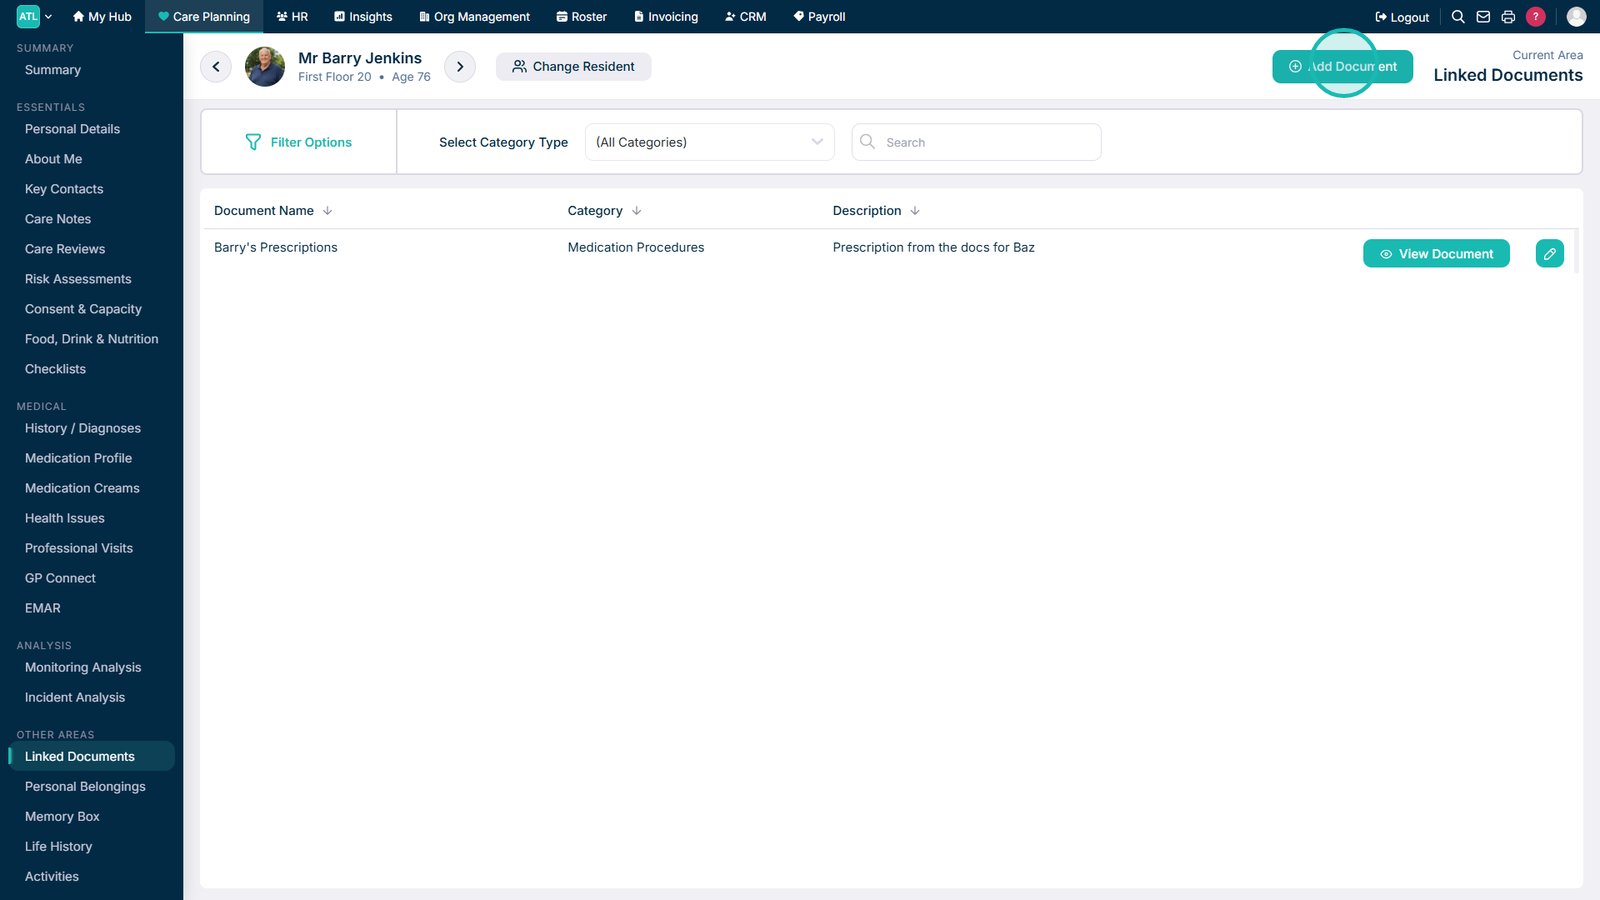
Select Add Document.

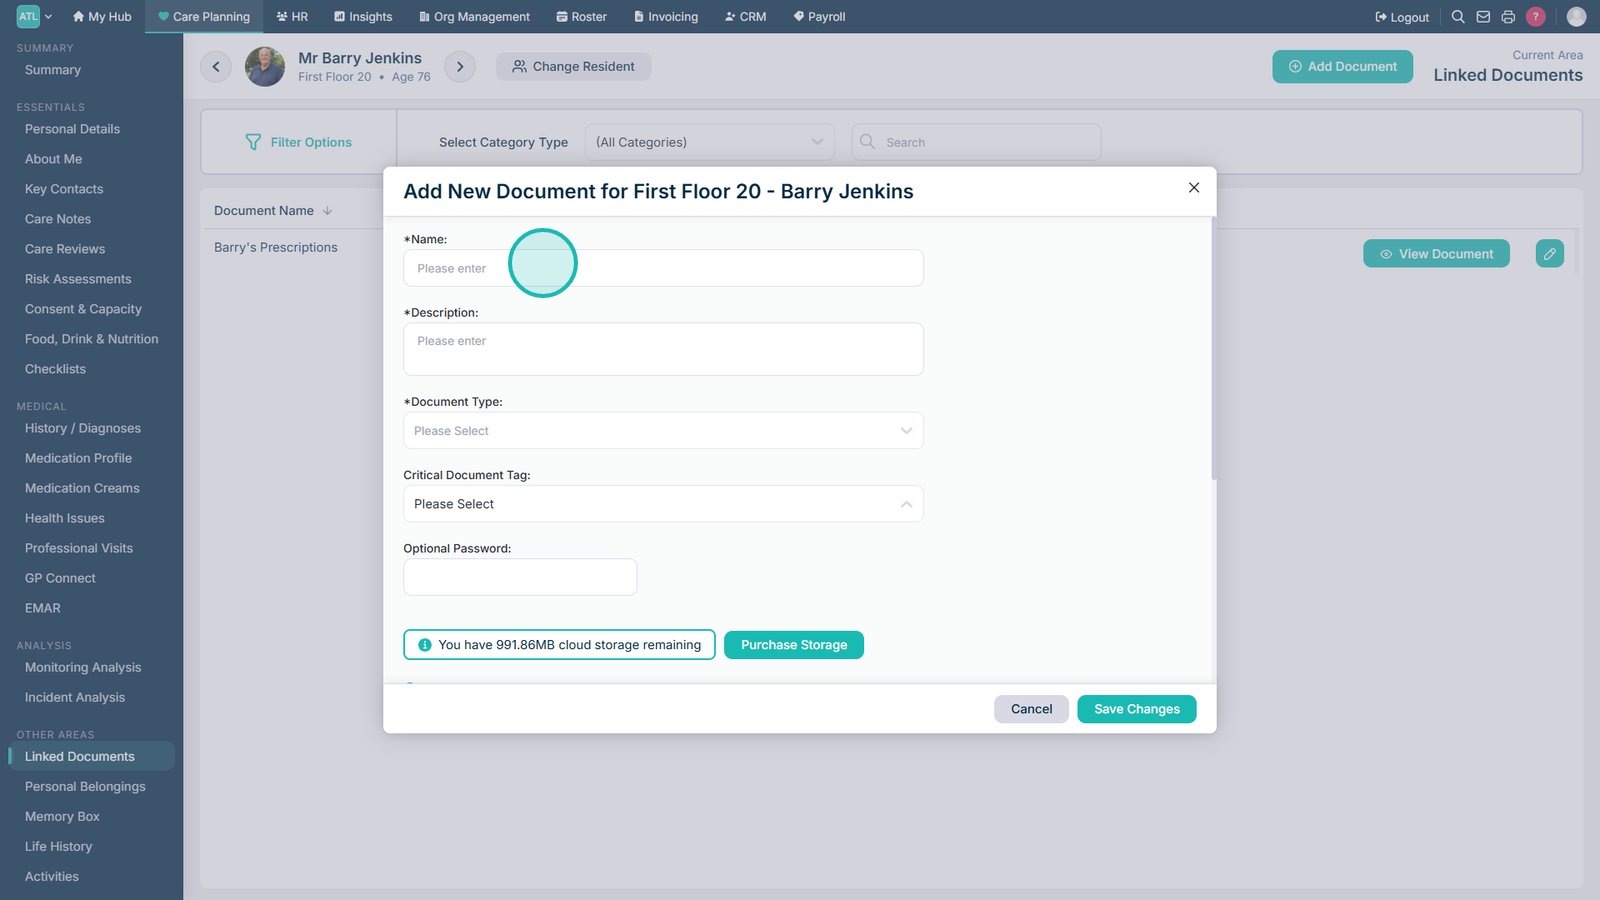
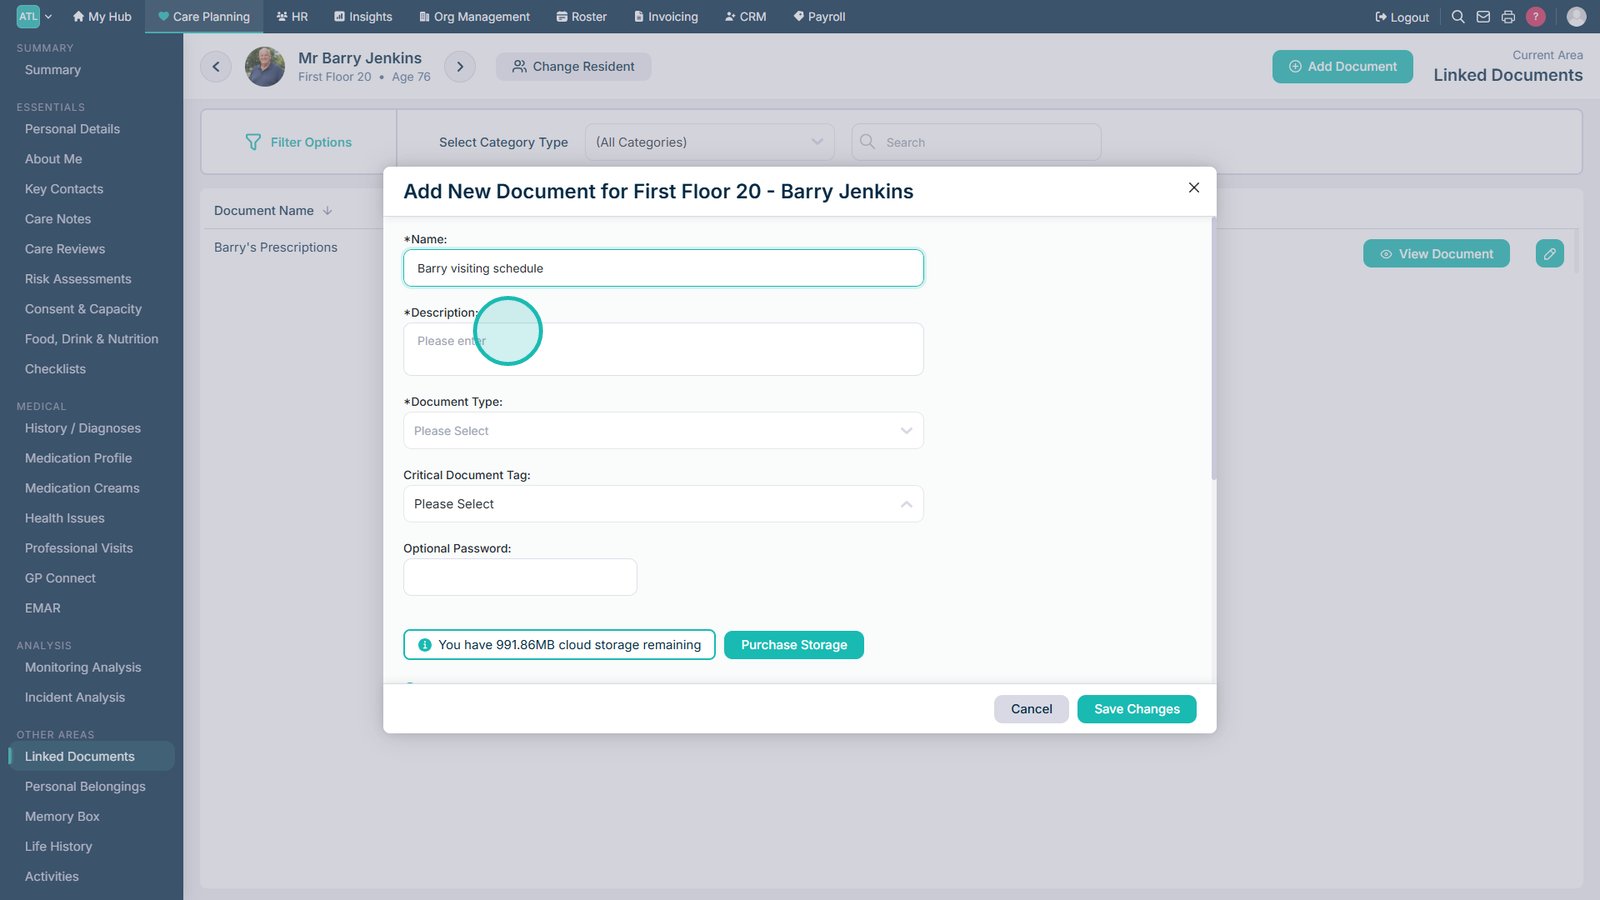
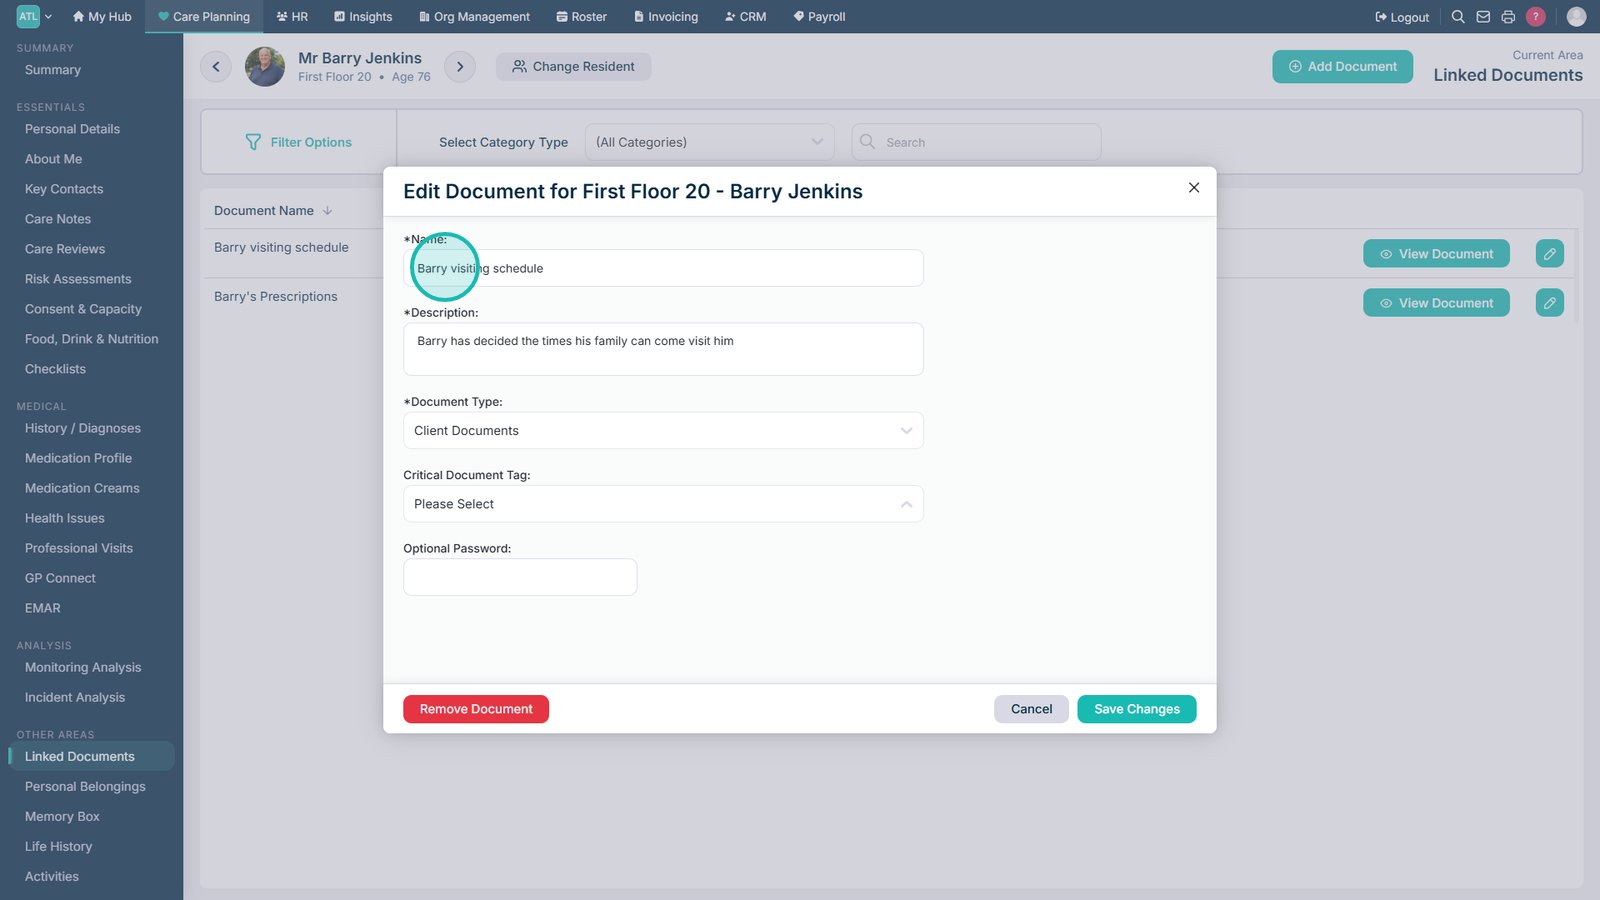
Enter a name for the document.

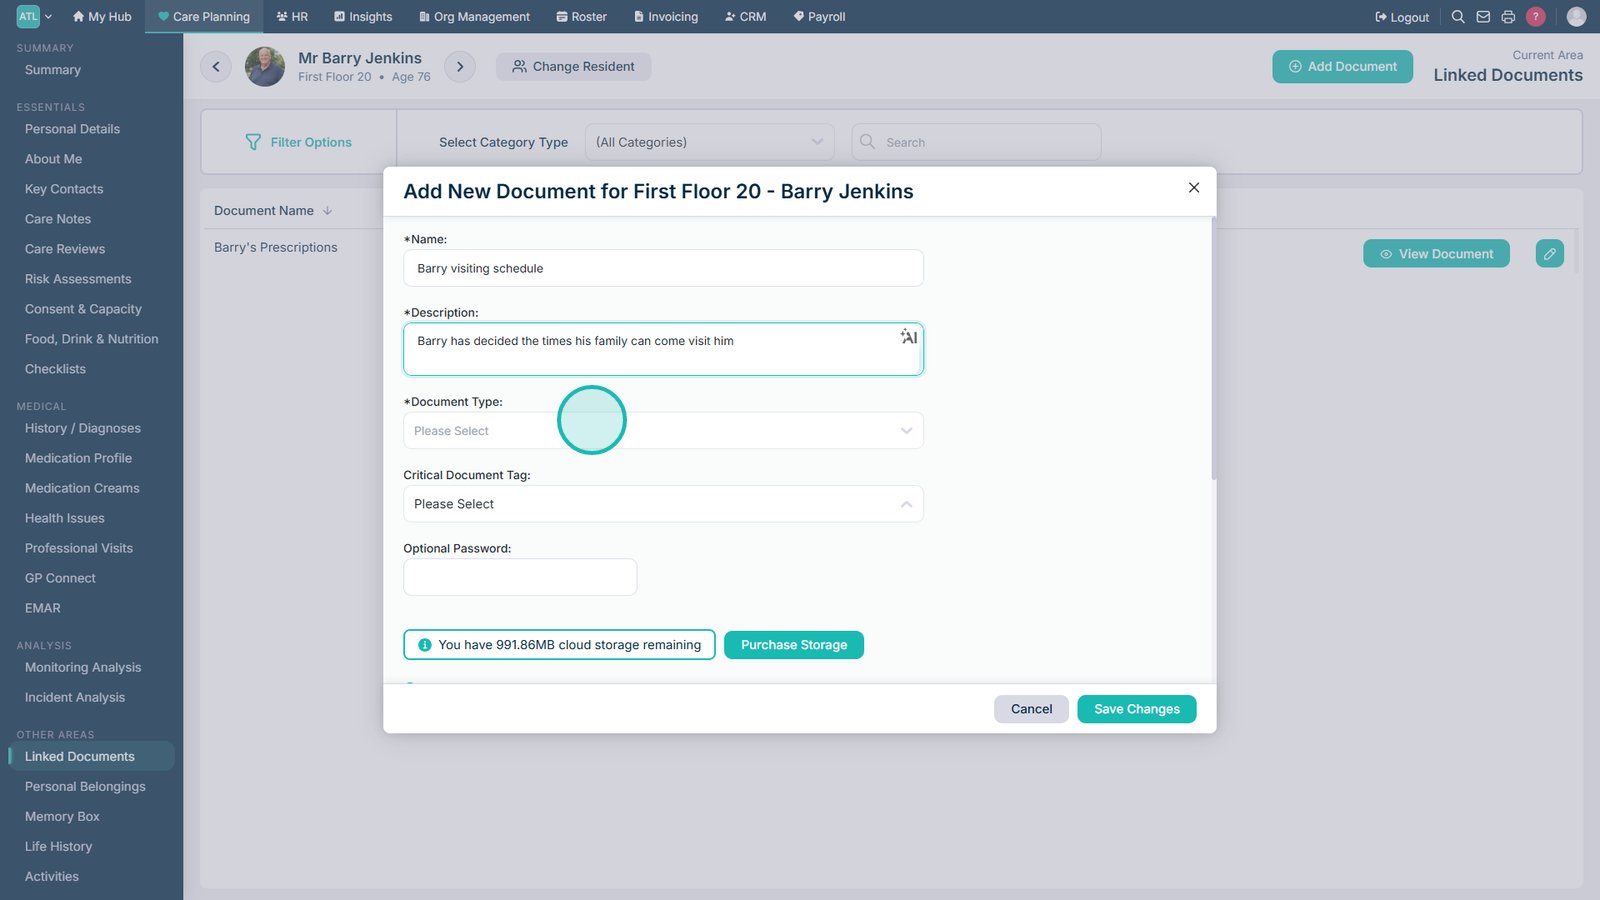
Enter a description of the document.

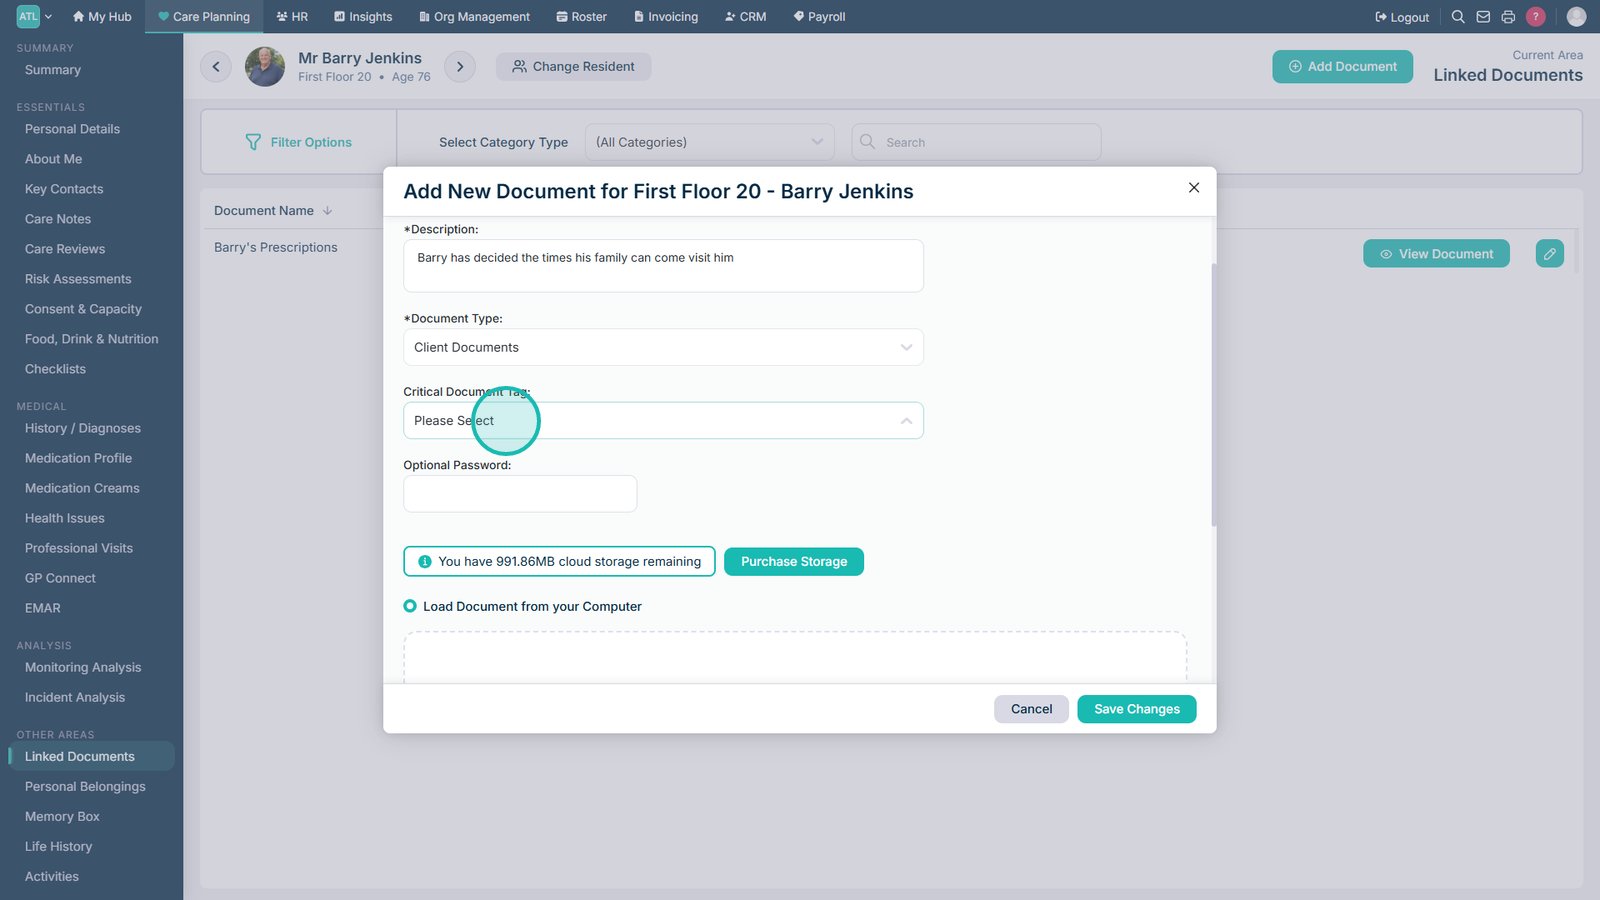
Select the document type.

Add a Critical Document Tag if the document requires additional attention.

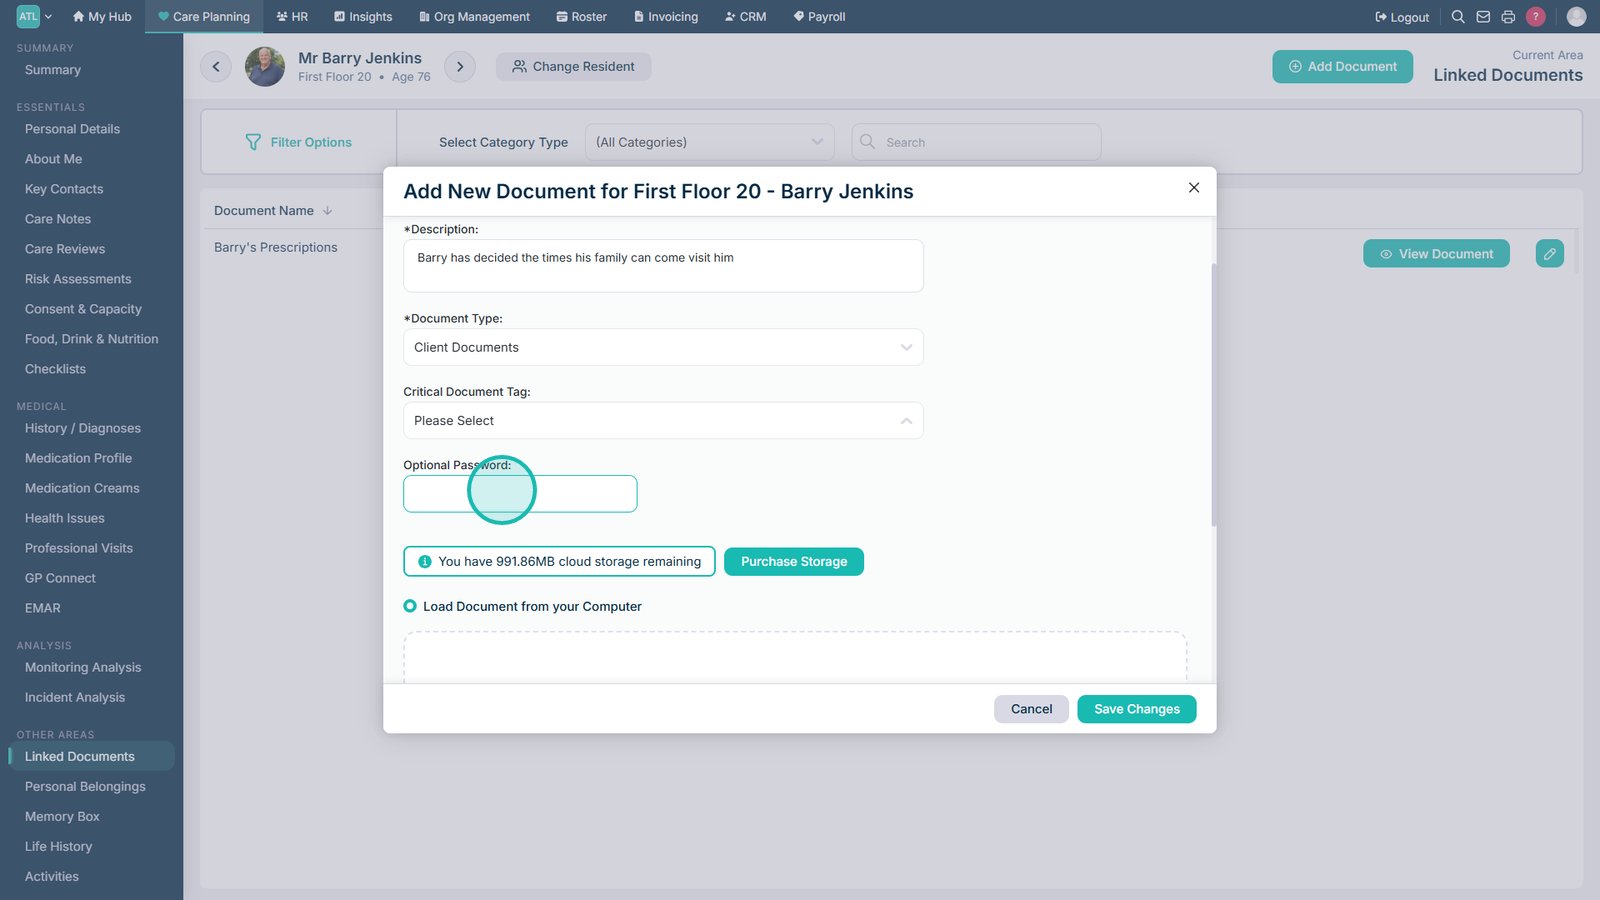
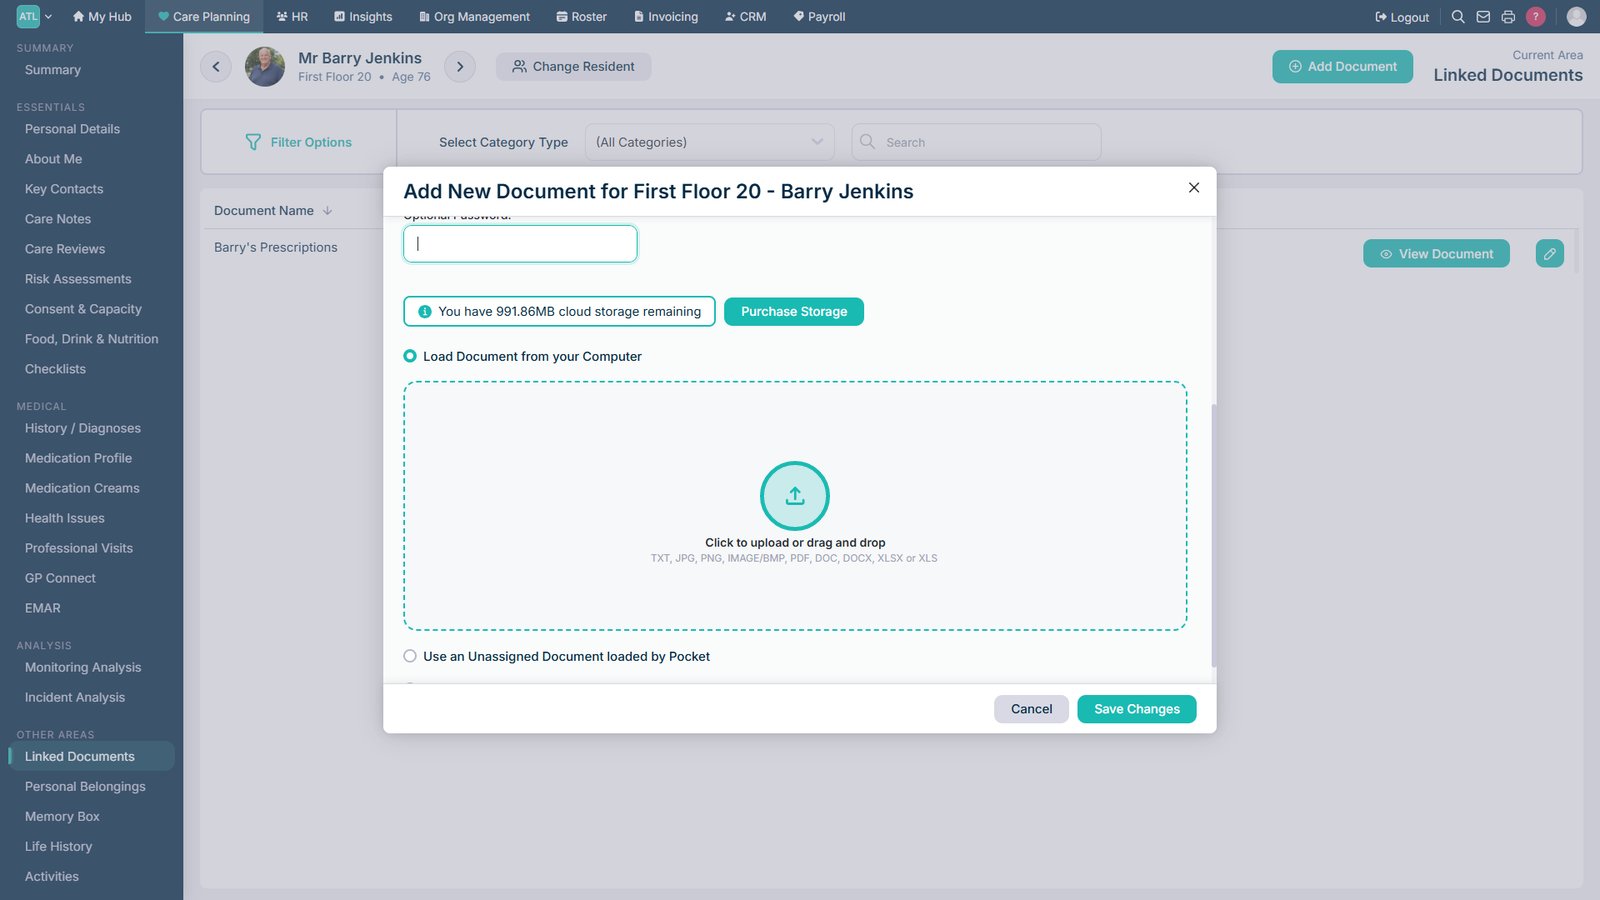
Enter a password if additional security is required.

Select the upload option to add a file from your device.

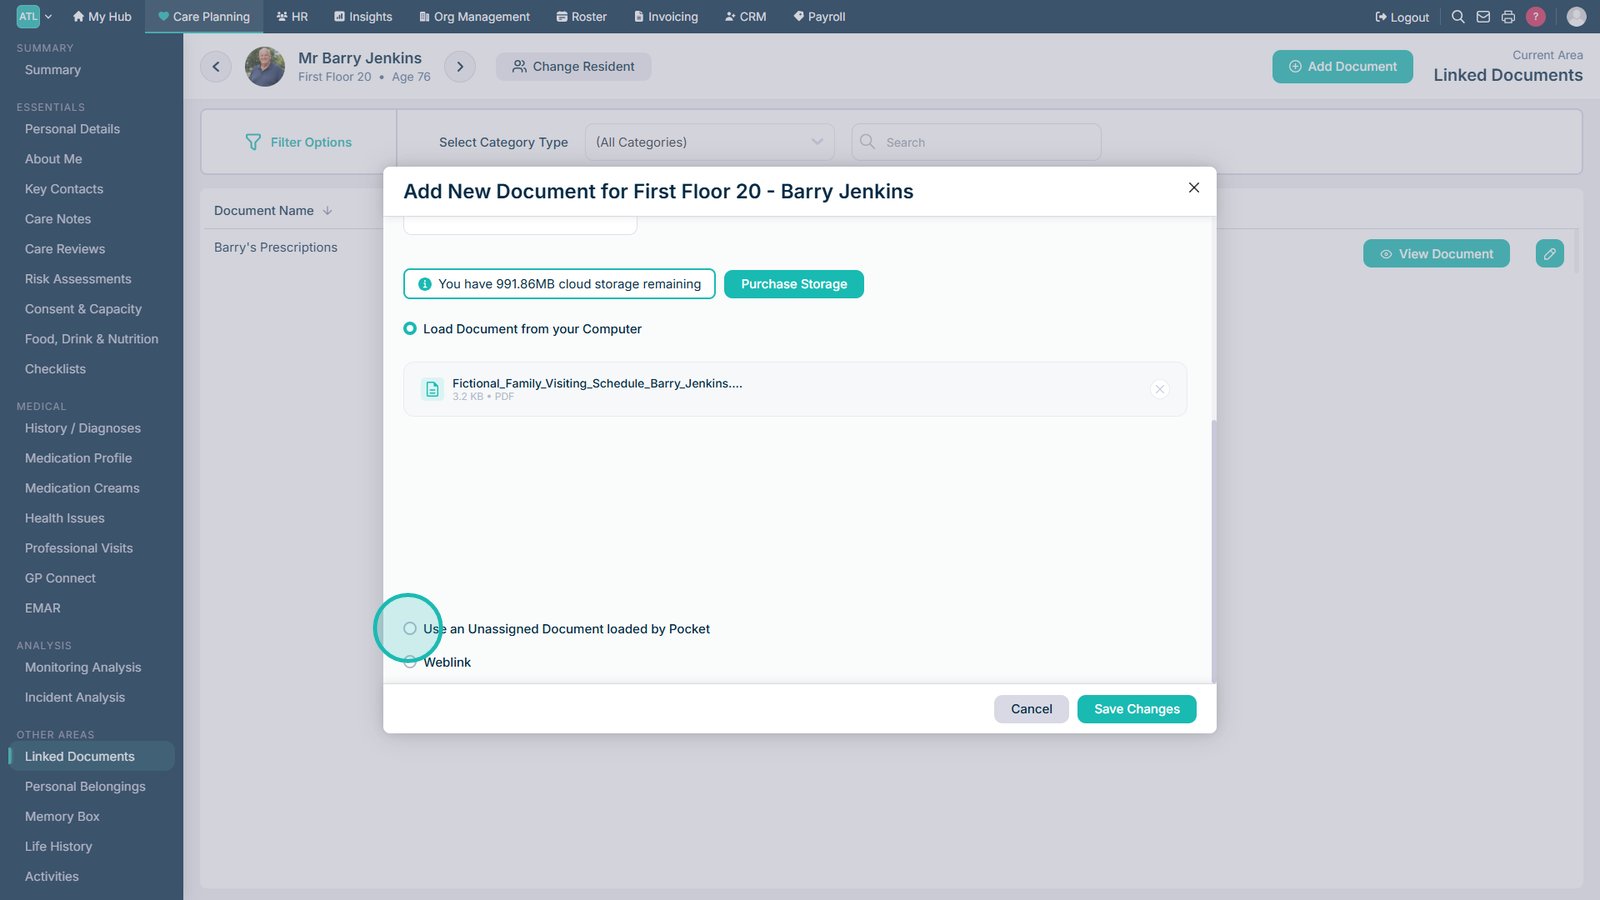
Select an unassigned document to link an existing file to the service user.

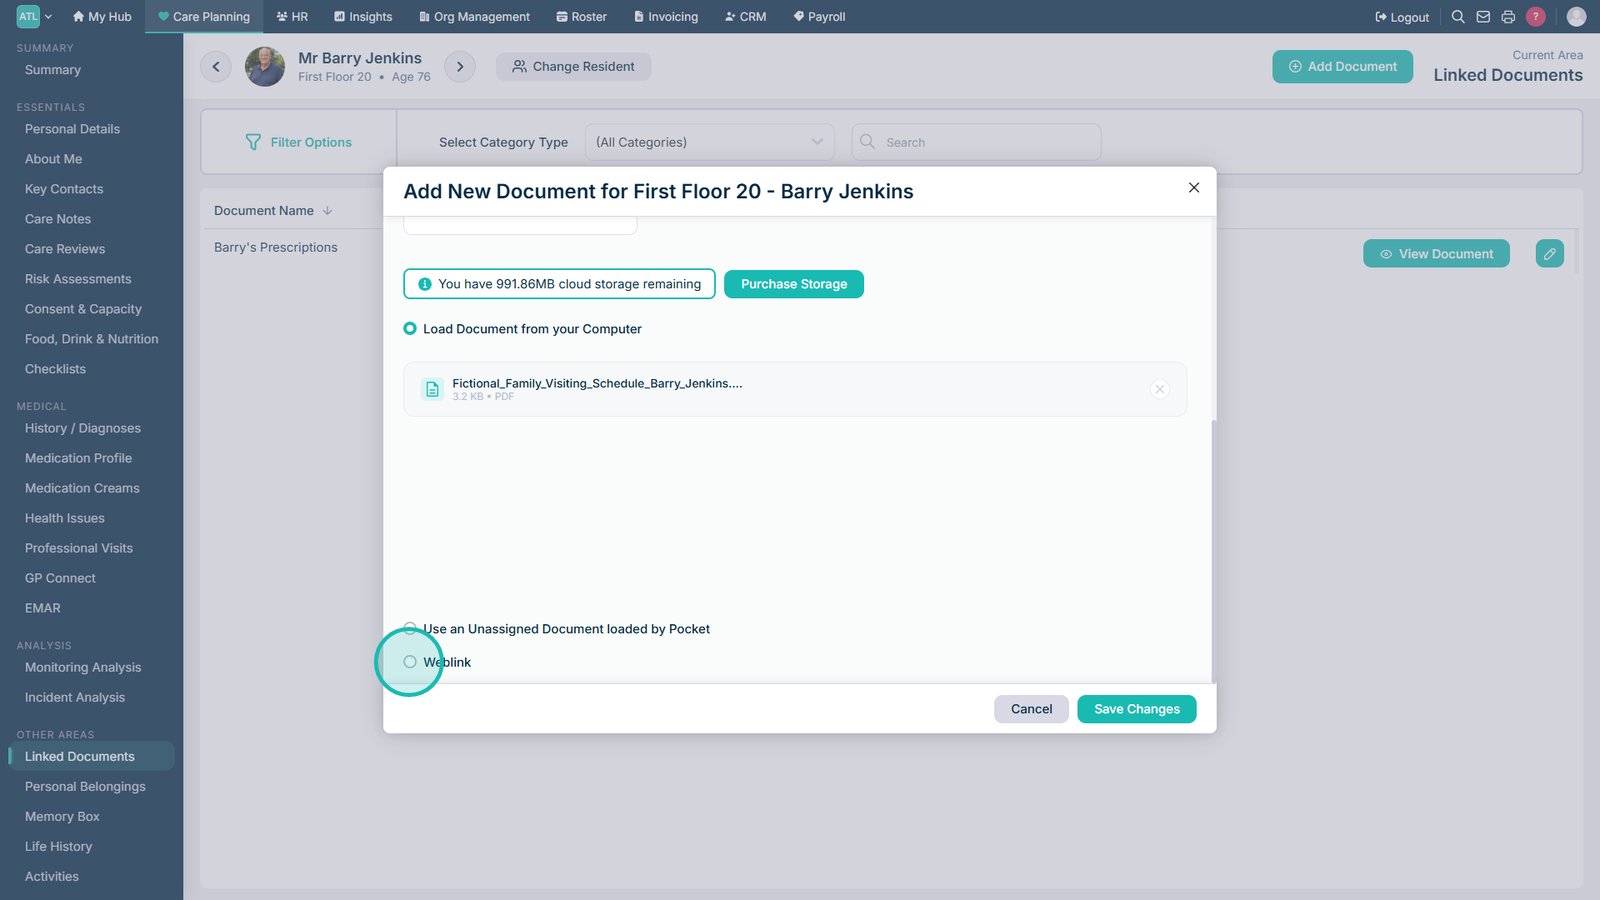
Select Web Link to add an online resource instead of a file.

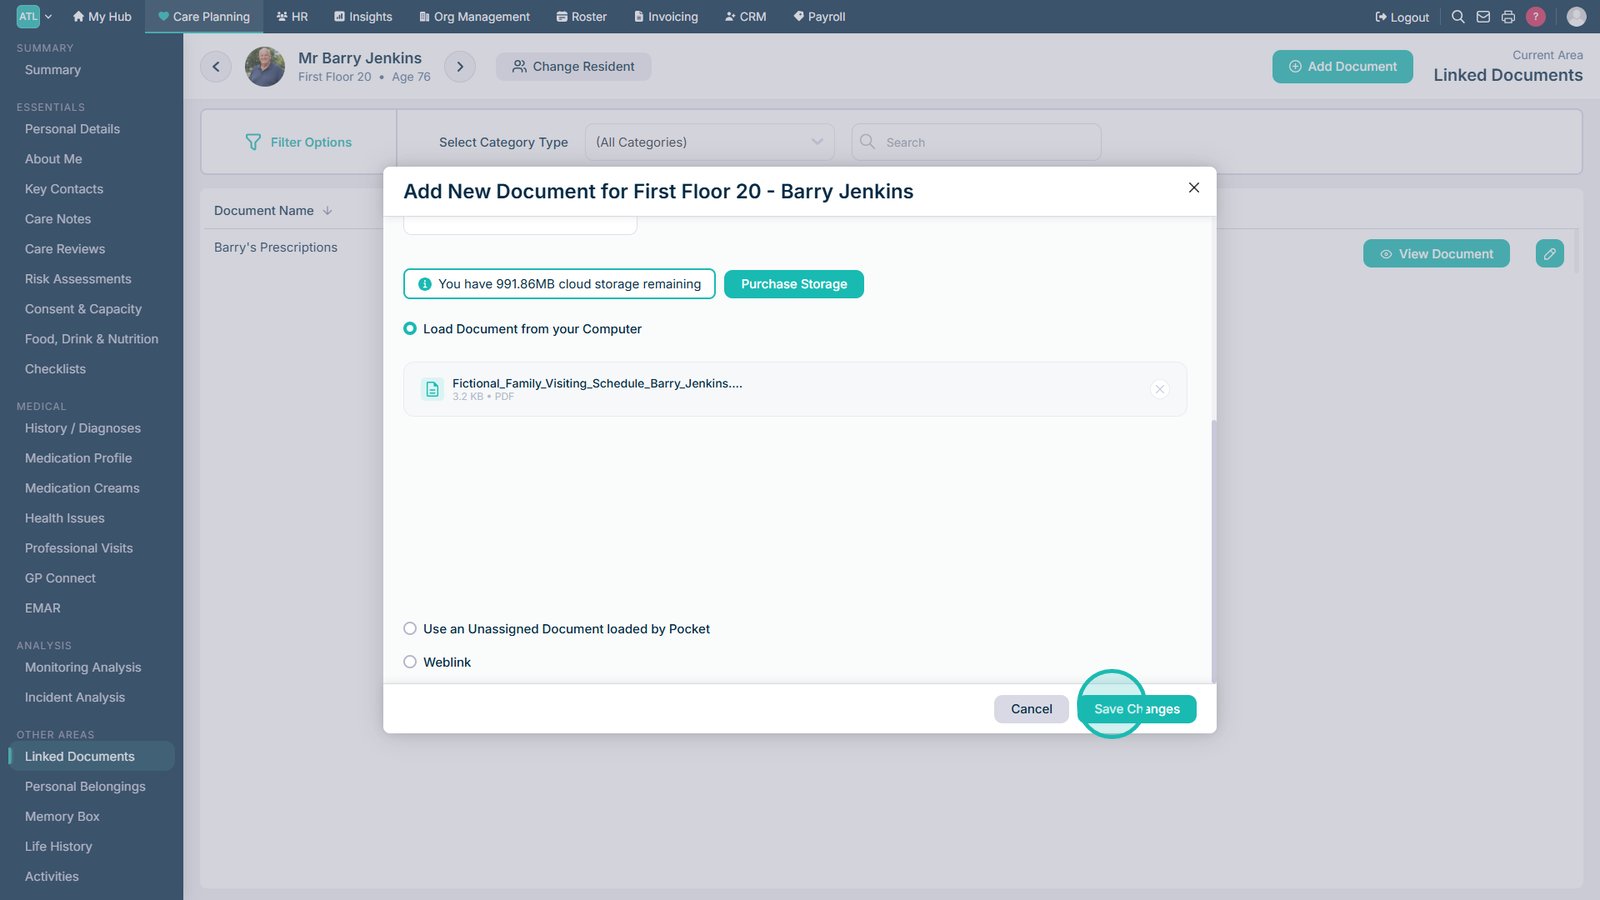
Select Save Changes to add the document to the service user's record.

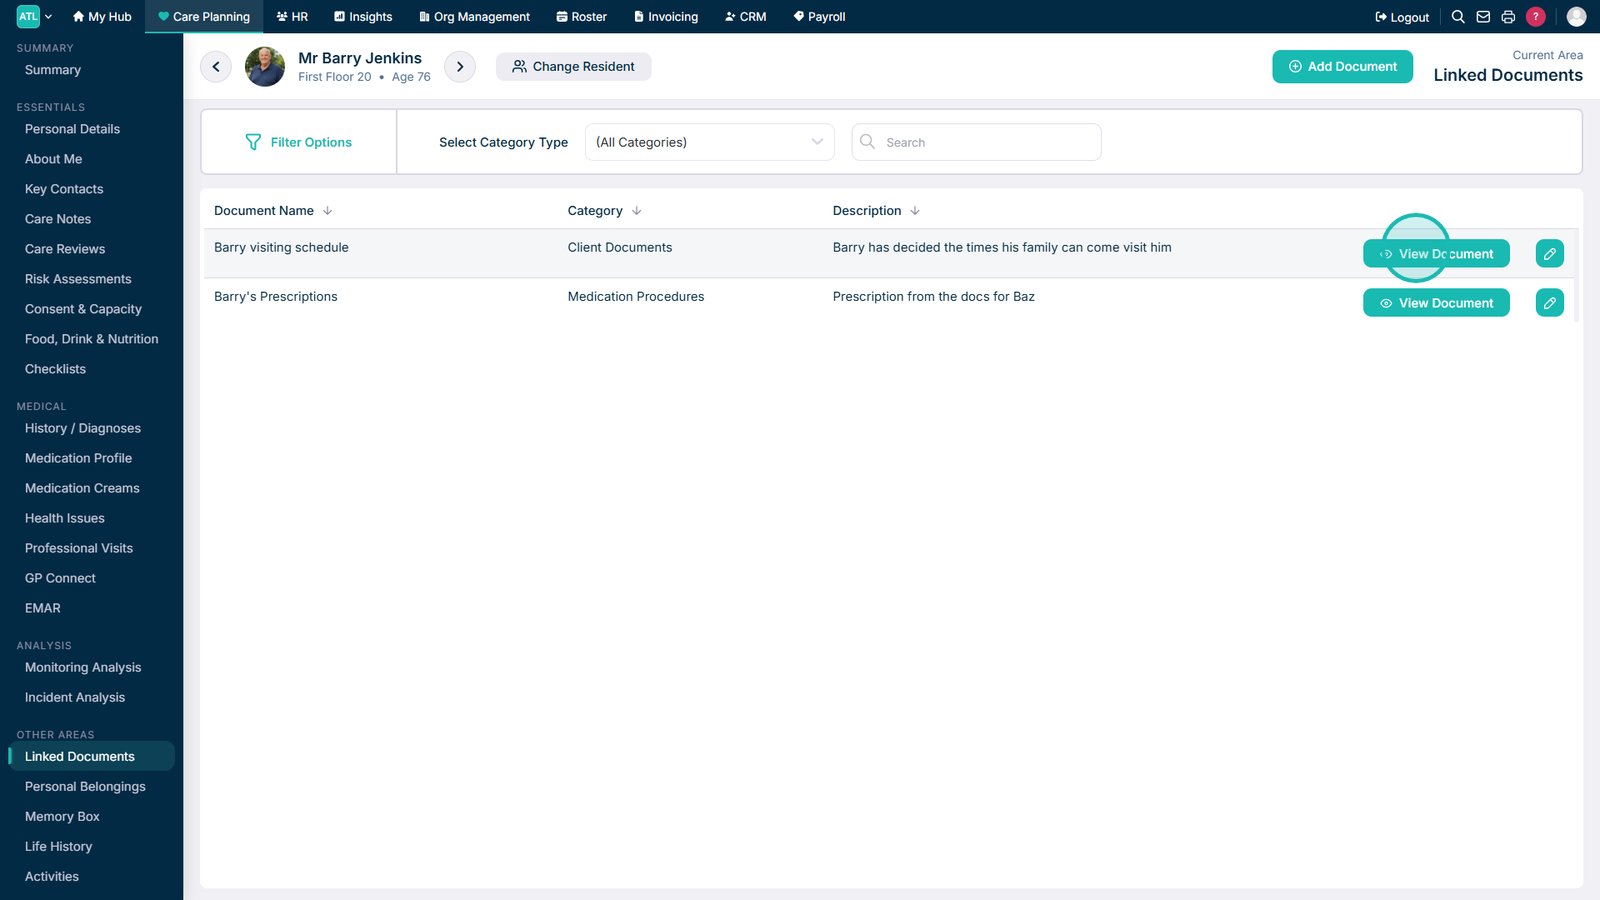
Select View Document to open the linked document.

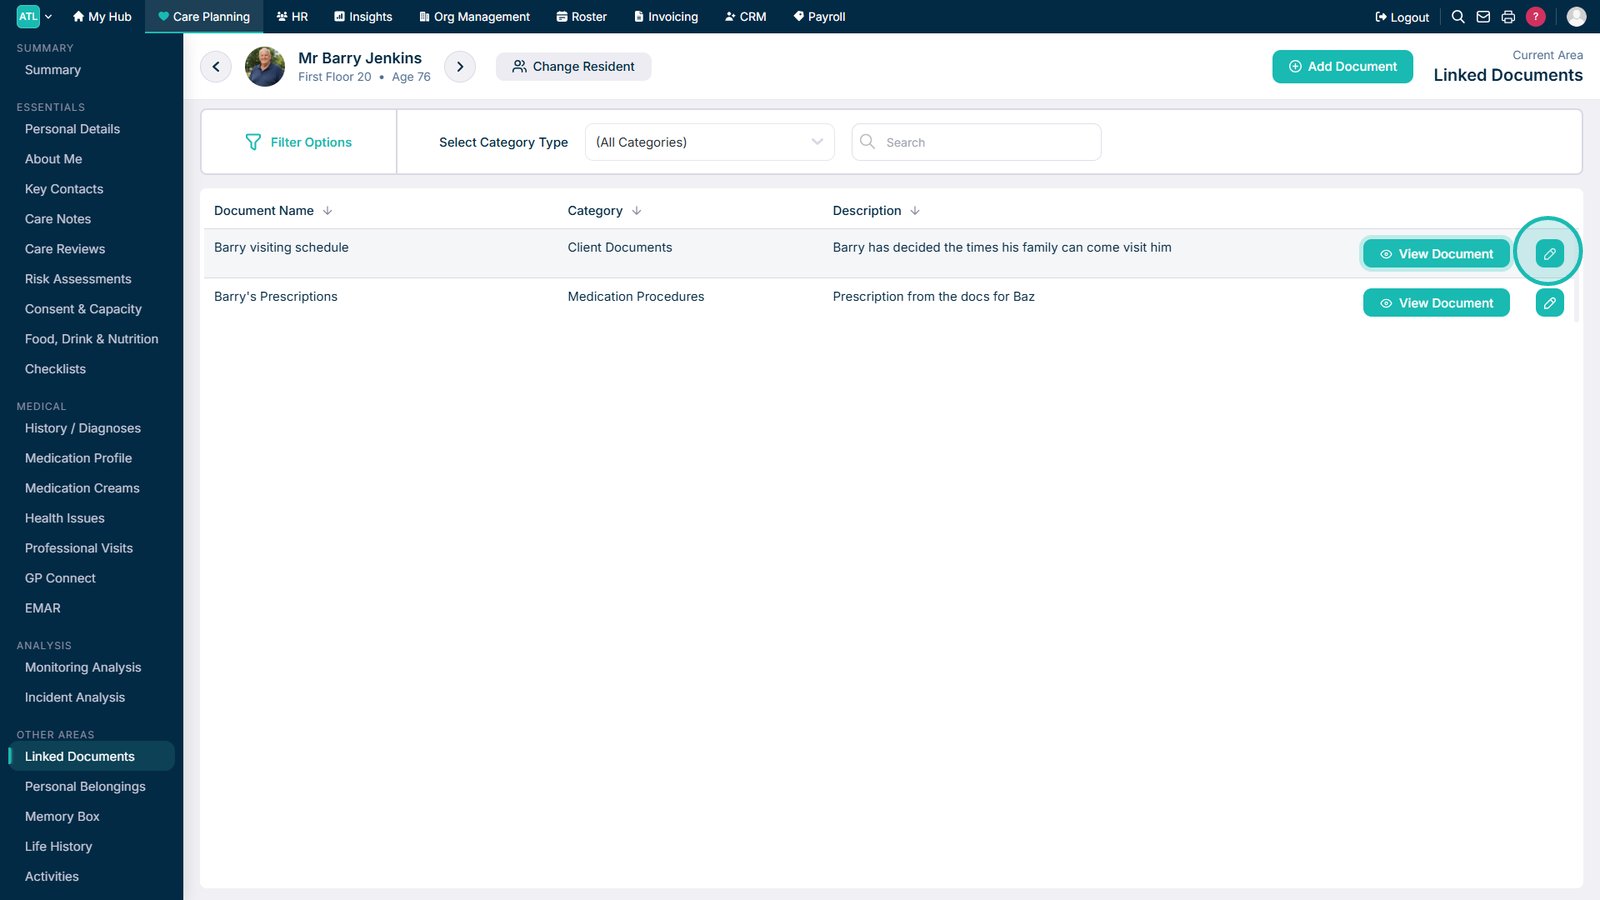
Select Edit to update the document details.

Update the document details as required.

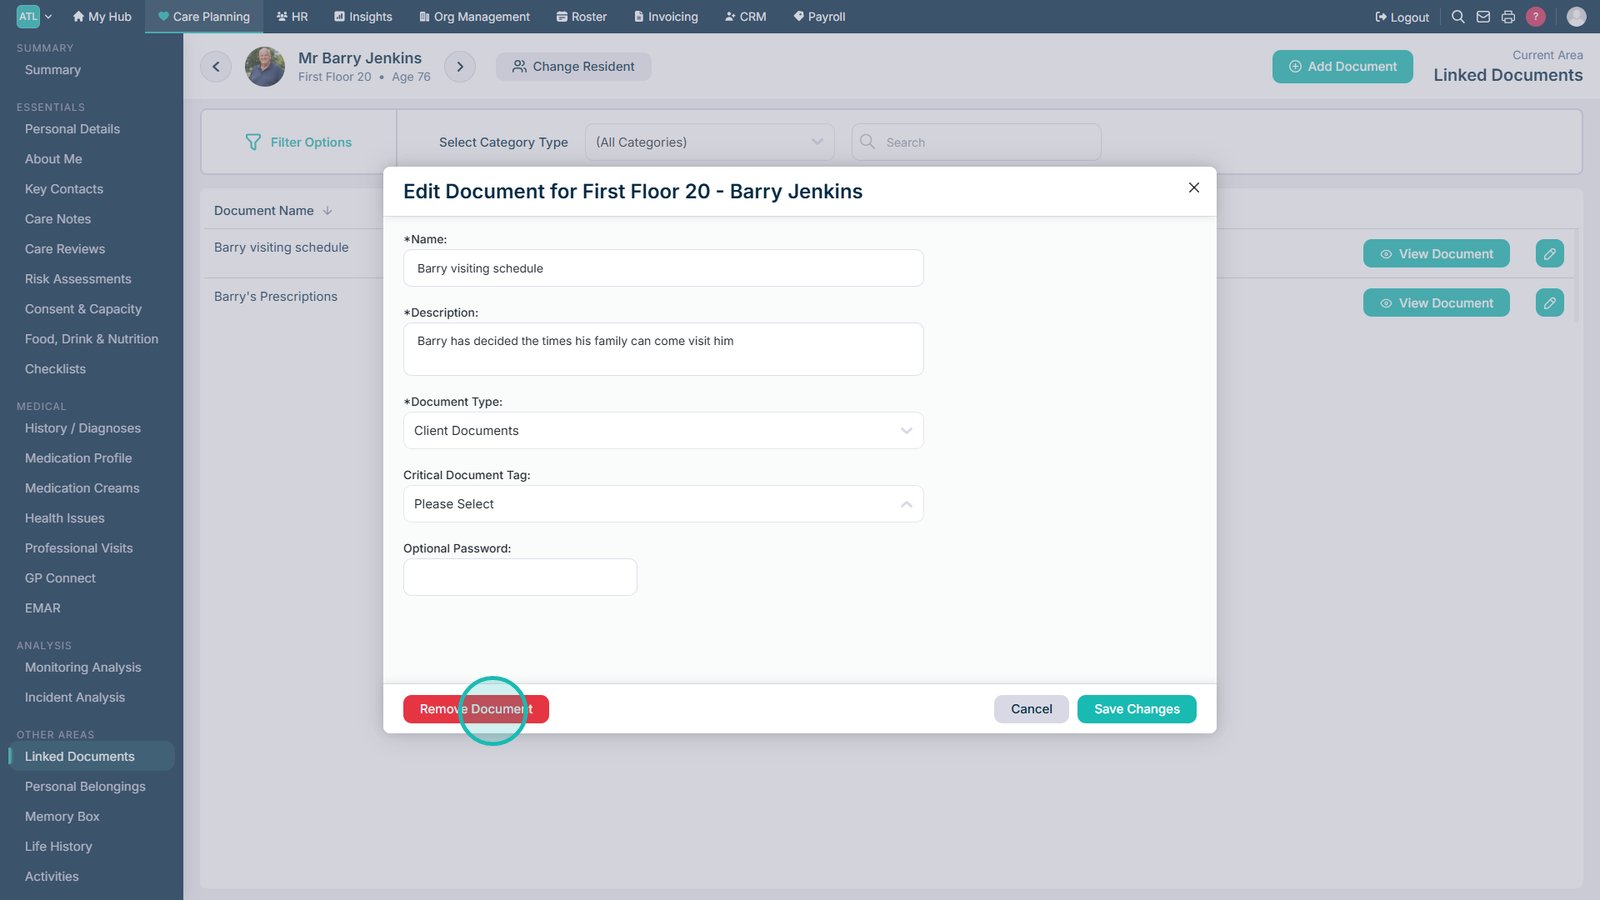
Select Remove Document if the document is no longer required.

Top tip
Use a clear document name and description so staff can quickly identify the file and understand its purpose.
Need more help?
Can't find what you're looking for? Our support team is here to help.
Contact SupportOr call us on