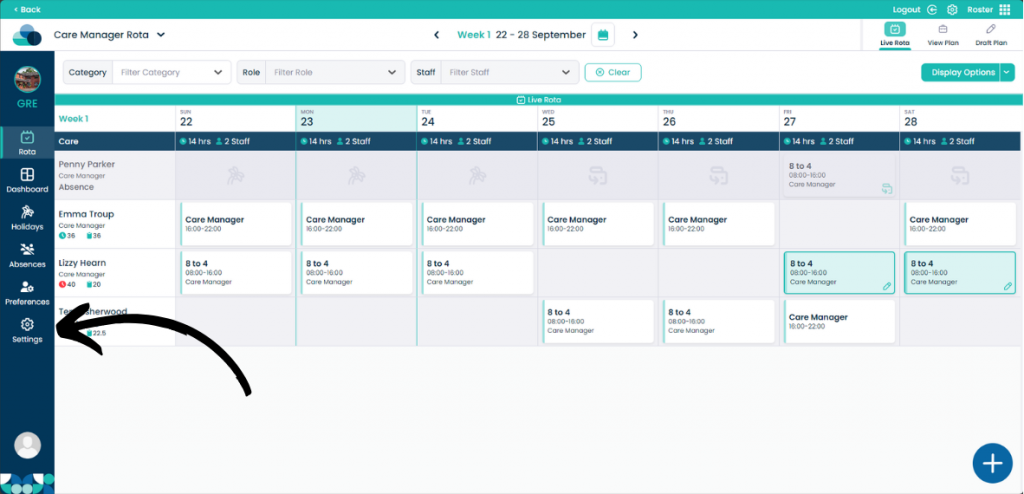
Adding a new view allows you to see multiple rotas at once, this helps you to see what’s important in one view.
Step 1:
Navigate to the Settings page of Roster.
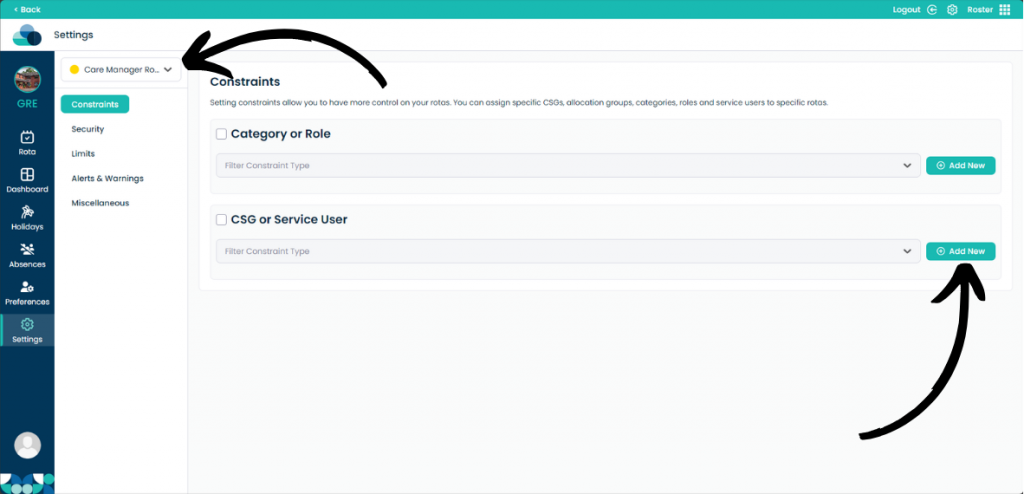
Step 2:
Select which Rota you want to individually manage using the drop down menu in the top left.
On the Constraints page you can gain more control of your rota allowing you to assign specific CSGs, allocation groups, categories, roles and service users to your specific rota. This allows you to set only specific Roles and Categories to your rota as well specific Service users or CSGs.
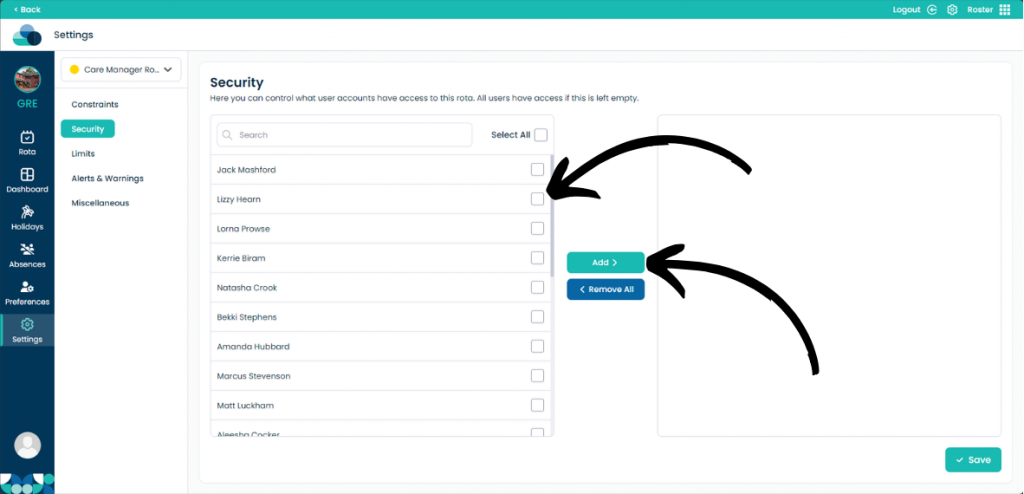
Step 3:
In the Security tab you can modify which users have access to viewing the rota. If there are no users selected, all users will have access.
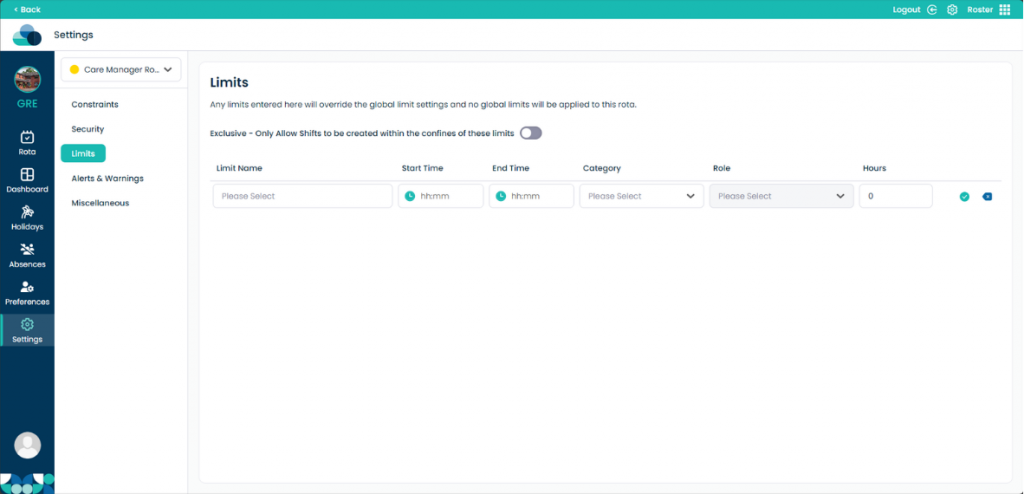
Step 4:
On the Limits page you can set limits for the staff members. Here you can set the limit for how long a shift can be for a category and role. You can also set them as Exclusive which will mean that shifts can only be created within these limits.
If a staff member tries to exceed these limits it will have to be confirmed by a higher staff member later on. These limits will override the global limits.
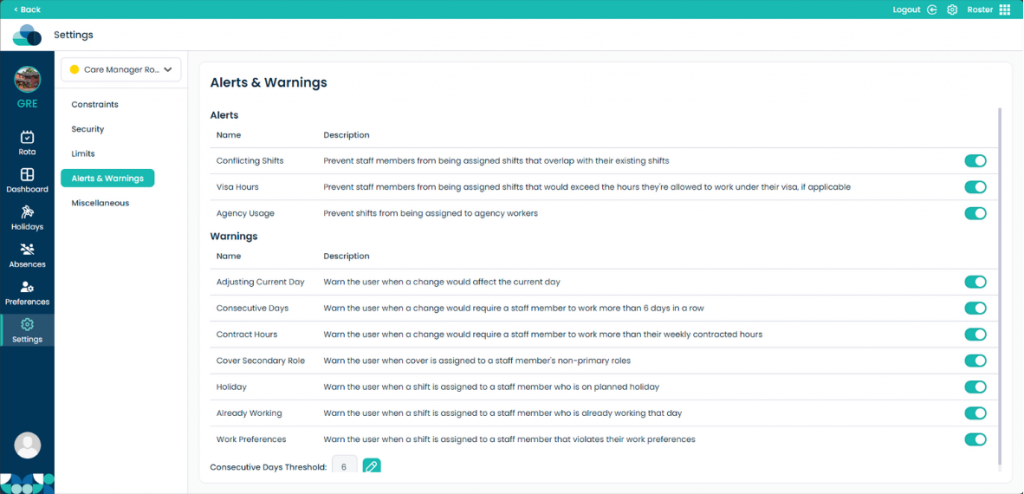
Step 5:
Alerts & Warnings page will display what warnings will be shown on the Dashboard. You can toggle each of the individual Alerts or Warnings using the toggle on the right hand side.
You can also set the Consecutive Days Threshold which will warn you if a staff member has worked for x amount of days.
Step 6:
In the Miscellaneous tab you can modify two different options that can help with covering shifts and modifying shifts on the day the rota is being modified.
You can also change the Rota Colour and the Rota Name from this tab.
The End Rota option is also available on this page if you would like to delete the rota.