View Categories

Manage Quality Survey in Cloud

This guide will cover creating new surveys and managing current quality surveys in Care Control Cloud

Step 1:

When in the Admin App select Visit under the Communication tab.

Step 2:

Now click the Other Areas drop down menu and then Manage Quality Survey.

Step 3:

On this page you can see all of the current and past surveys including how many responses they have received, if the survey is active and the last response.

To create a new survey select Create Survey.

Step 4:

You can select between a New Survey or an Existing Survey as Template. Enter the Survey Name. You can also choose to Activate this survey straight away, or do it later when the survey is ready.

When happy with your selections, click Continue.

Step 5:

As we have not used a template, the survey generates without any questions. To add new questions select Add Questions.

Step 6:

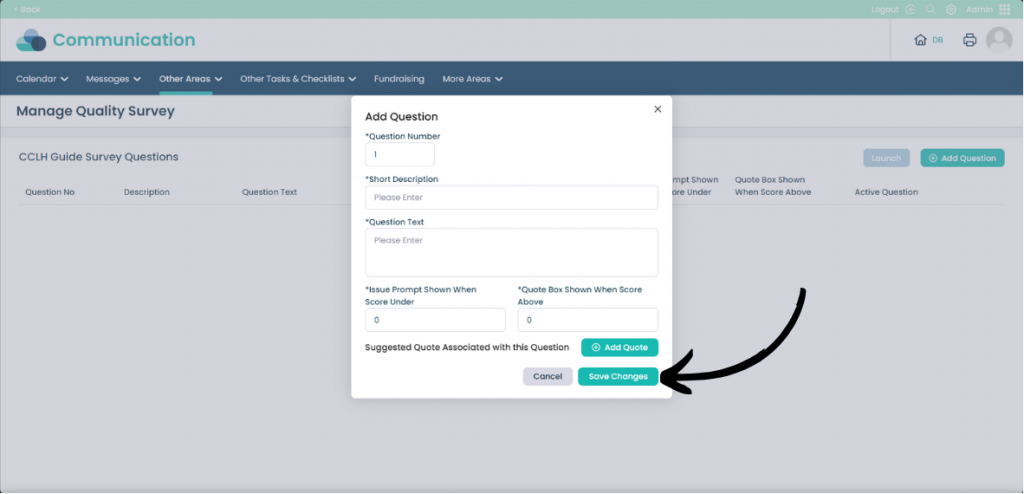
On this page you can enter a Short Description which will help to identify the question quickly.

Write the actual question in the Question Text box.

The two selections underneath indicate whether to highlight the answers as issues if under a certain score. By default it is 0, but you can set it to any number between 1-10.

You can also add a quote by clicking the Add Quote button, this may help with some people completing the survey, but is not required.

Once happy with your question click Save Changes.

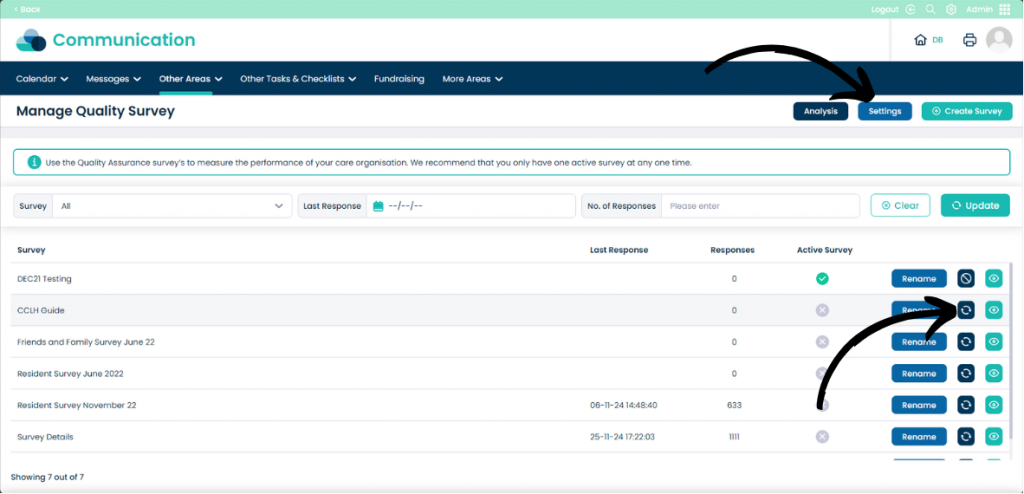
Repeat these steps until you have all of the questions ready for your survey. When you are finished select Launch to make the survey live, or return to the survey selection screen.

Step 7:

When back on the Manage Quality Survey screen. You can make the survey’s live by clicking the Arrows icon. You can stop collecting answers for a survey by clicking the Stop icon. 

You can also view the survey and modify it further by selecting the Eye icon.

To see further settings select the Settings button.

Step 7:

This settings page will give you options to set different surveys for different groups. You can set a survey for Service Users, Family & Friends and V-Book.

Once you have made your selection click Save Changes.