How to add a new complaint
This new feature gives you a clear overview of all complaints raised within your service — whether by a service user, staff member, professional, or visitor. It helps you manage the process more effectively by allowing you to add ongoing investigatory notes, link multiple service users to a single complaint where necessary, and securely upload supporting documents with password protection to maintain confidentiality. With everything stored in one place, you can demonstrate transparency, strengthen accountability, and streamline how complaints are handled from start to finish.
Interactive Guide
Text based guide
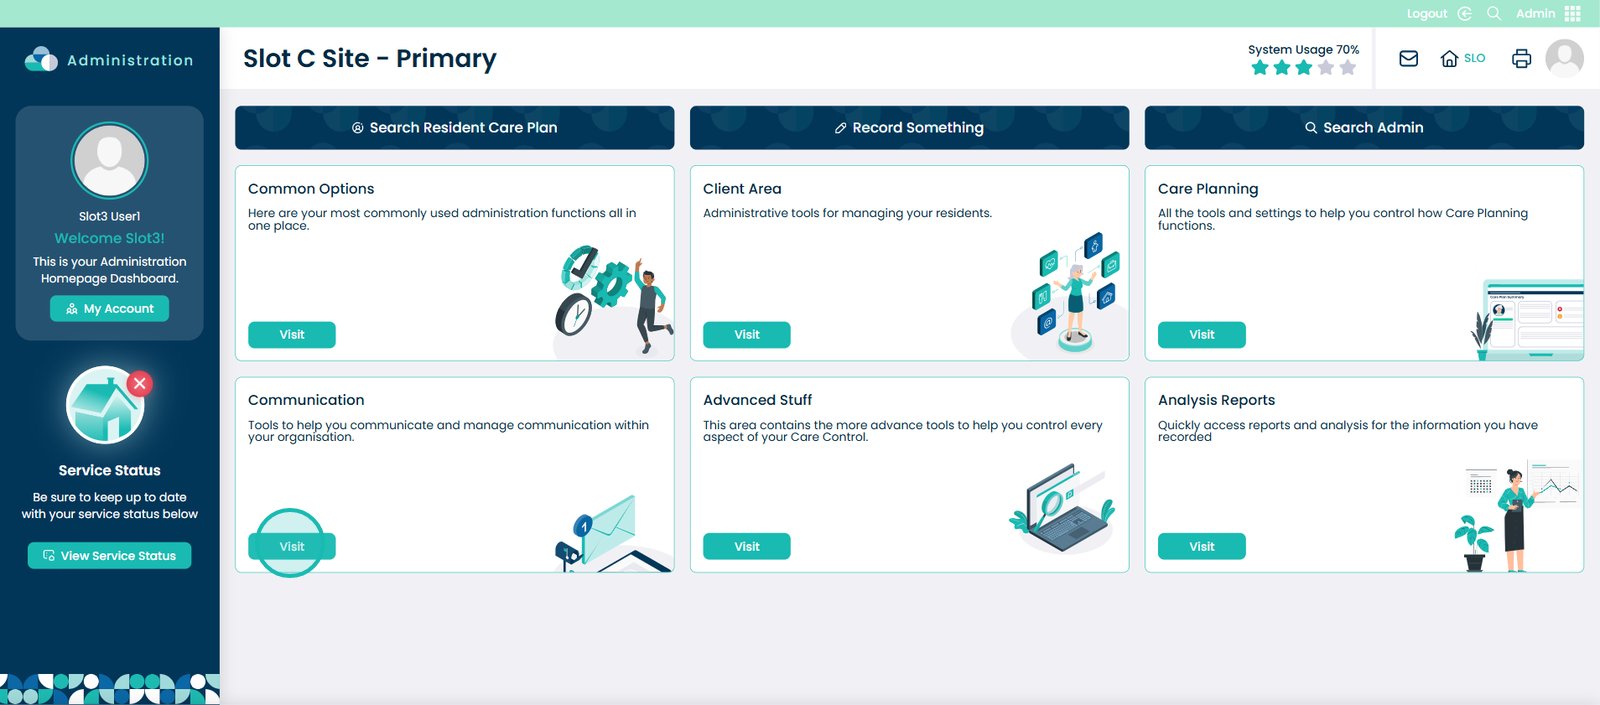
Within the ‘My Hub’ dashboard, click the Admin App.

Select the ‘Visit’ button under ‘Communication’.
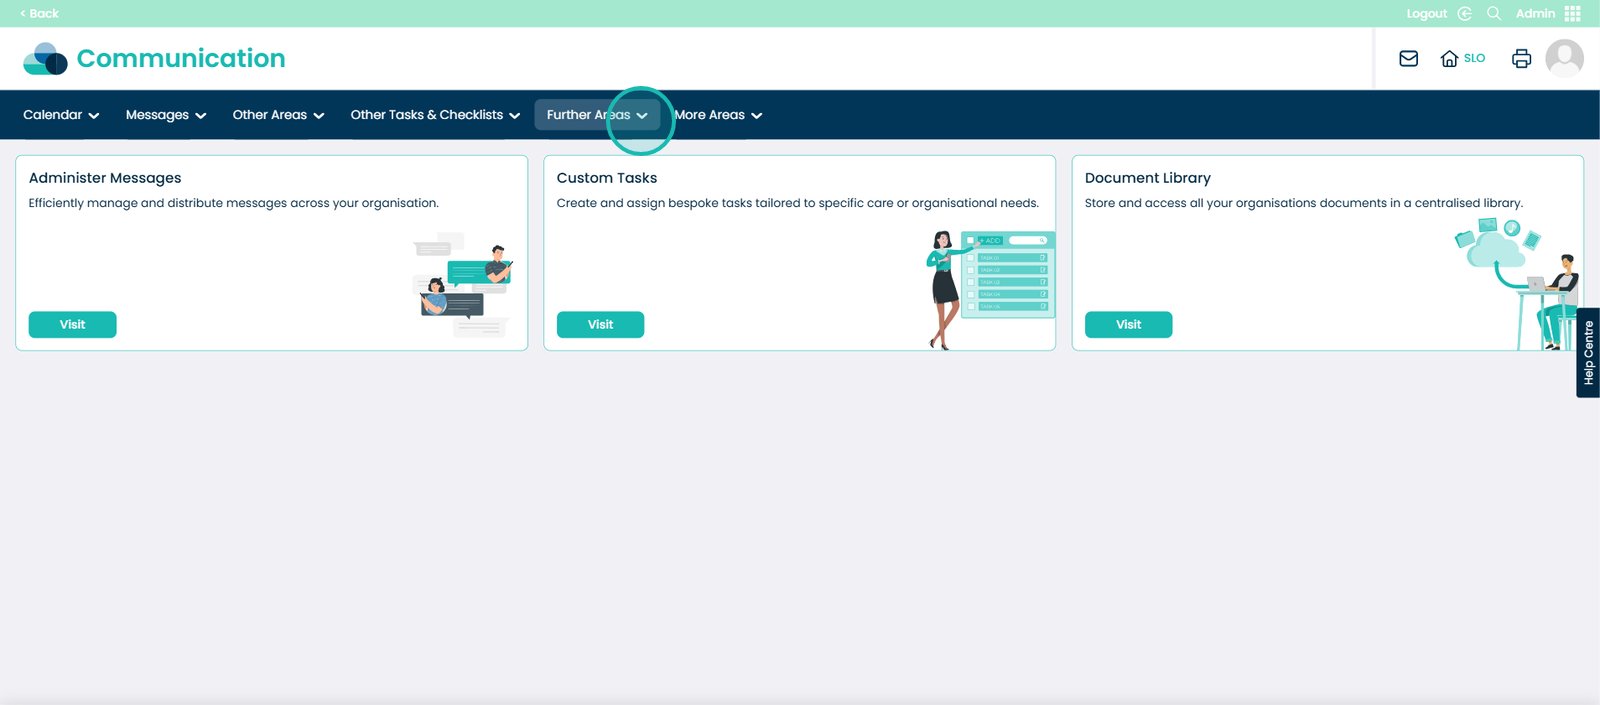
Then select the drop down arrow next to the ‘Further Areas’ option.
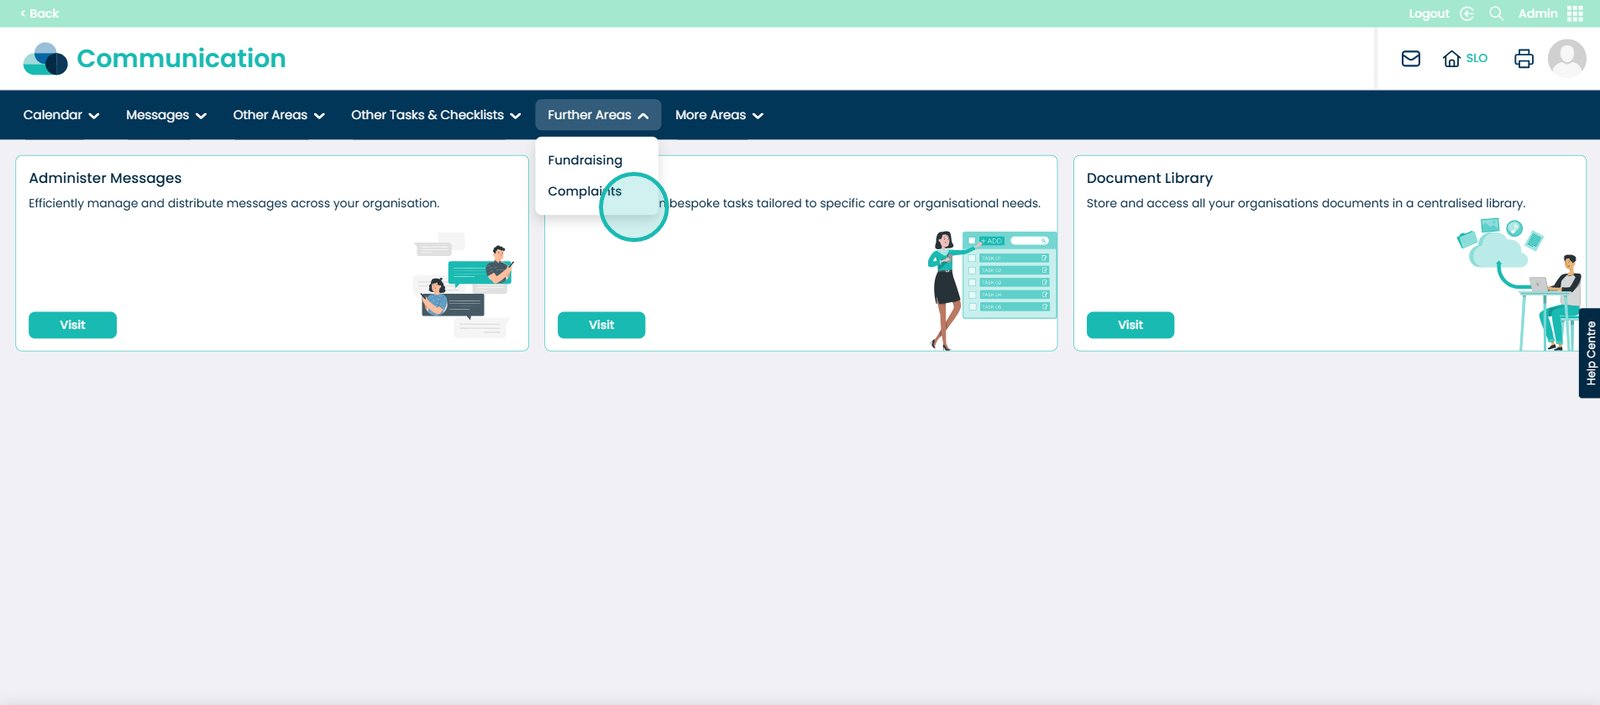
4. Then select the ‘Complaints’ option.
Here you will see the Complaints screen. Since this screen is already populated with complaints, you should expect to see a similar layout within your system once adding complaints.
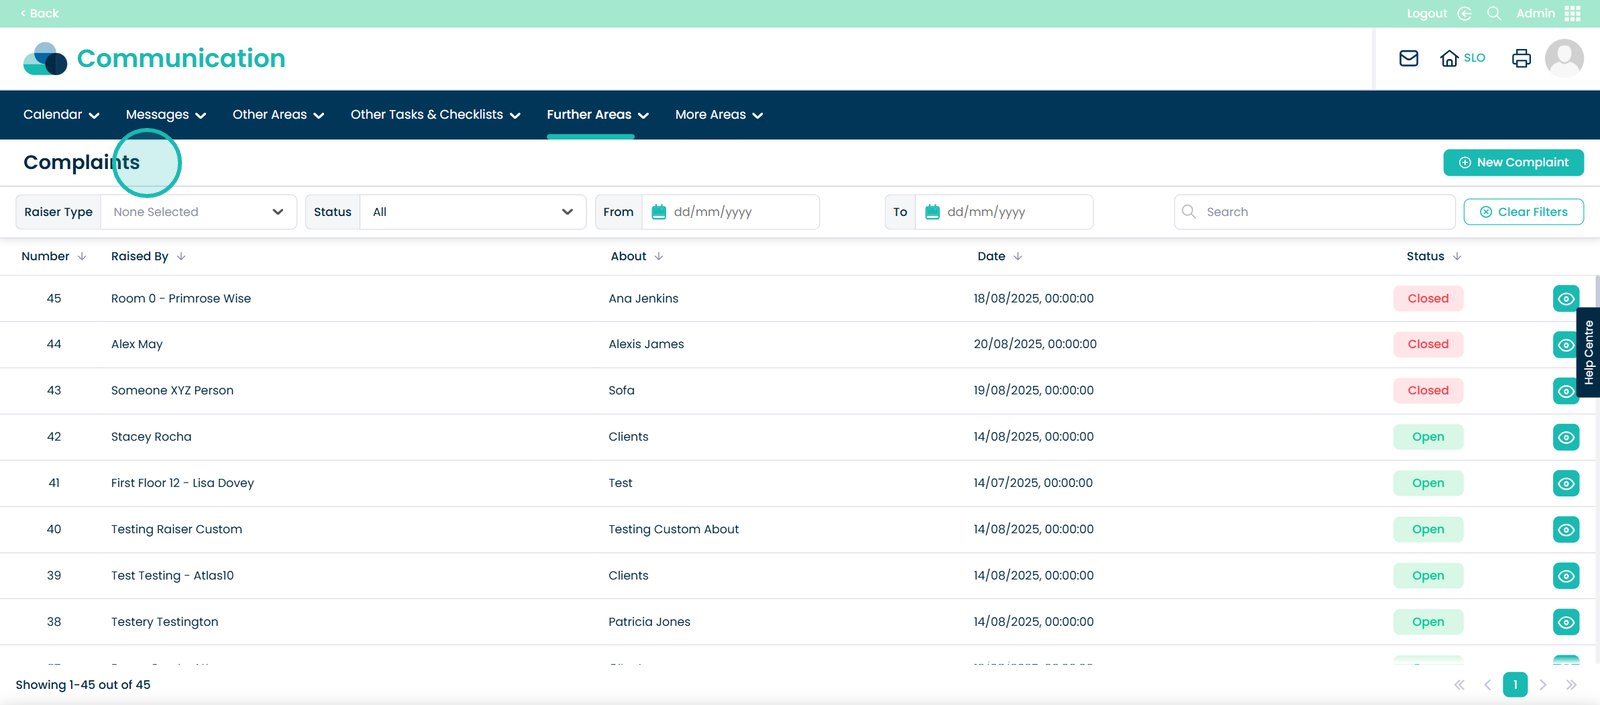
The most recent complaint added will appear at the top of this list.
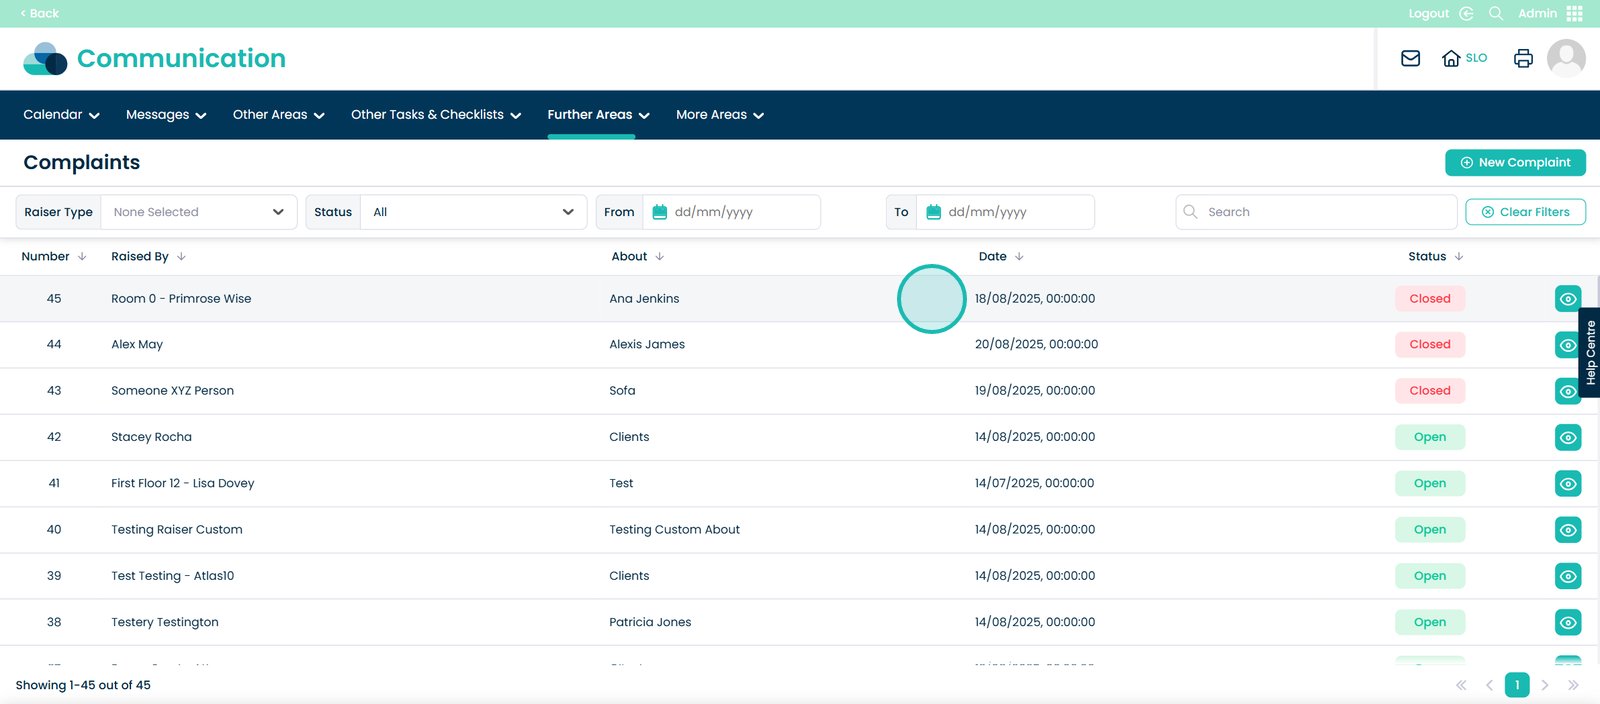
You will also have the option to filter the complaints by Number.
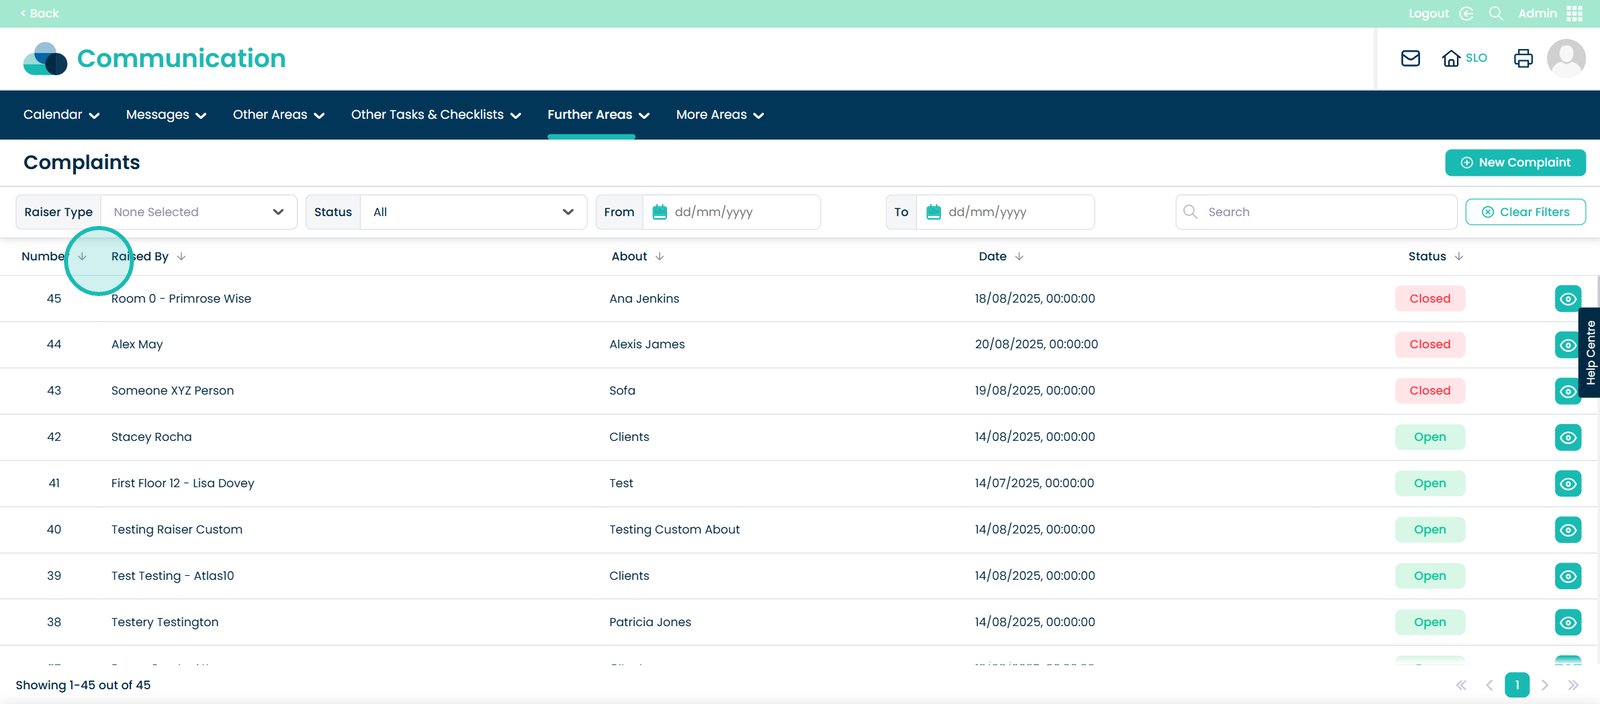
Who the complaint was raised by.
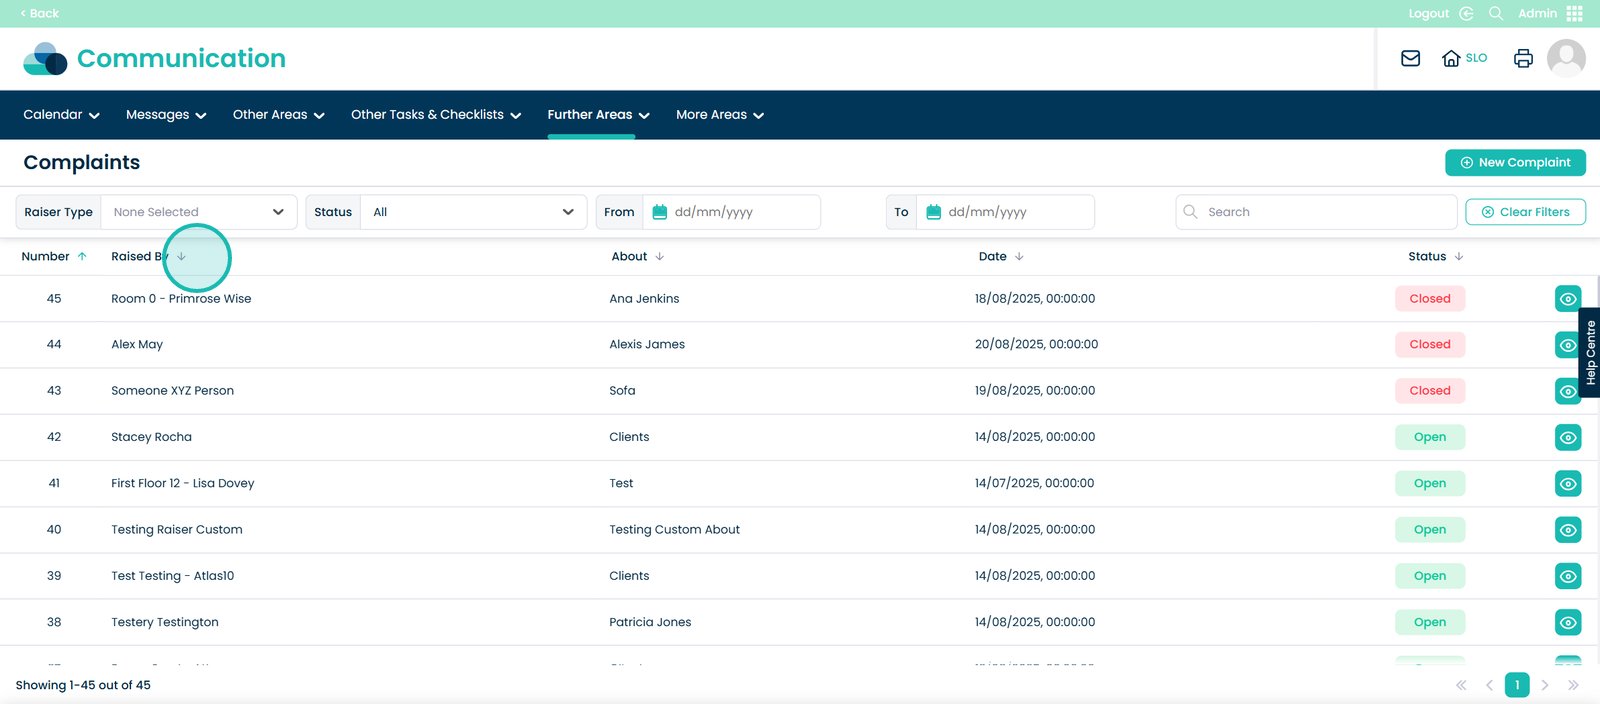
Who the complaint is about.
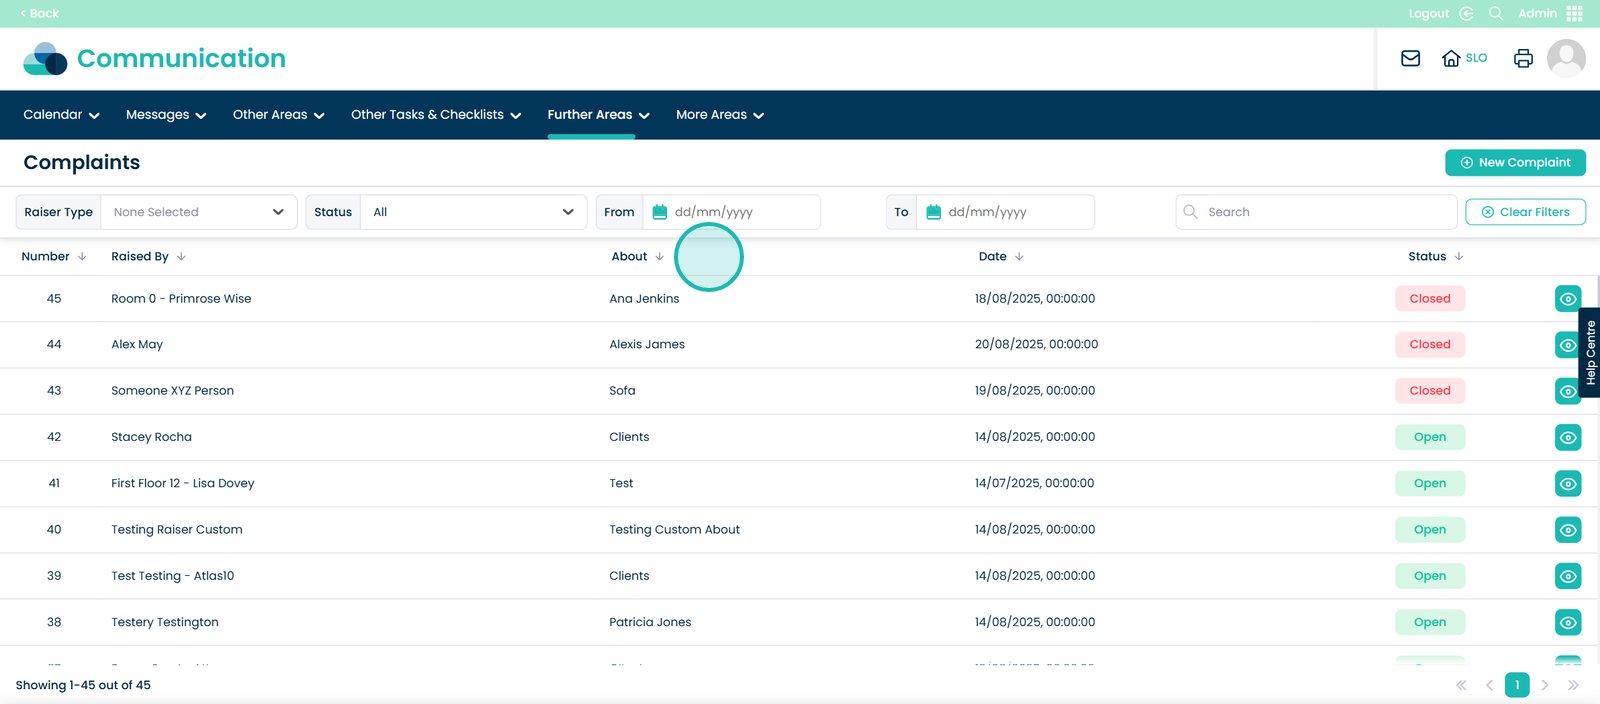
The date of the complaint.
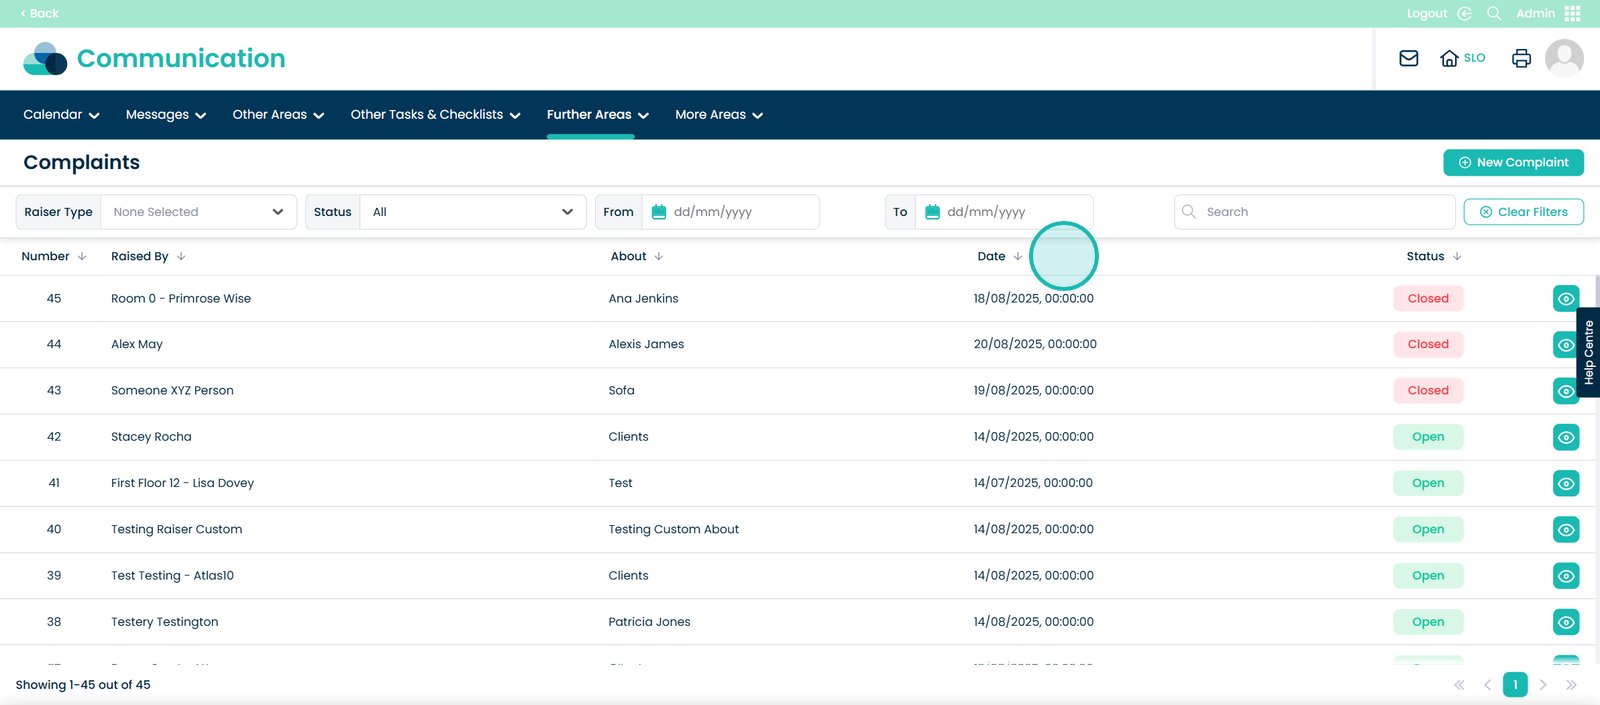
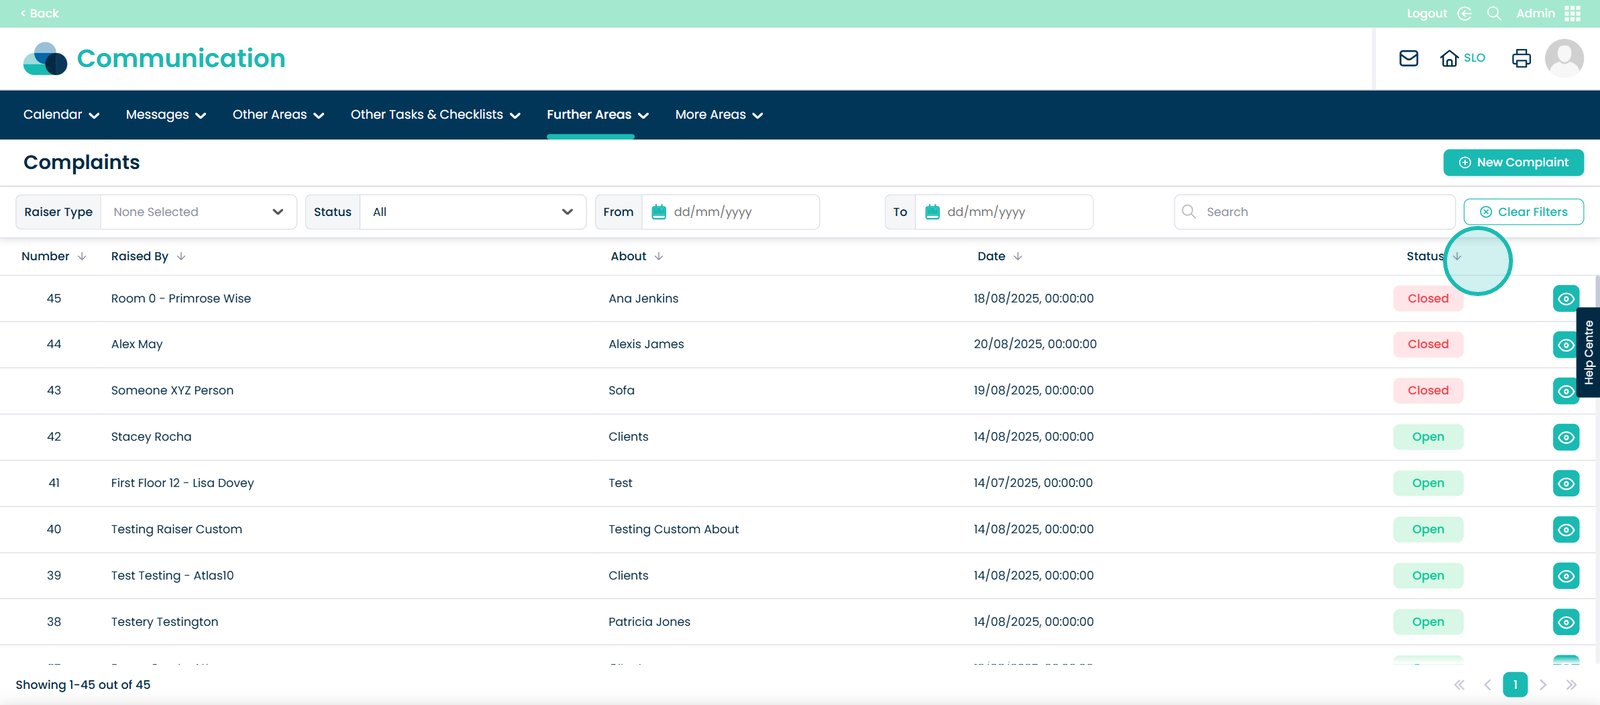
And the status of the complaint – Open or Closed.
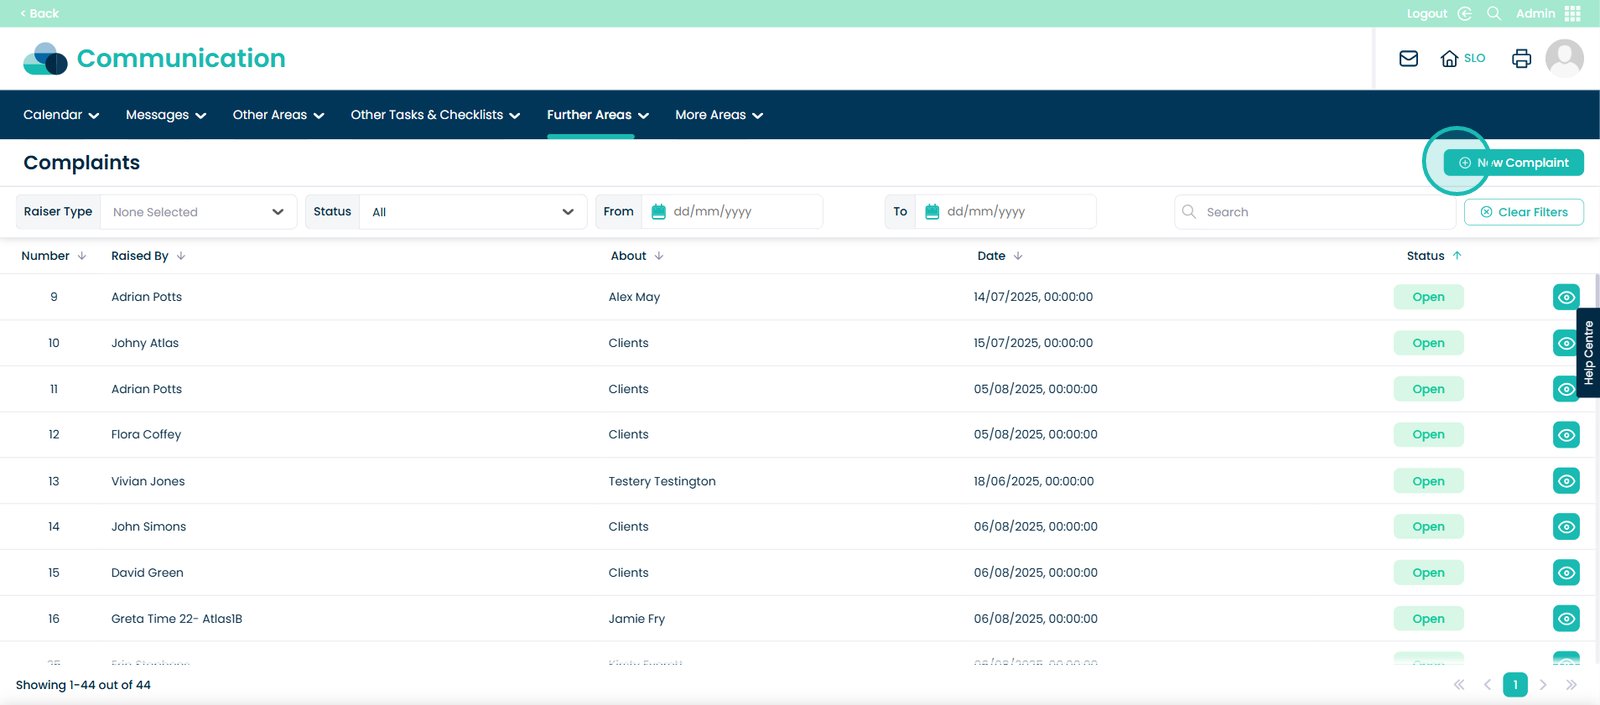
To create a new complaint, click the ‘New Complaint’ button.
Now pick the date the complaint was raised.
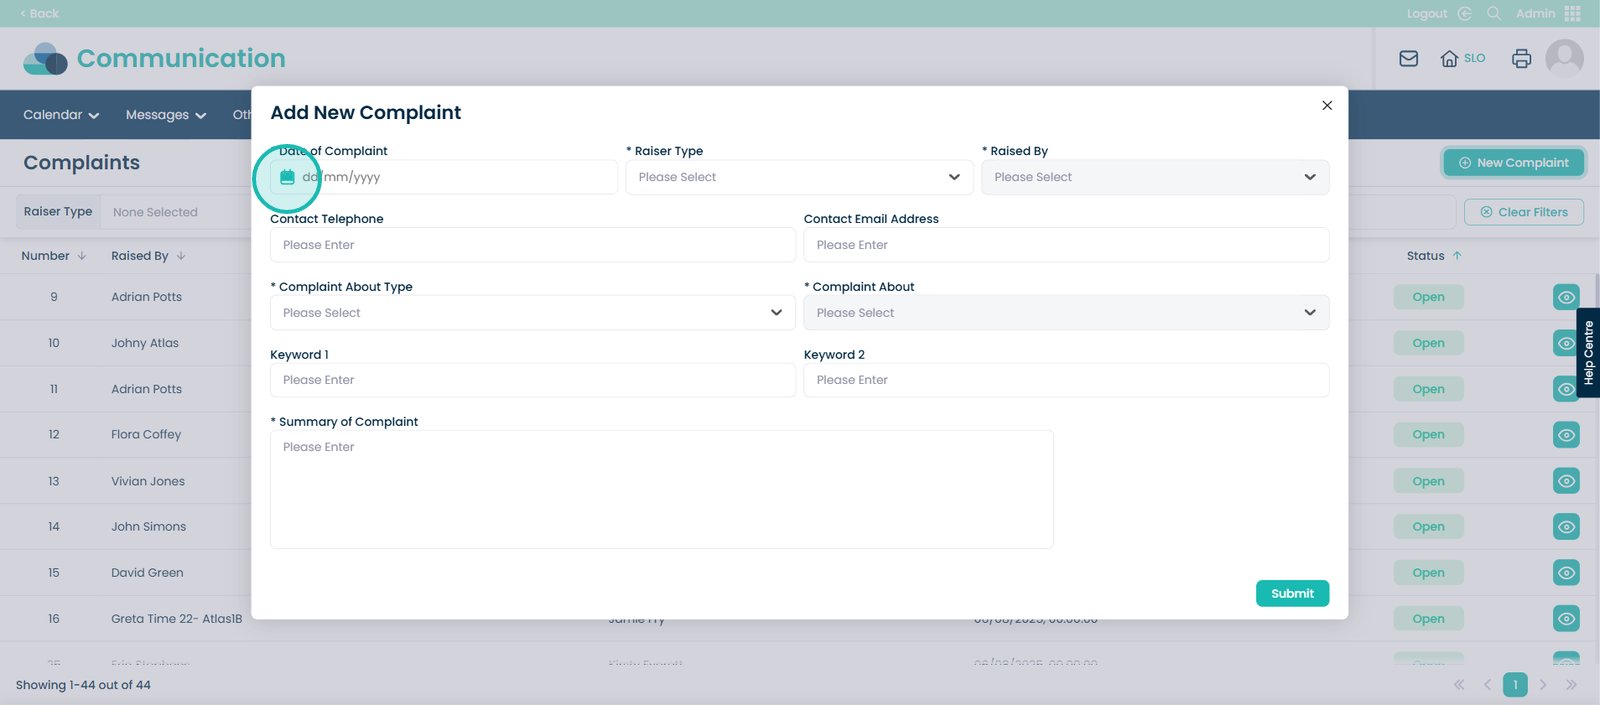
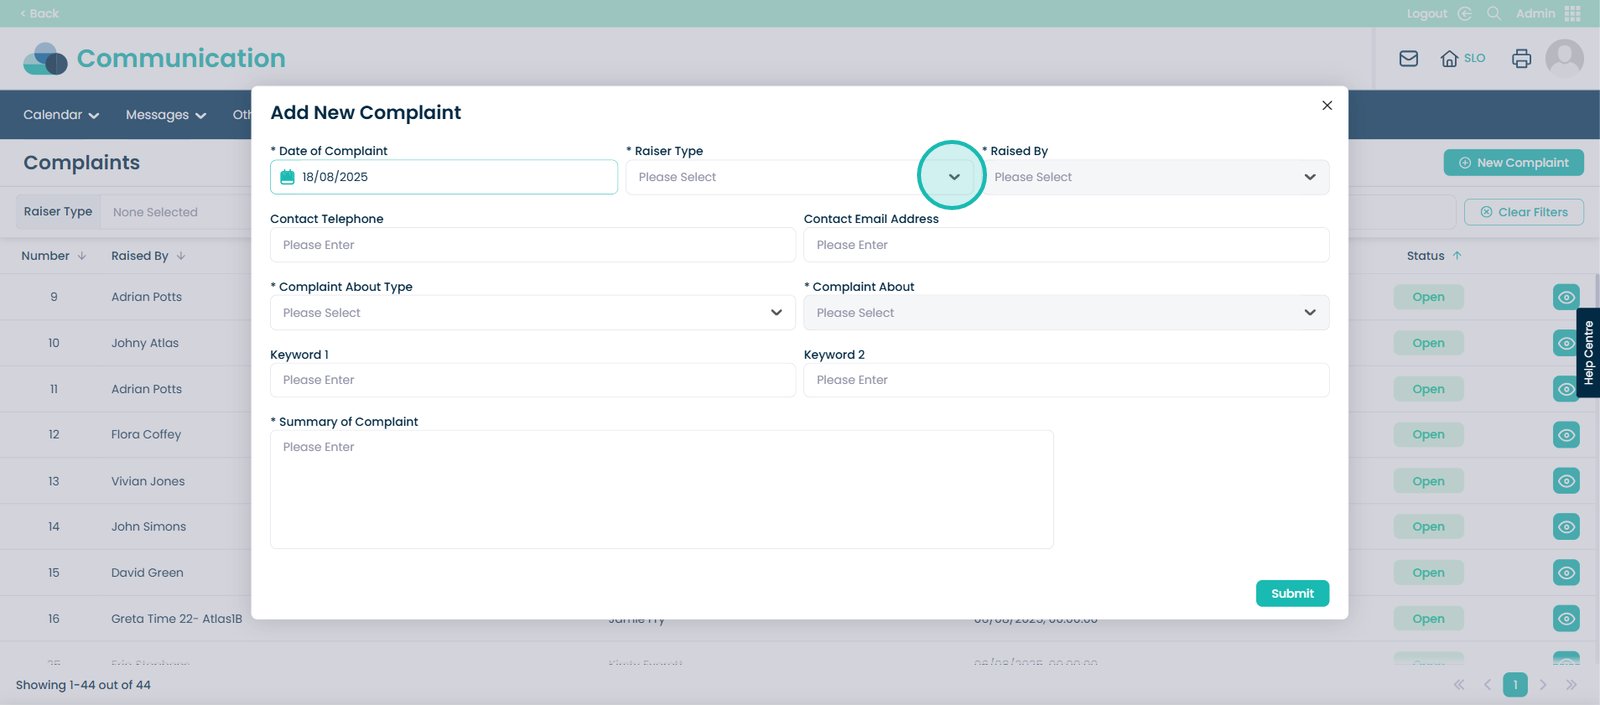
Then select the Raiser Type.
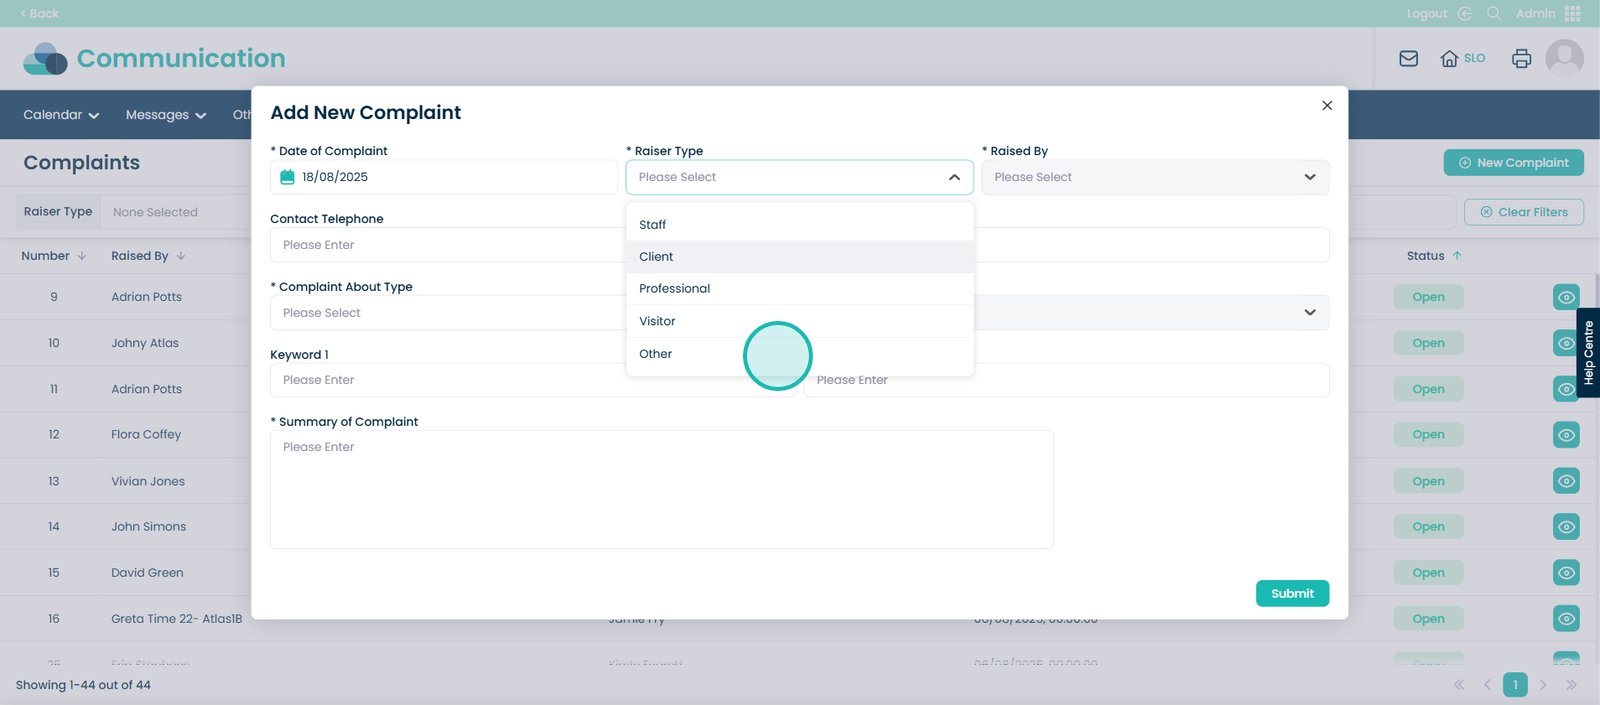
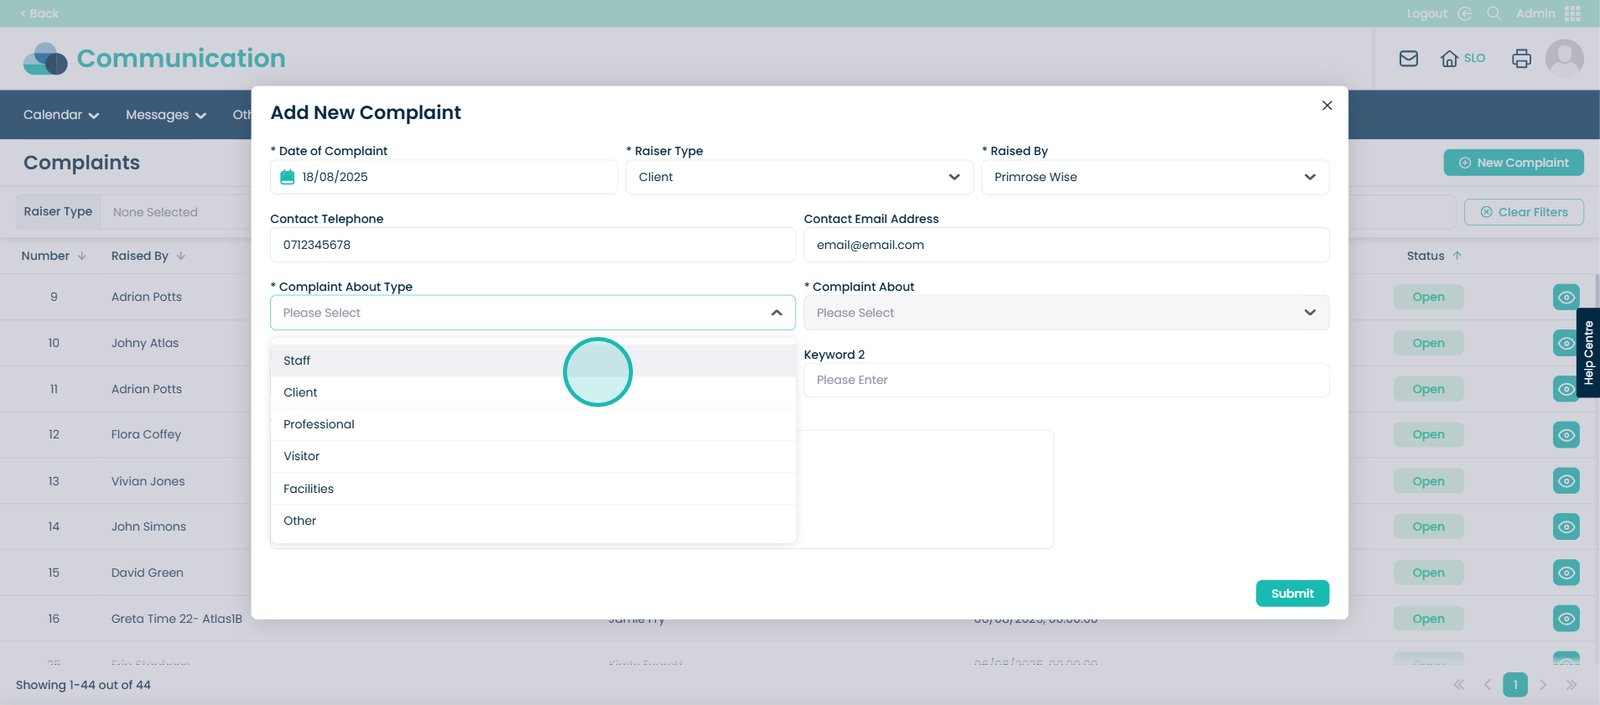
Here you will see the options = Staff, Client, Professional, Visitor and Other.
For this example, I have chosen client. Therefore, when I select the drop down arrow next to ‘Raised By’, I will see the clients within the system.
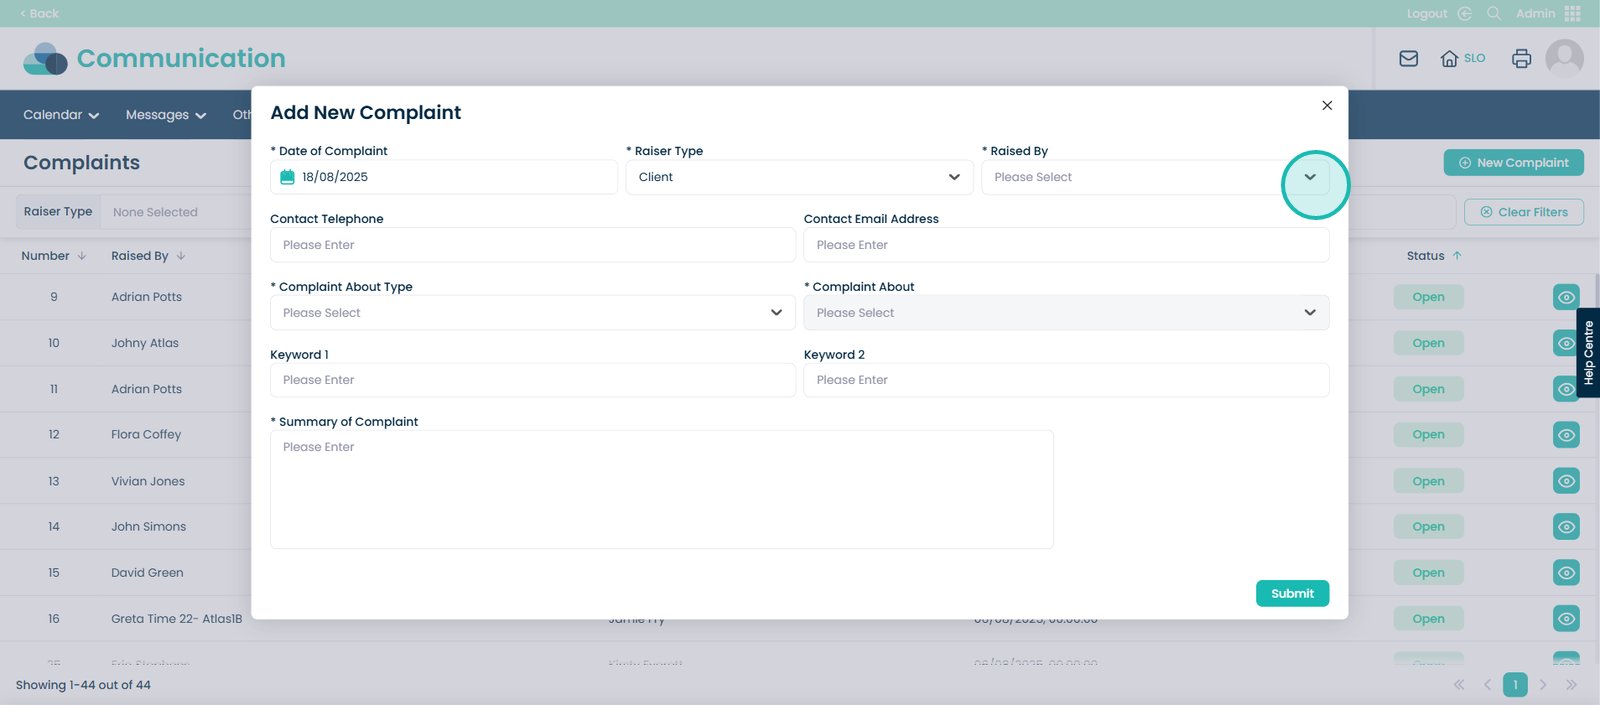
Choose the client who raised the complaint.
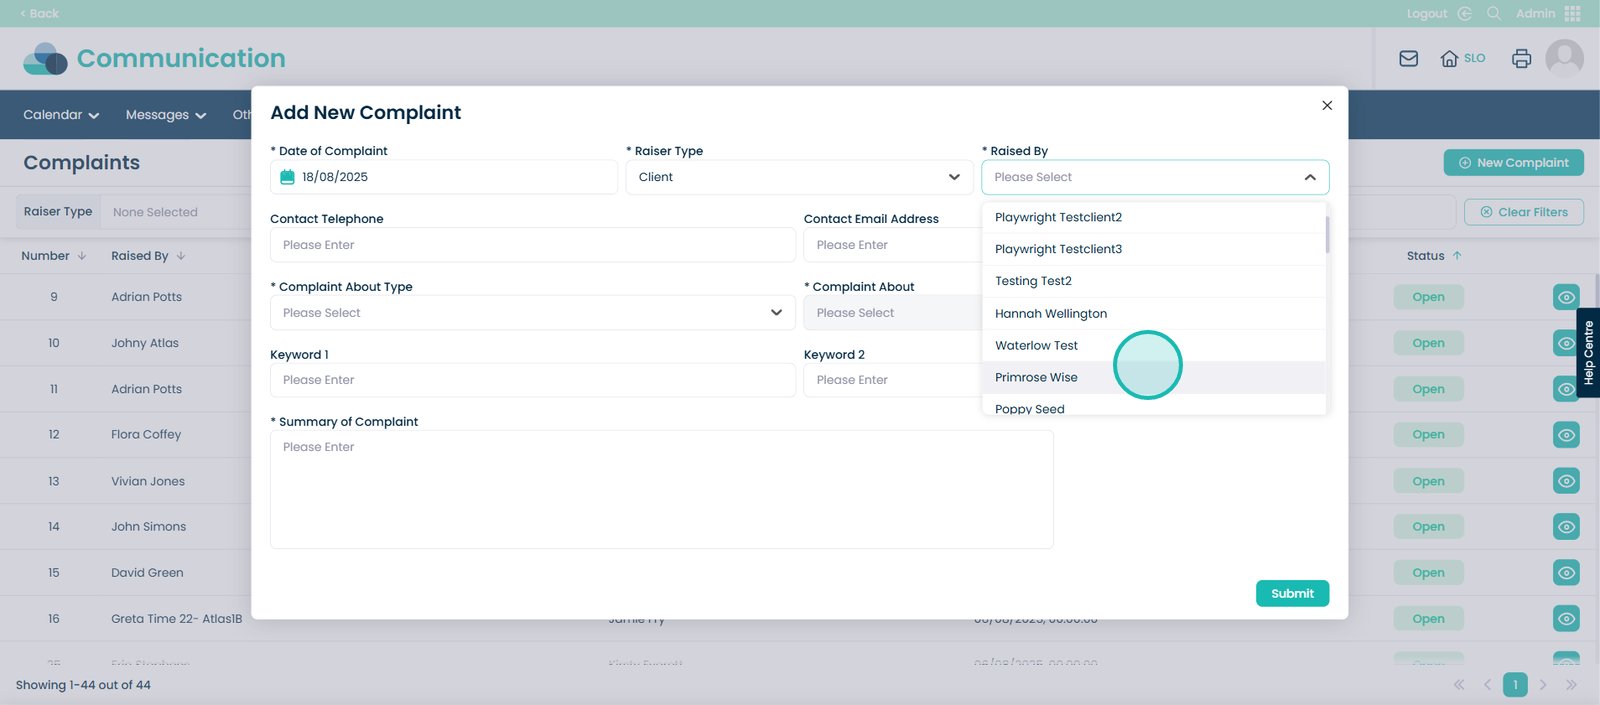
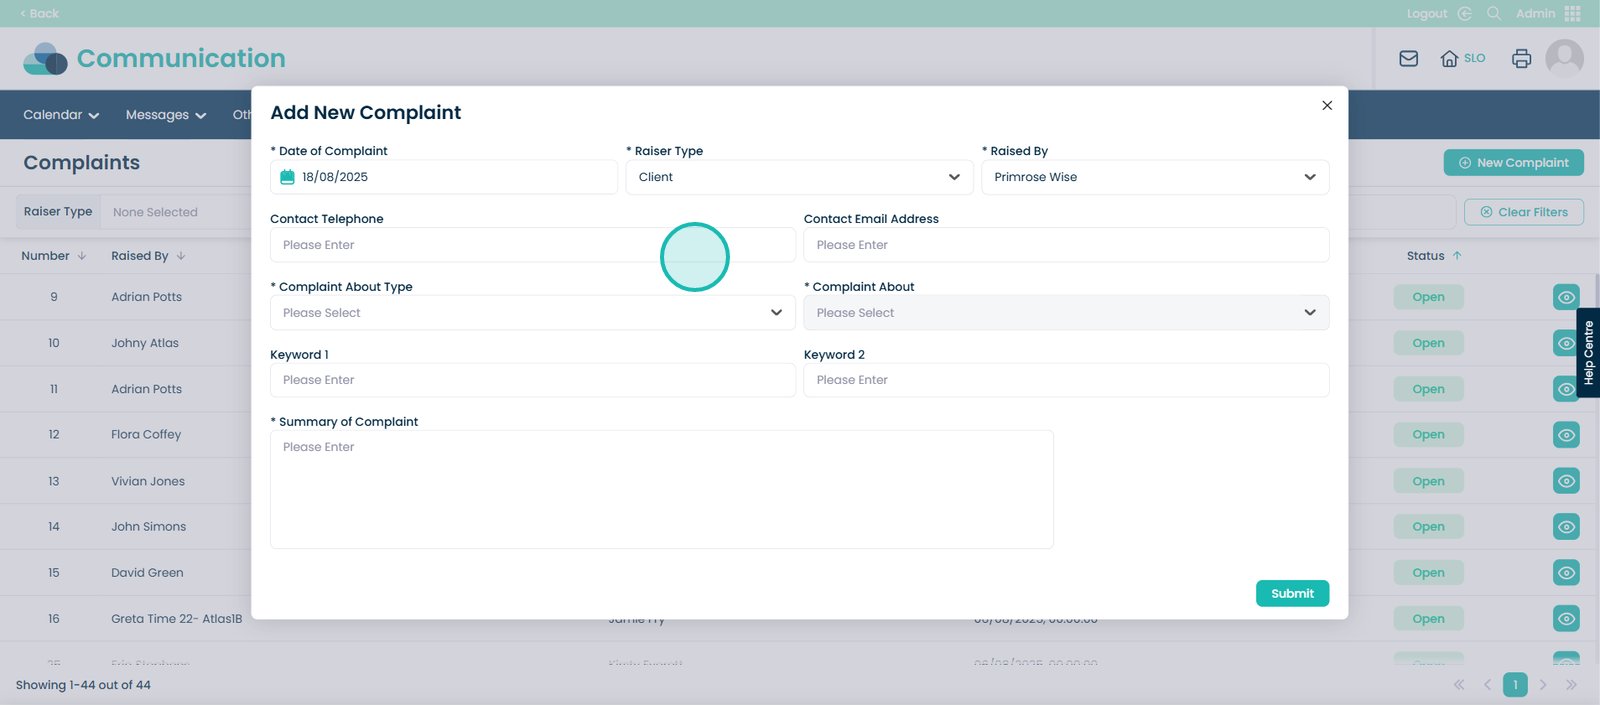
Then enter the contact details of the client.
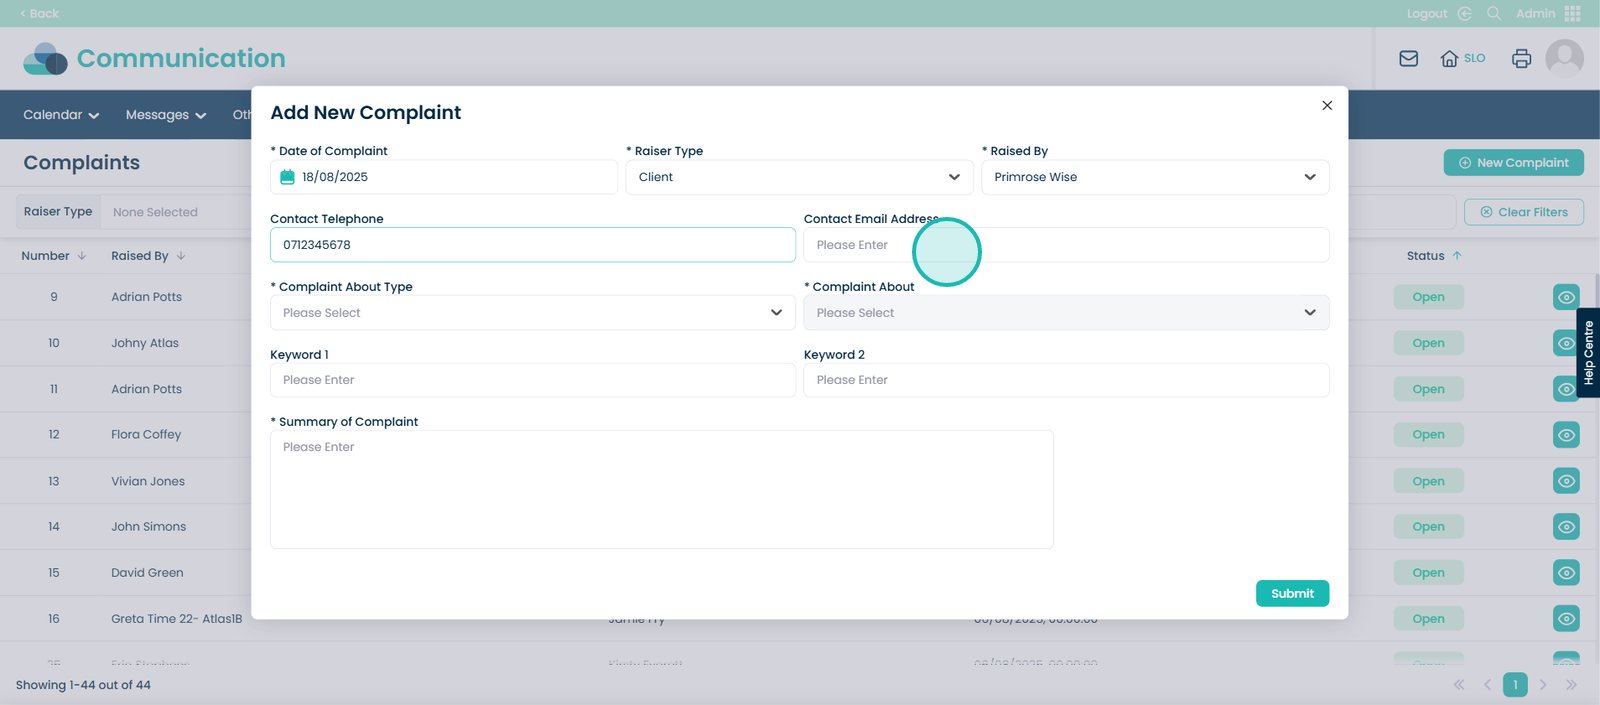
And the clients Email Address.
Now select the Complaint About Type.
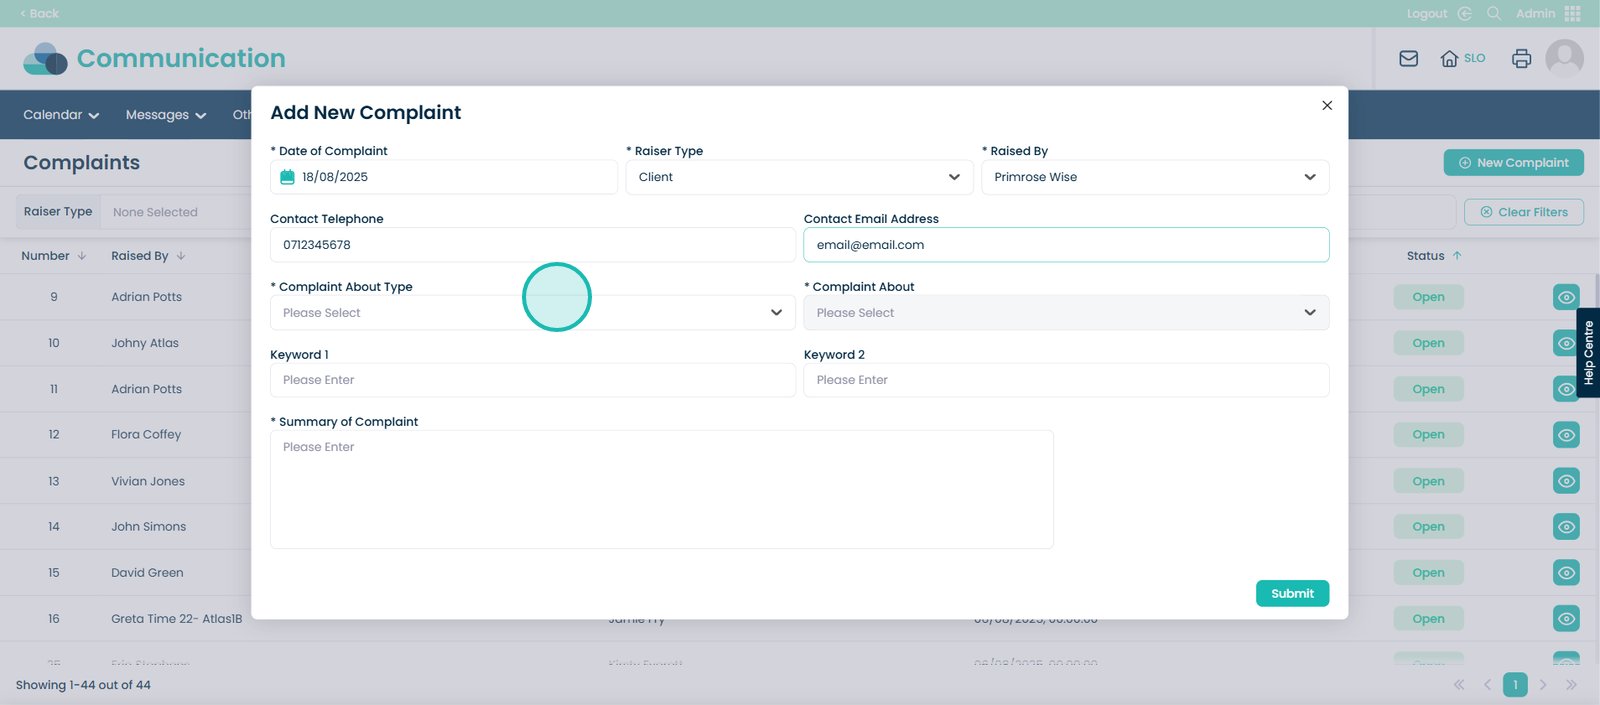
For this example, I have chosen Staff.
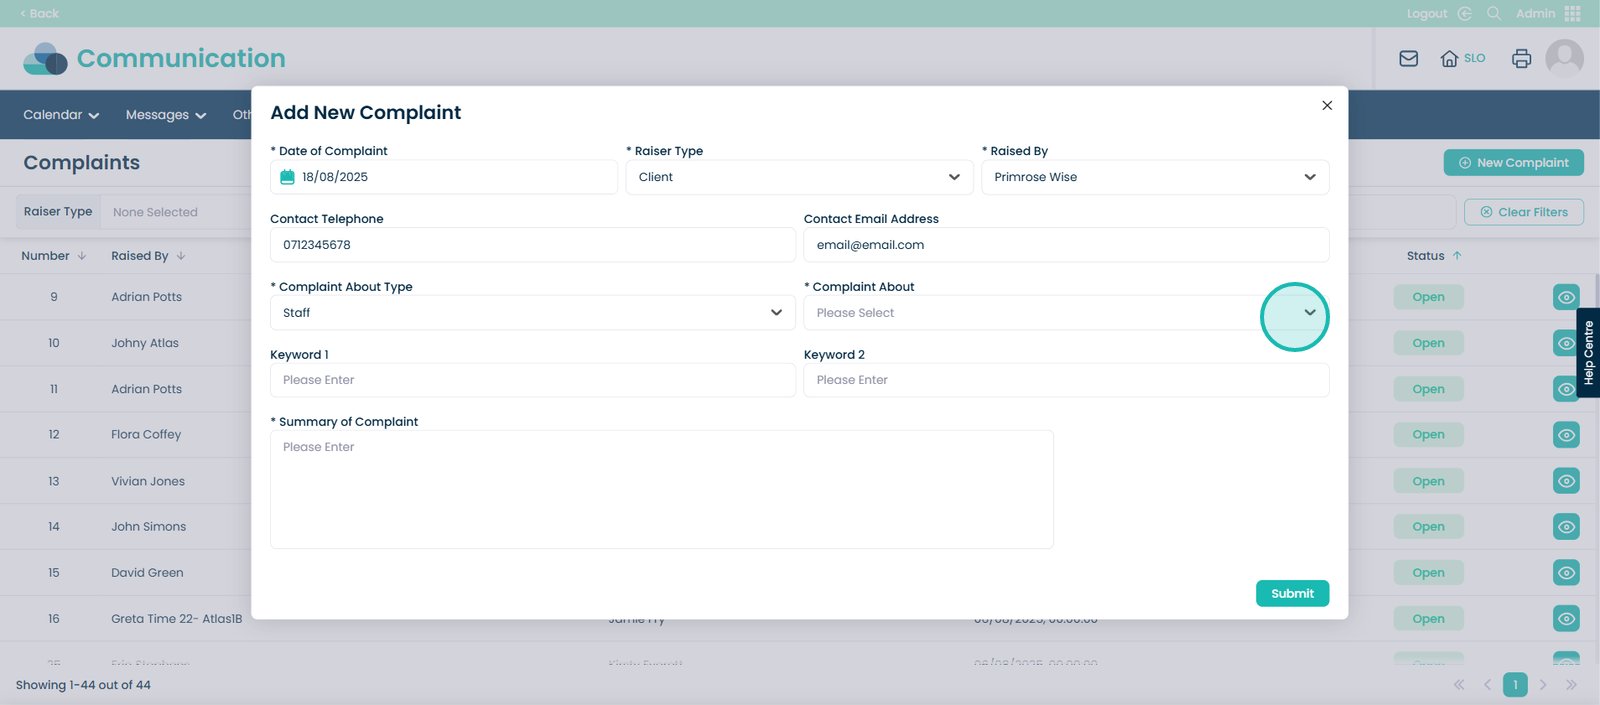
Now select the Complaint About – this will be the particular staff member.
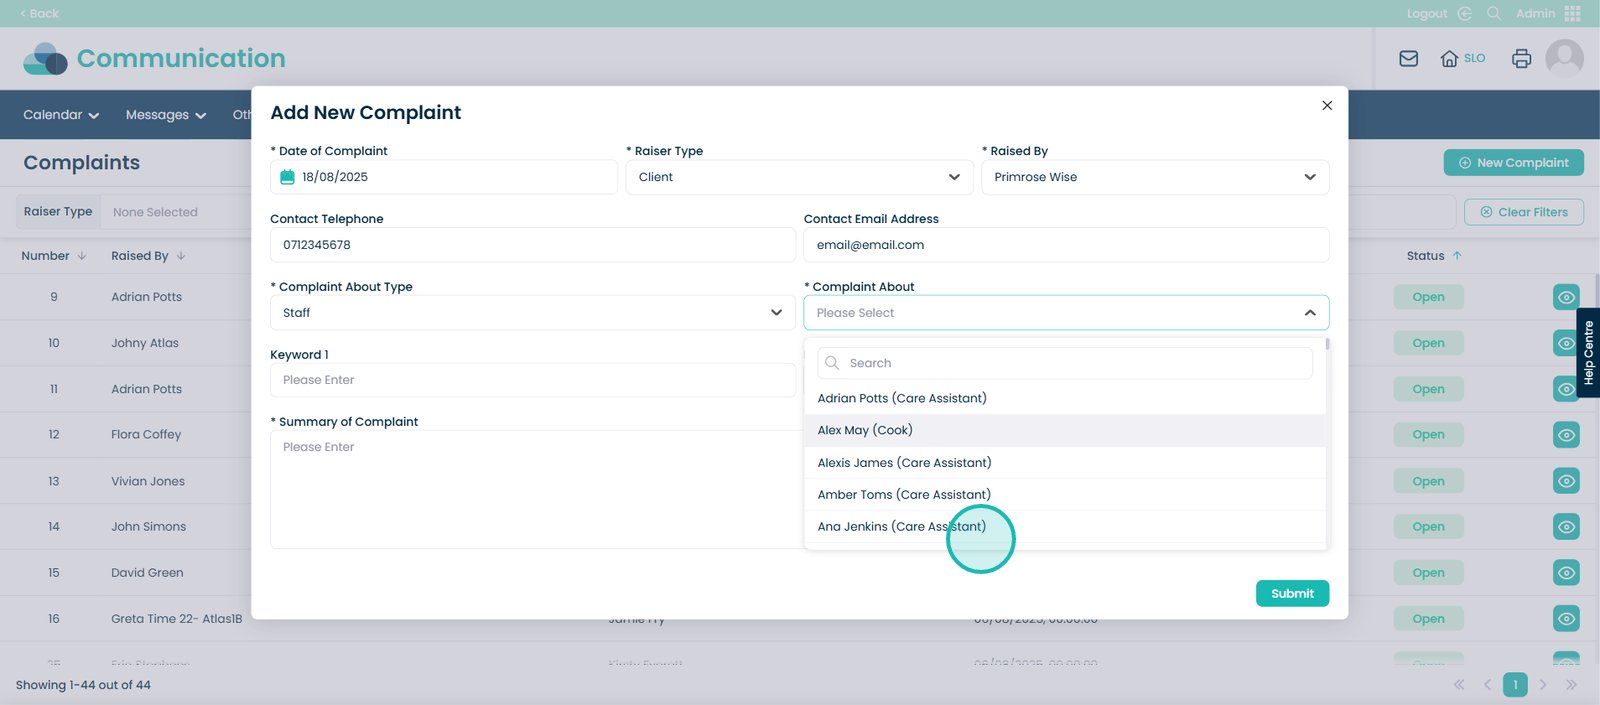
Choose the staff member.
Now you have the option to add 2 key words to this complaint. So for example, if this complaint was in relation to safeguarding, you would add this as a keyword.
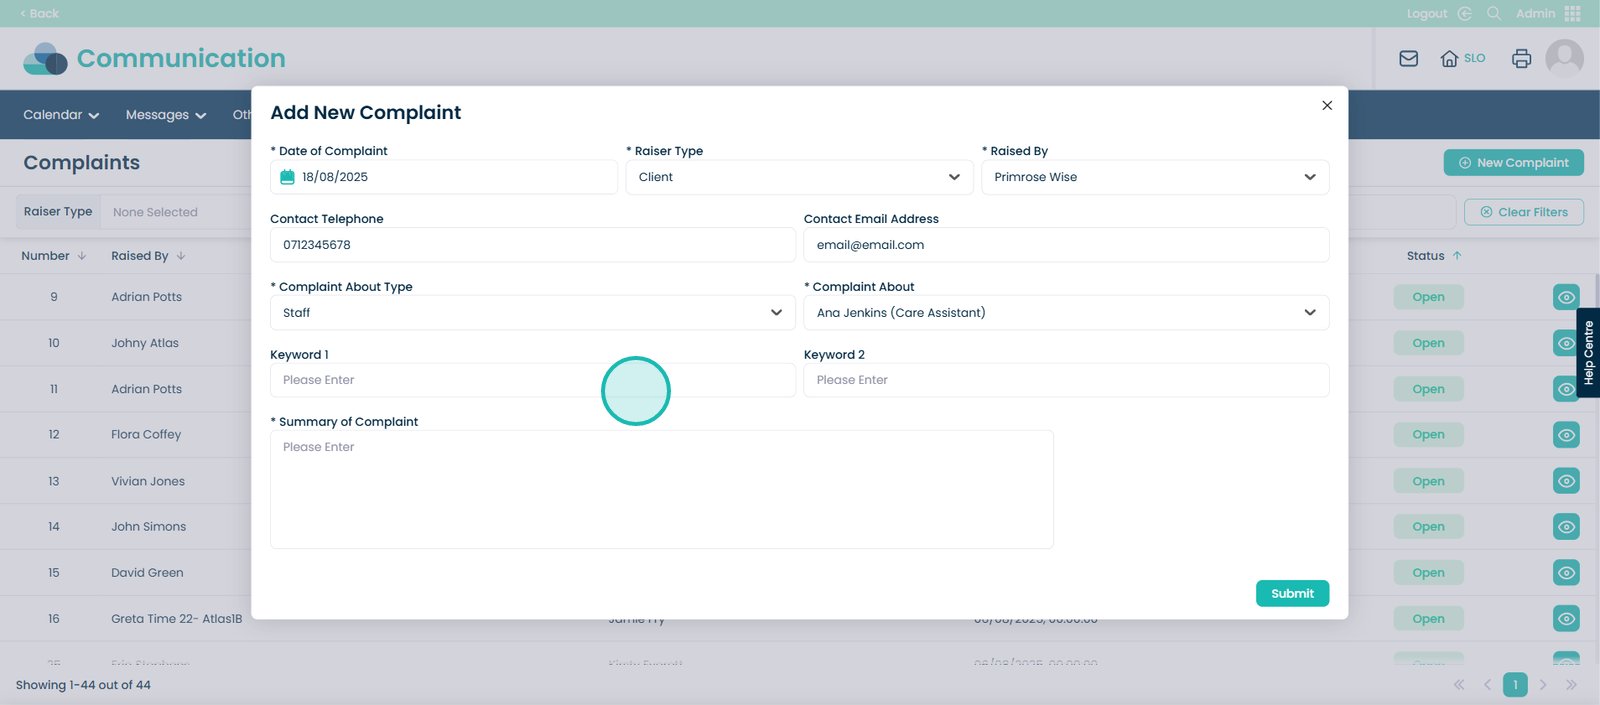
You then will need to fill out the Summary of Complaint box.
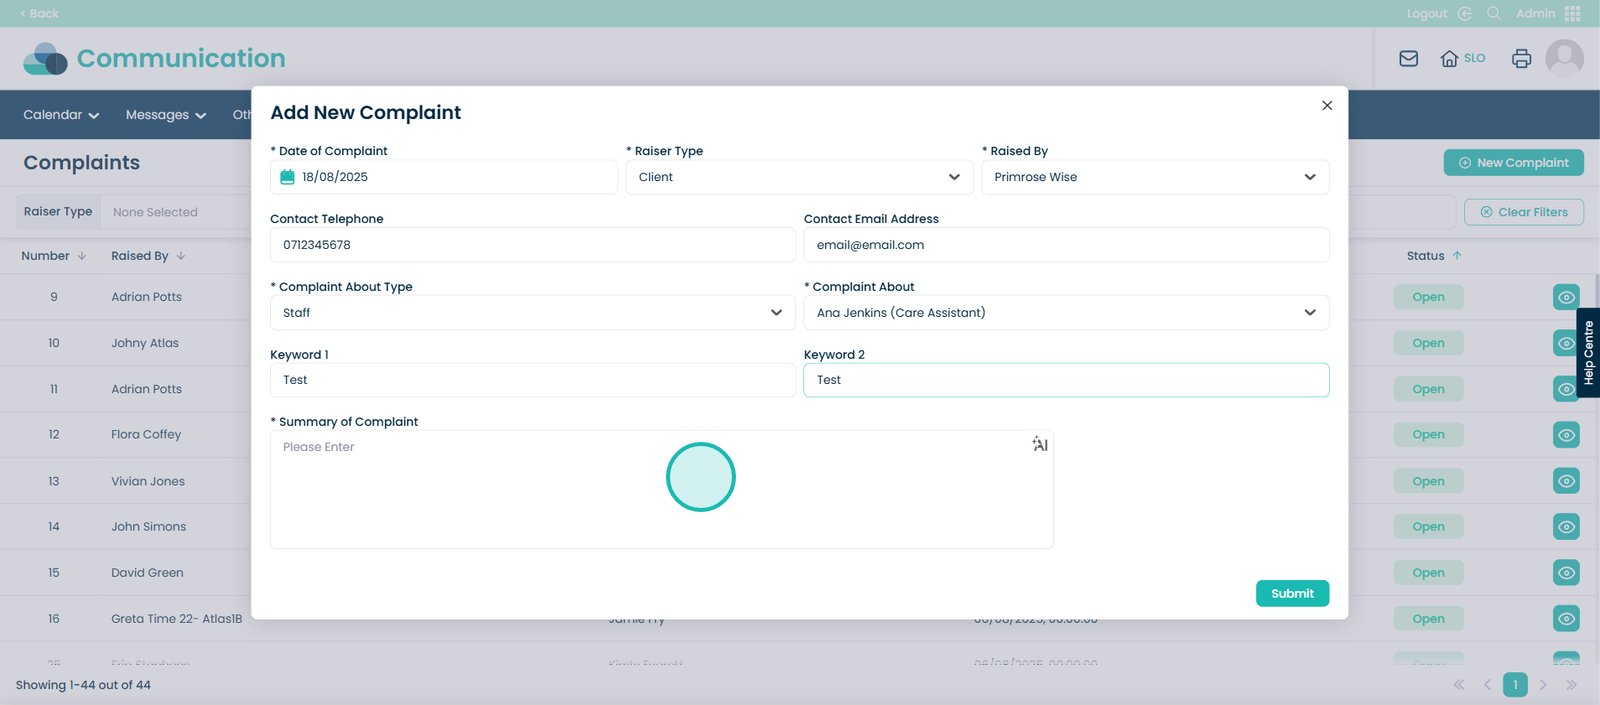
And you have the option to use MargoAI as well.
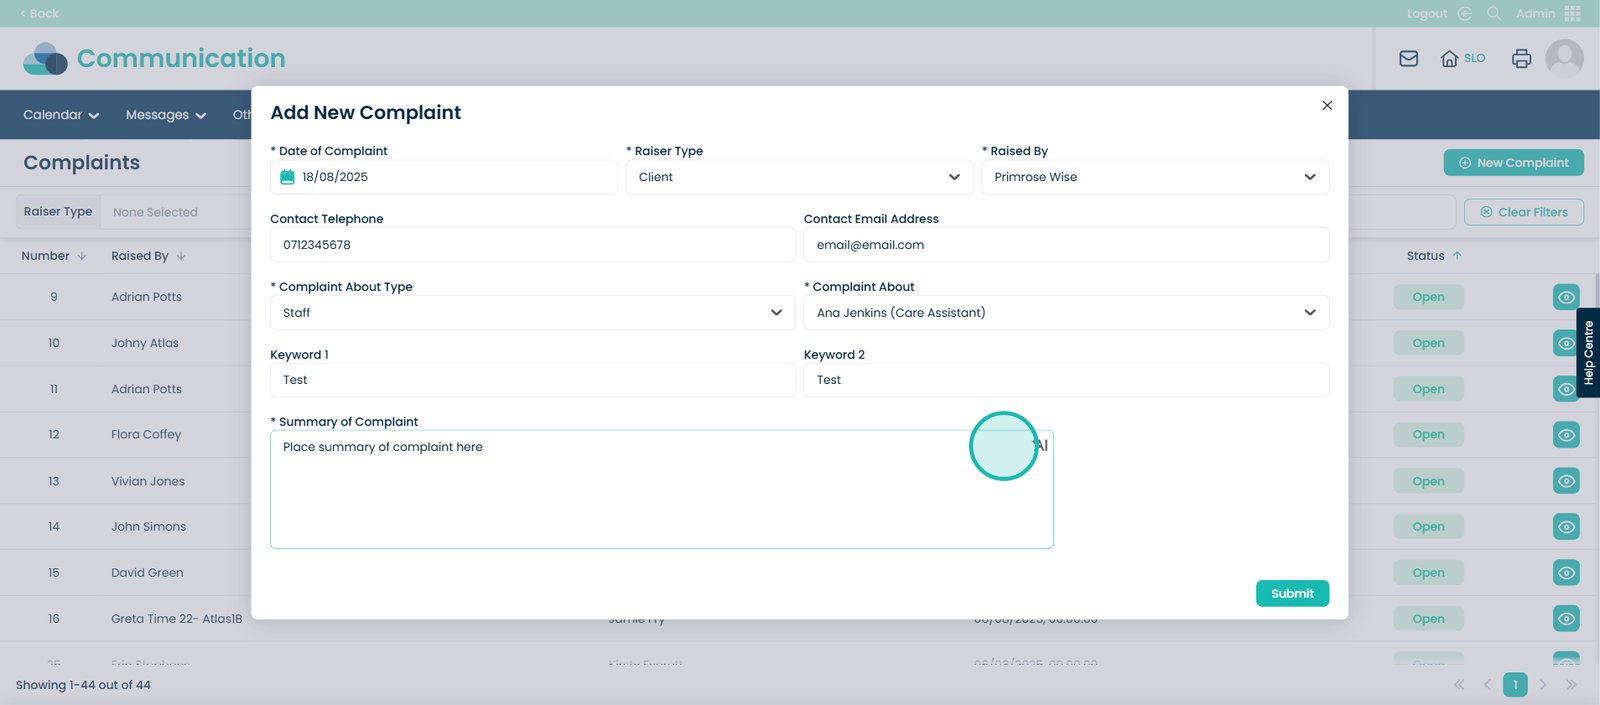
Once you have entered the details of the new complaint, select the ‘Submit’ button.
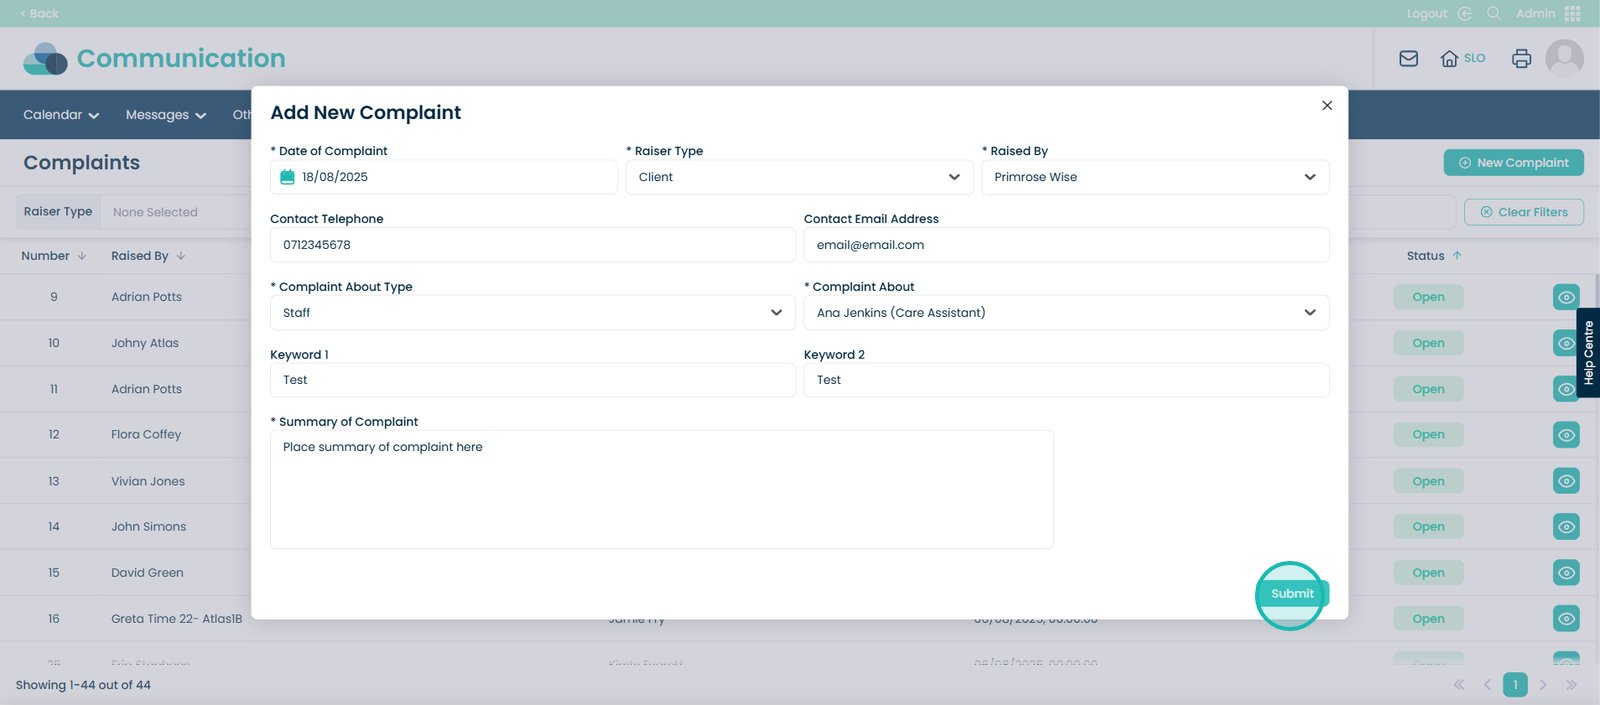
Another tool we have added to make adding a new complaint easier is the ability to link multiple service users who may be associated with the complaint.
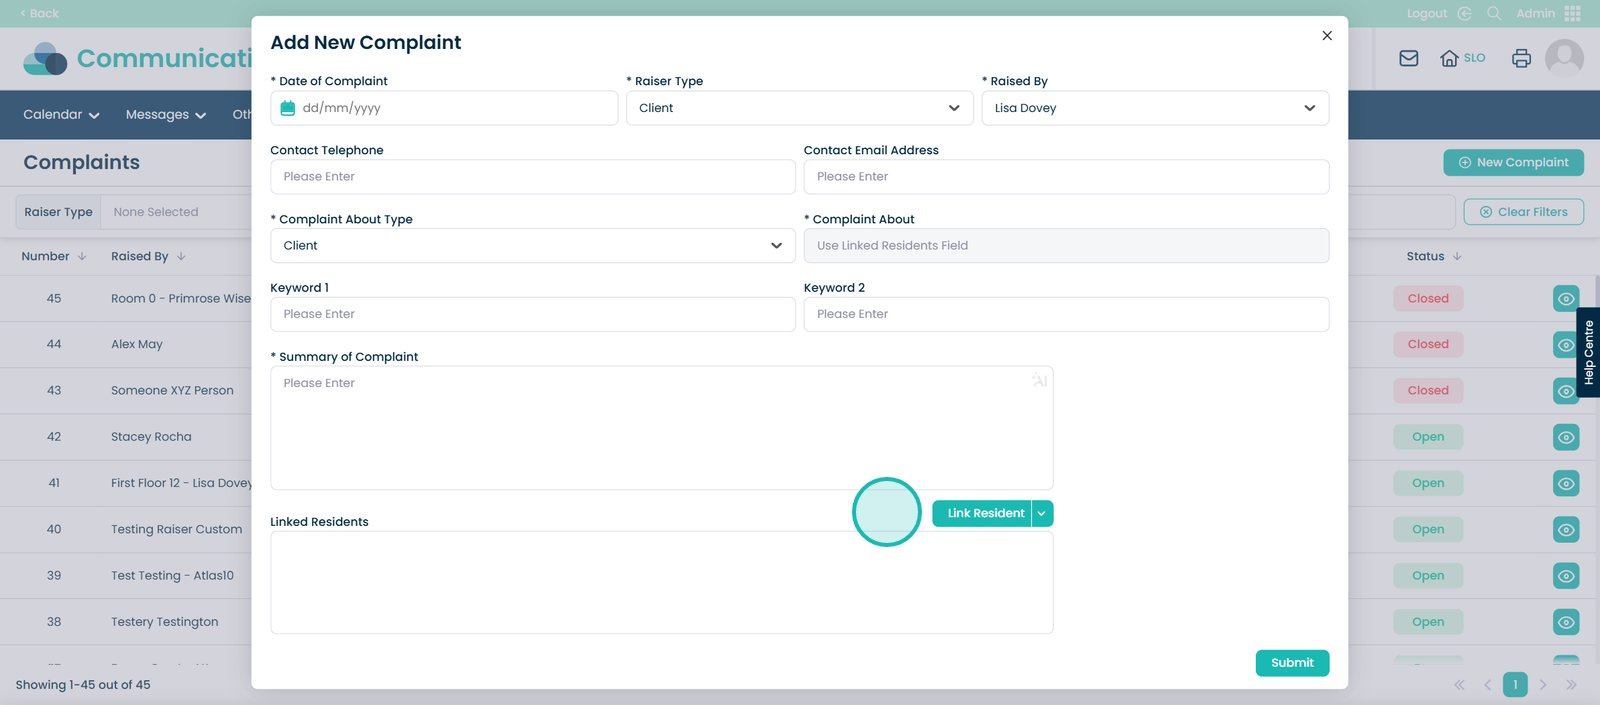
Simply, click the ‘Link Resident’ button.
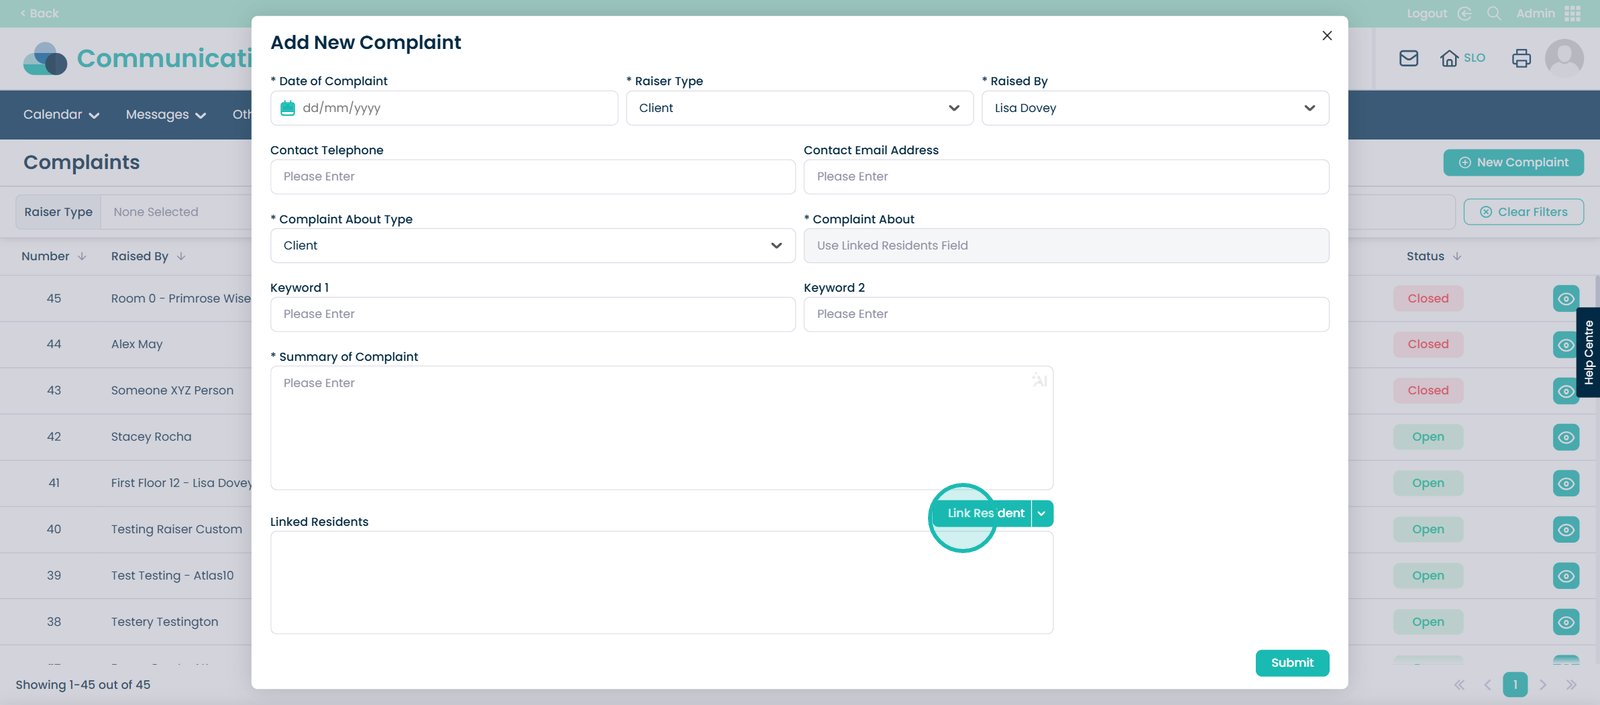
You will then see a list of all the service users within your system.
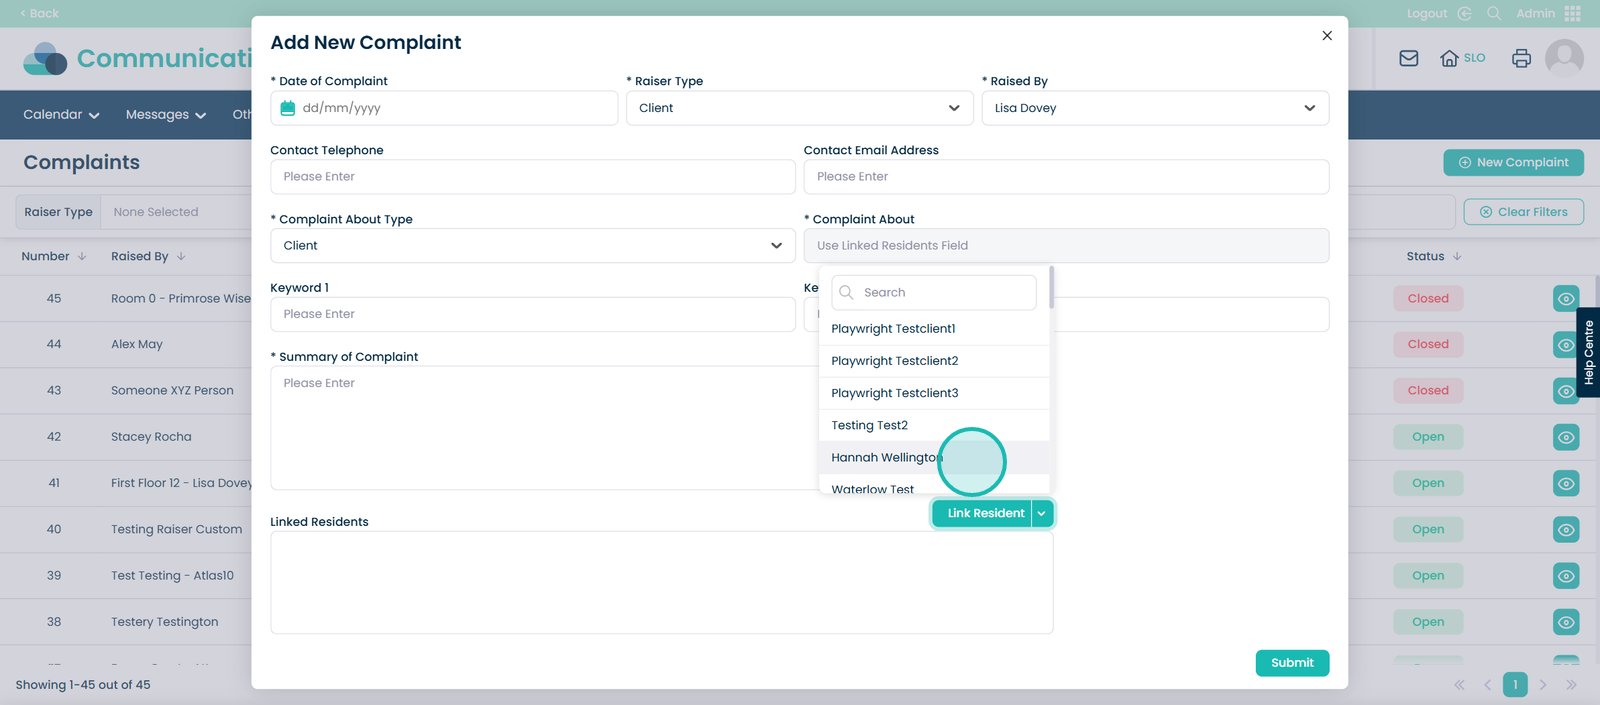
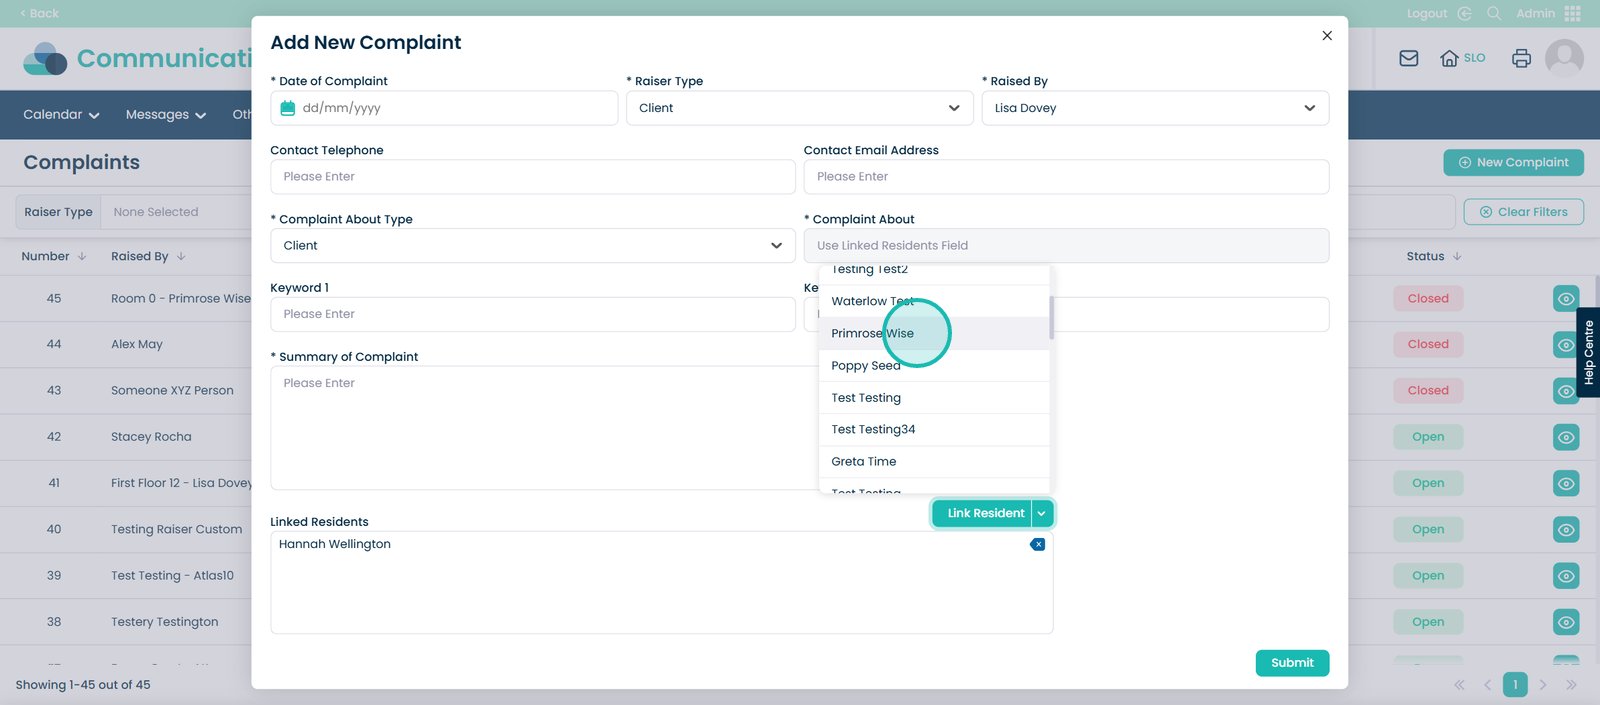
You can now go back and forth from the list, adding the service users who are linked to this complaint.
Once you have added all the service users associated with this complaint, you can then select the ‘Submit’ button.
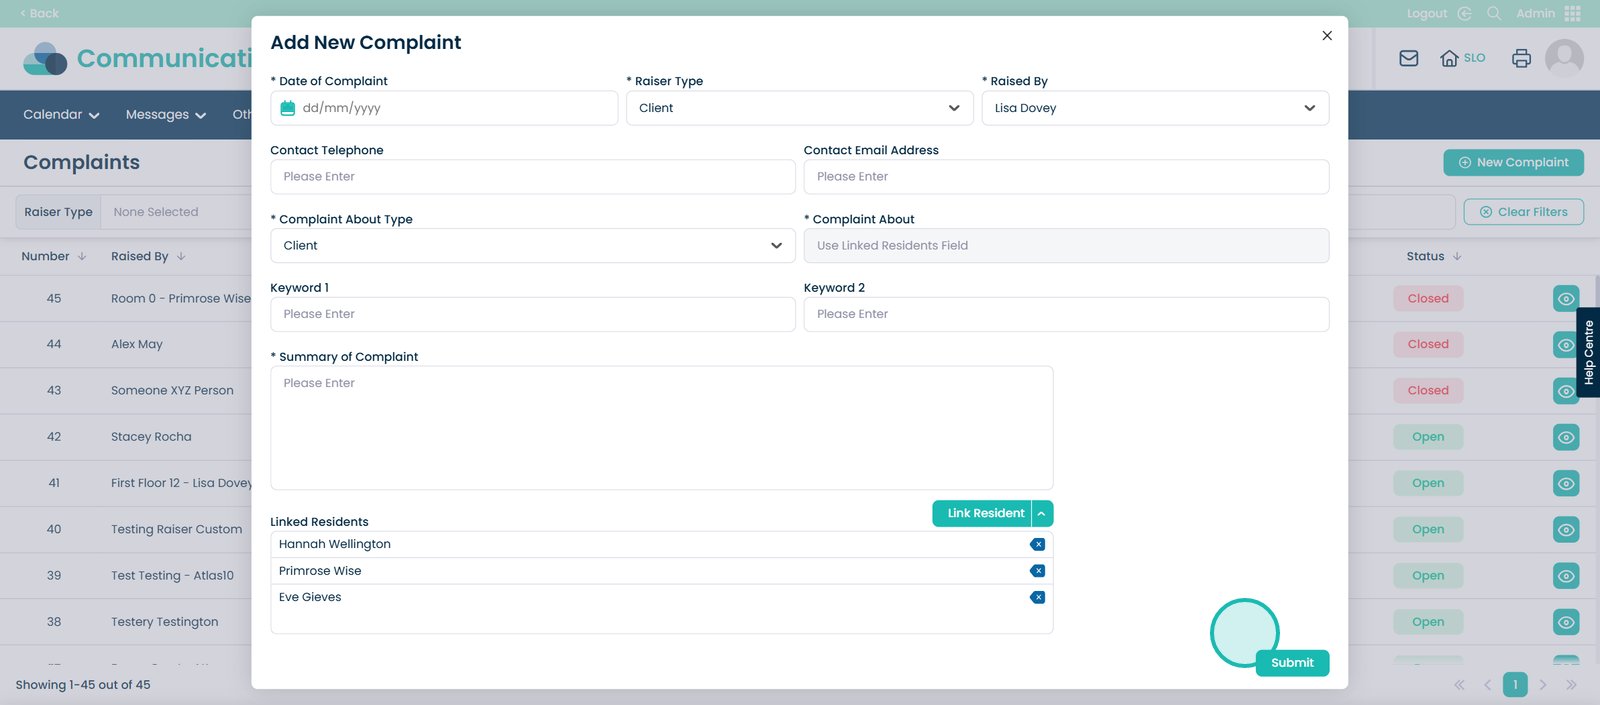
Now you will see that the complaint is now open.
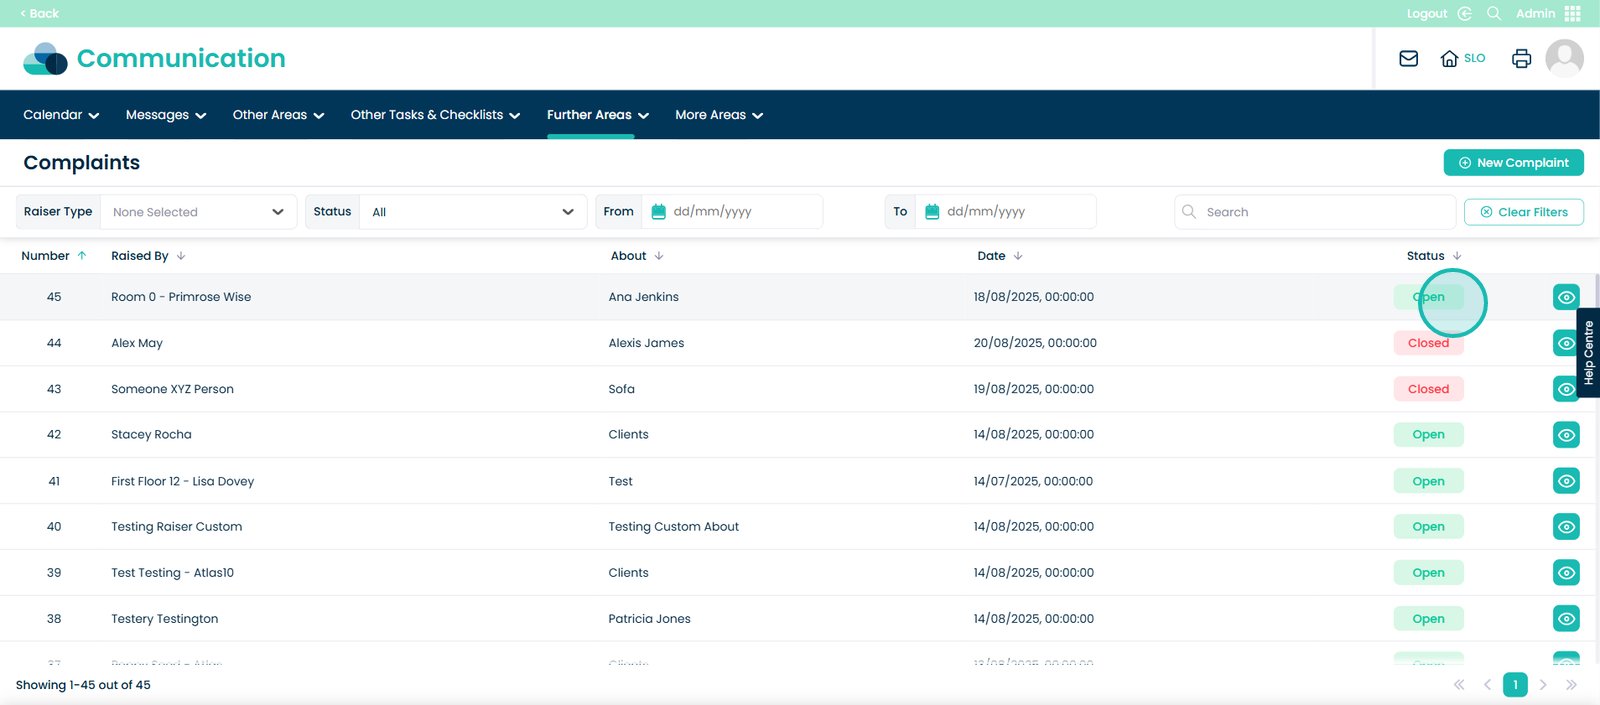
Then select the eye icon on the right hand side.
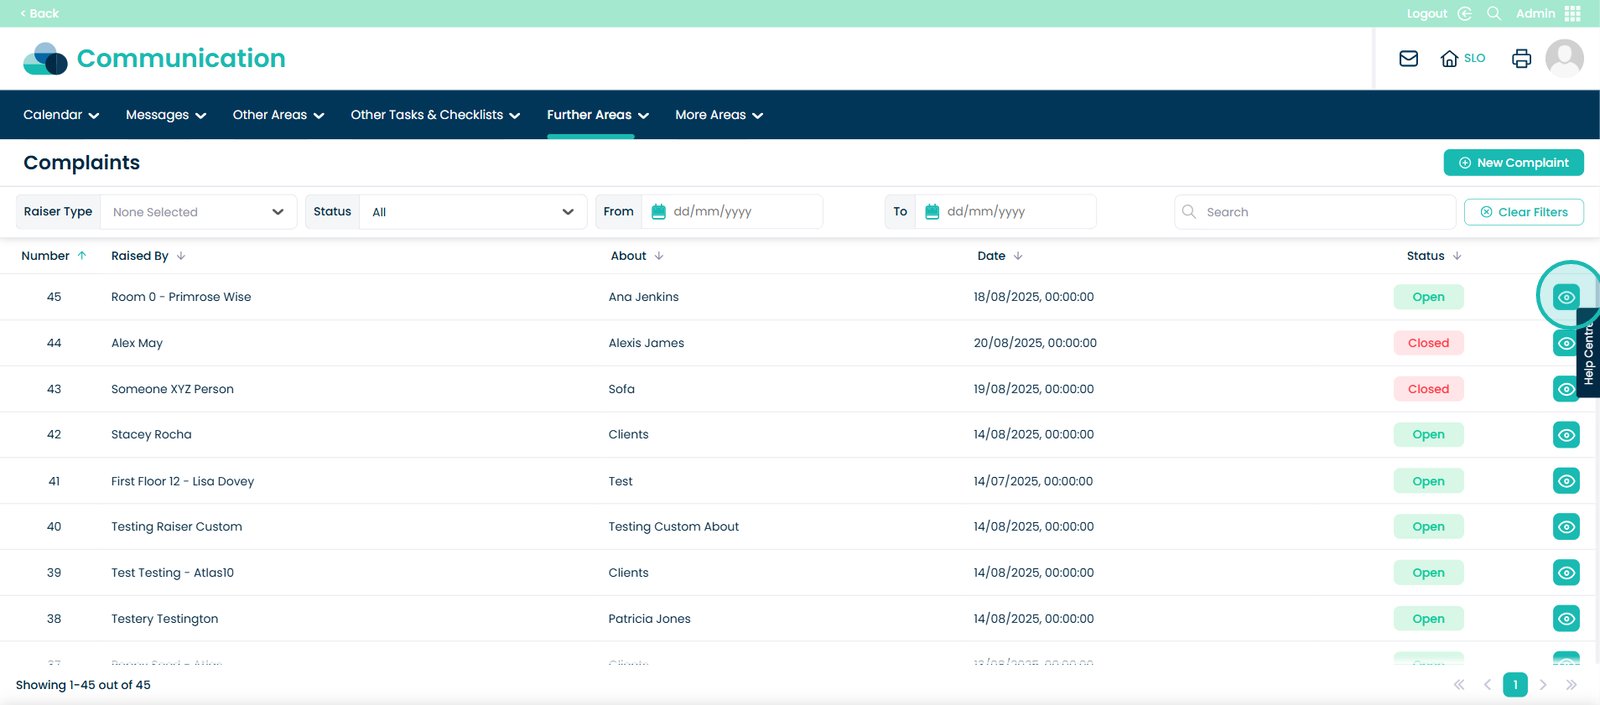
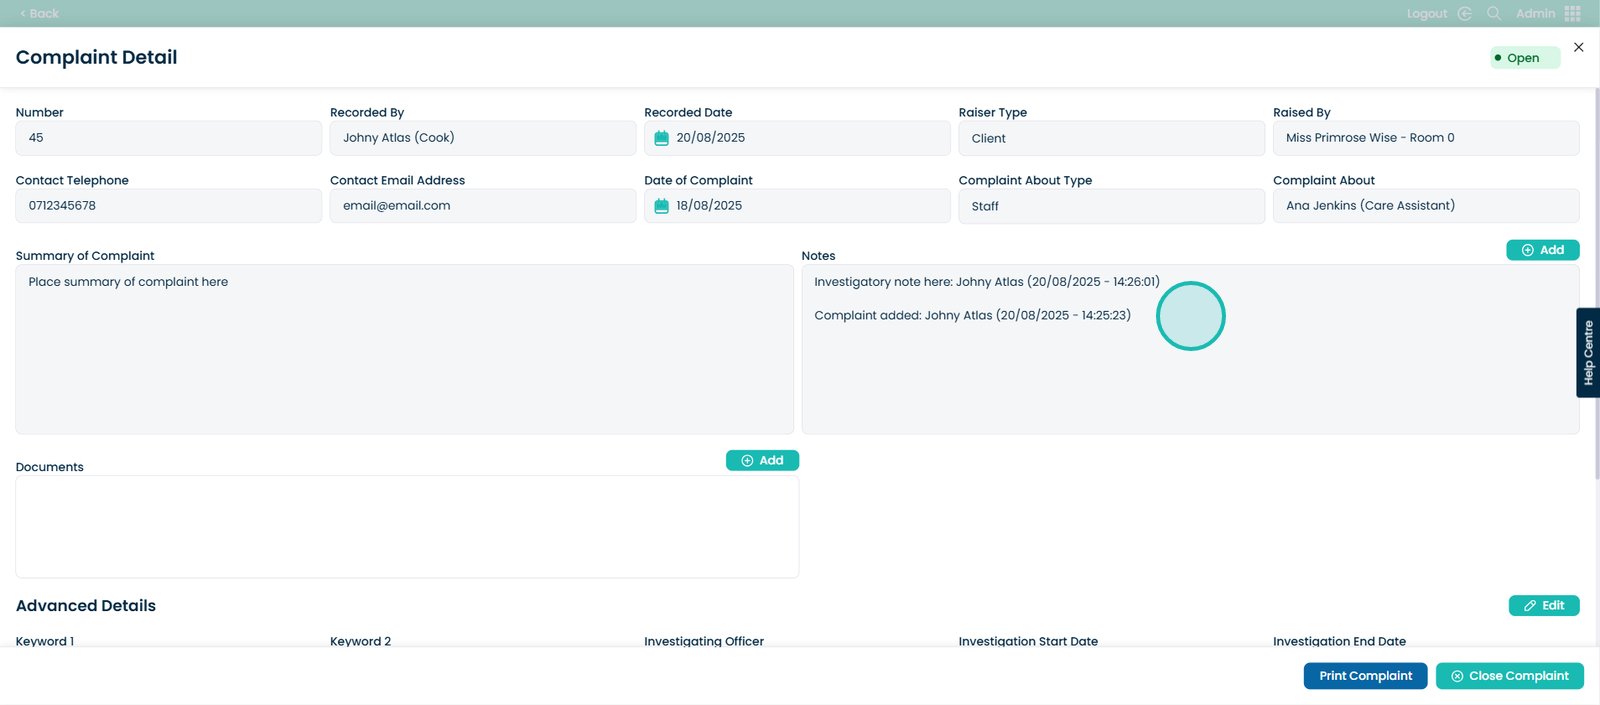
Here, you will see the complaint detail. Here you can add more notes to the complaint as the complaint investigation continues.
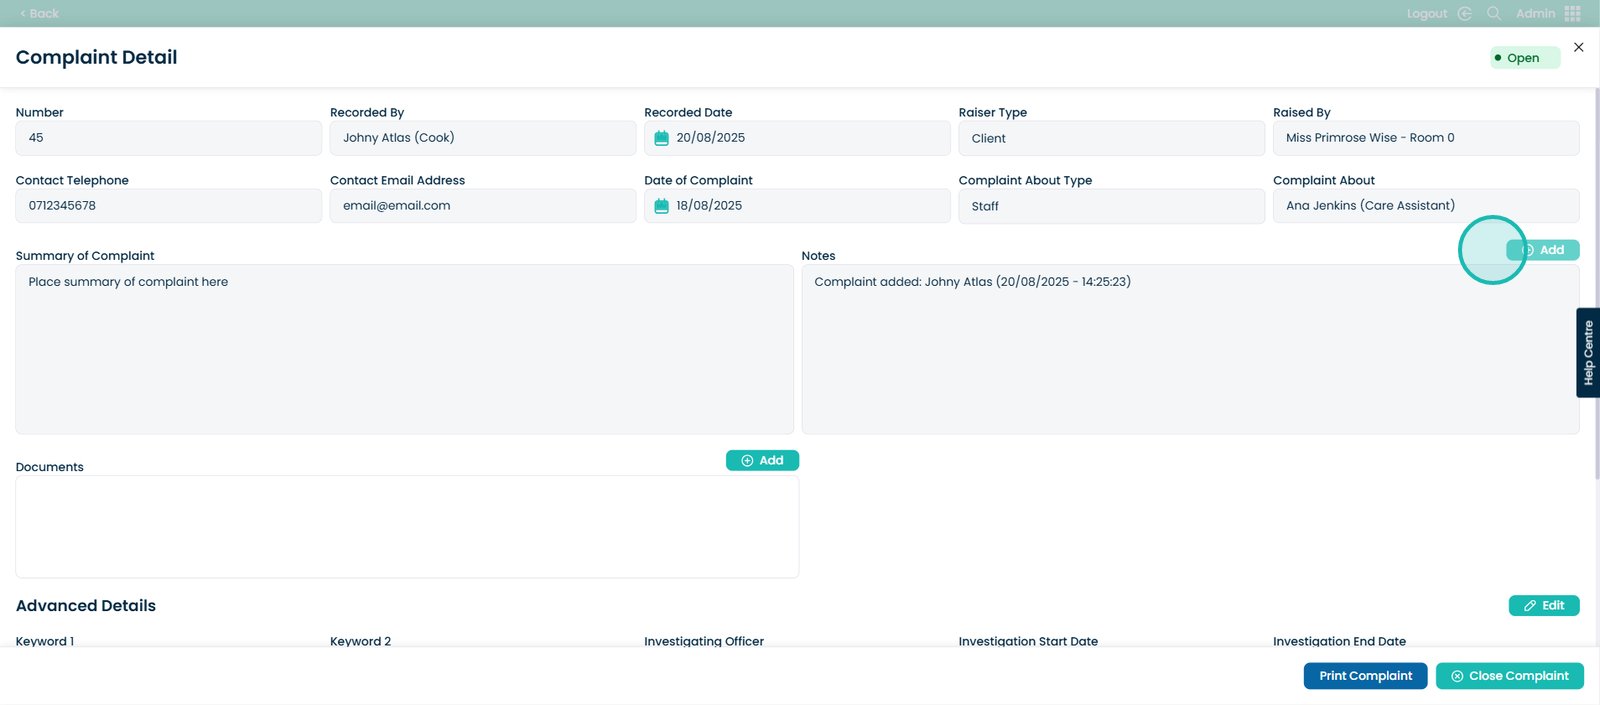
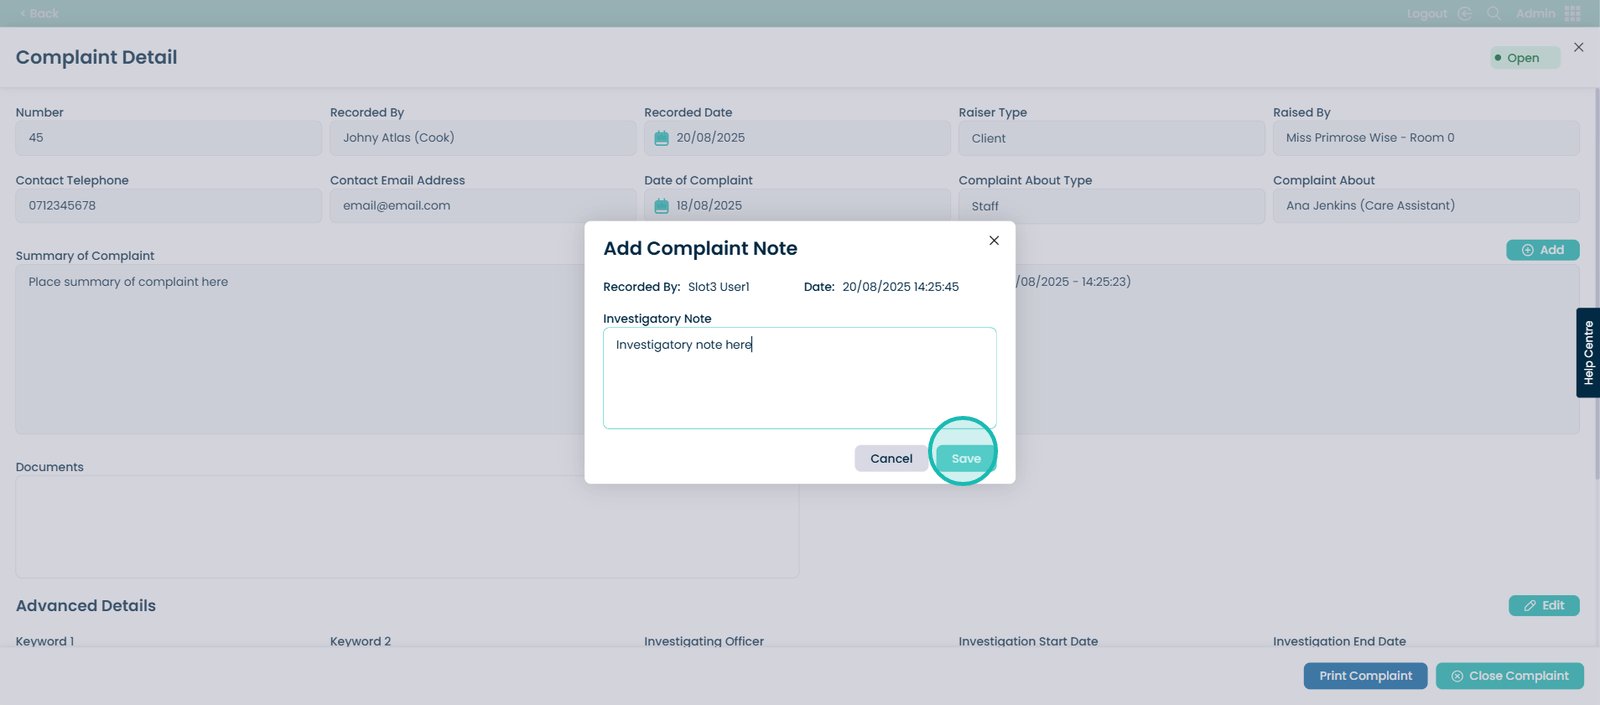
This screen will appear. Let’s say you are in the middle of the investigation of the complaint, if there are any updates or notes regarding the complaint, you can add them here.
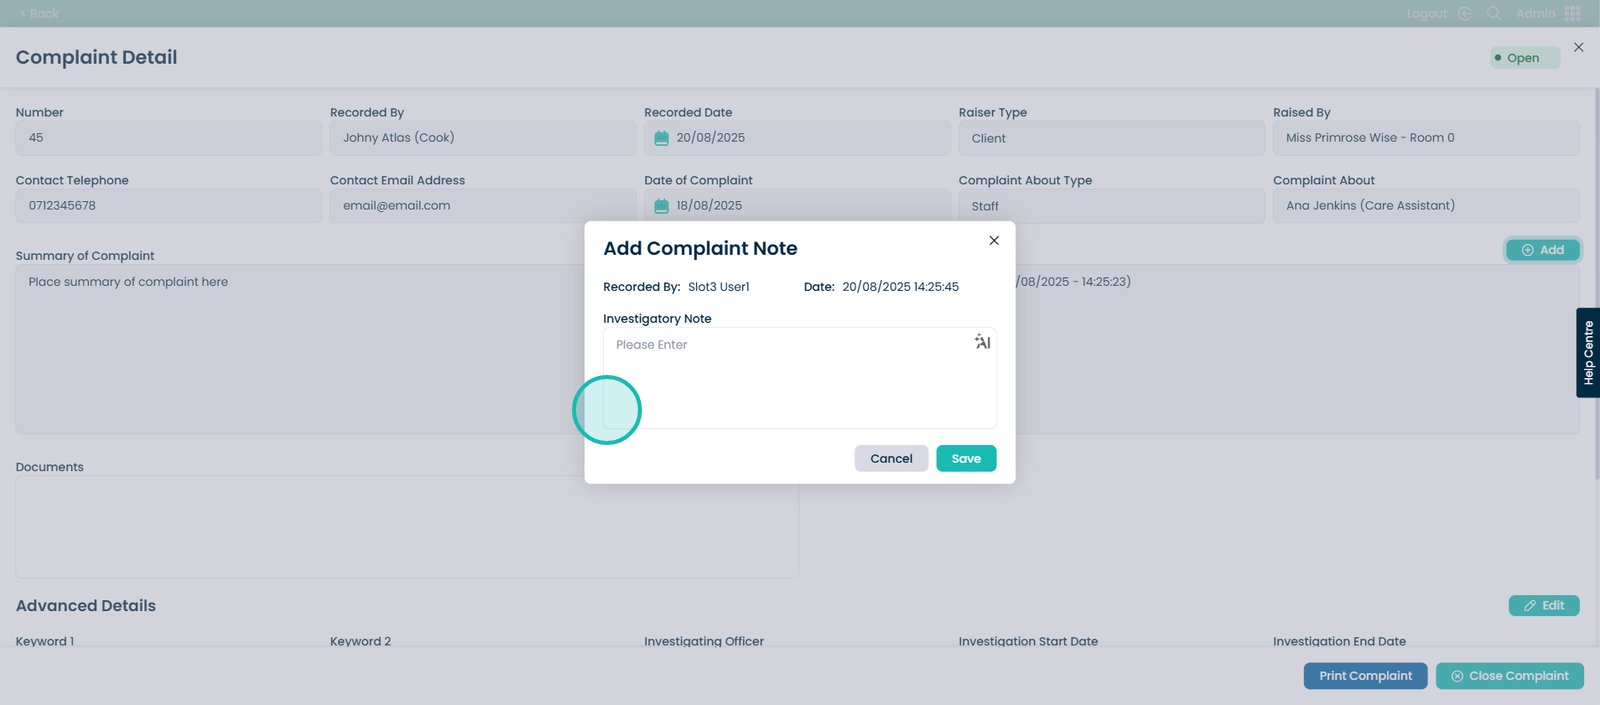
Then select the ‘Save’ button.
You will then see the date and time the most recent note was added.
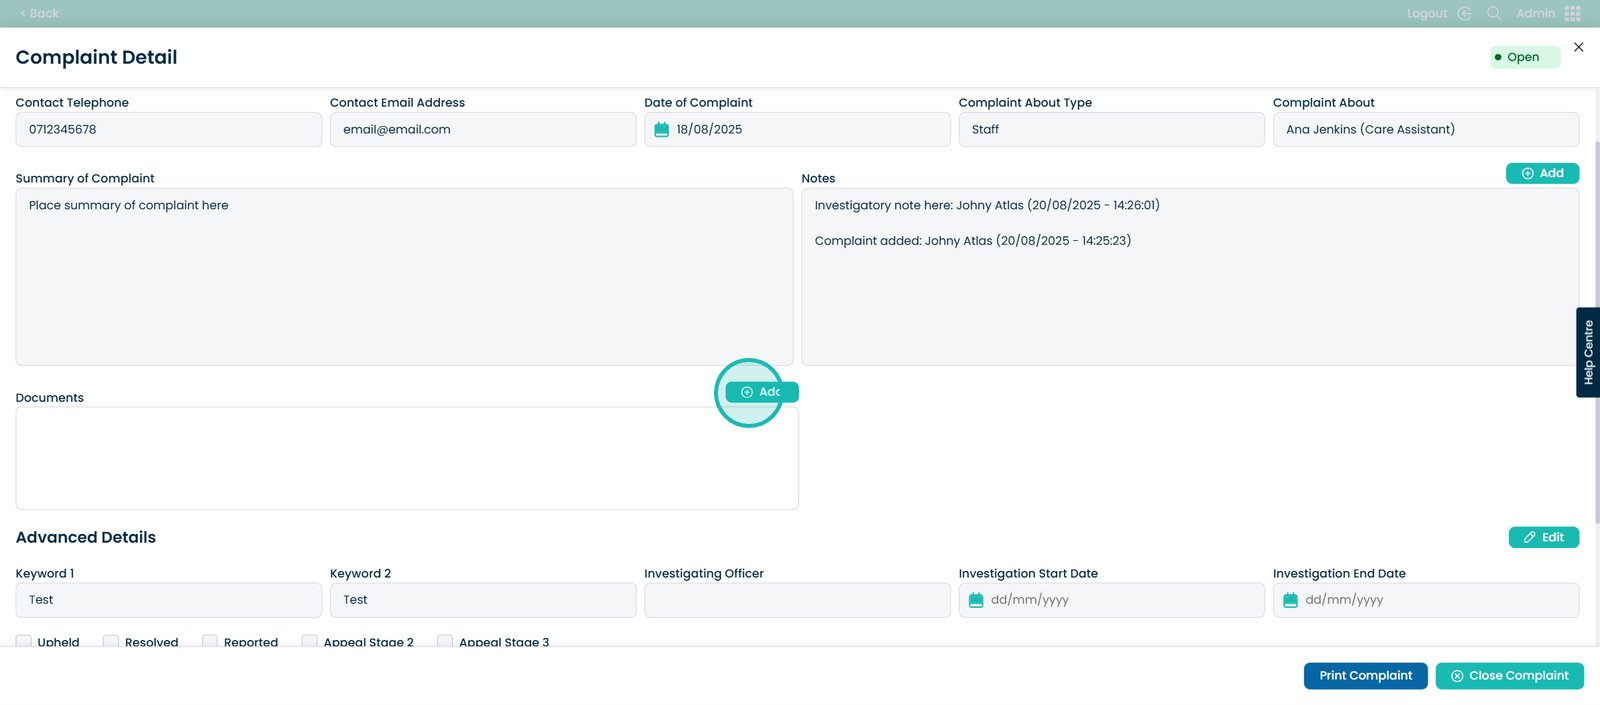
You also have the option to add any documents necessary to the complaint detail.
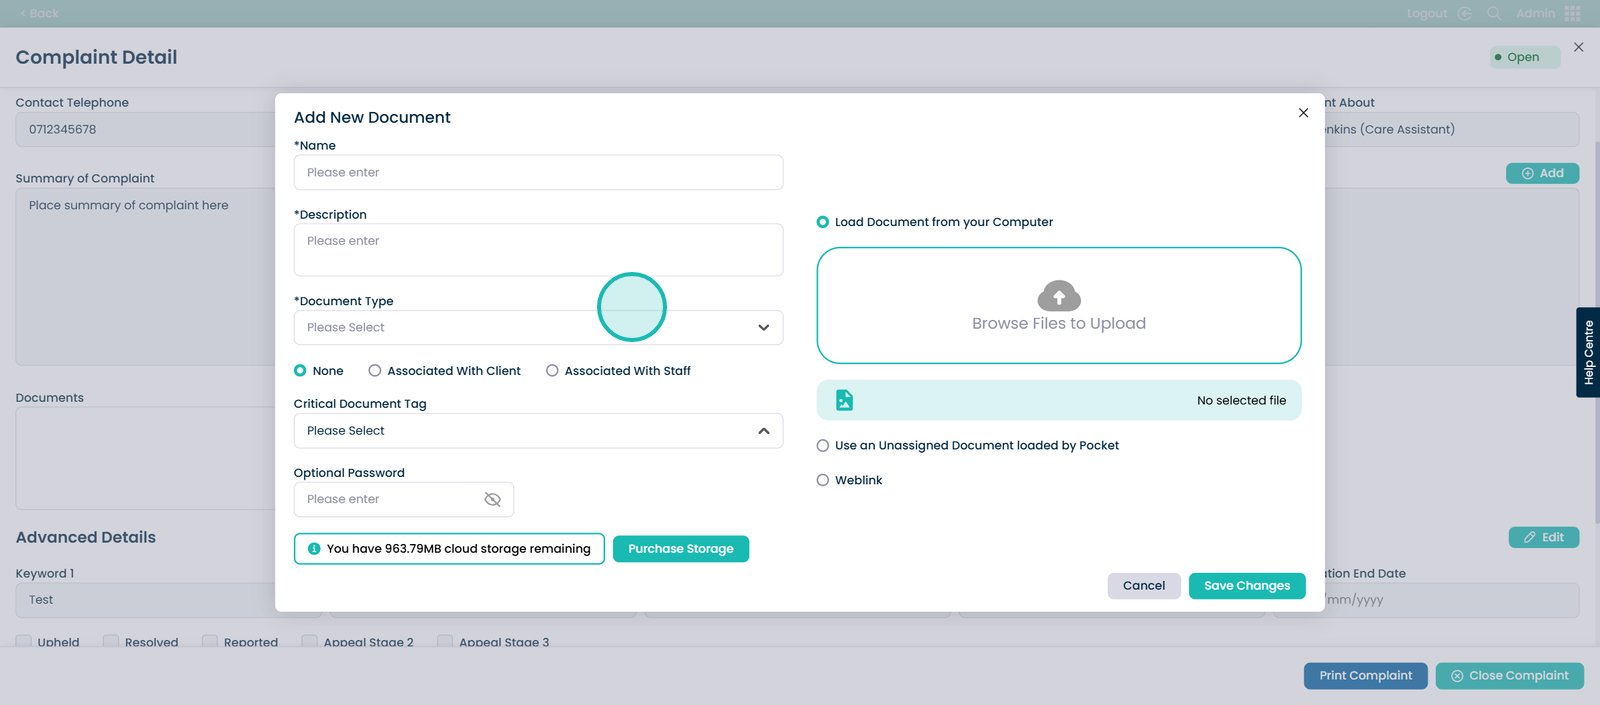
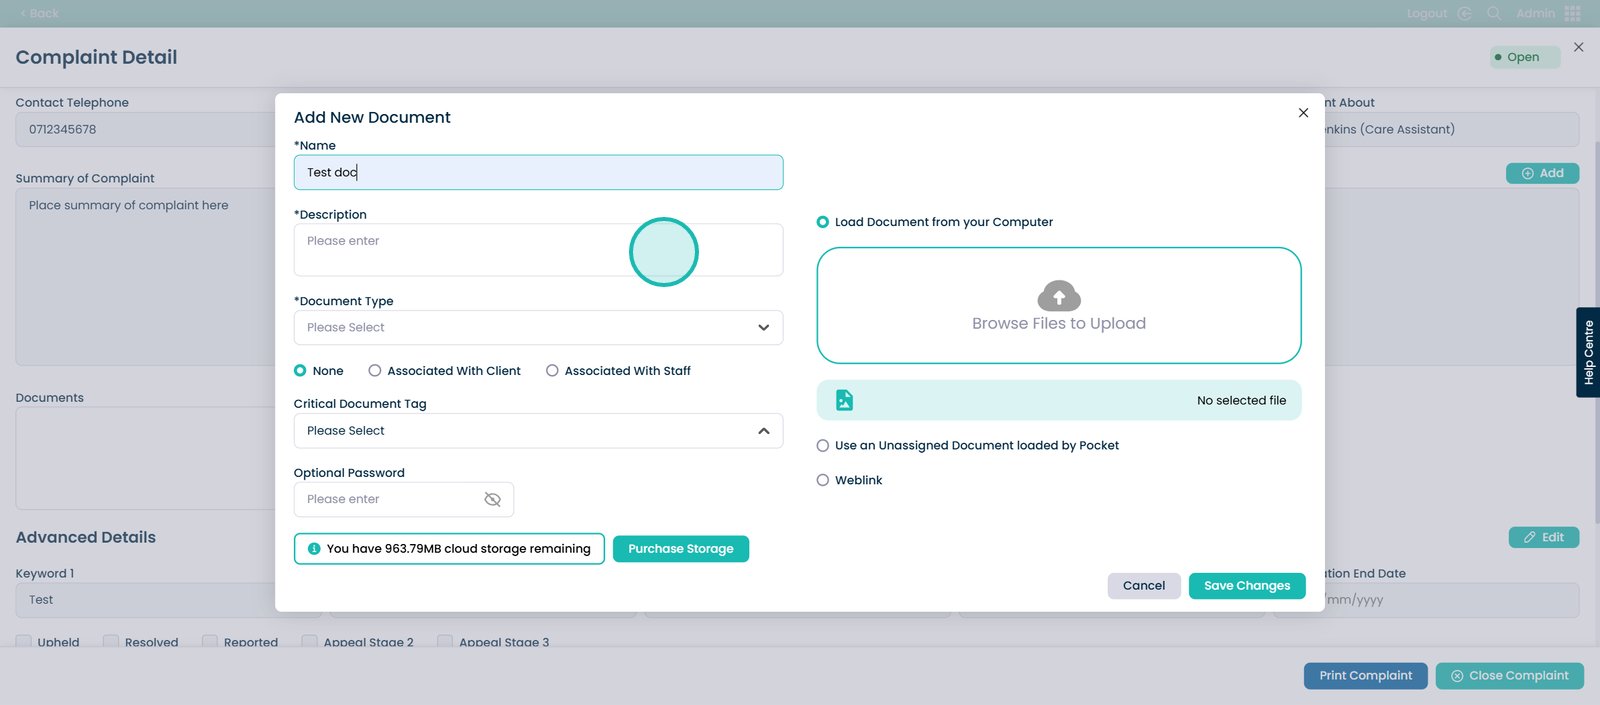
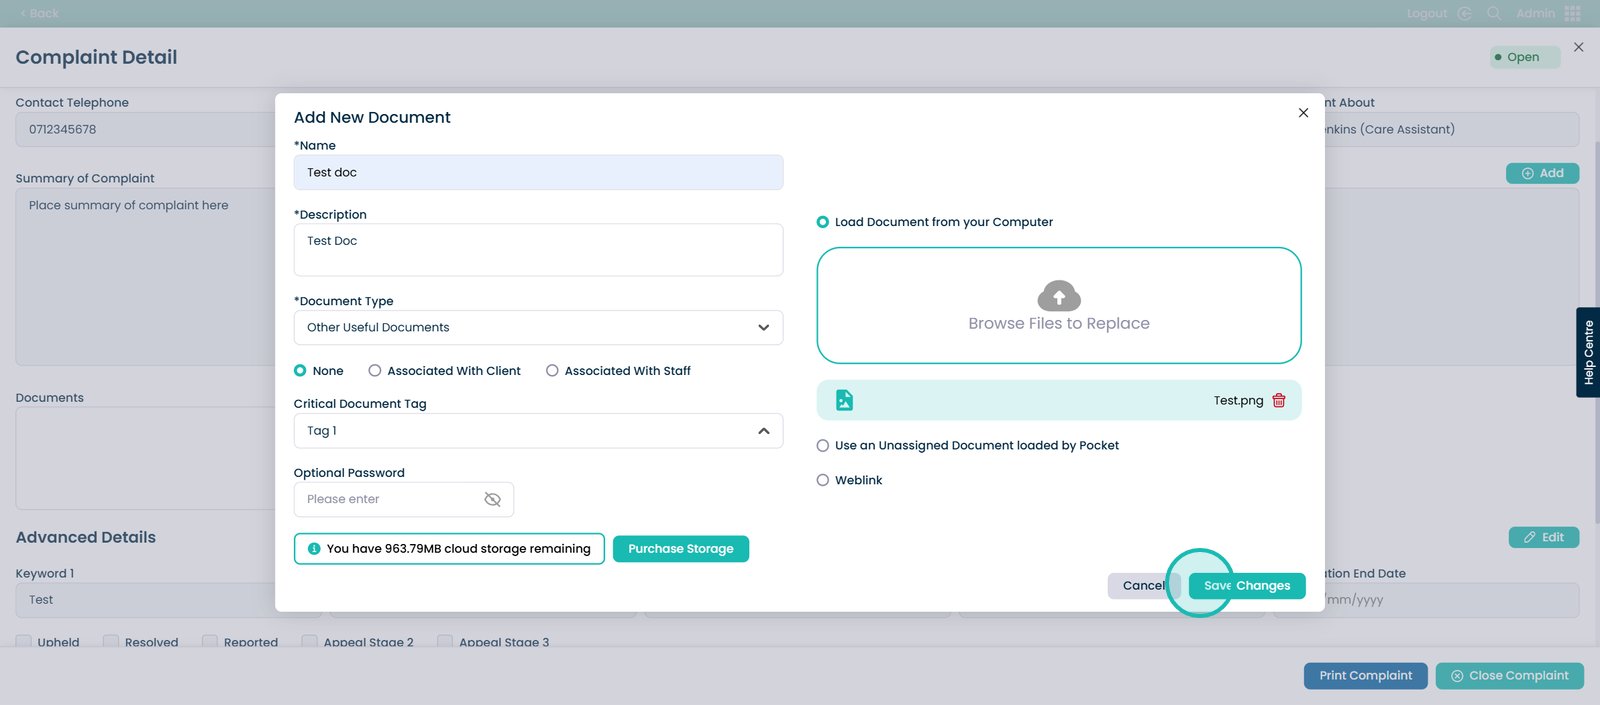
A pop-up will appear that is titled Add New Document. From this page you can add all of the necessary details to upload a document.
Boxes that have an asterisk are required to upload the file.
Please refer to the ‘Using Document Library on Cloud’ guide within the written guide below to learn more on this if required.
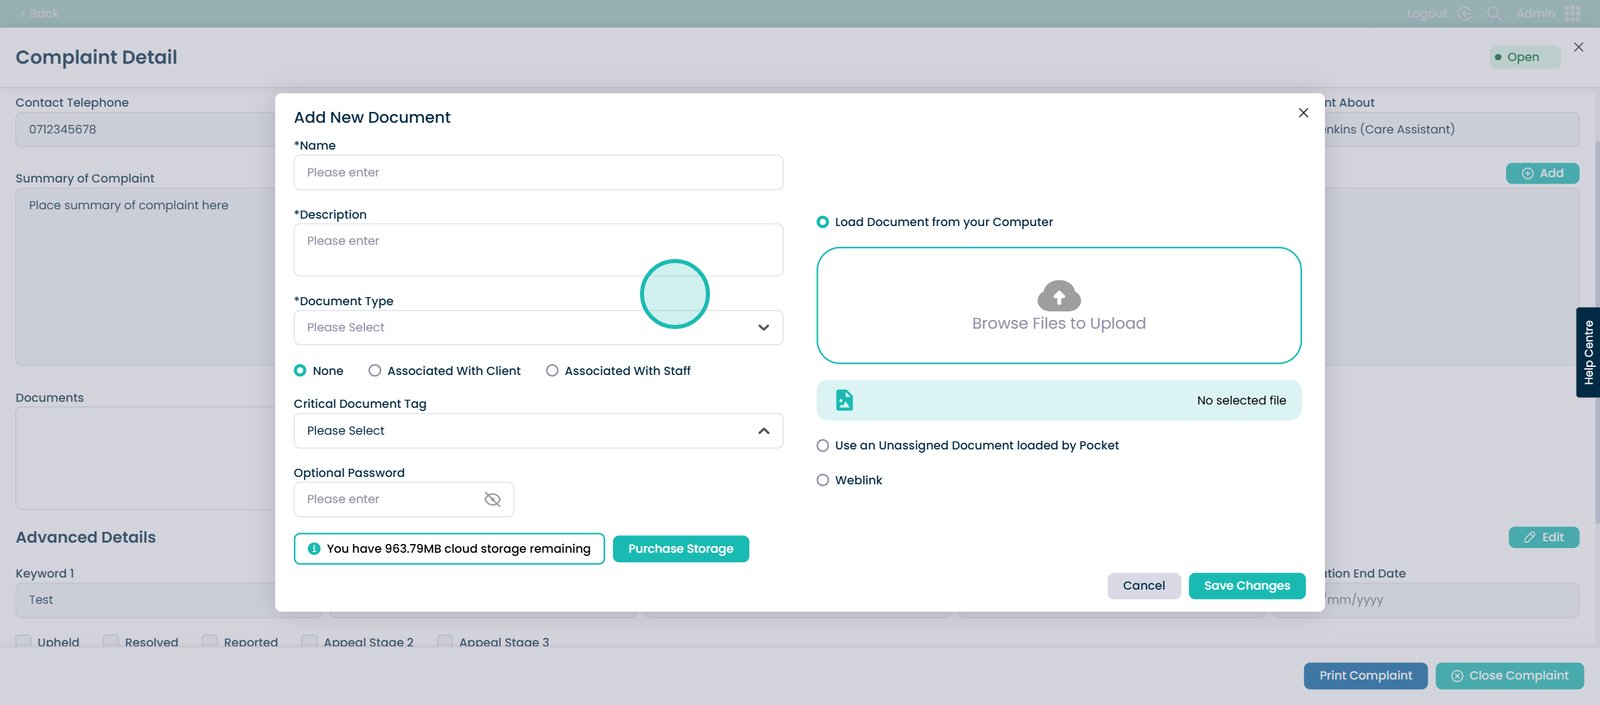
Enter the description of the document to help identify it.
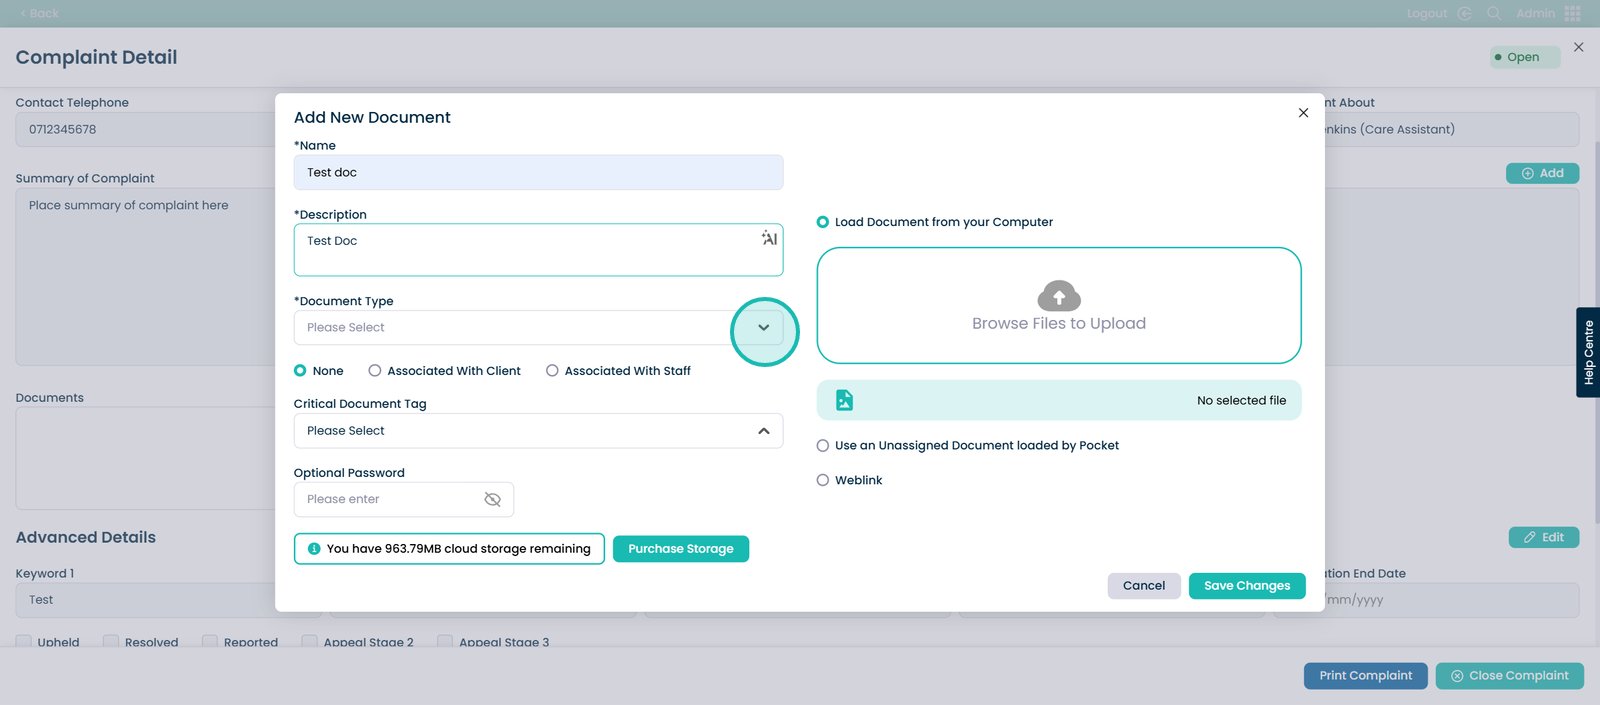
Choose from a drop-down list to choose what category the document should be within. You can create your own Document Type in Cloud.
Select the document type.
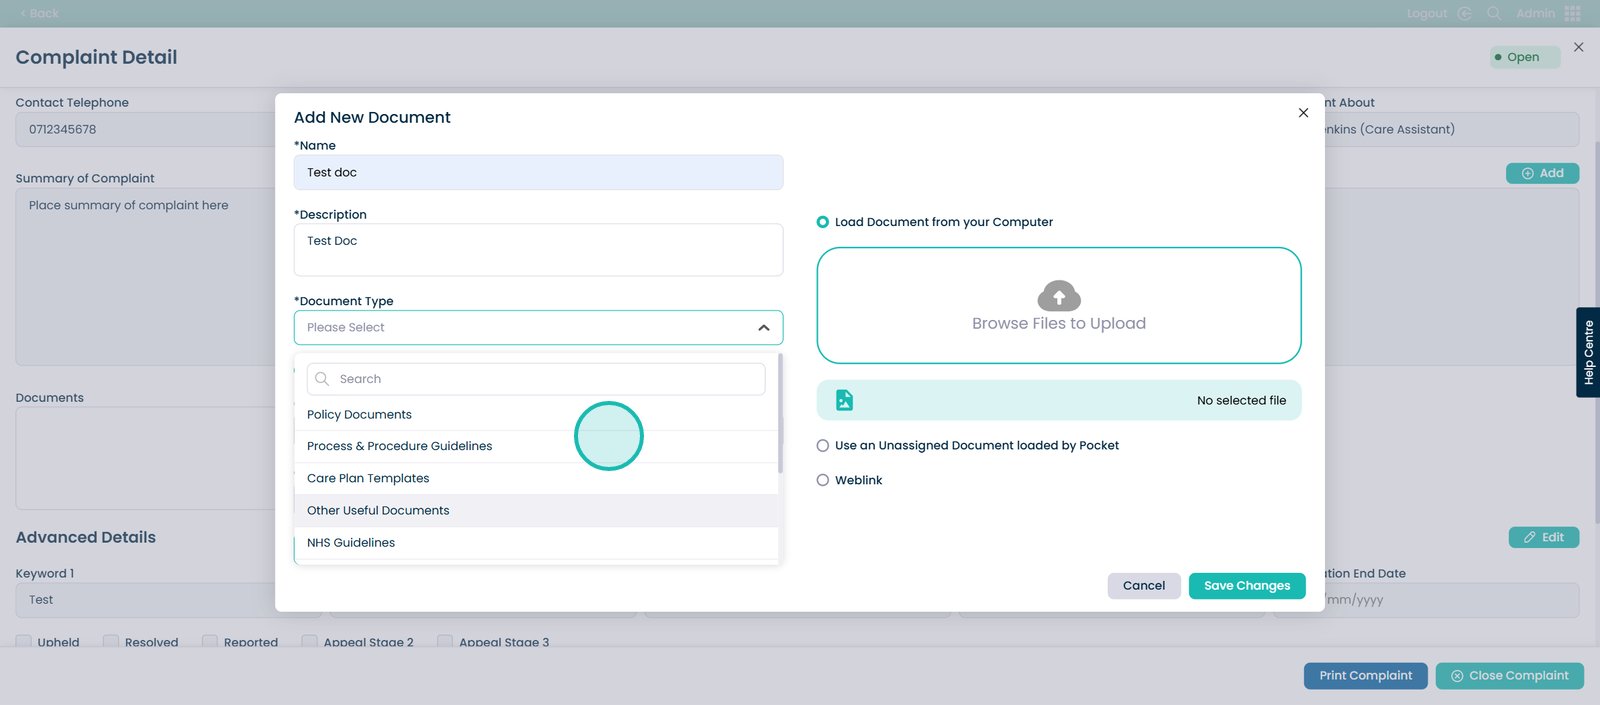
You can associate the document with a specific staff member, client or none at all.
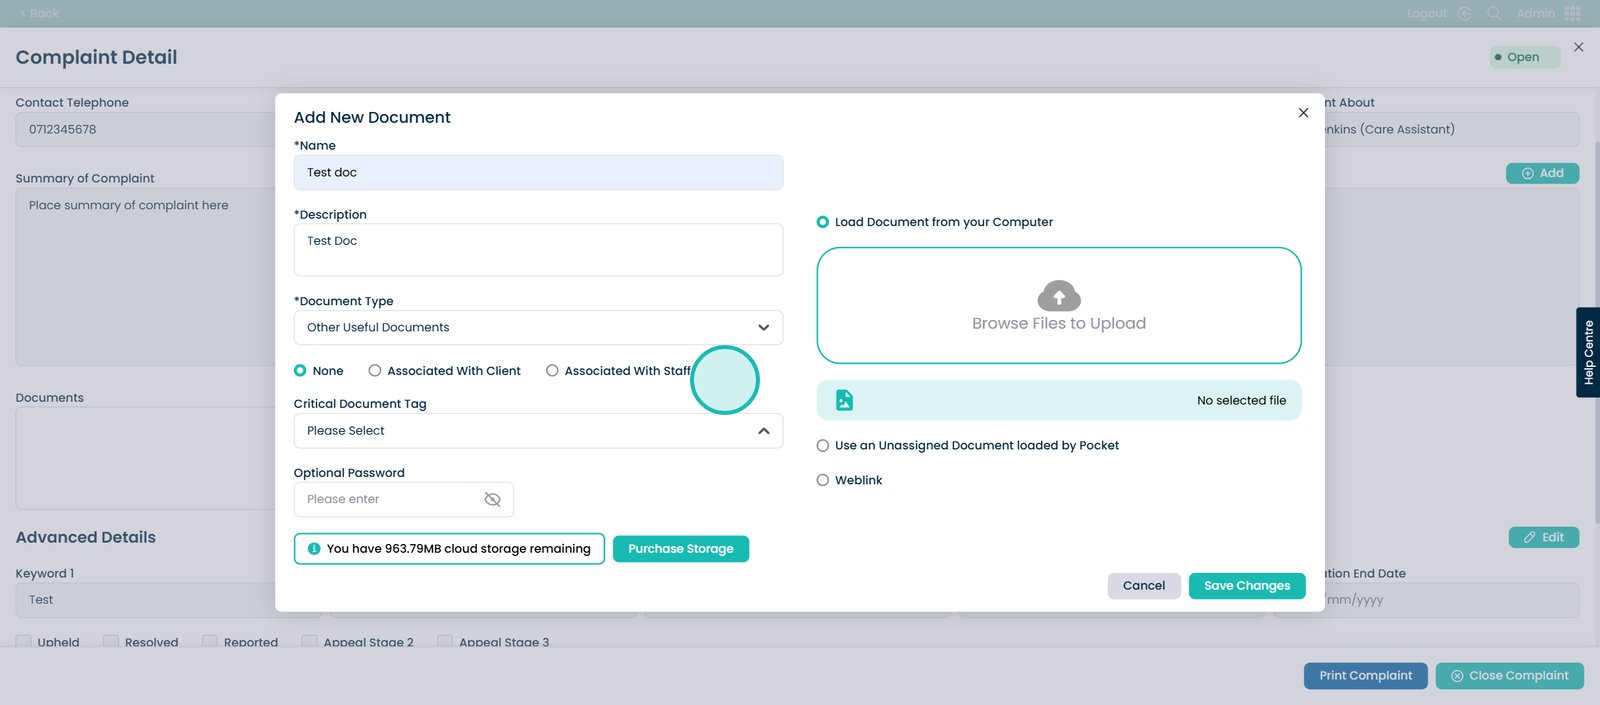
You can choose from a tag that you have already made in Cloud.
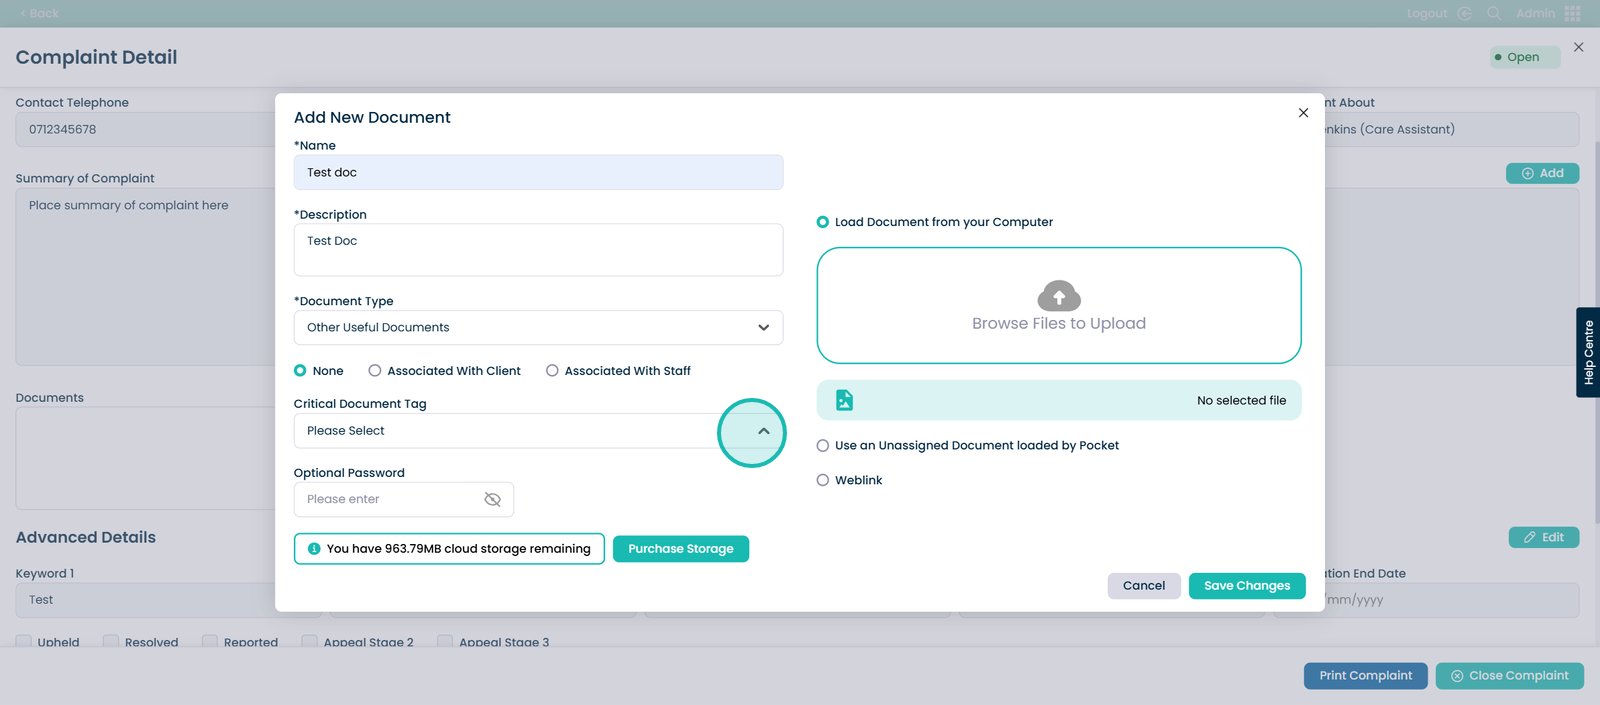
If the document requires a password for viewing you can choose to add it here.
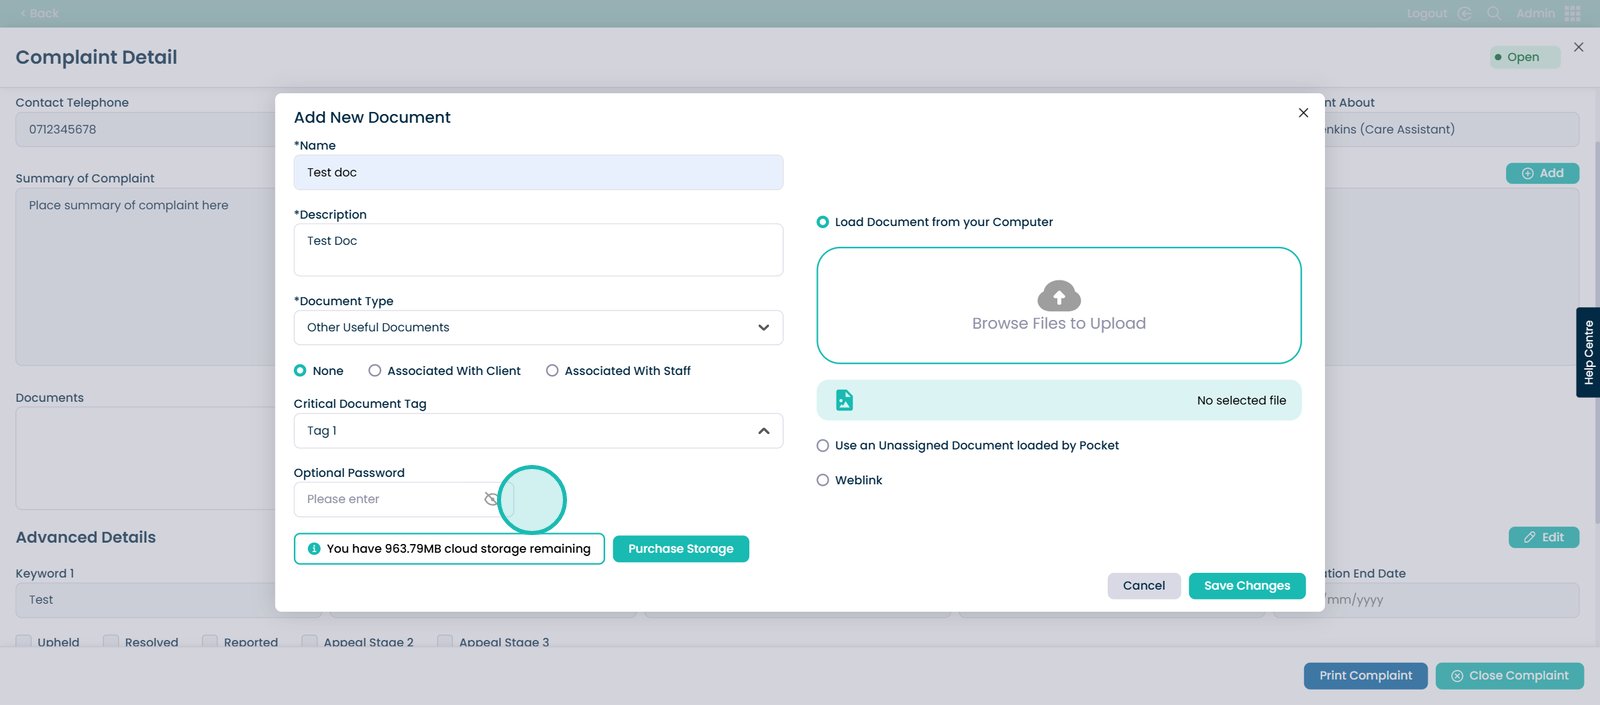
You can upload your document here.
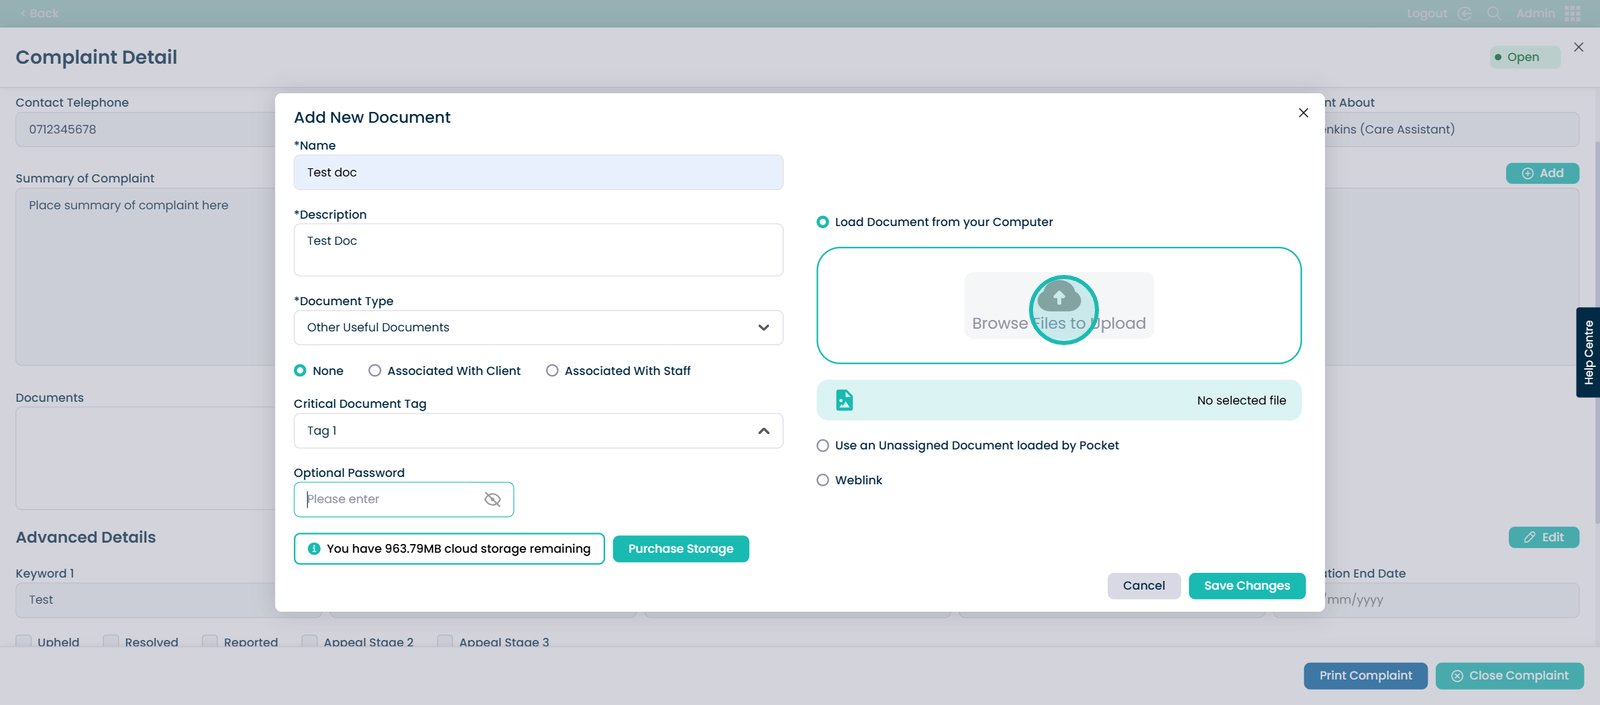
Once you have completed this, select the ‘Save Changes’ button.
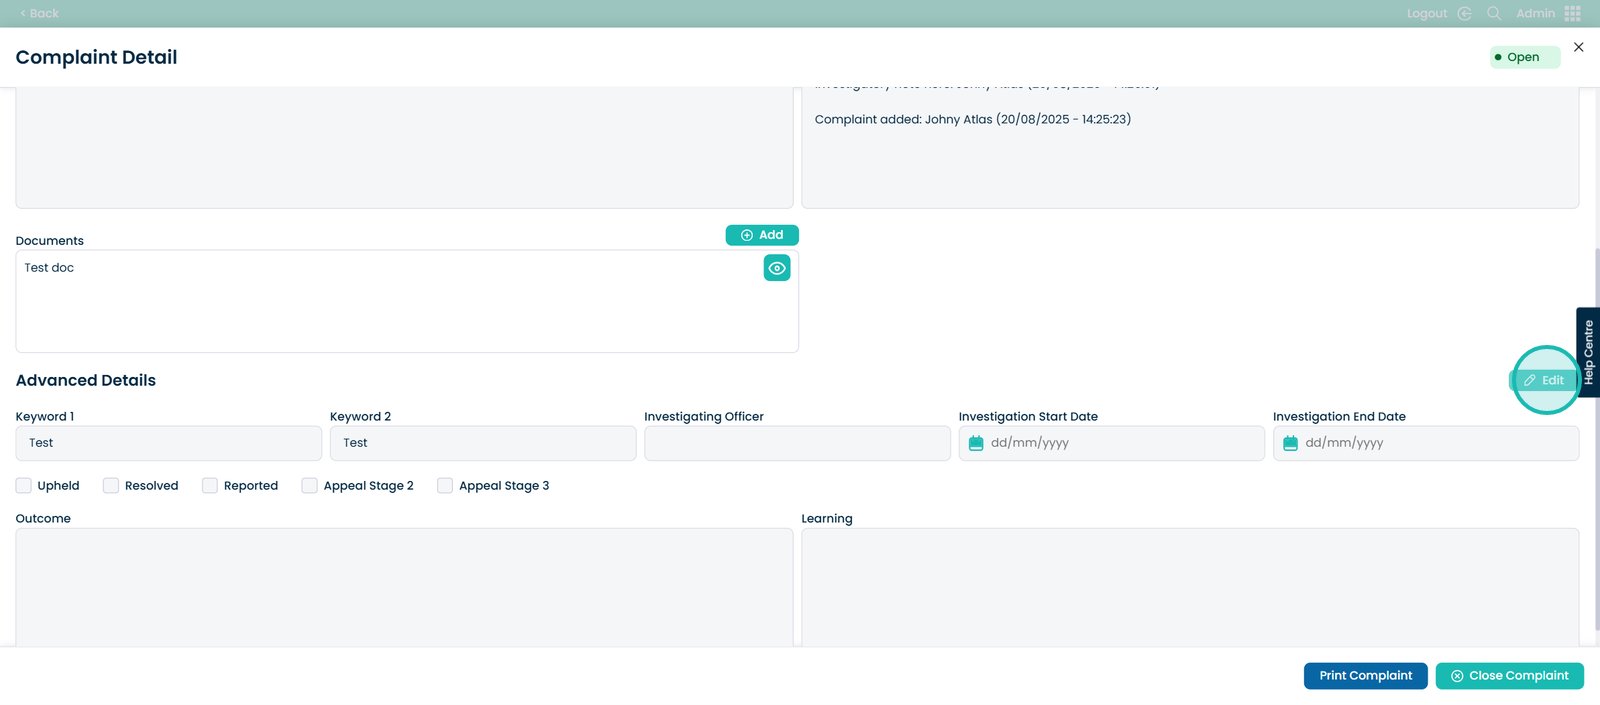
If you want to edit the Advanced Details, click the ‘Edit’ button here.
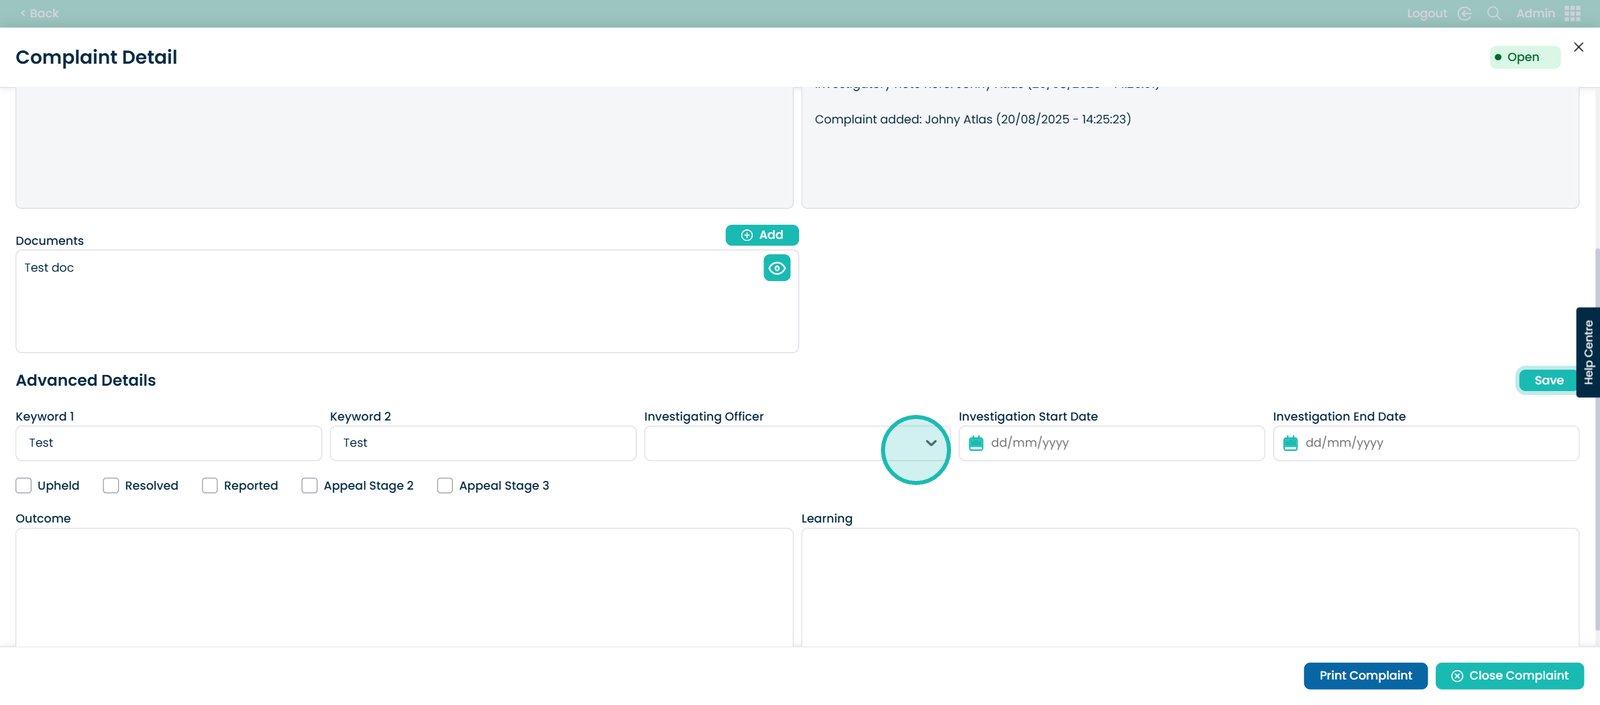
You also have the option to select an Investigating Officer.
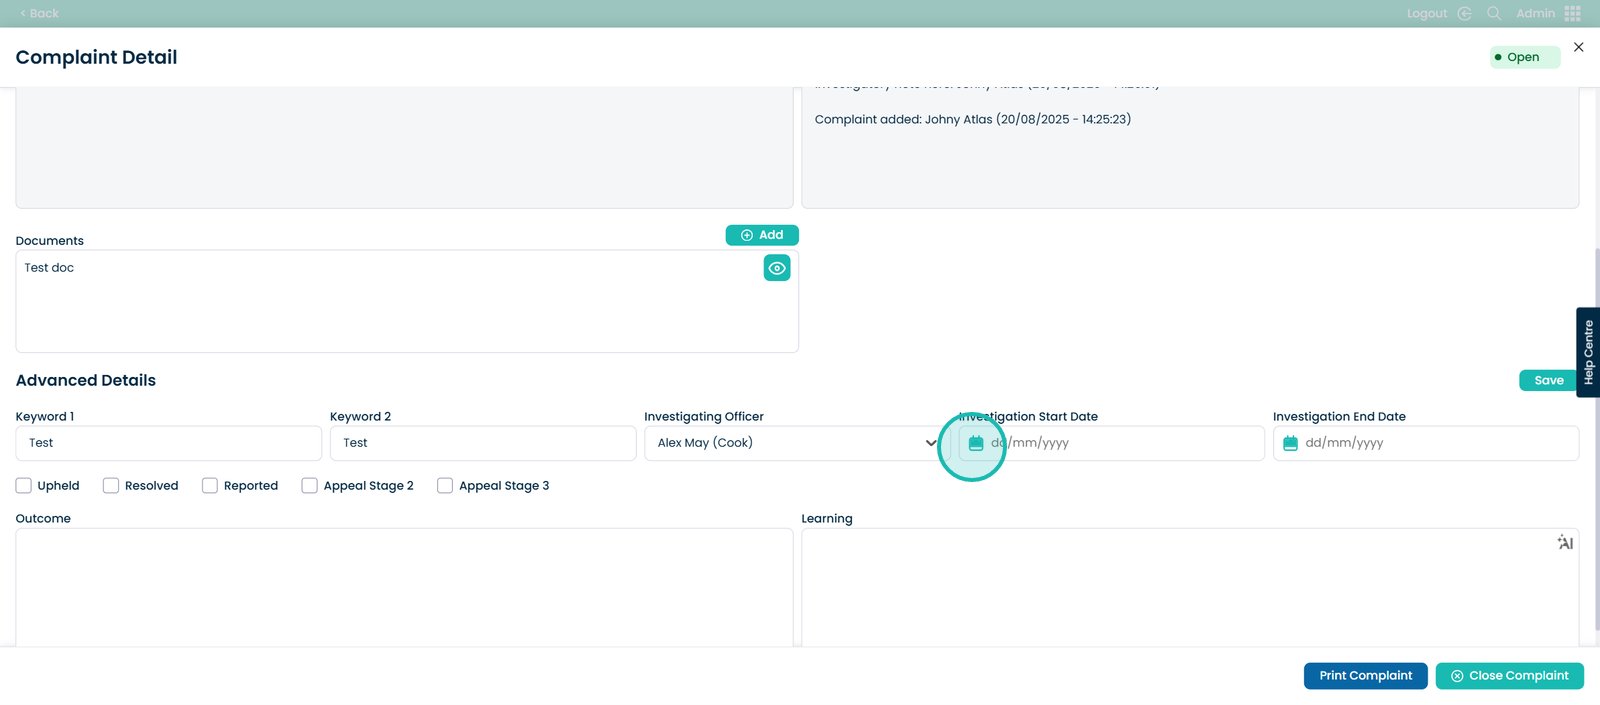
Choose the start of the Investigation Date.
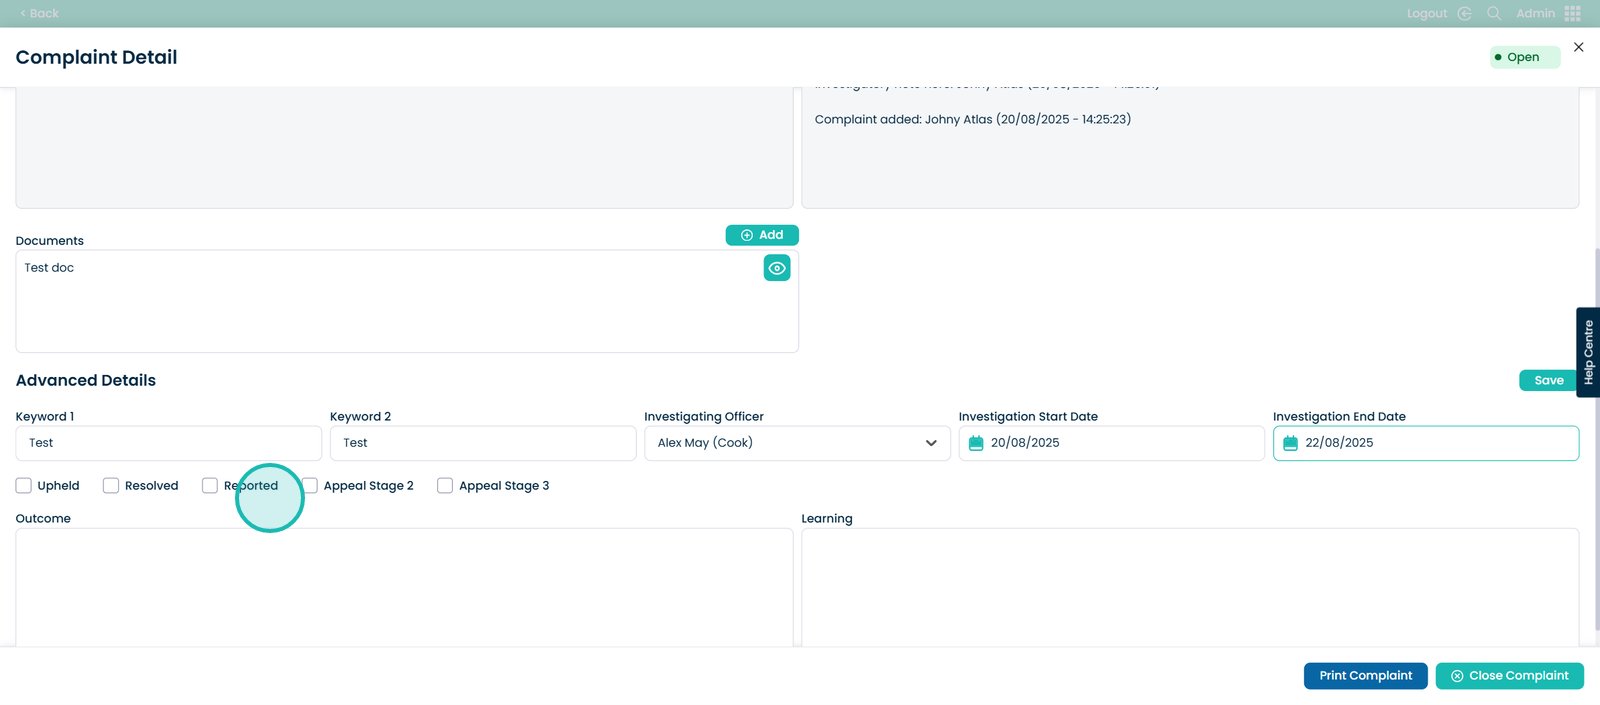
And the Investigation End Date if there is one.
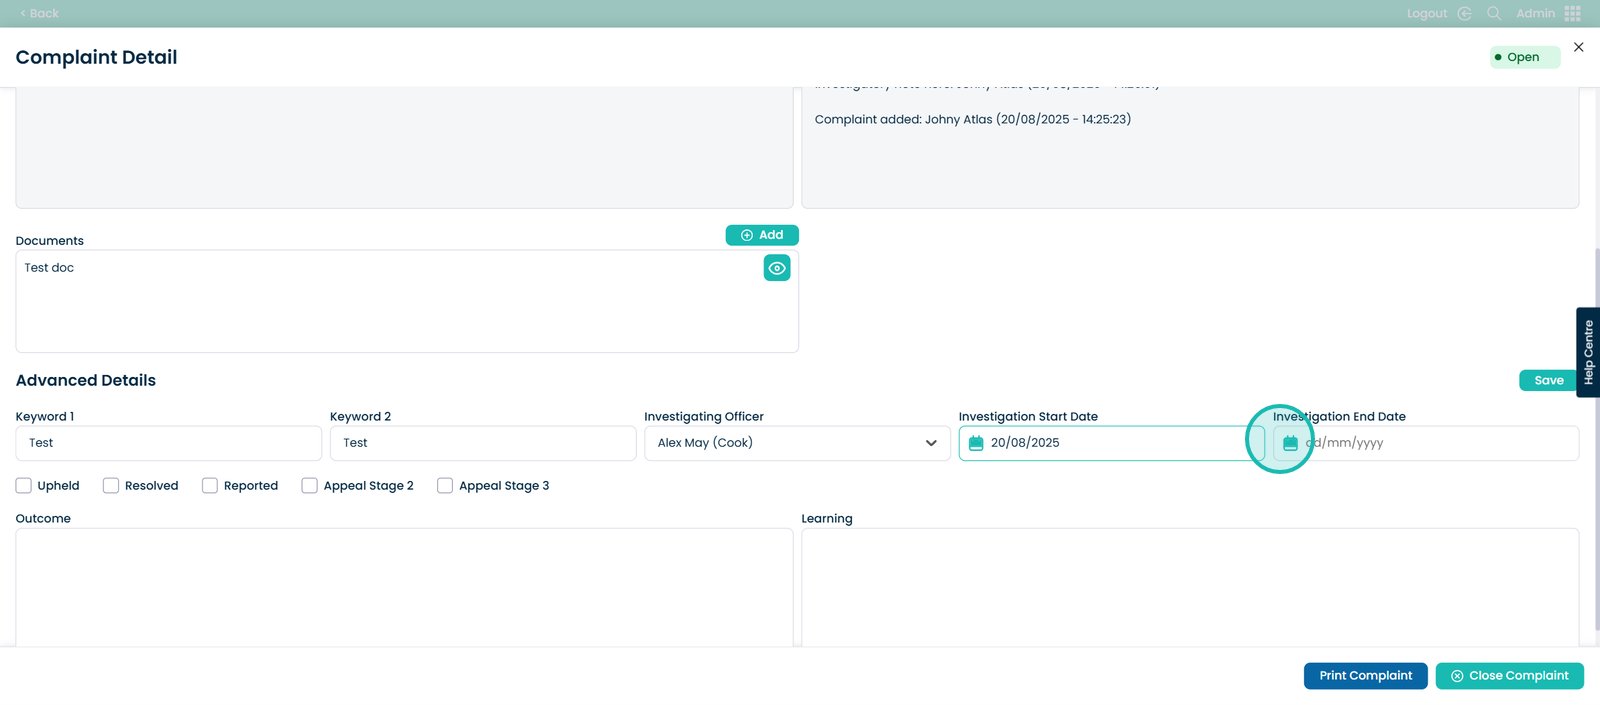
Select one of the five options to show the current stage of the investigation.
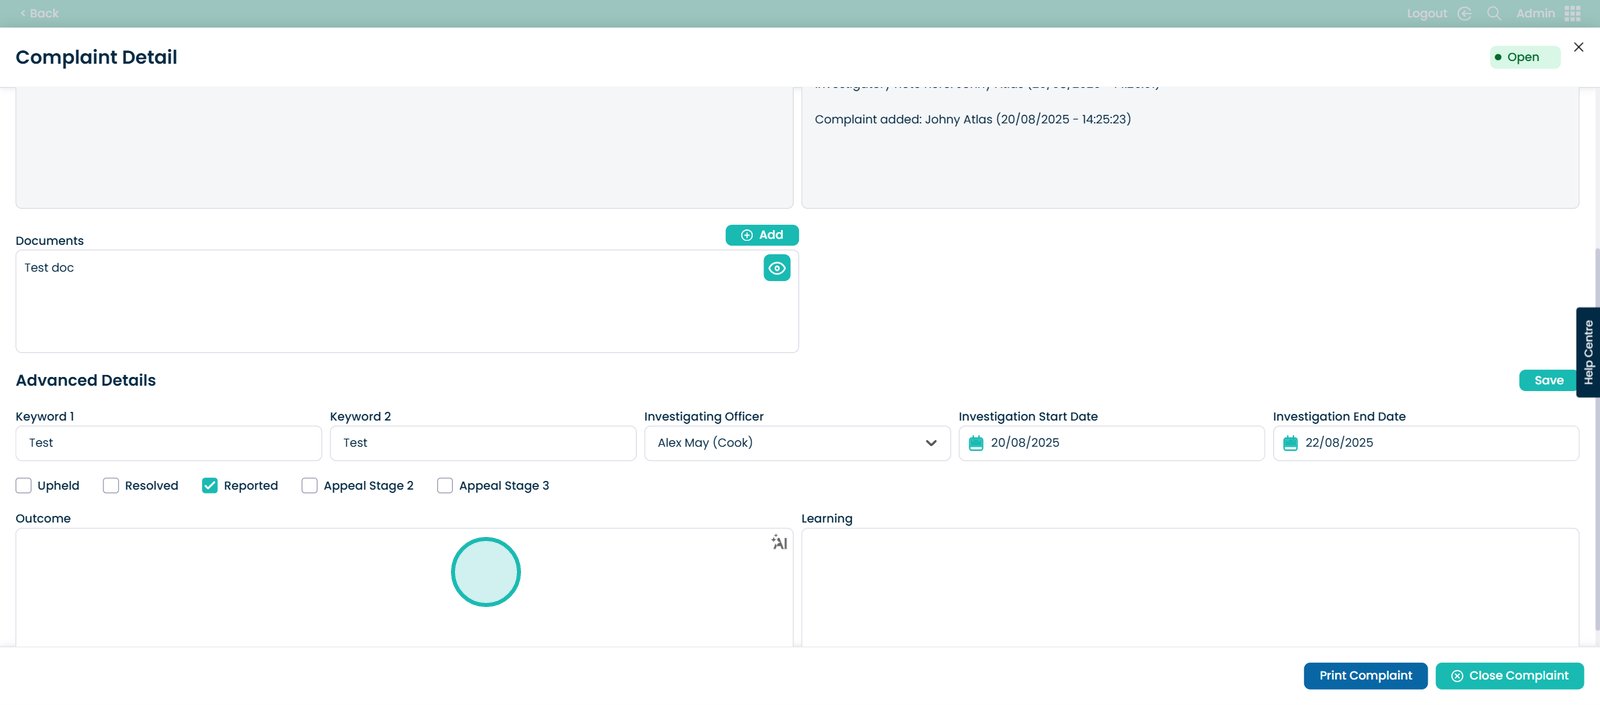
This box is where you will enter the necessary information regarding the outcome of the investigation.
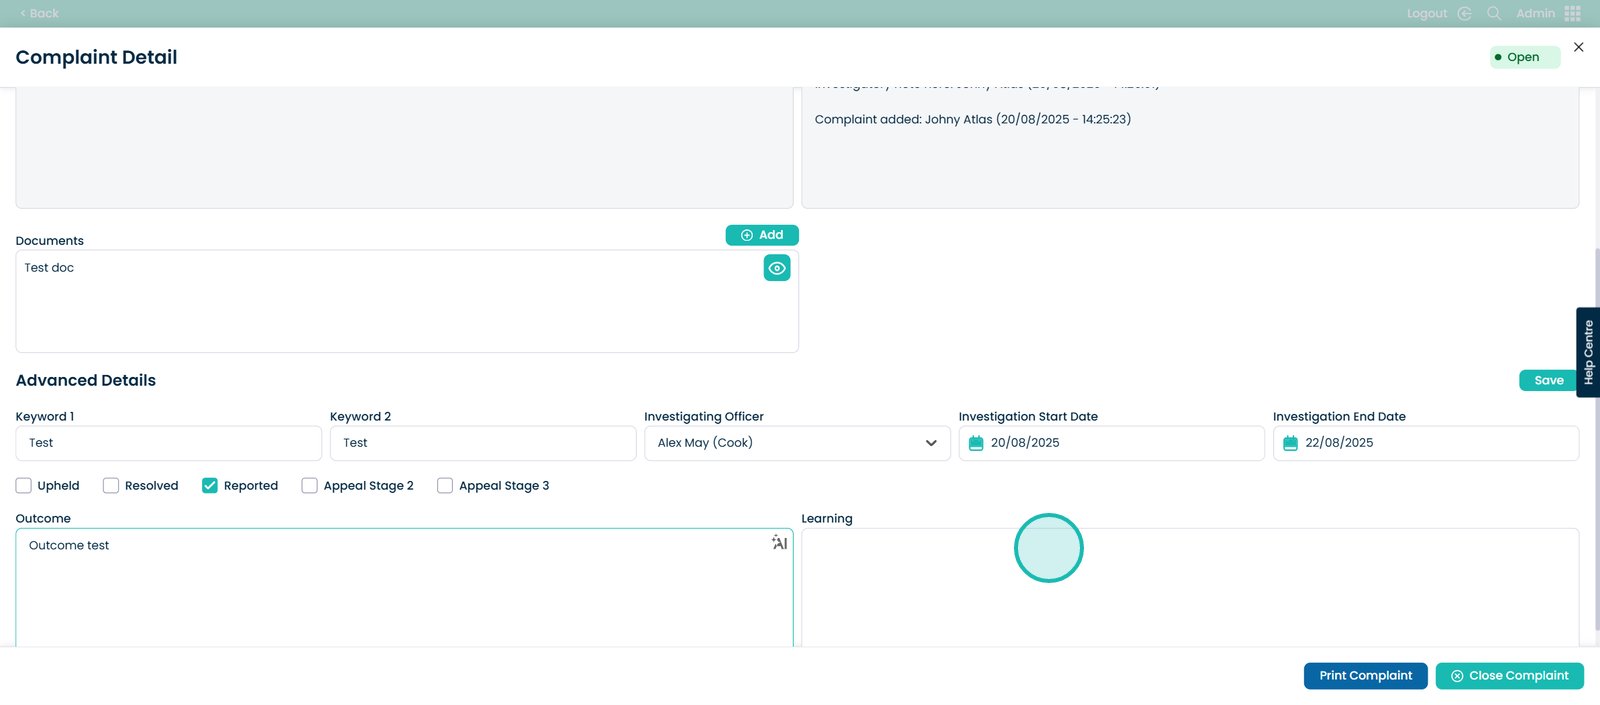
And the learning that will take place after the investigation.
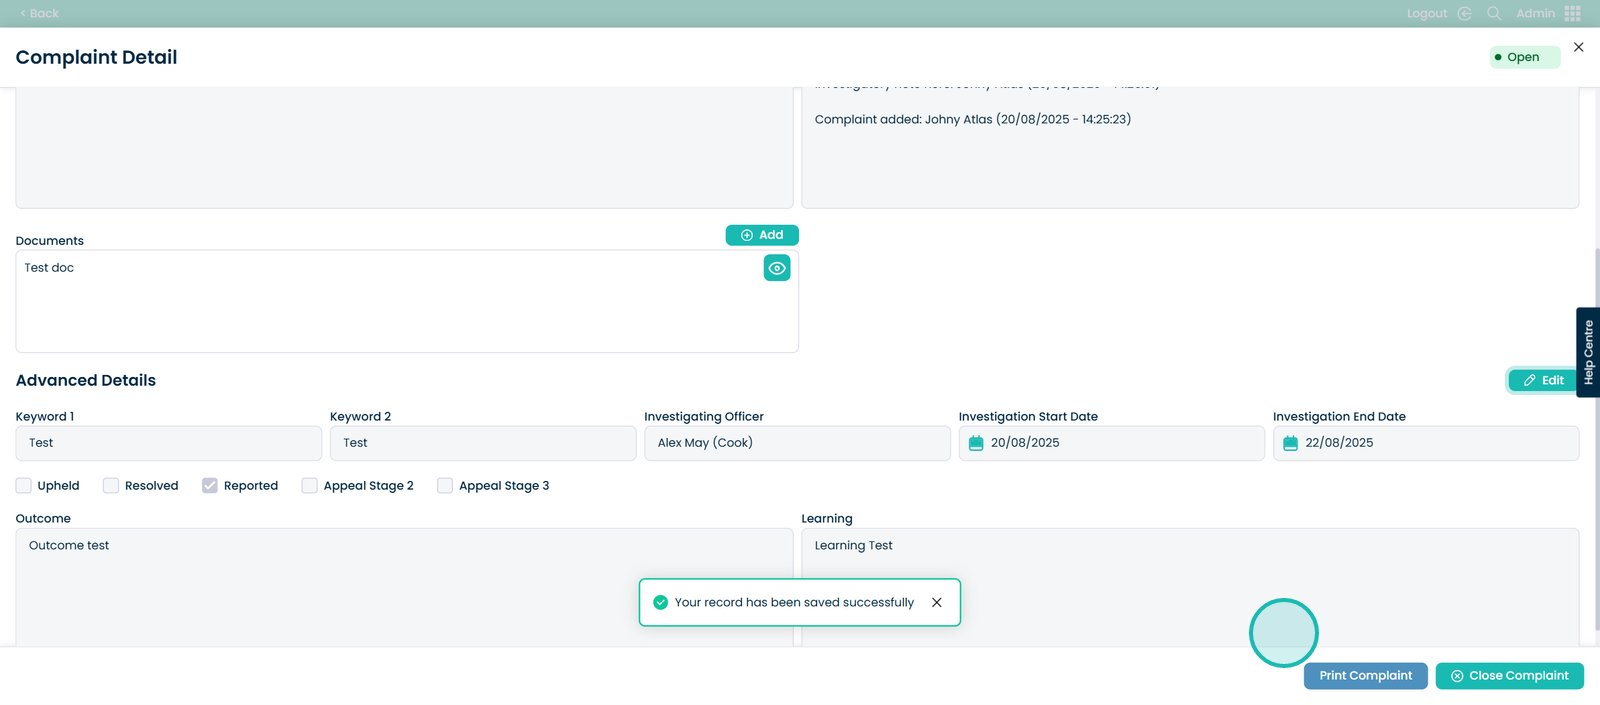
Once you have made an edit within the Advanced Details section, it is important to press the ‘Save’ button here.
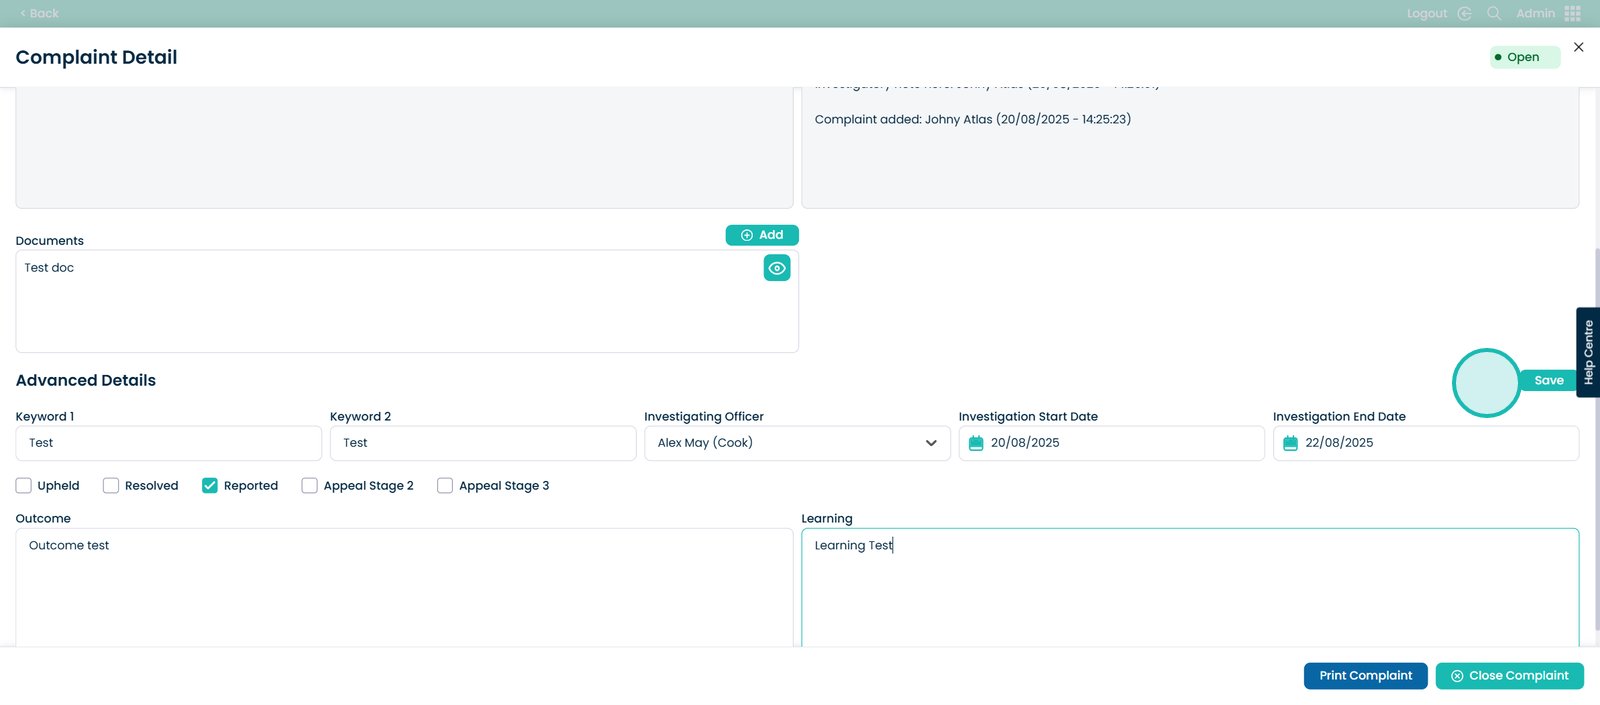
At the bottom of the page, you will have the option to print the complaint.
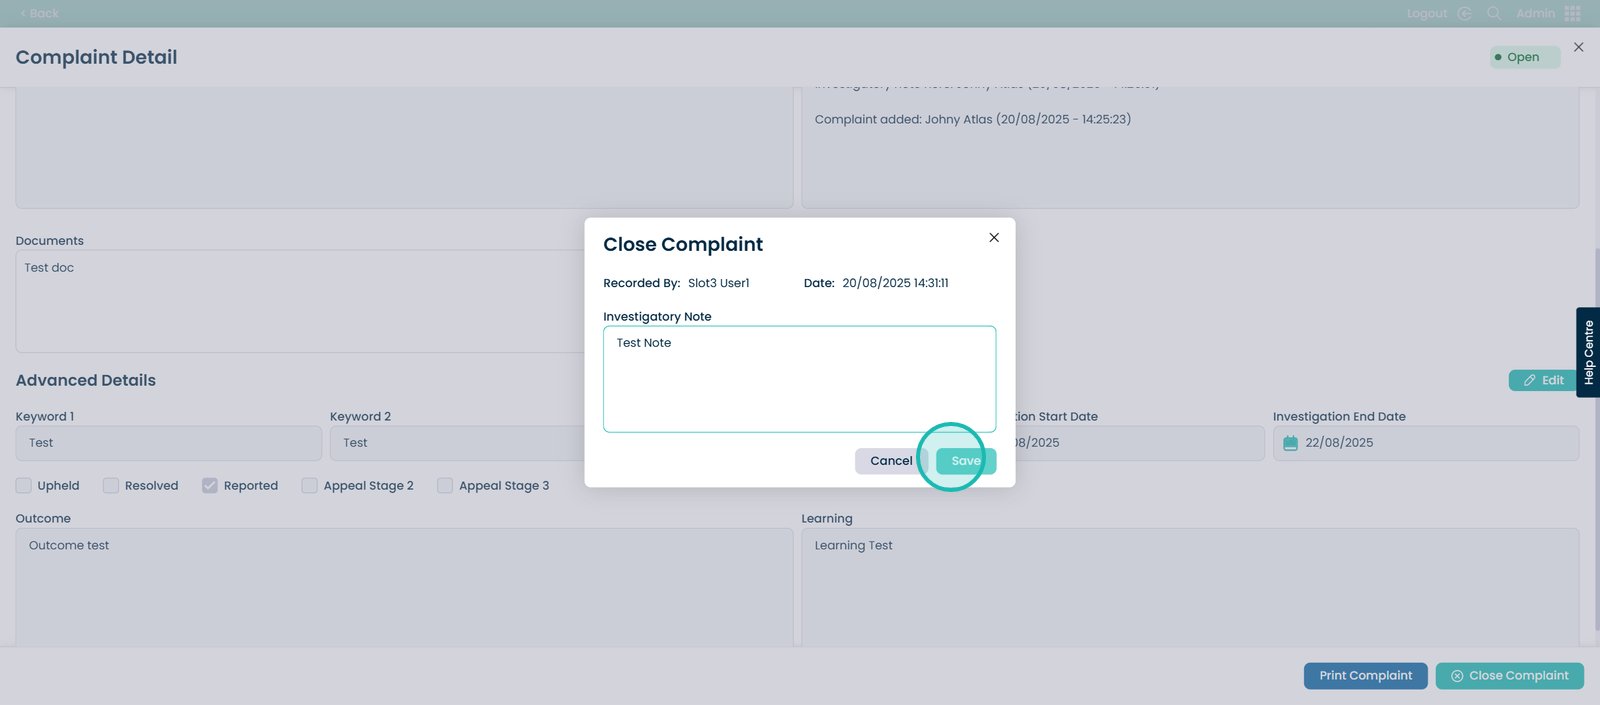
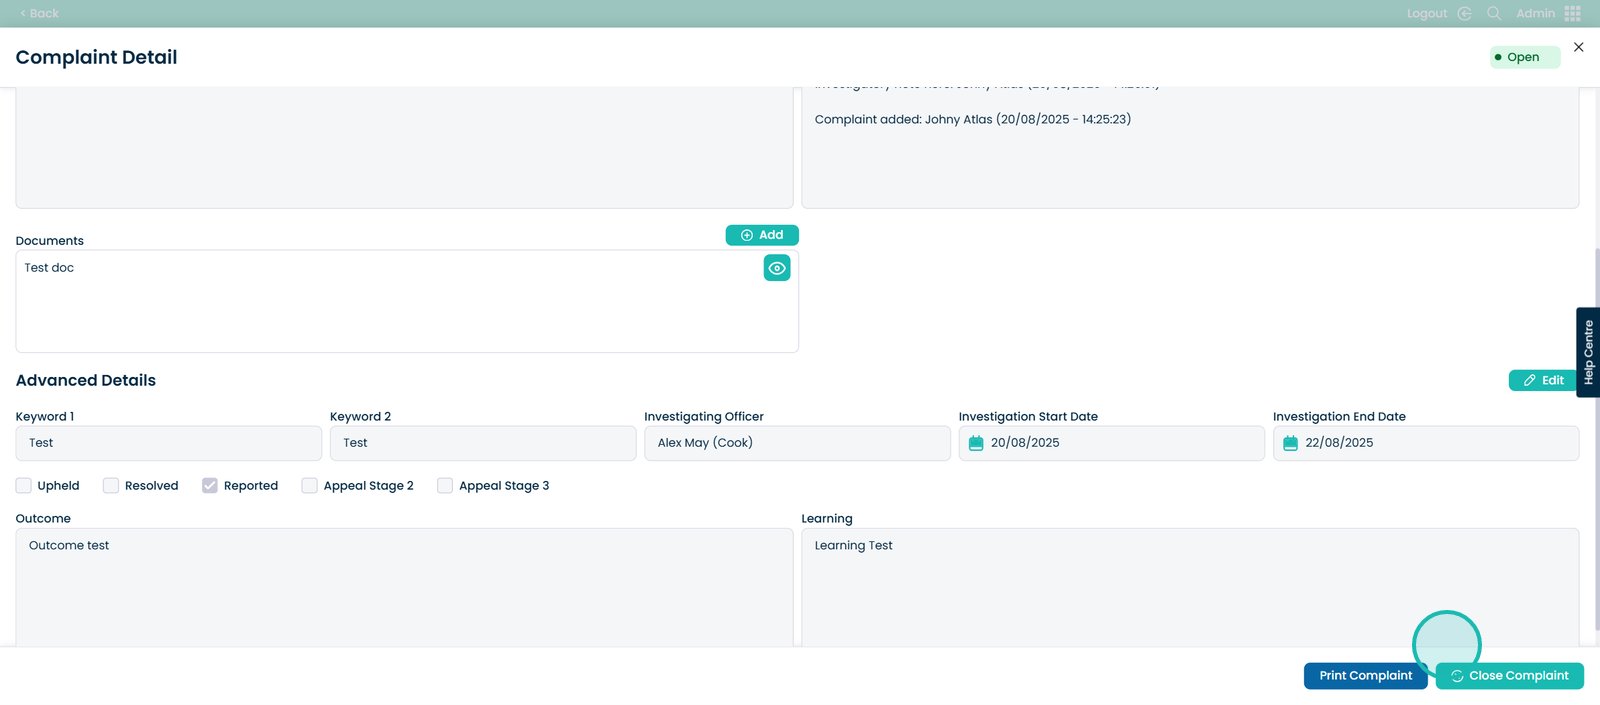
And once the compliant has come to a close and the investigation has been completed, select the ‘Close Complaint’ button.
You will then see this screen pop up which asks for a final note on why this complaint is being closed.
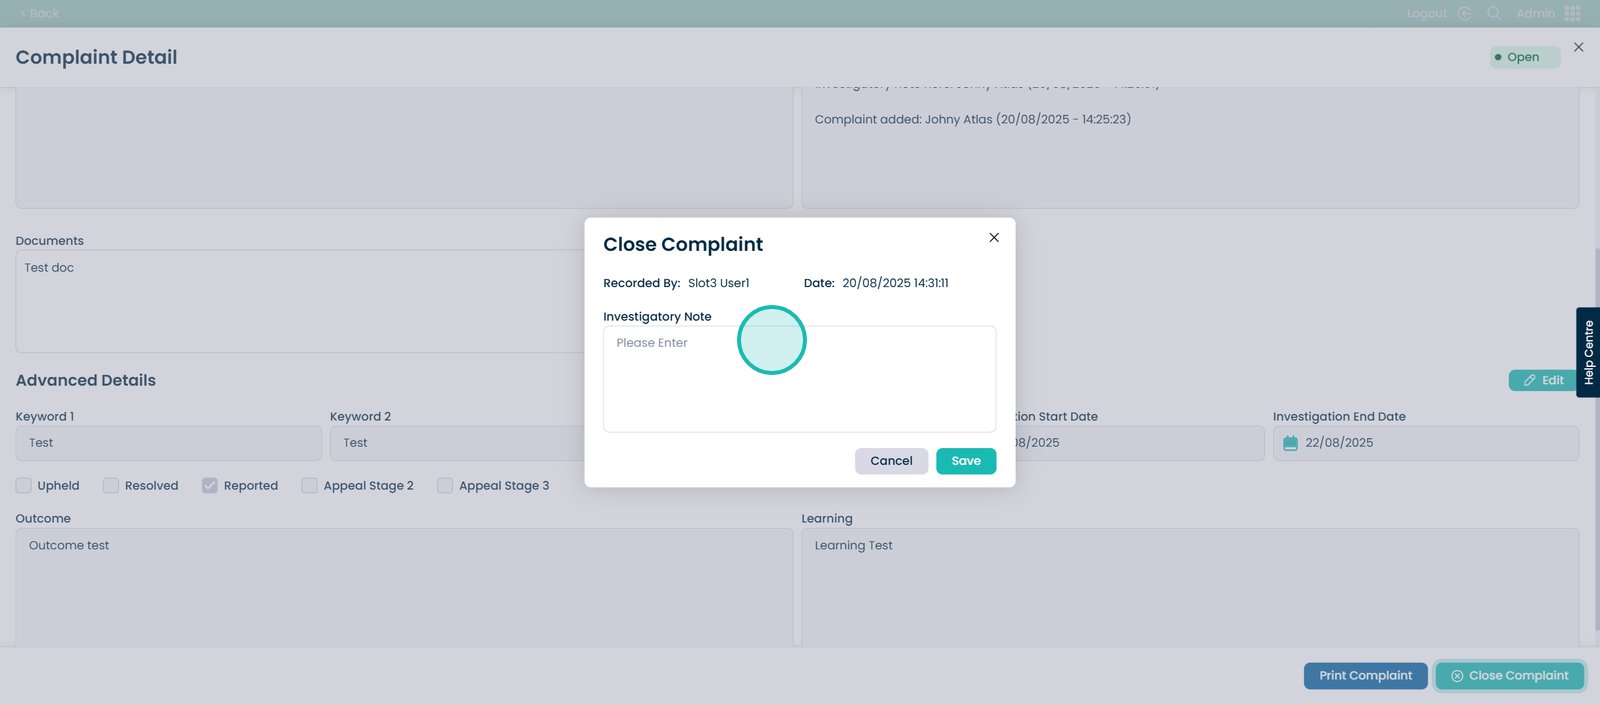
Then select the ‘Save button’.
