Bank Holiday Closure Notice: We will be closed on the 3rd April for the Easter bank holiday, so our customer service team will not be available on this day. If you need to get in touch, you can still use our customer contact form and we will get back to you as soon as possible. Even better, Margo will still be available on our phone lines to help with your queries whenever you need support. We hope you have a lovely Easter weekend 🐣
Creating a generic risk assessment in the system is a simple and effective way to streamline your documentation. Because it’s not tied to a specific individual, a generic assessment can be applied to anyone who needs it – saving you time and ensuring consistency across your service. It’s especially helpful for common scenarios or recurring risks, allowing you to maintain clear, standardised records. This also supports compliance, audit readiness, and future planning, as you’ll have a reusable template that’s easy to manage and update when needed. We’ve included a step-by-step guide below to help you set one up.
Interactive Guide
Text based guide
Within the ‘My Hub’ dashboard, click the Admin app.
Select the Visit button under ‘Care Planning’.
Select the drop-down arrow next to ‘Risk & Care Reviews’.
Select the ‘Generic Risk Assessments’ option.
Press ‘Add New Risk Assessment’ button.
Enter the name for your new risk assessment.
Select save.
Once saved, you can find the name of your risk assessment in the drop-down list.
Select the Risk Assessment you just created.
Press ‘Add New Line’ to create a section.
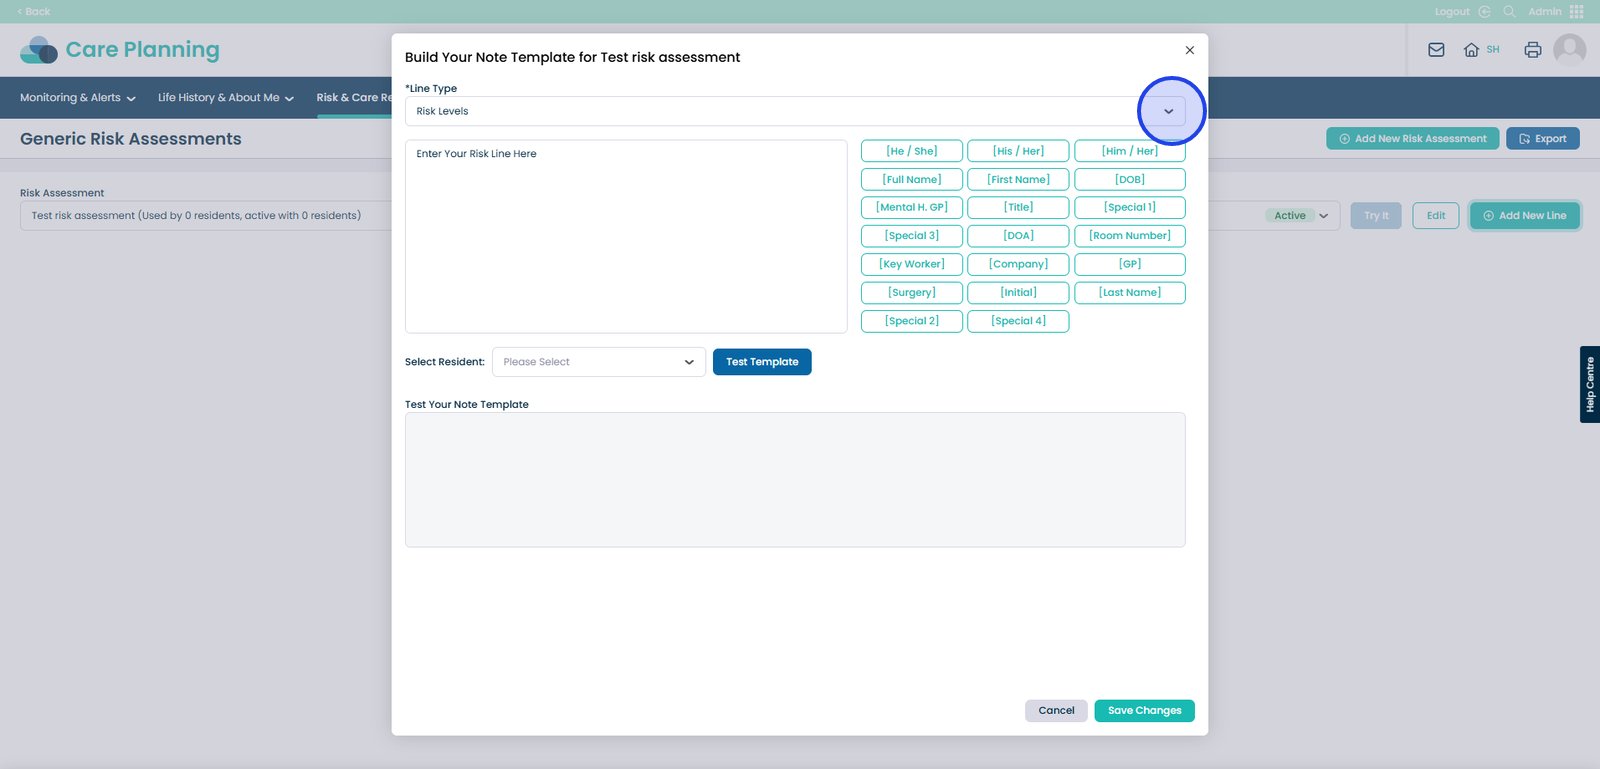
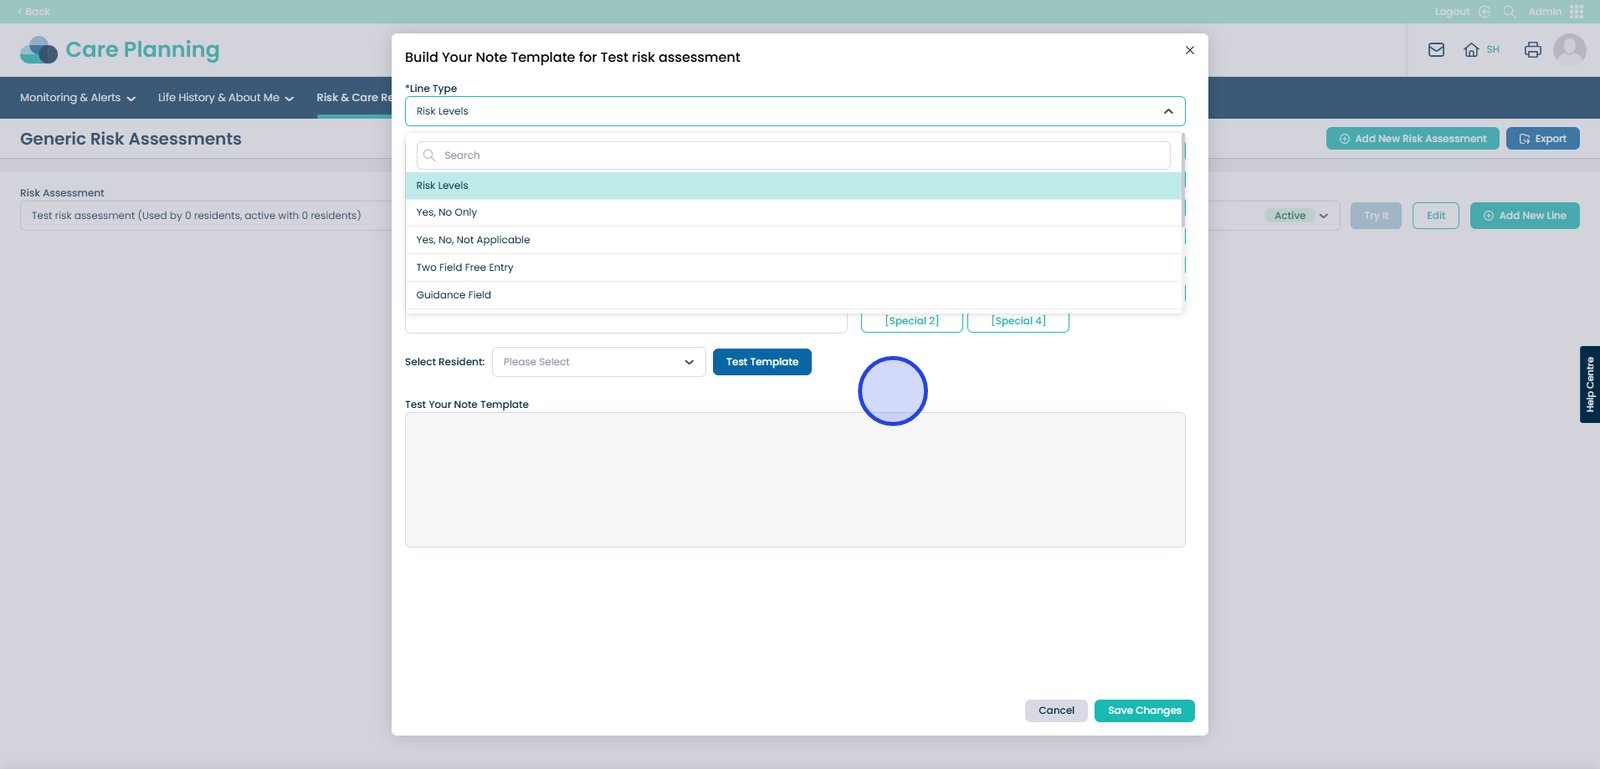
Choose a Line Type from the drop-down list
Risk Levels – Includes a description box, Low–Very High risk options, and a mitigation text box.
Two Field Entry – Includes two text boxes. Two Column Page Header – Includes two titled columns. Guidance – Includes a single text box for notes or information. Single Field Entry – Include one text box. One Column Page Header – Includes one titled column.
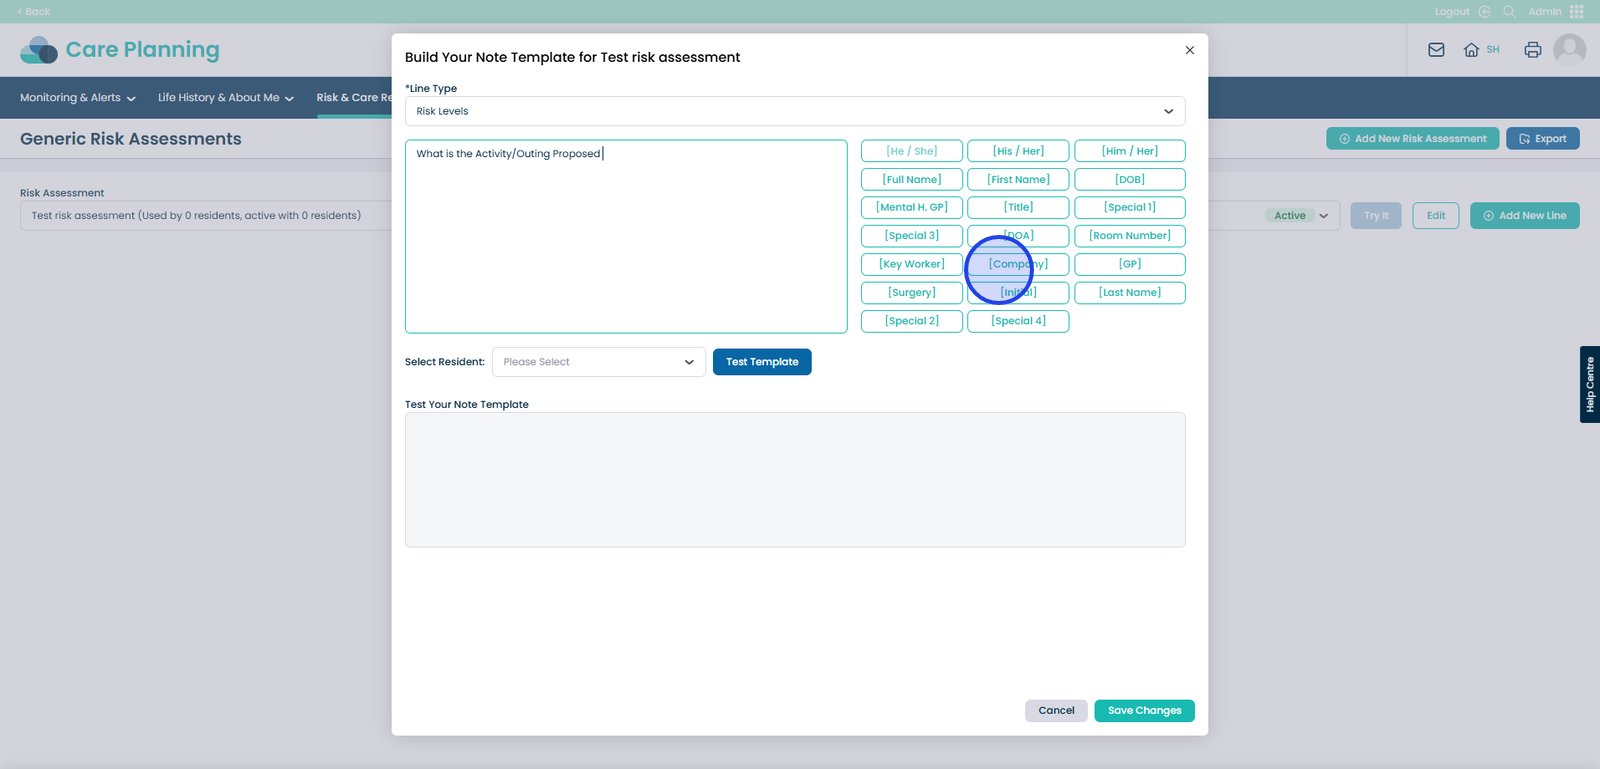
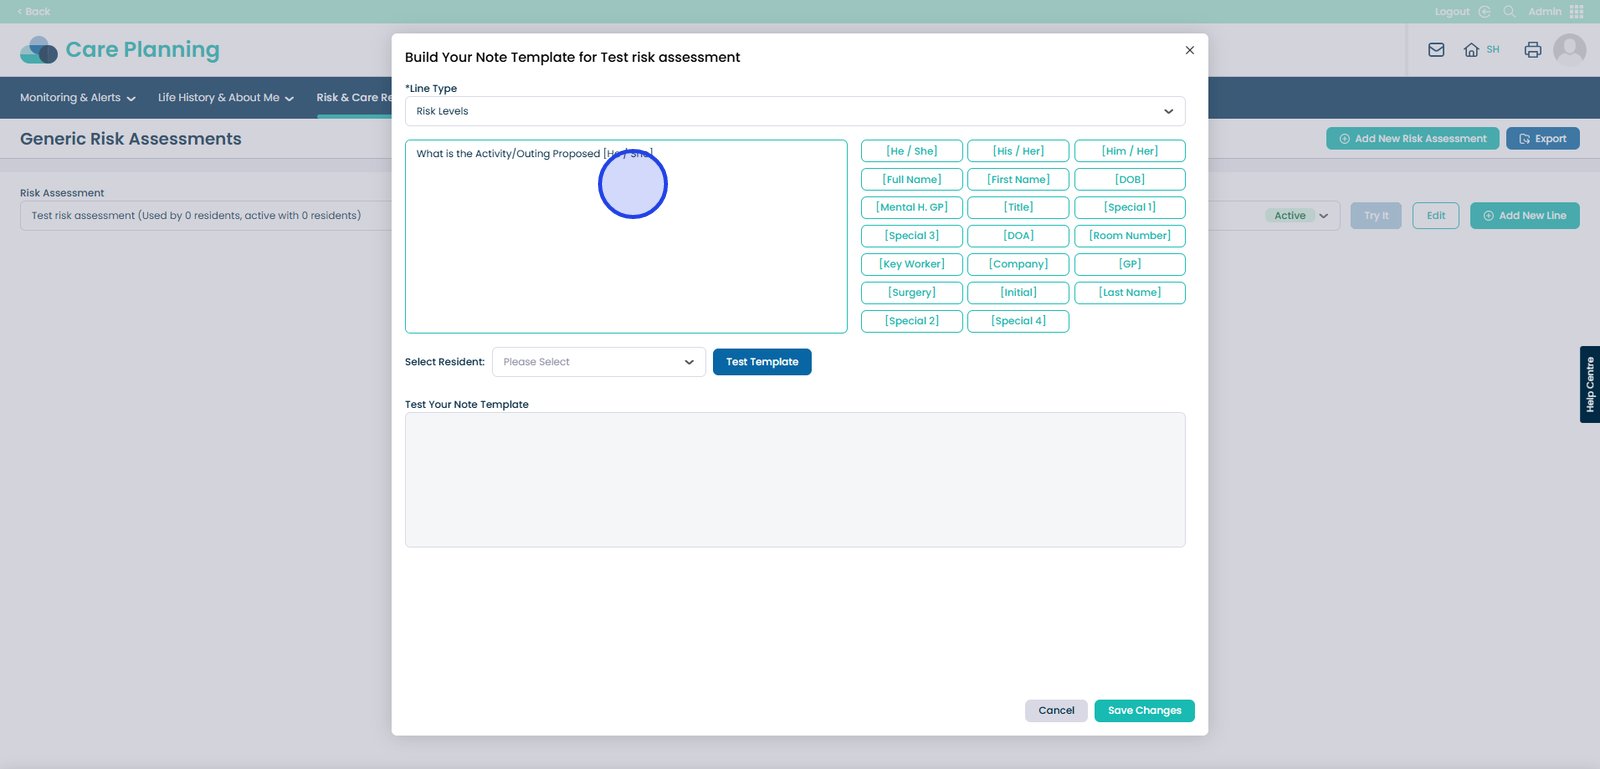
In the left-hand box, enter your text content.
You can create your content with pre-set message options seen here.
Once you have selected a preset message option, it will appear here.
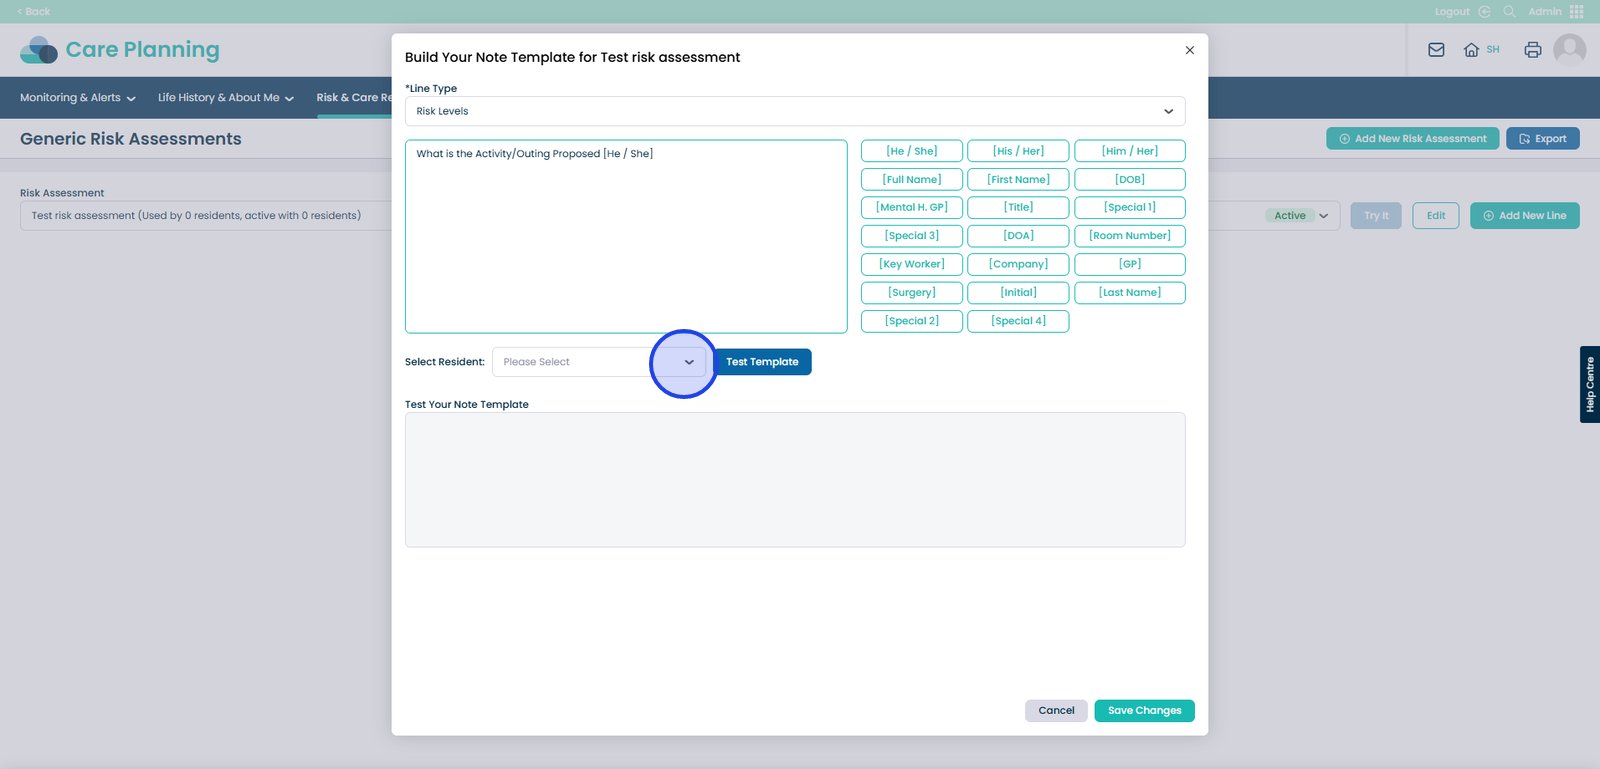
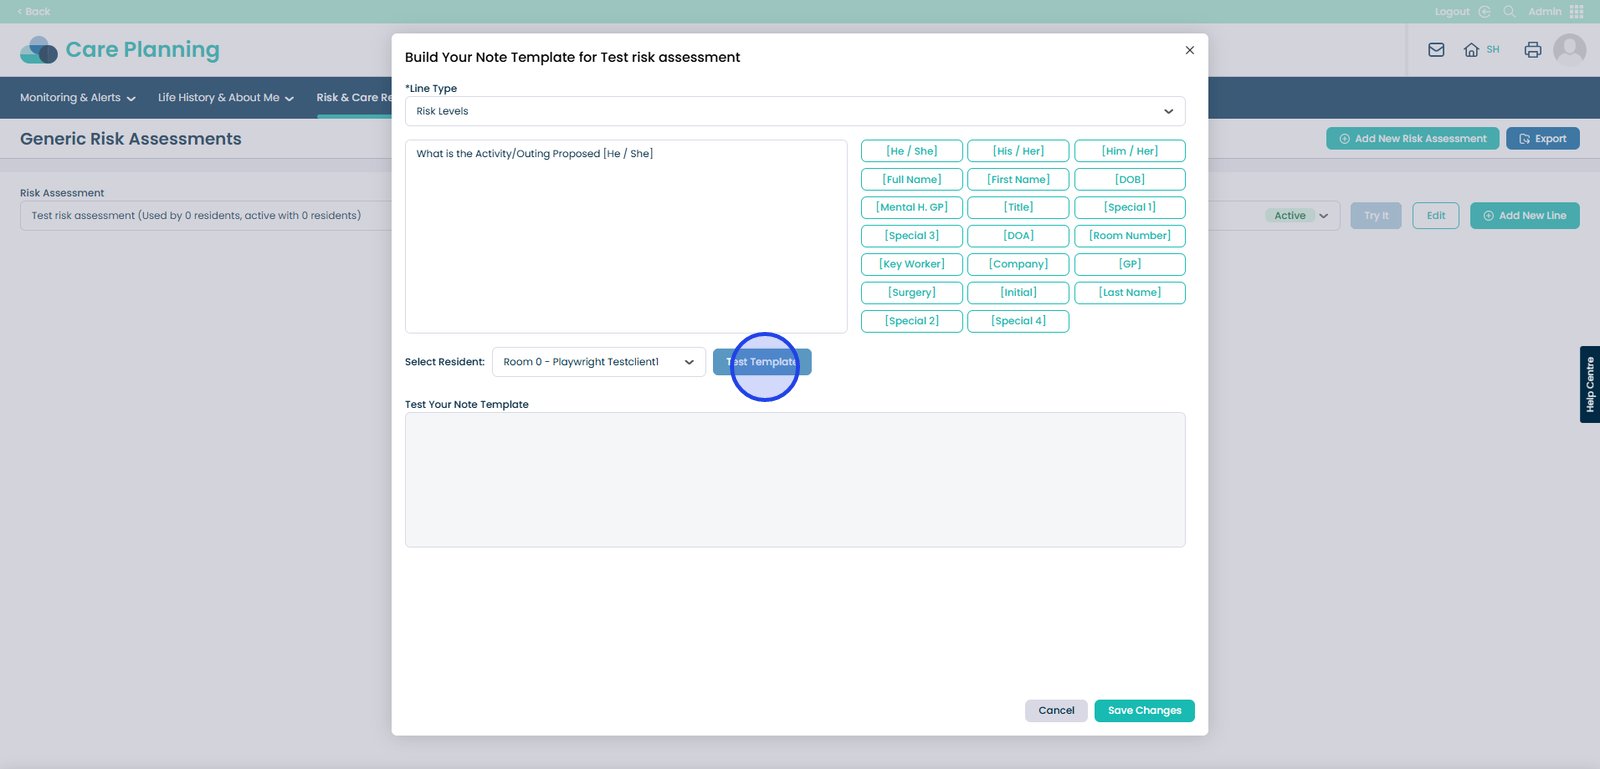
You also have the option to select a service user for this Risk Assessment.
You can also test the template. Click the ‘Test Template’ button.
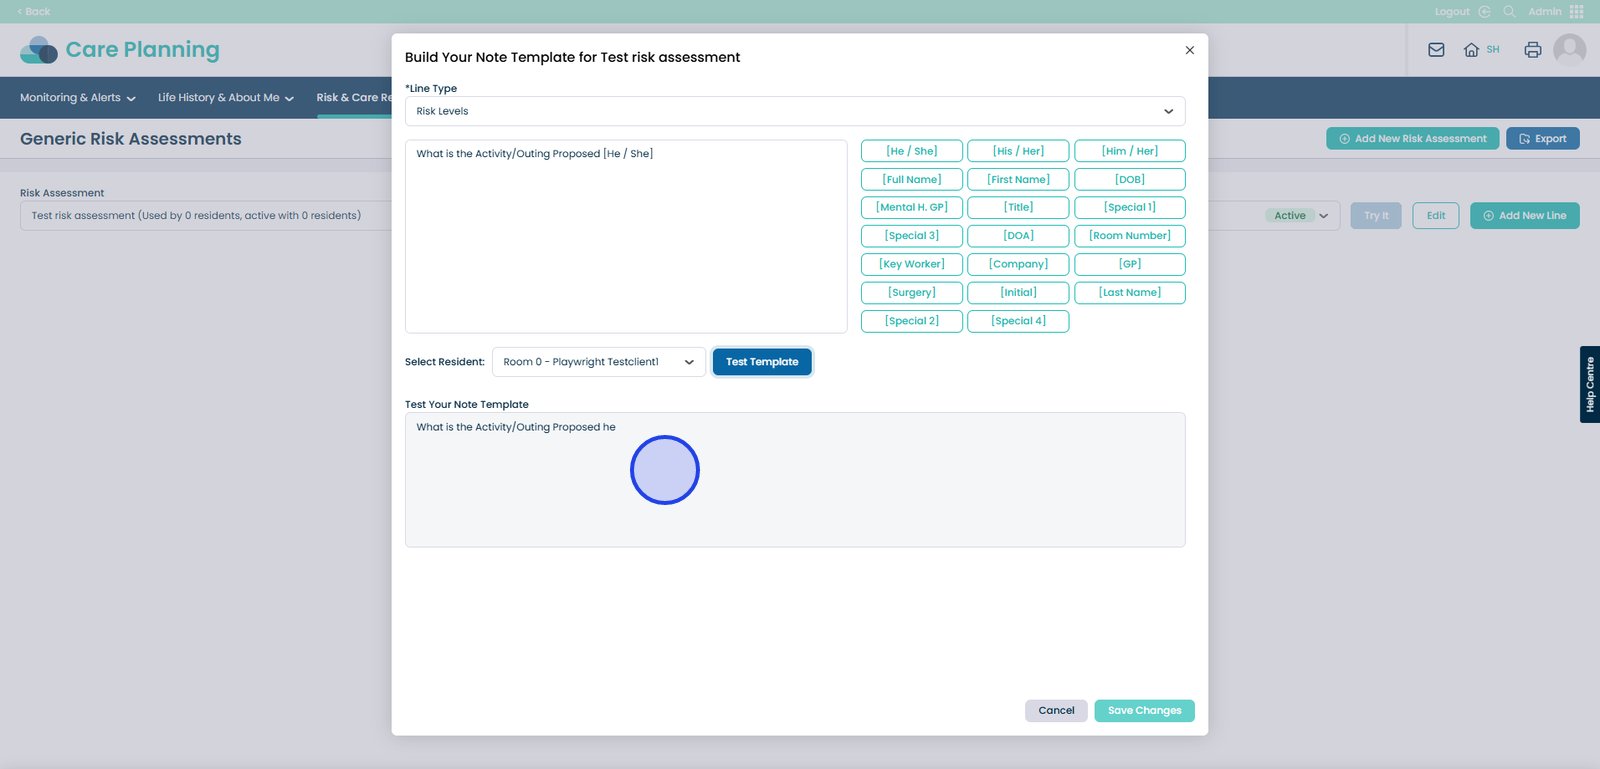
Within the text box here, you will be able to preview the Test Template.
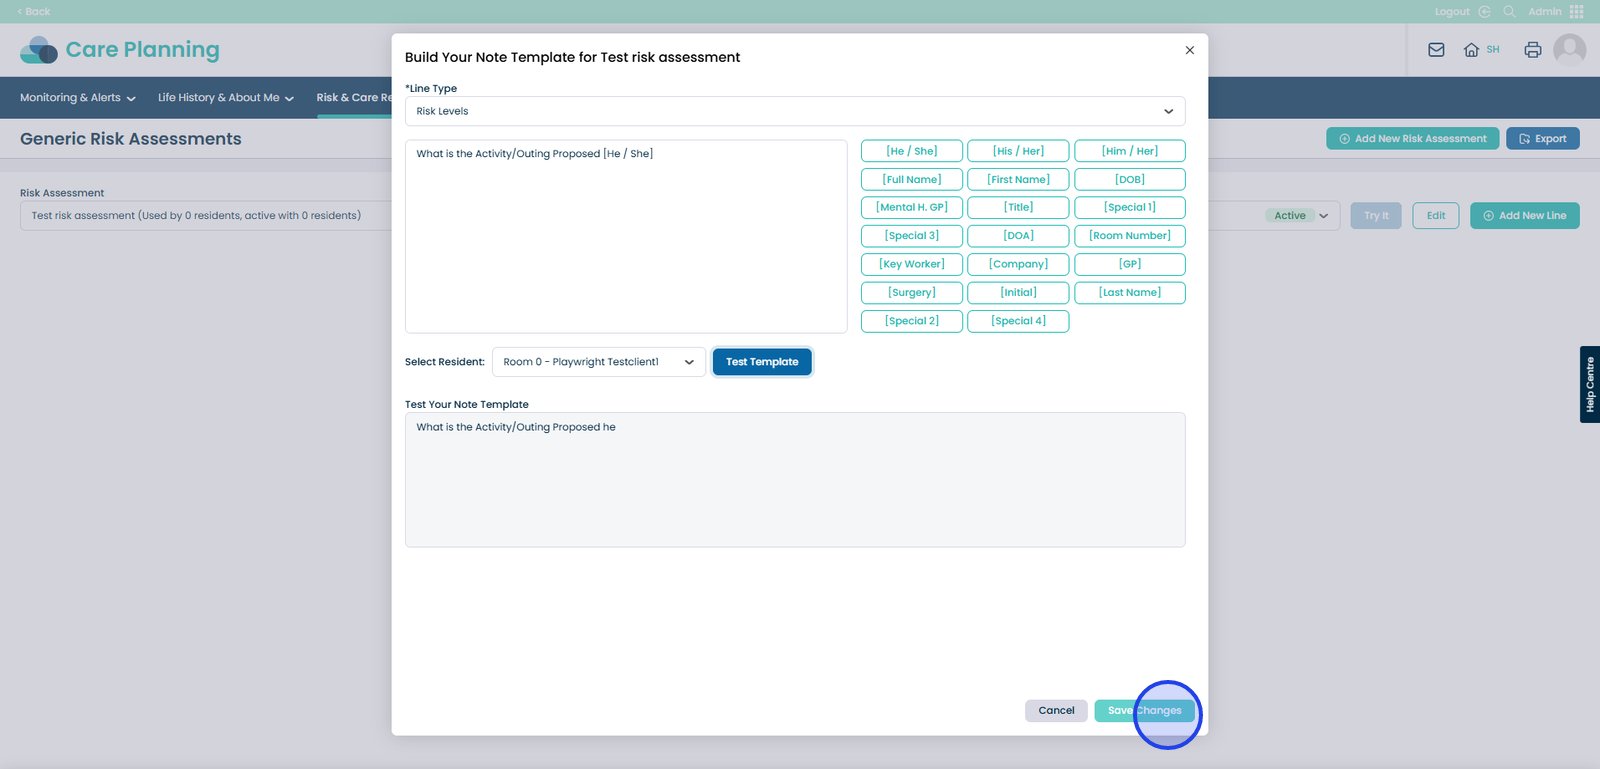
Don’t forget to Save Note Template after making any changes.
You can continue to build your risk assessment by adding new lines. Just make sure to save your progress. The risk assessment will stay editable until it’s activated and assigned to service users.
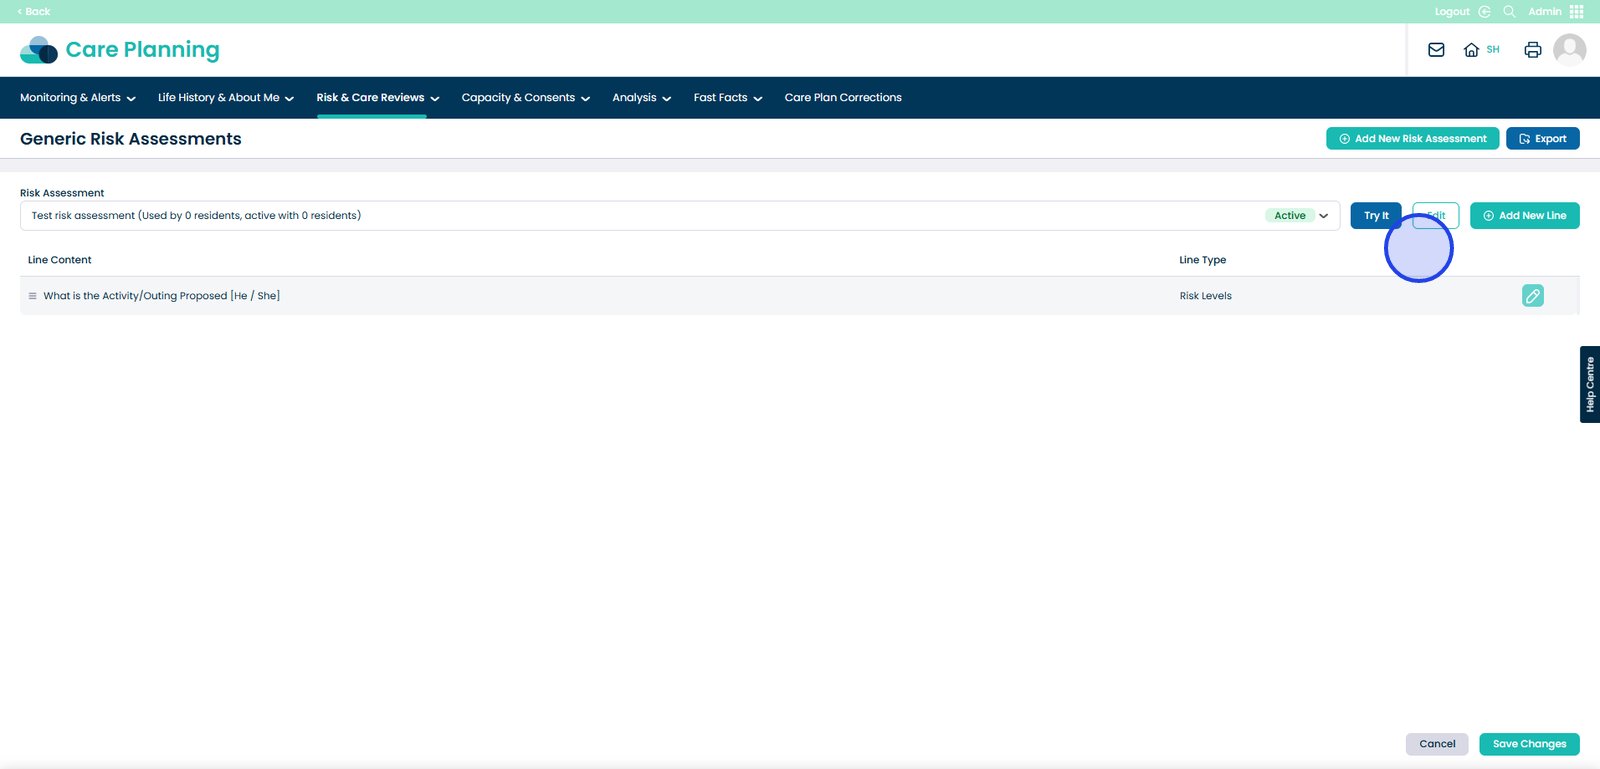
If you need to make changes later, select it from the drop-down list and click Edit.
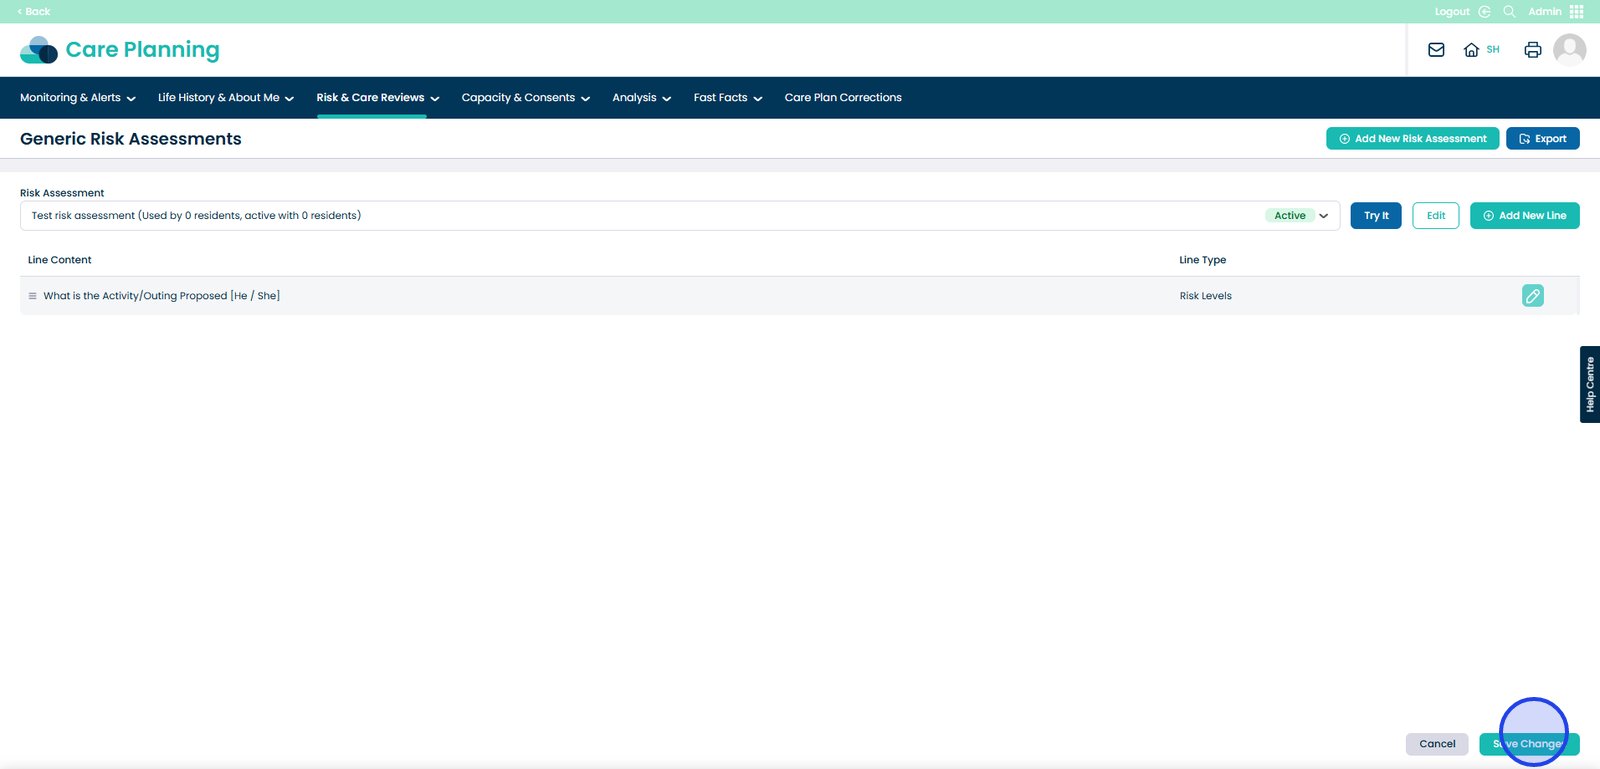
Once you are happy with the changes, make sure to click the ‘Save Changes’ button.