How to create a Single Custom Form in Cloud
This guide explains how to create and activate a Single Custom Form in the Admin App for Care Planning. It covers every step; from opening the Monitoring & Alerts area and creating a new Monitoring Type, to adding sections, configuring input and selection fields, setting access restrictions, and adding optional features like guidance, note templates, and score mapping.
You’ll learn how to customise your form using tools such as Free Text, Body Map, Photo Upload, Dropdown, and Signature fields, and how to manage permissions using access levels like Retro-Edit, Edit, or View-Only. The guide also explains how to use built-in or custom monitoring lists, prefill responses, and add helpful guidance or auto-generated notes for users.
By following this guide, you’ll build a professional, fully configured form that captures accurate data, links to Care Review Domains, supports Extra Fields like Red Flags and Health Issues, and ensures staff can only see or edit what’s relevant to their role. Once complete, the form can be previewed, locked, and activated for everyday use in your care planning process.
Interactive Guide
Text based guide
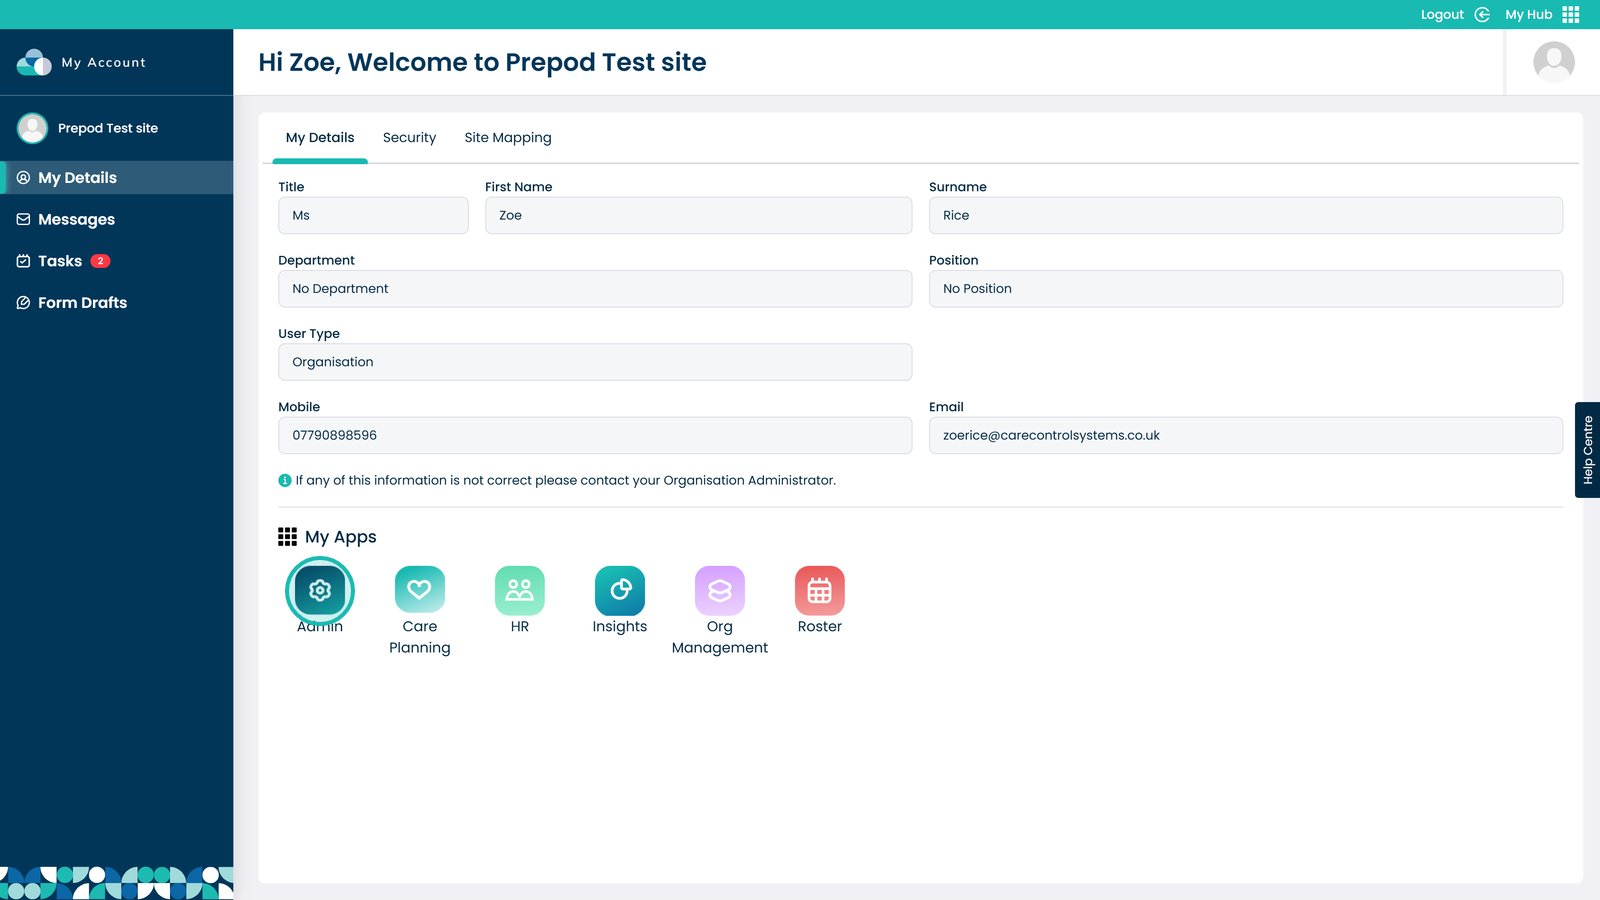
Enter the HR App
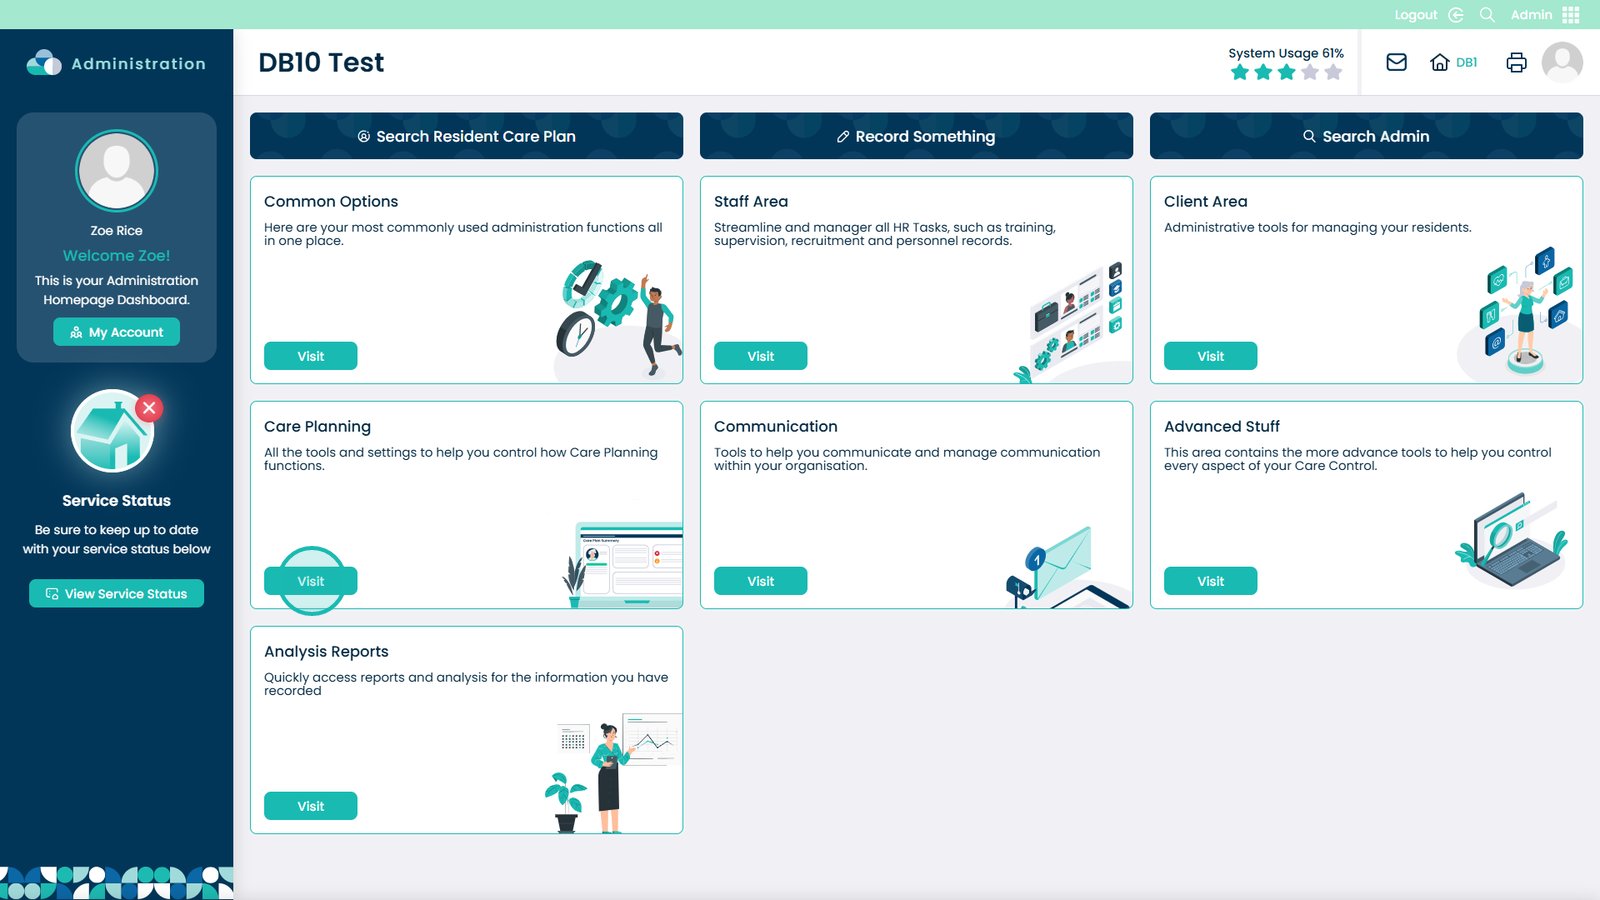
Click Visit in the Care Planning box
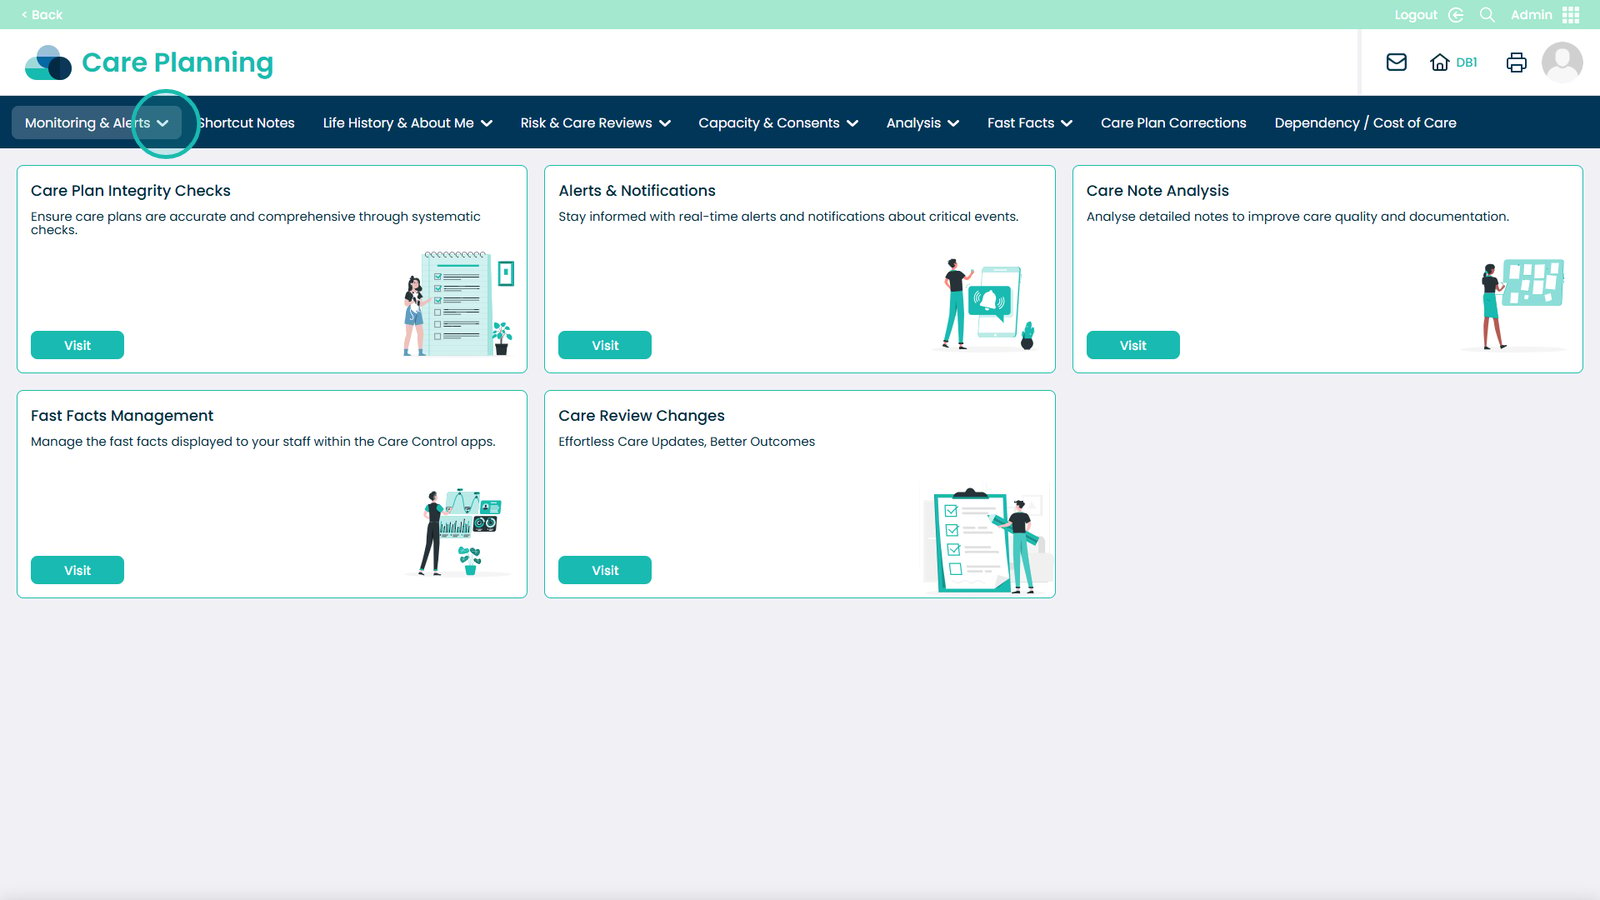
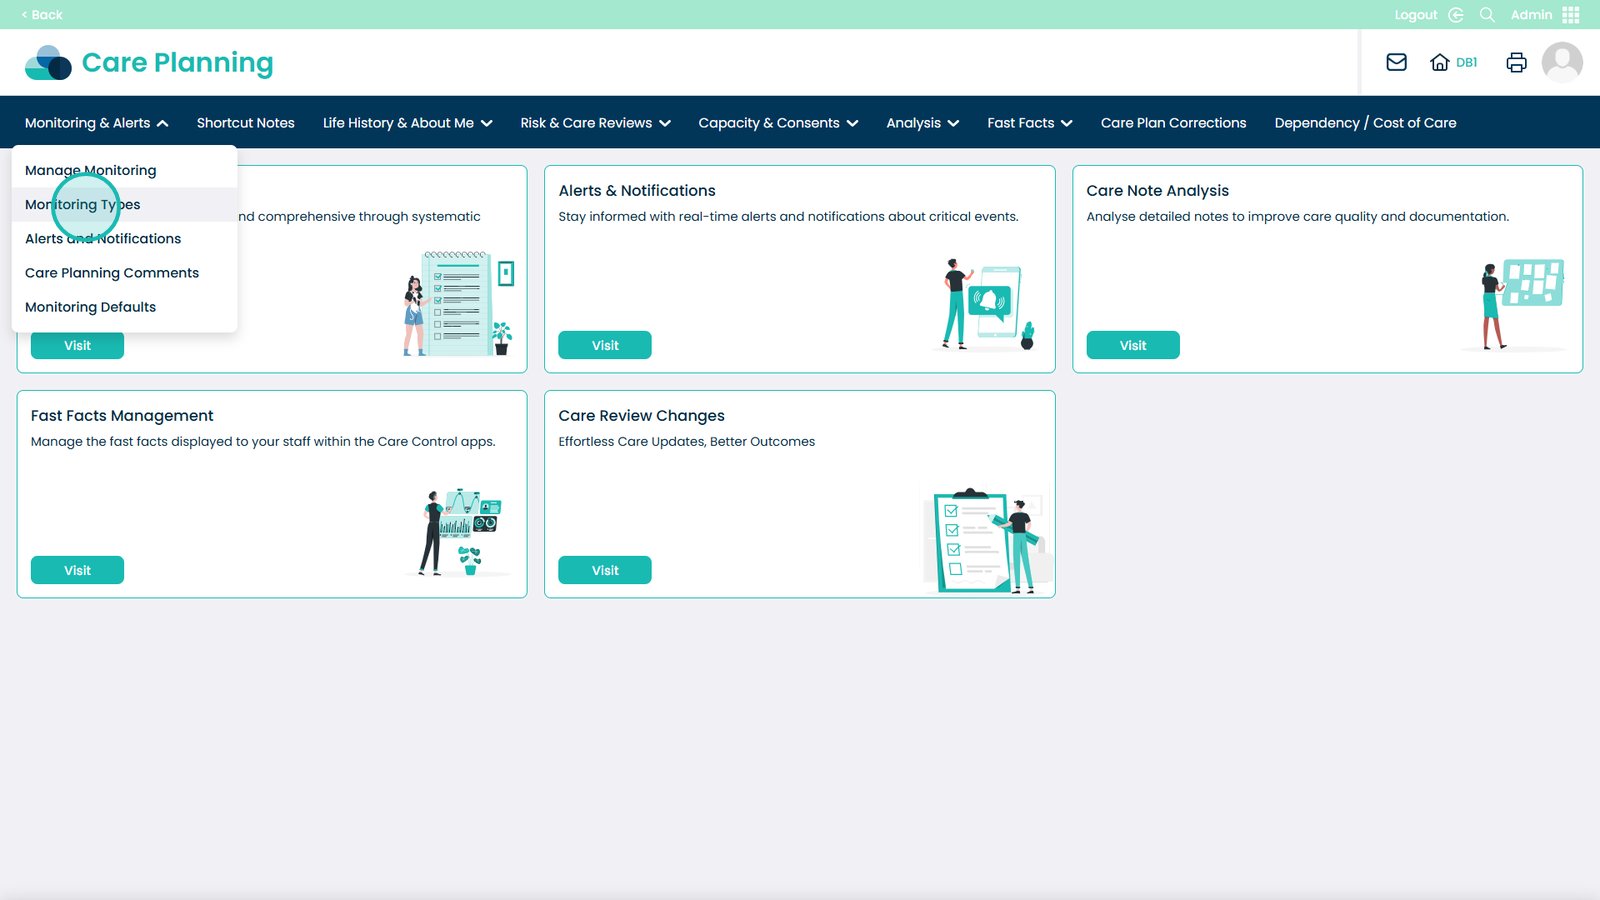
Open the Monitoring & Alerts drop-down
Open the Monitoring Types area
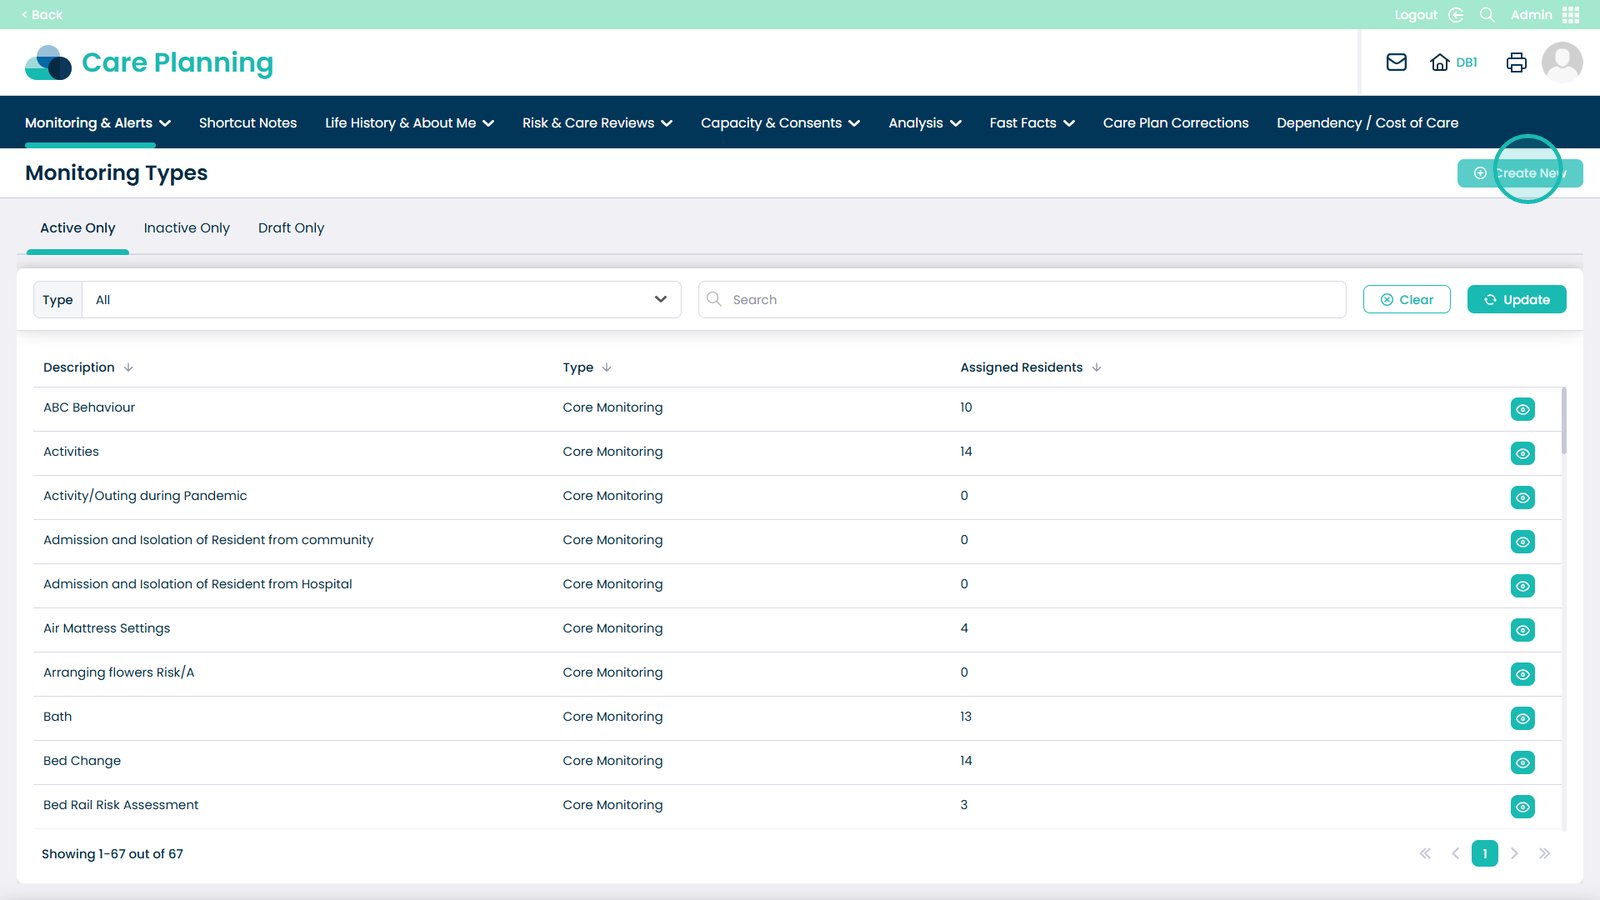
Click to Create a New Monitoring type
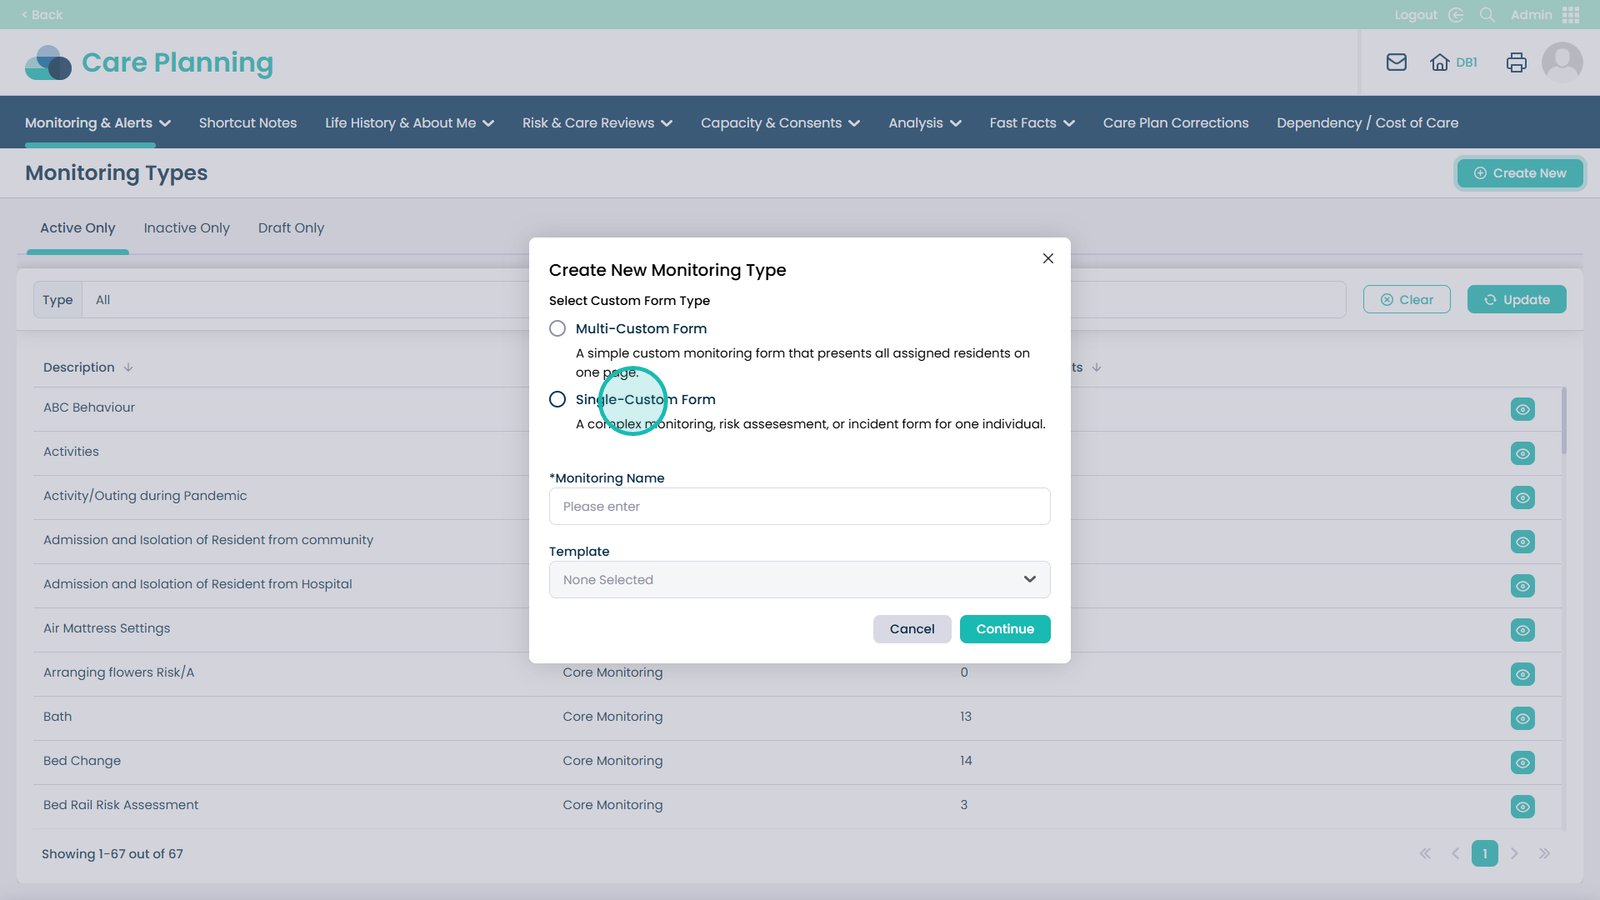
Click Single-Custom Form
Enter the name of the monitoring
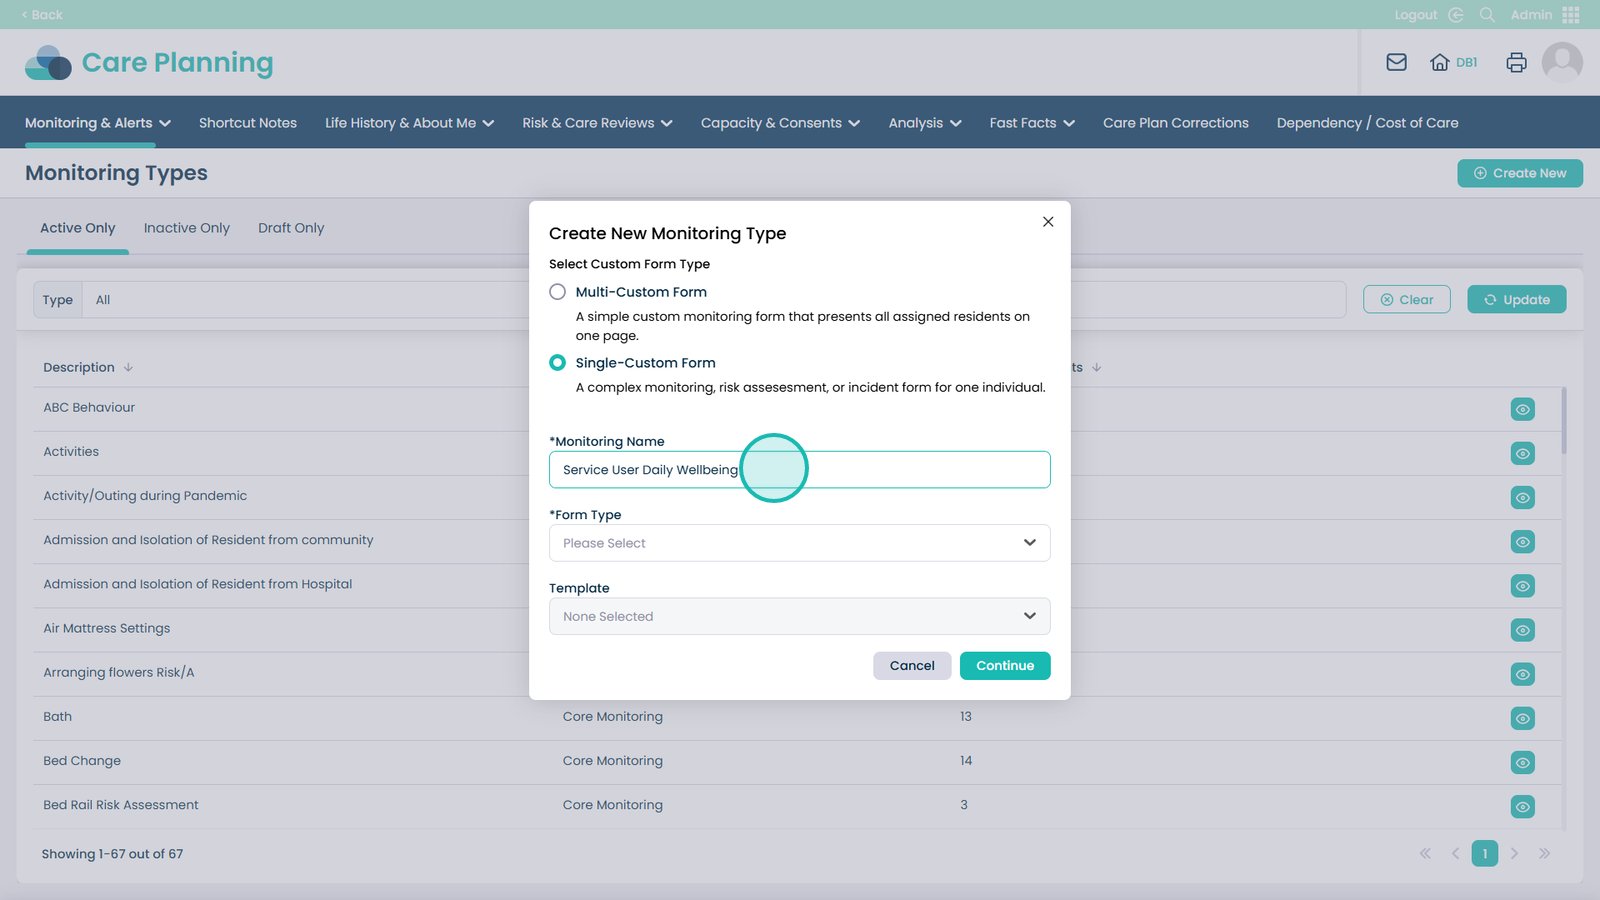
Choose the form type
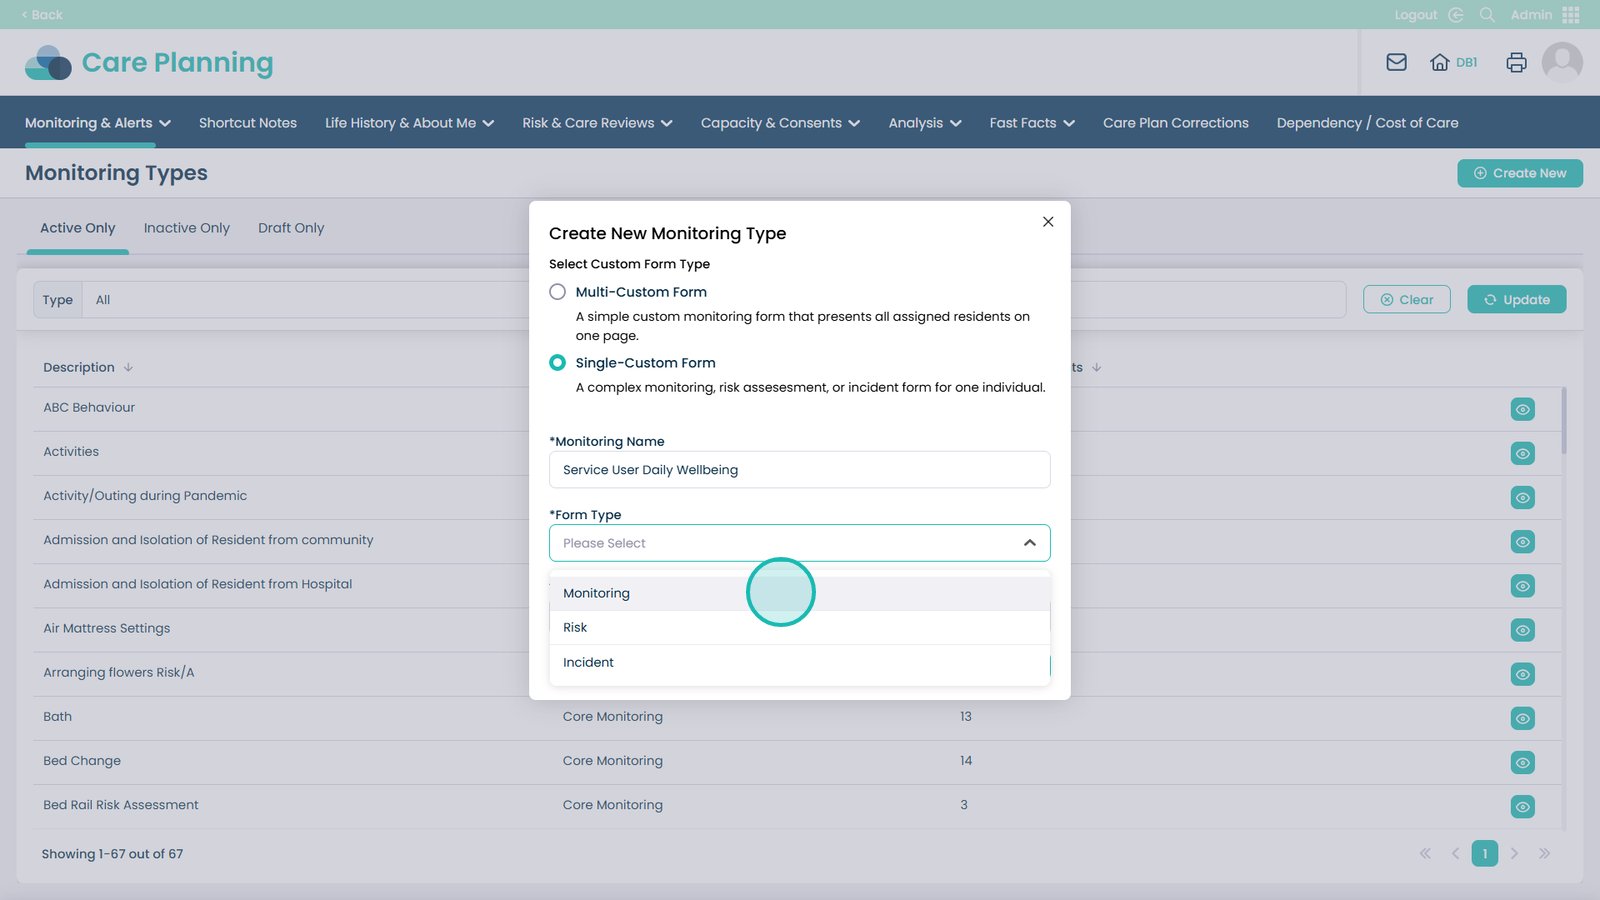
If you’d like to use another form as a template, you can select it here
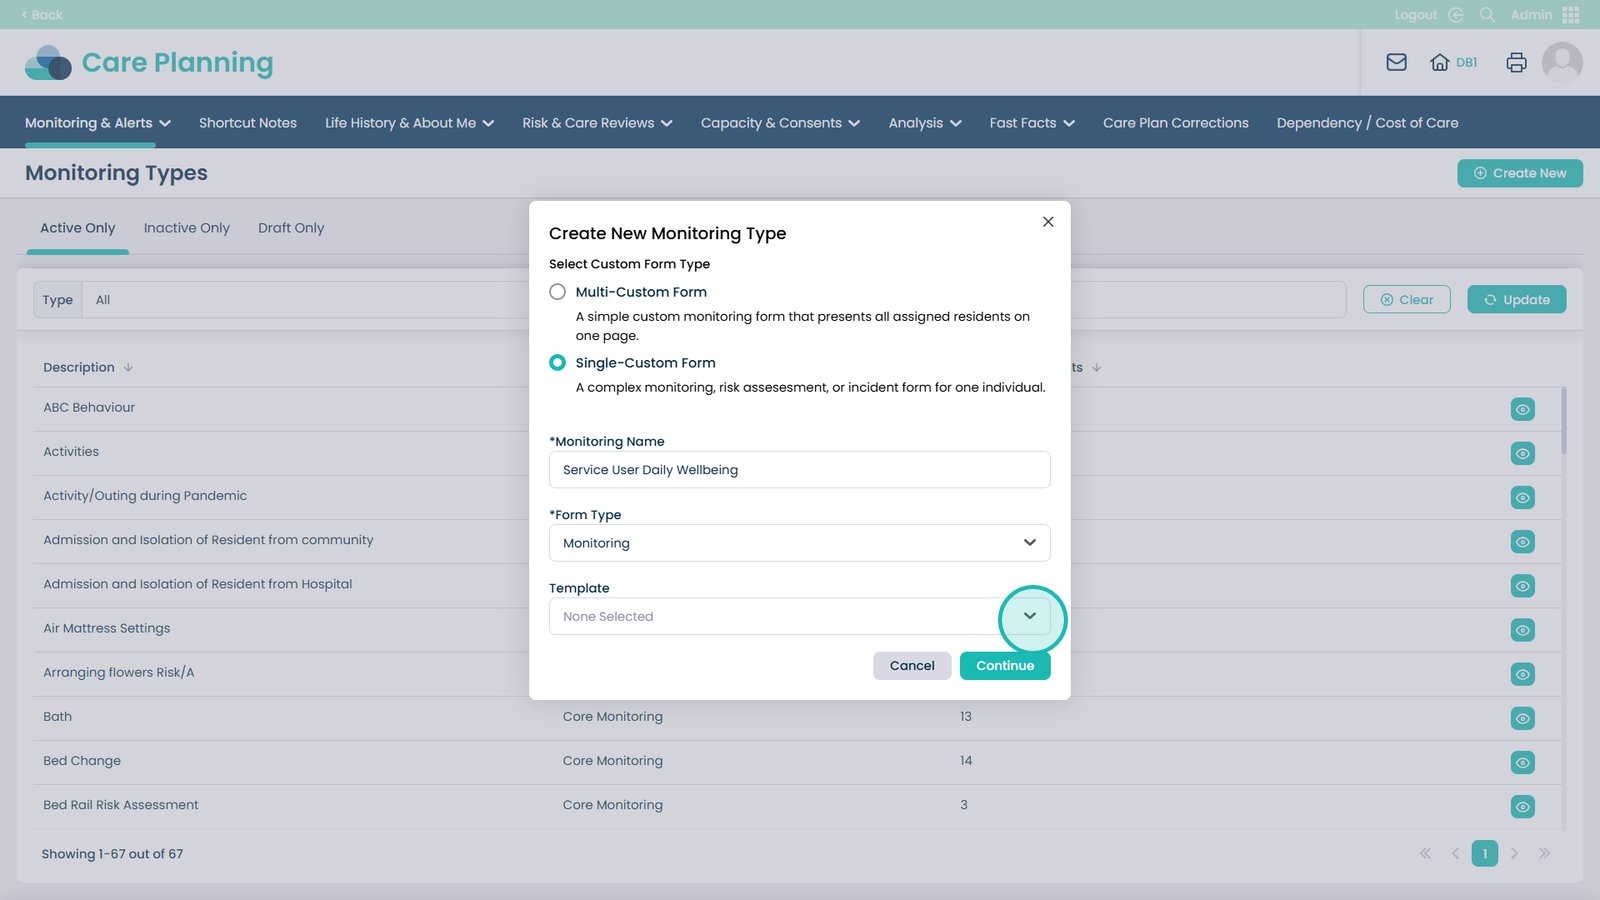
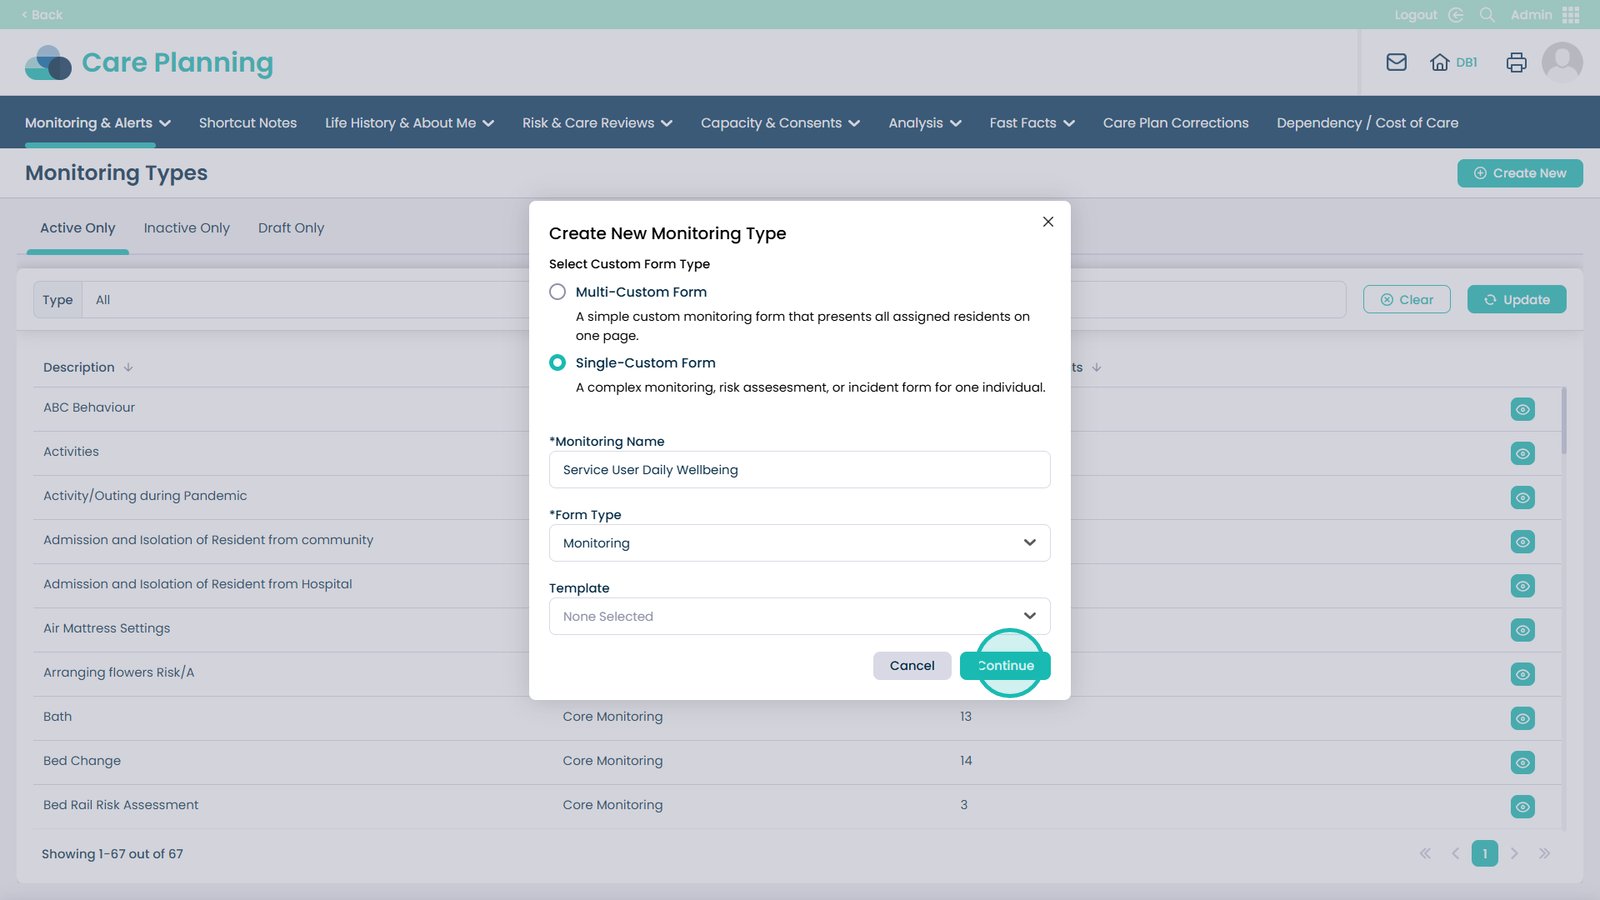
Click Continue when ready
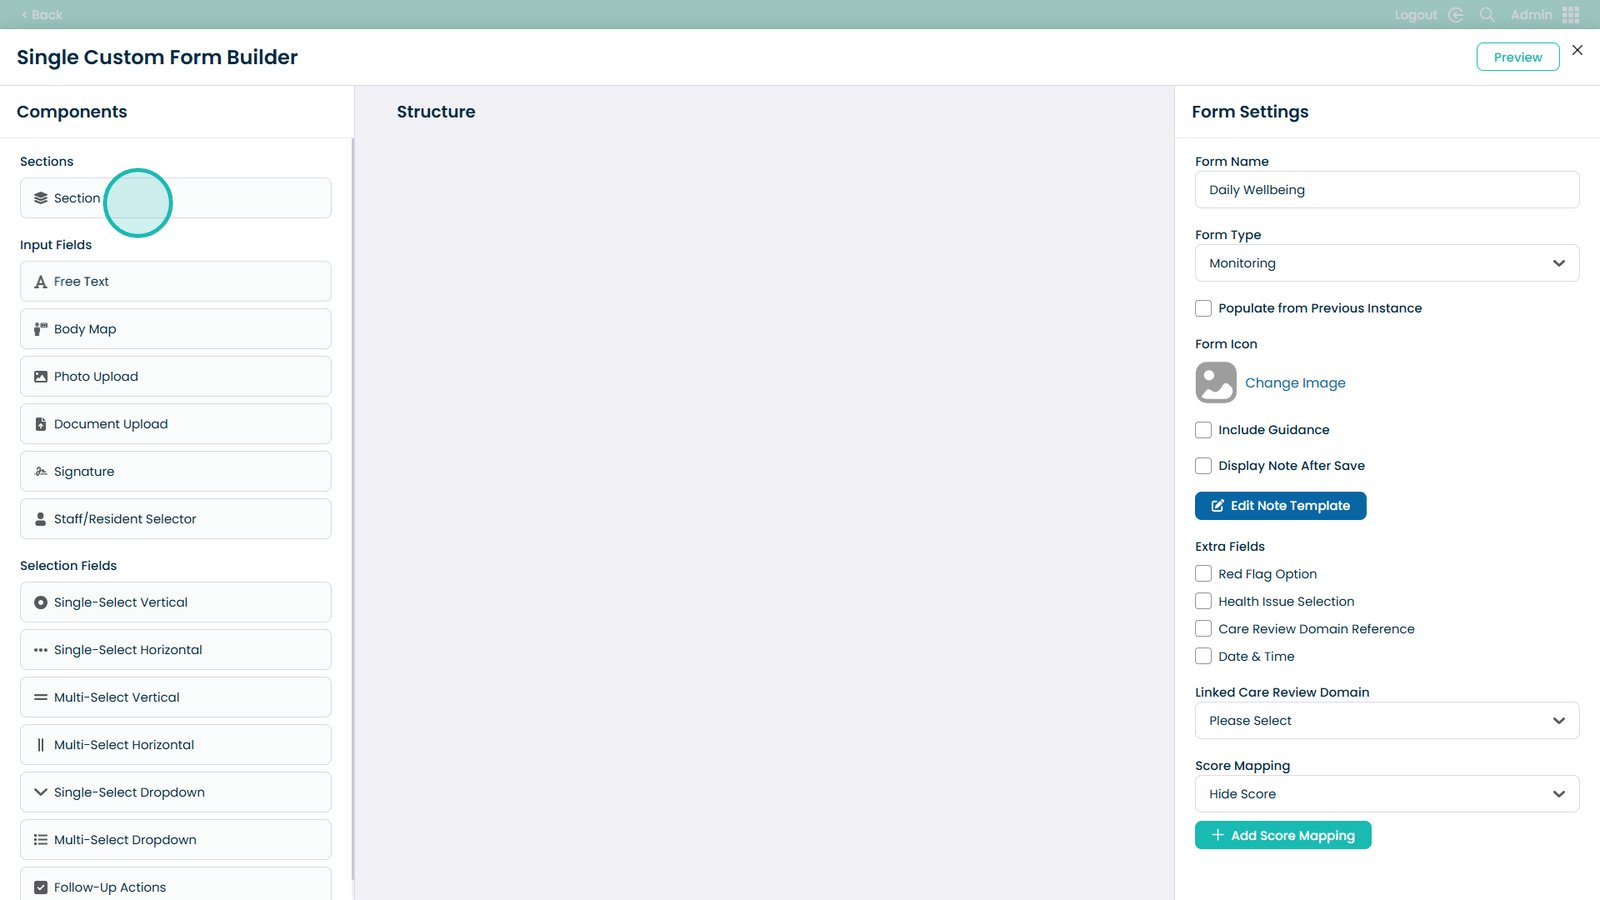
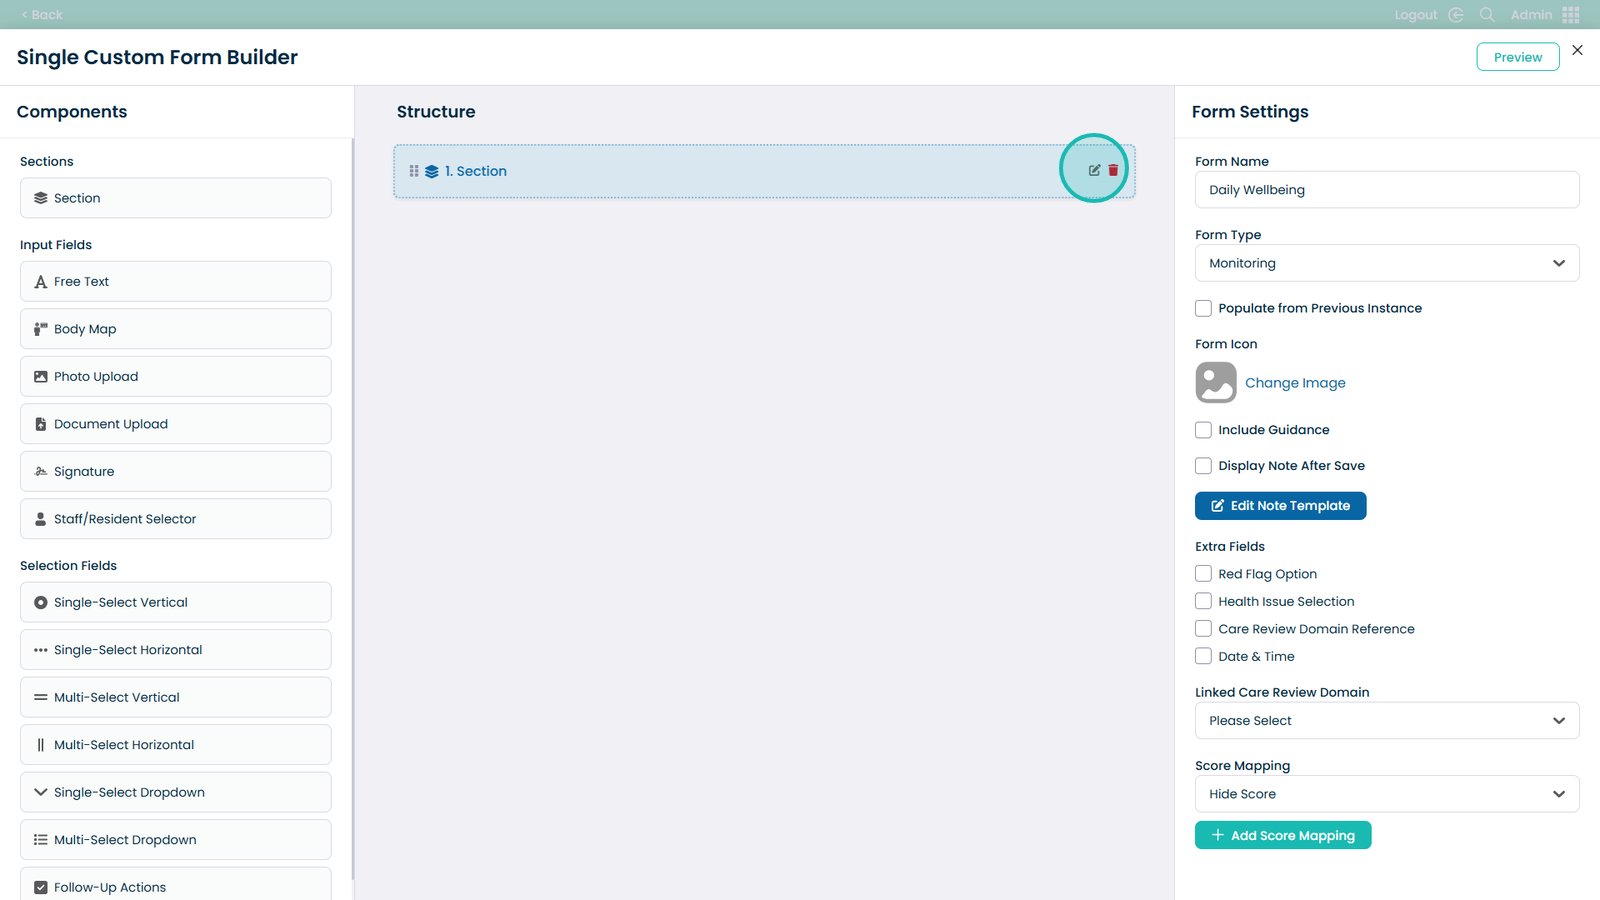
Start by creating a Section to nest fields and keep the form neat
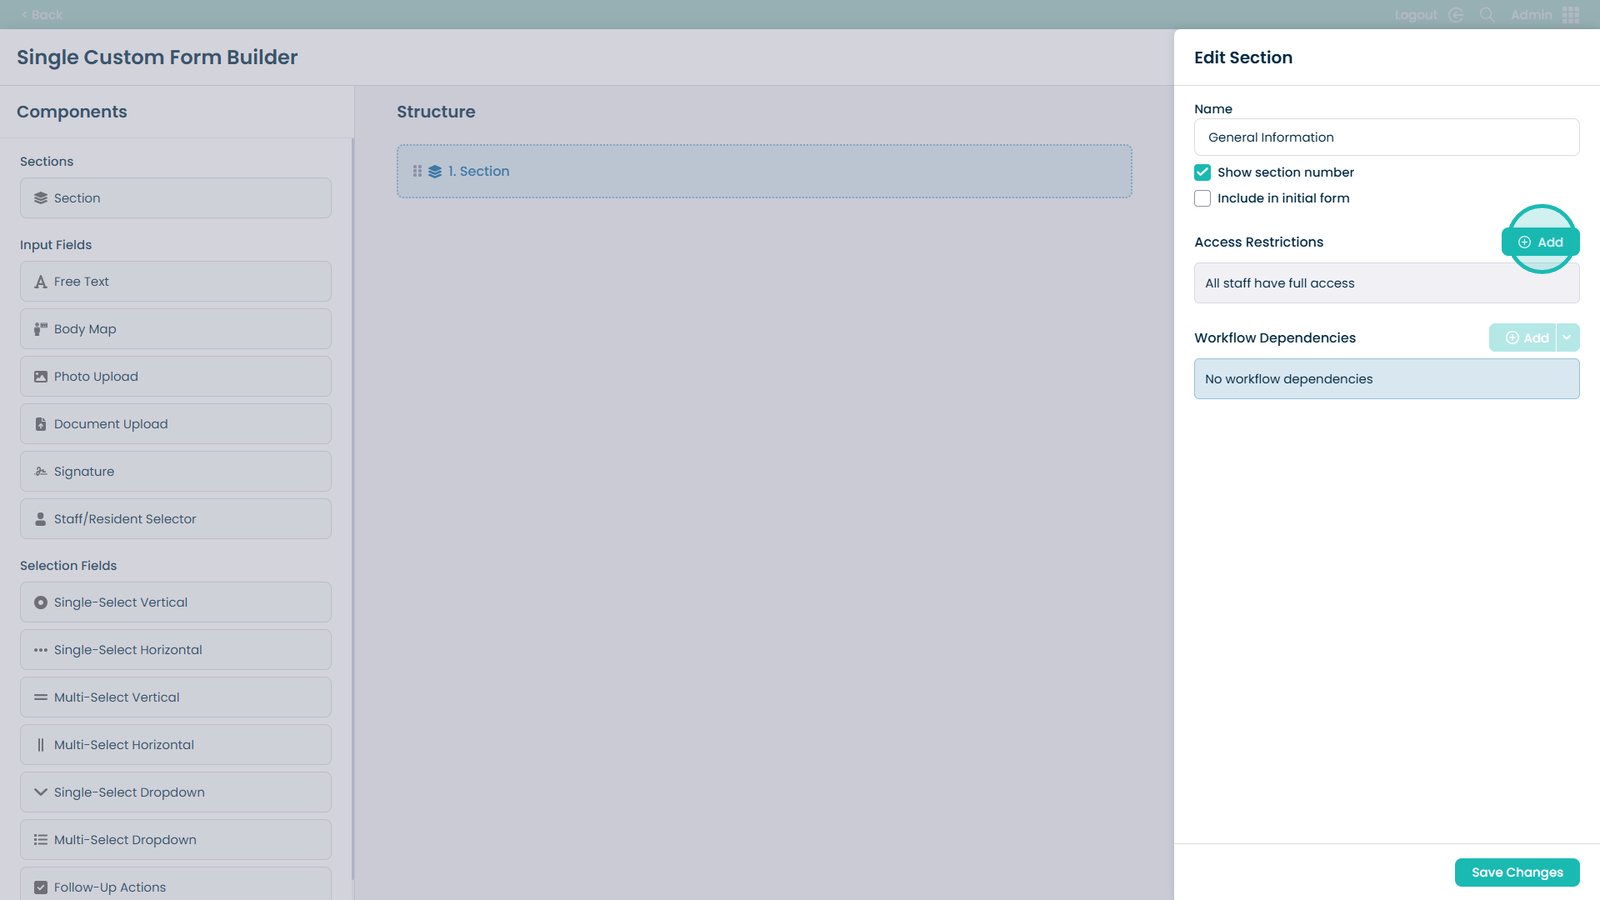
Click the Pen icon in the Section box to edit it
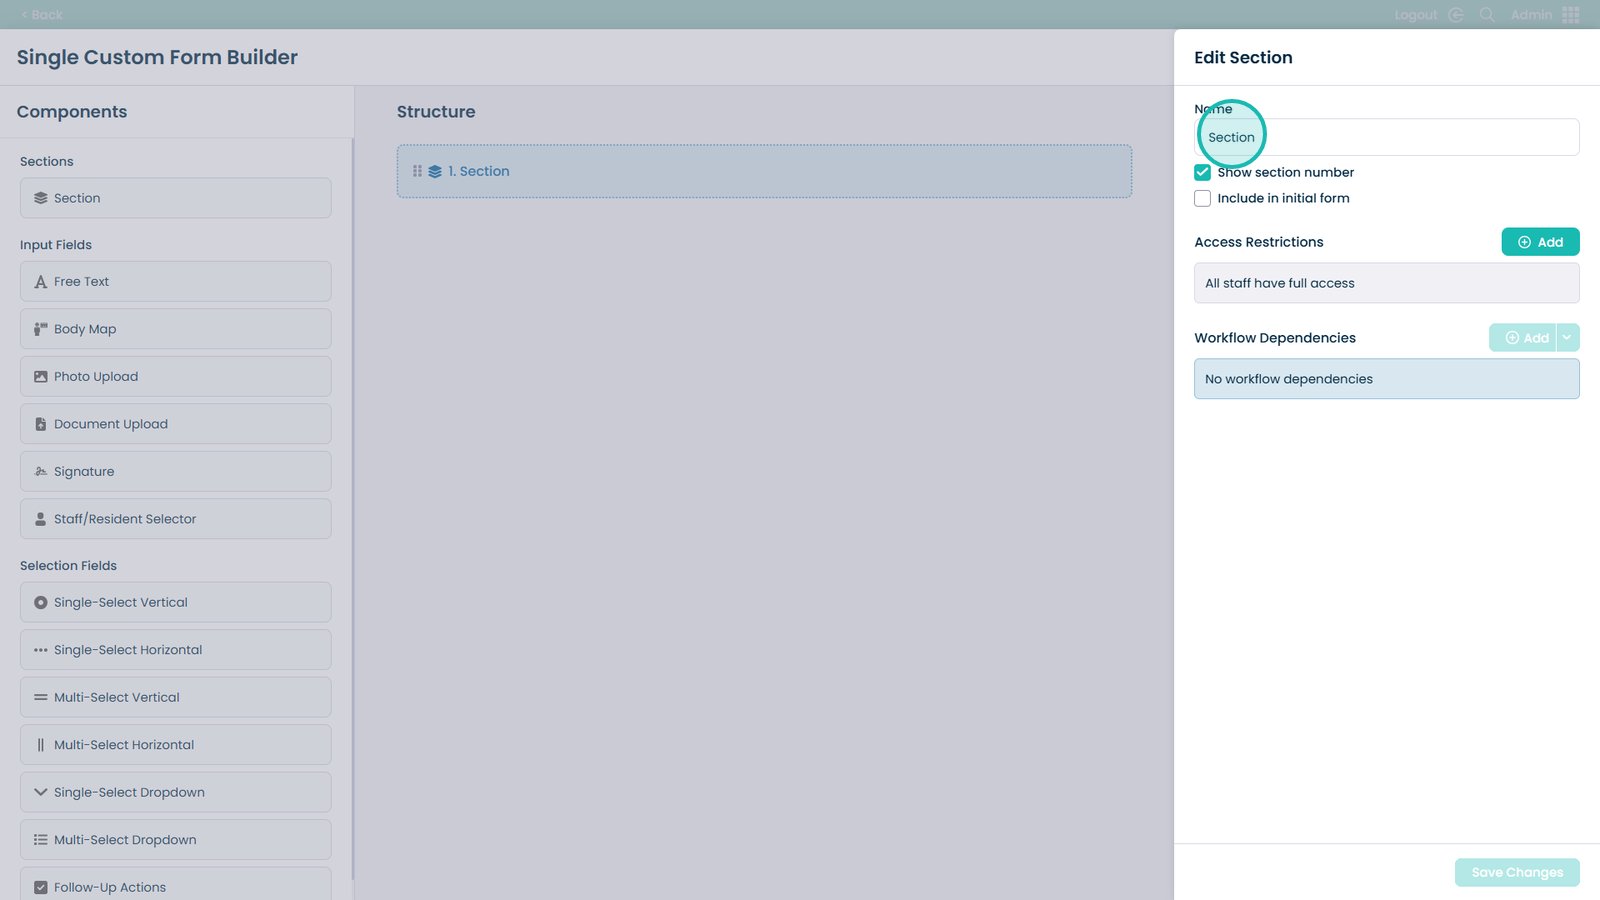
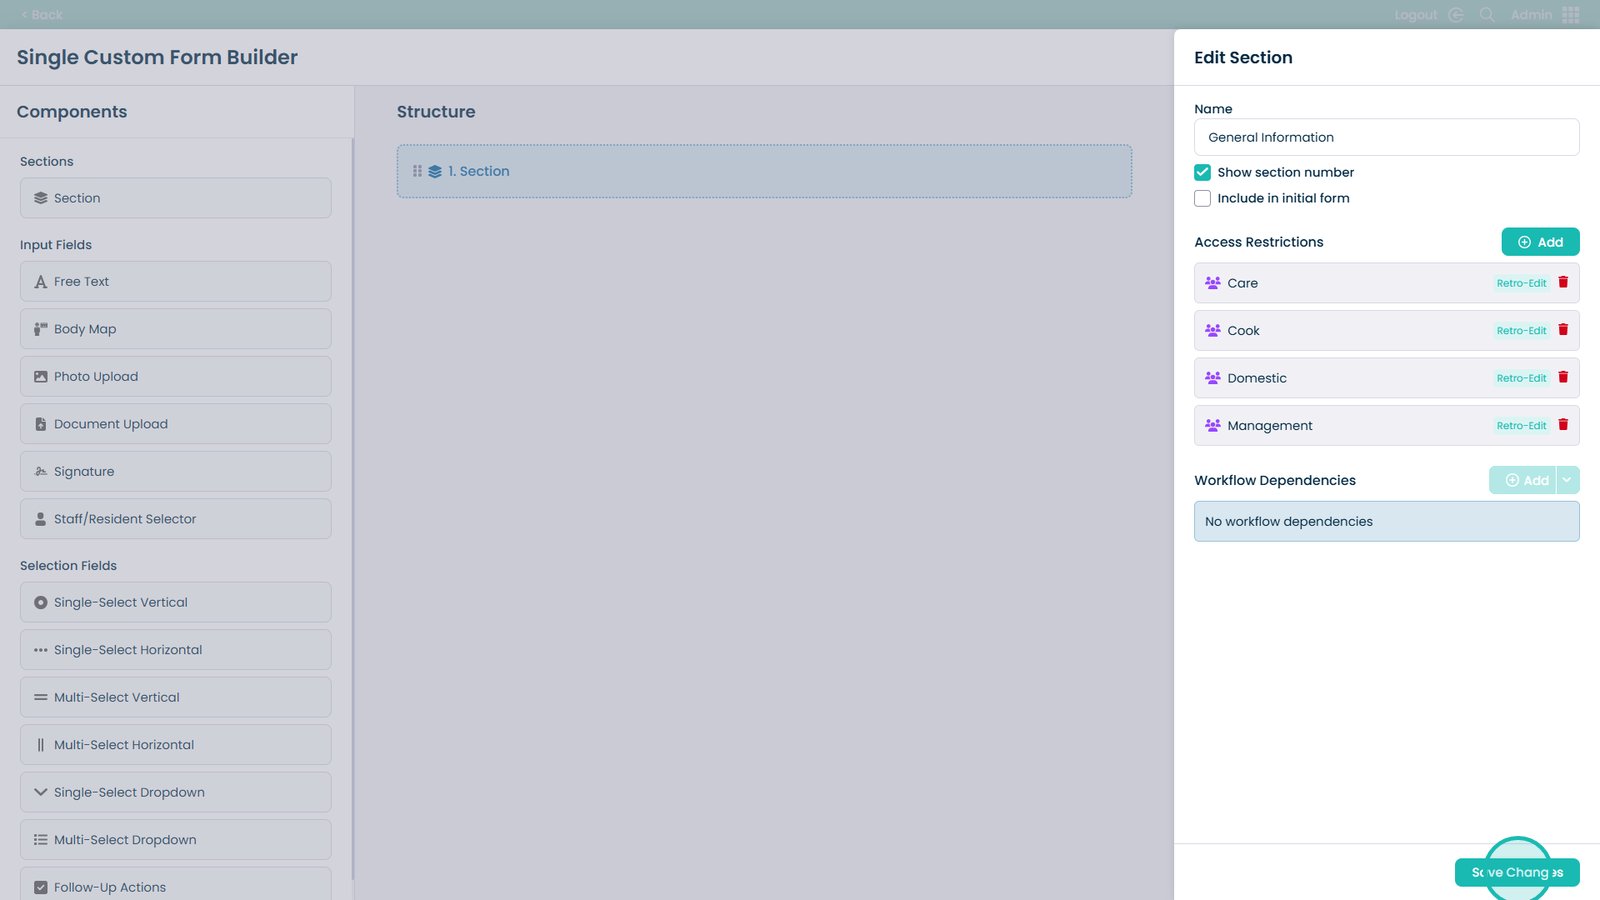
Enter the name of the Section in this box
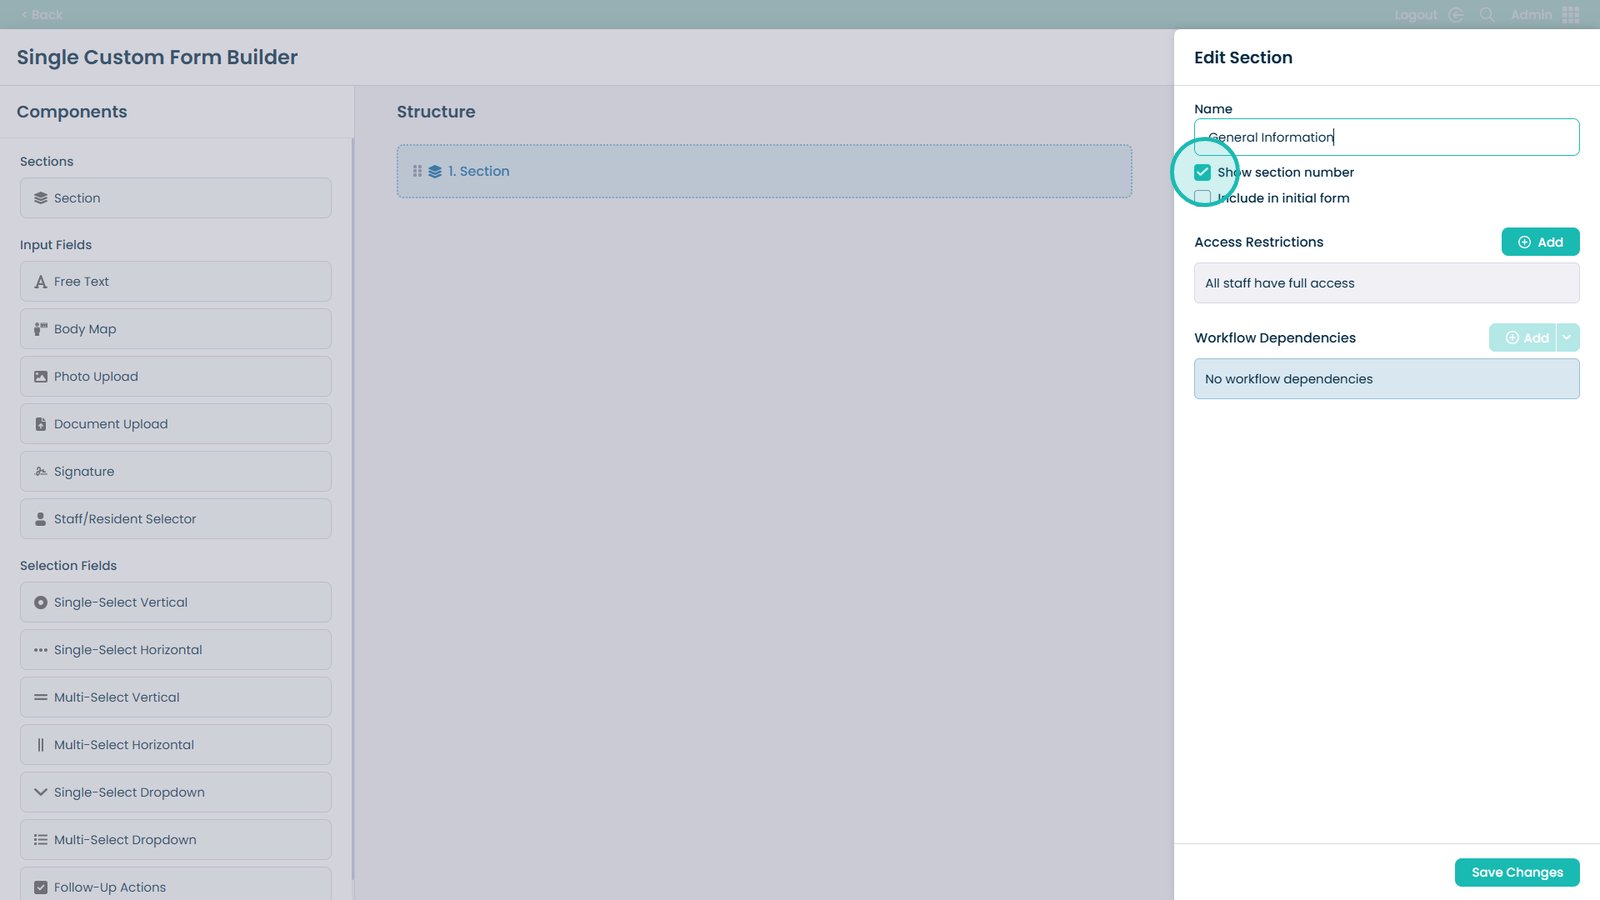
Enable numbering to show a number next to the section
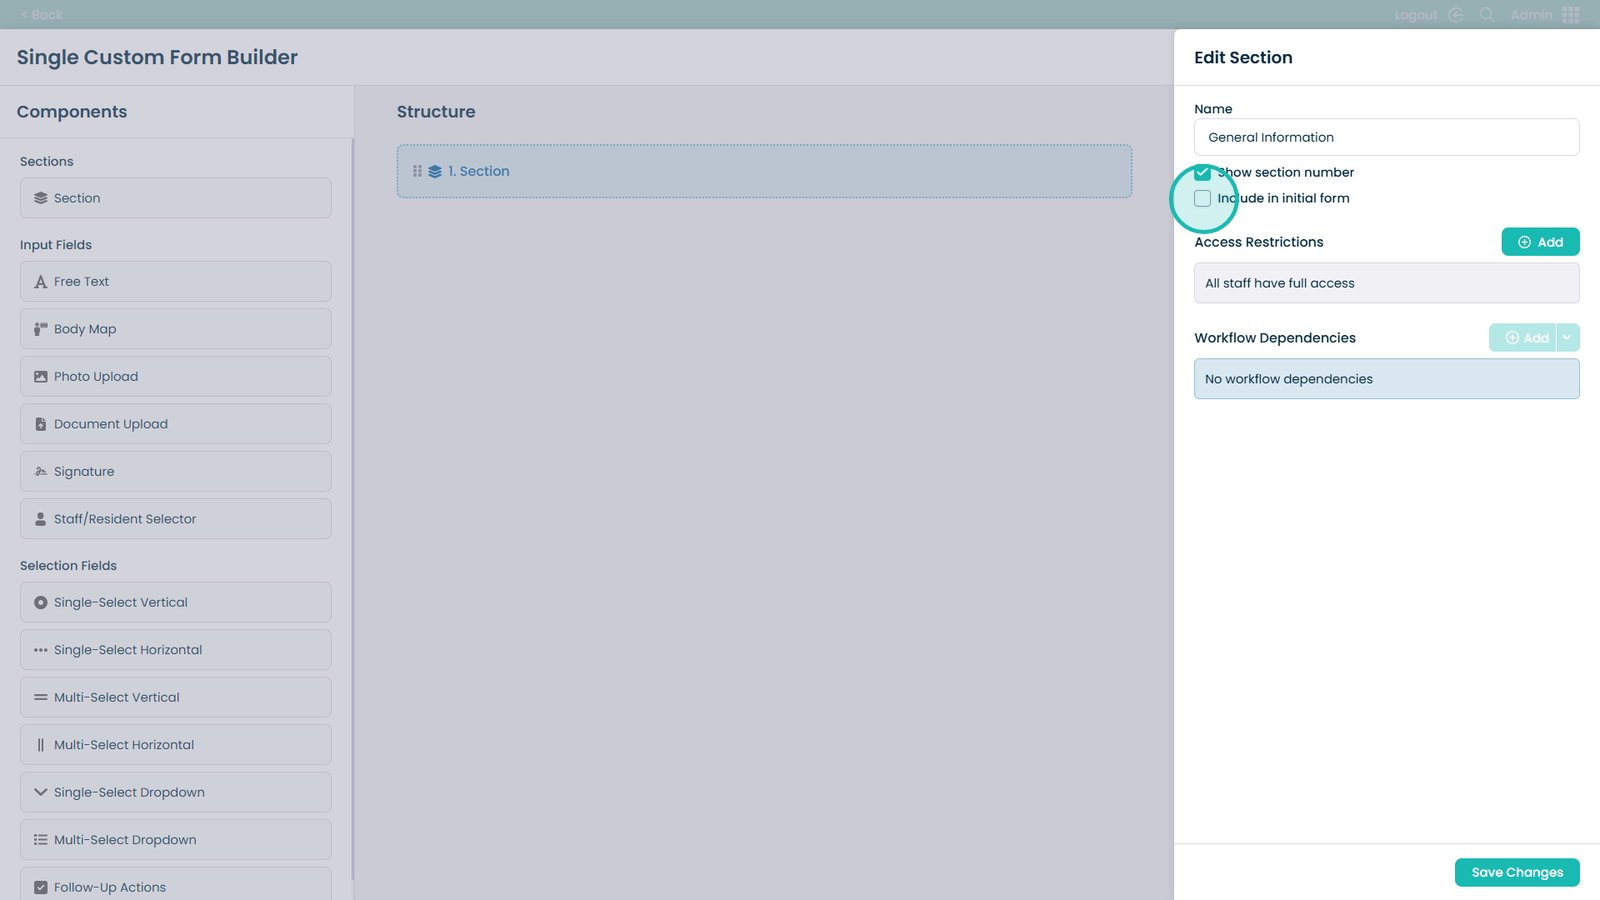
Select “Include in initial form” to include this section
Click Add to modify Access Restrictions (you can create multiple)
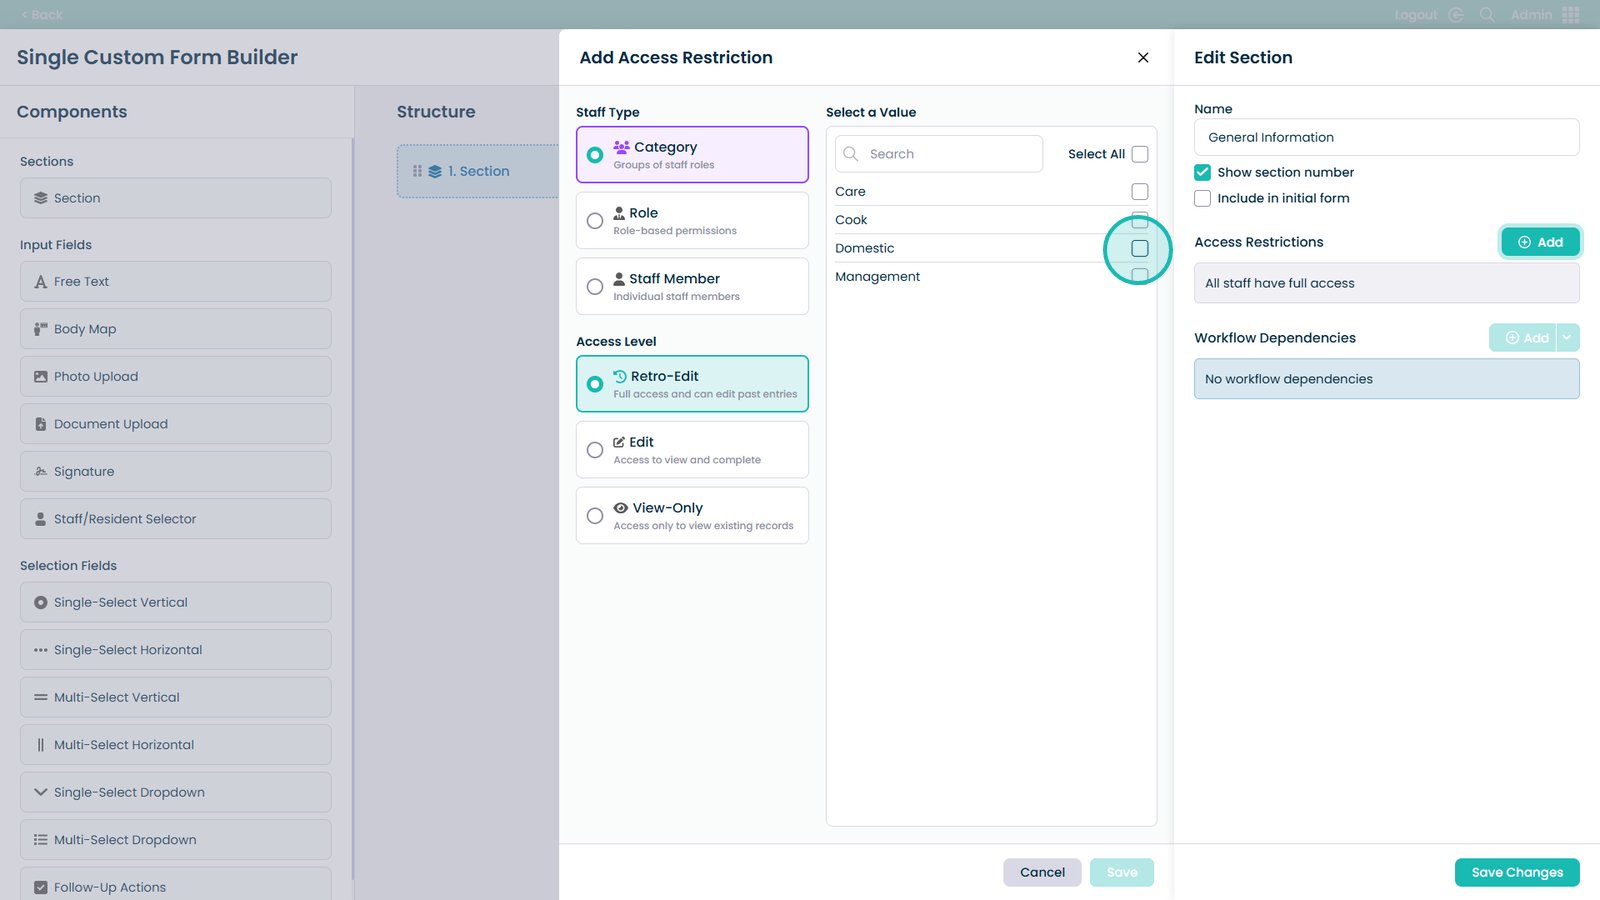
Select the Category with access (one, multiple, or all)
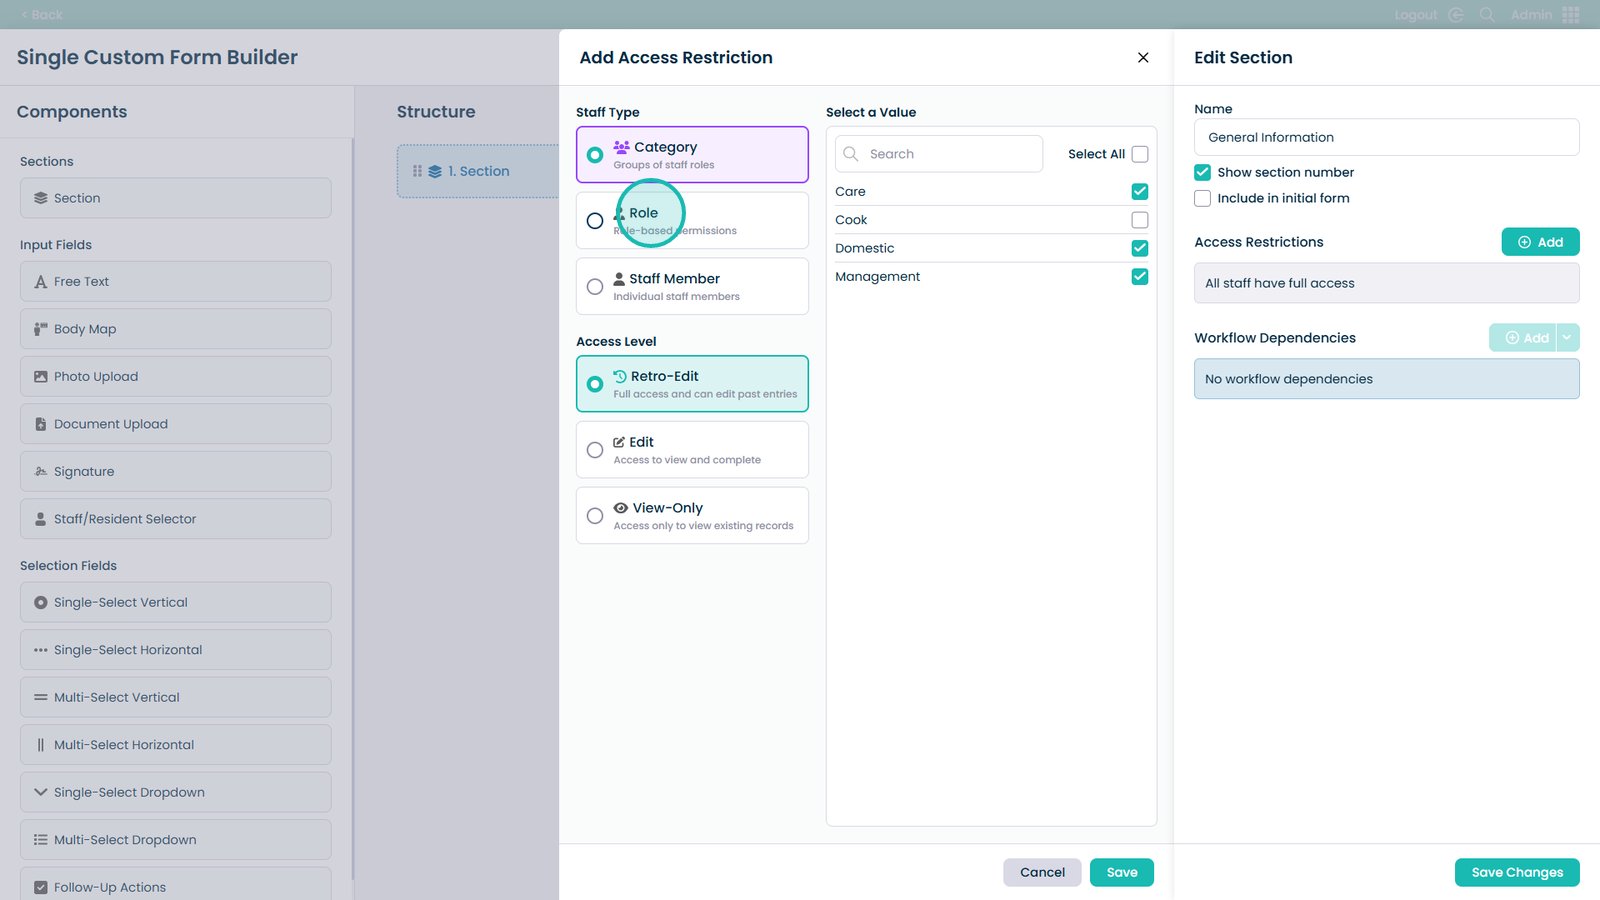
Filter access by Role (optional)
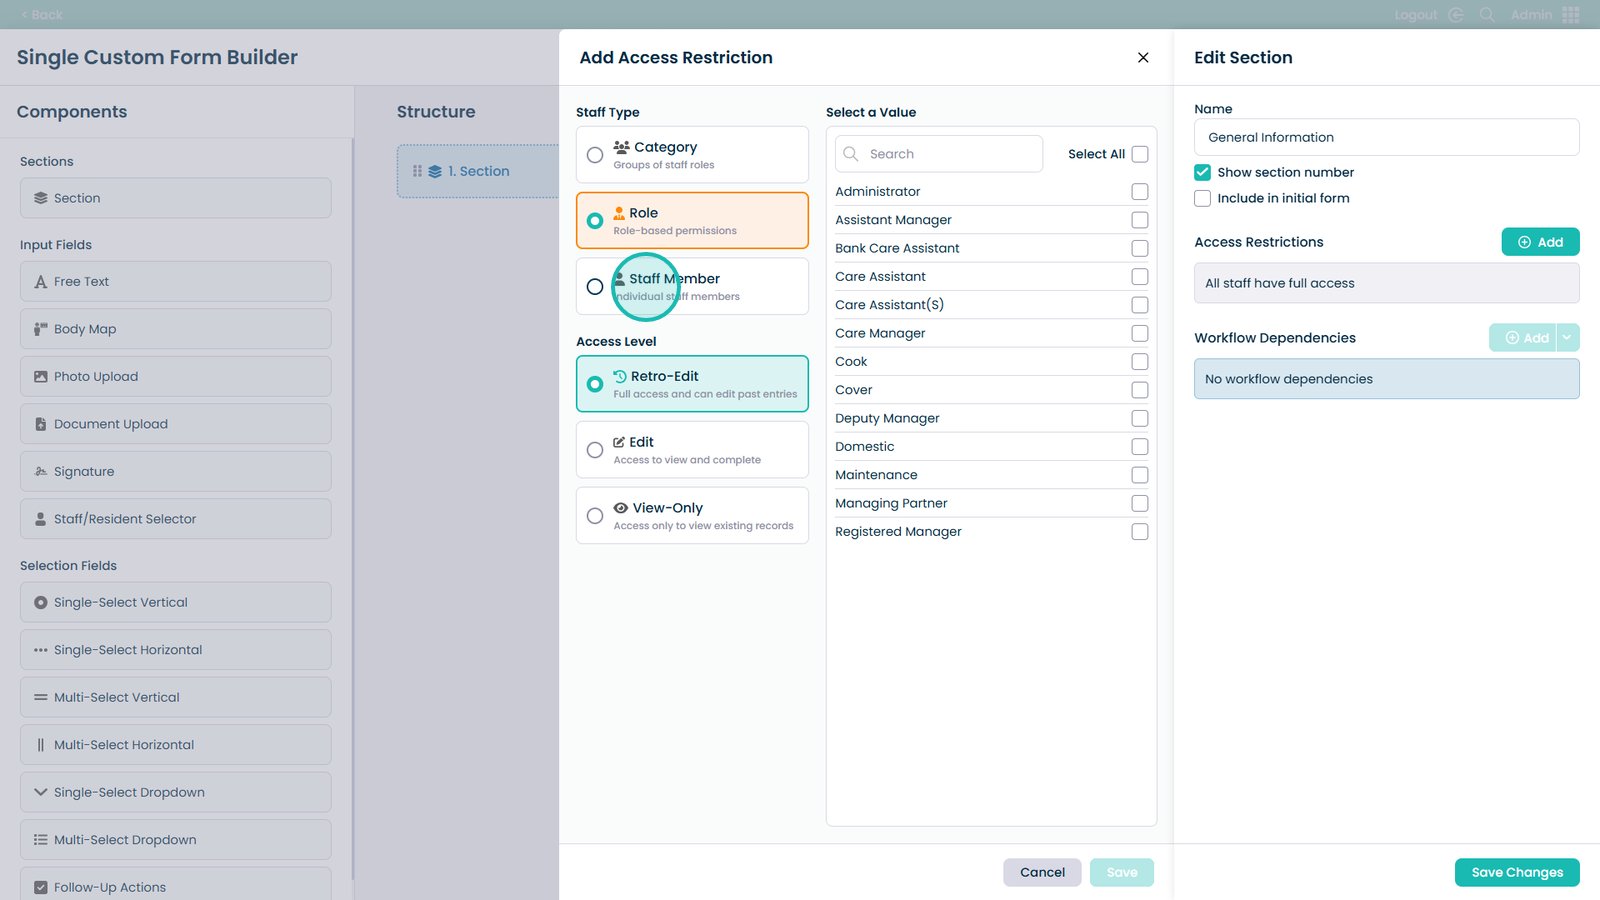
Restrict to specific Staff Members (optional)
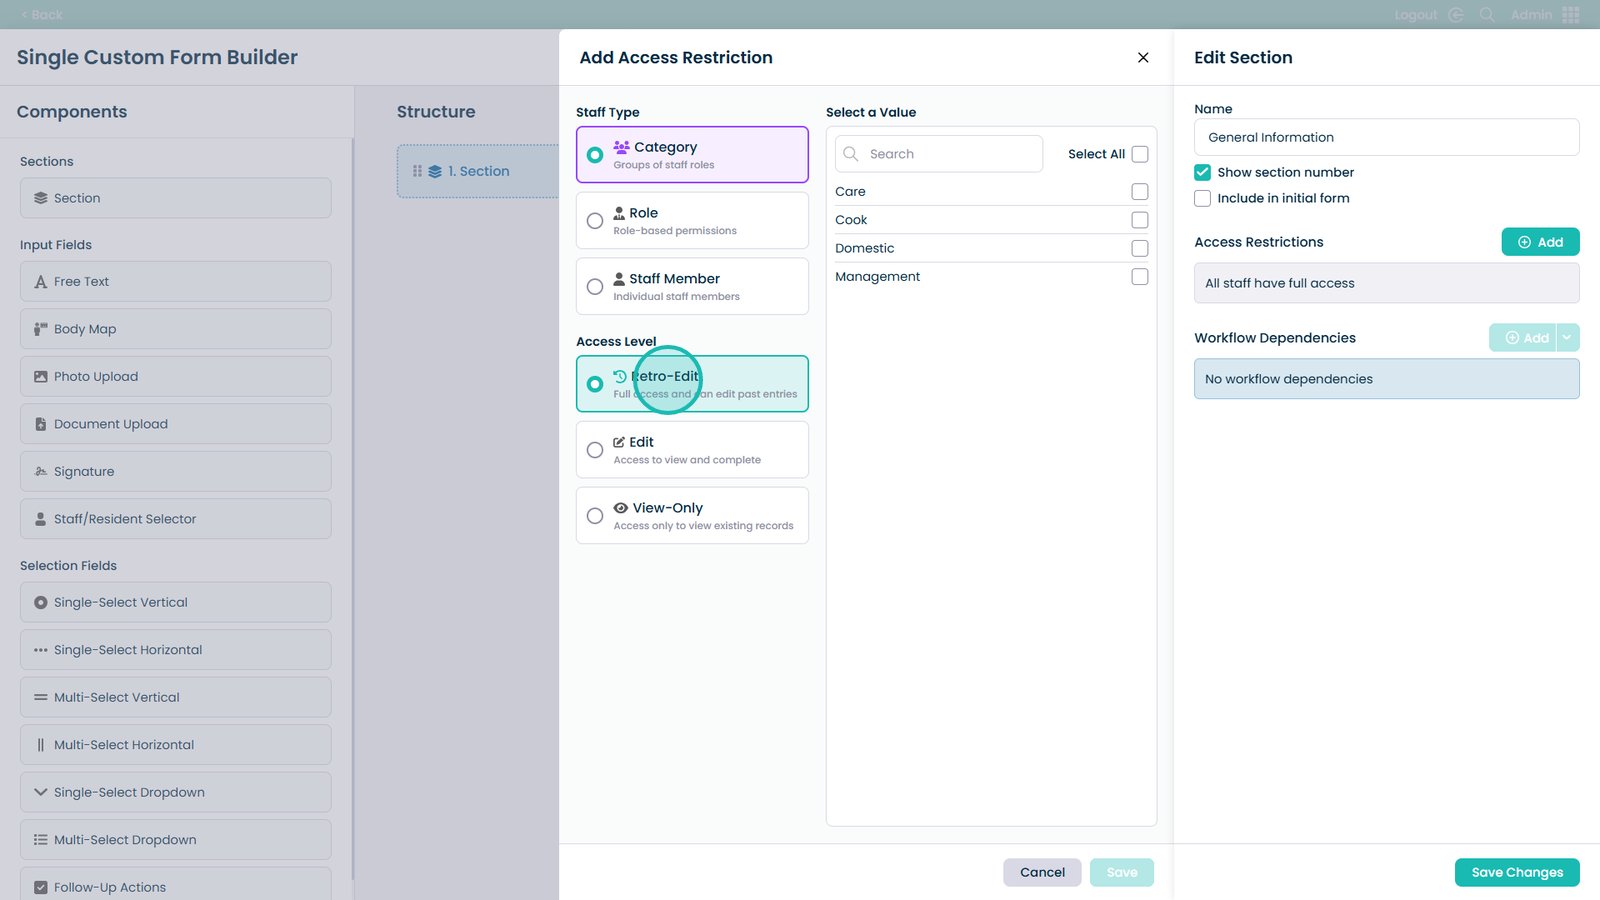
Retro-Edit: full access and ability to edit past entries
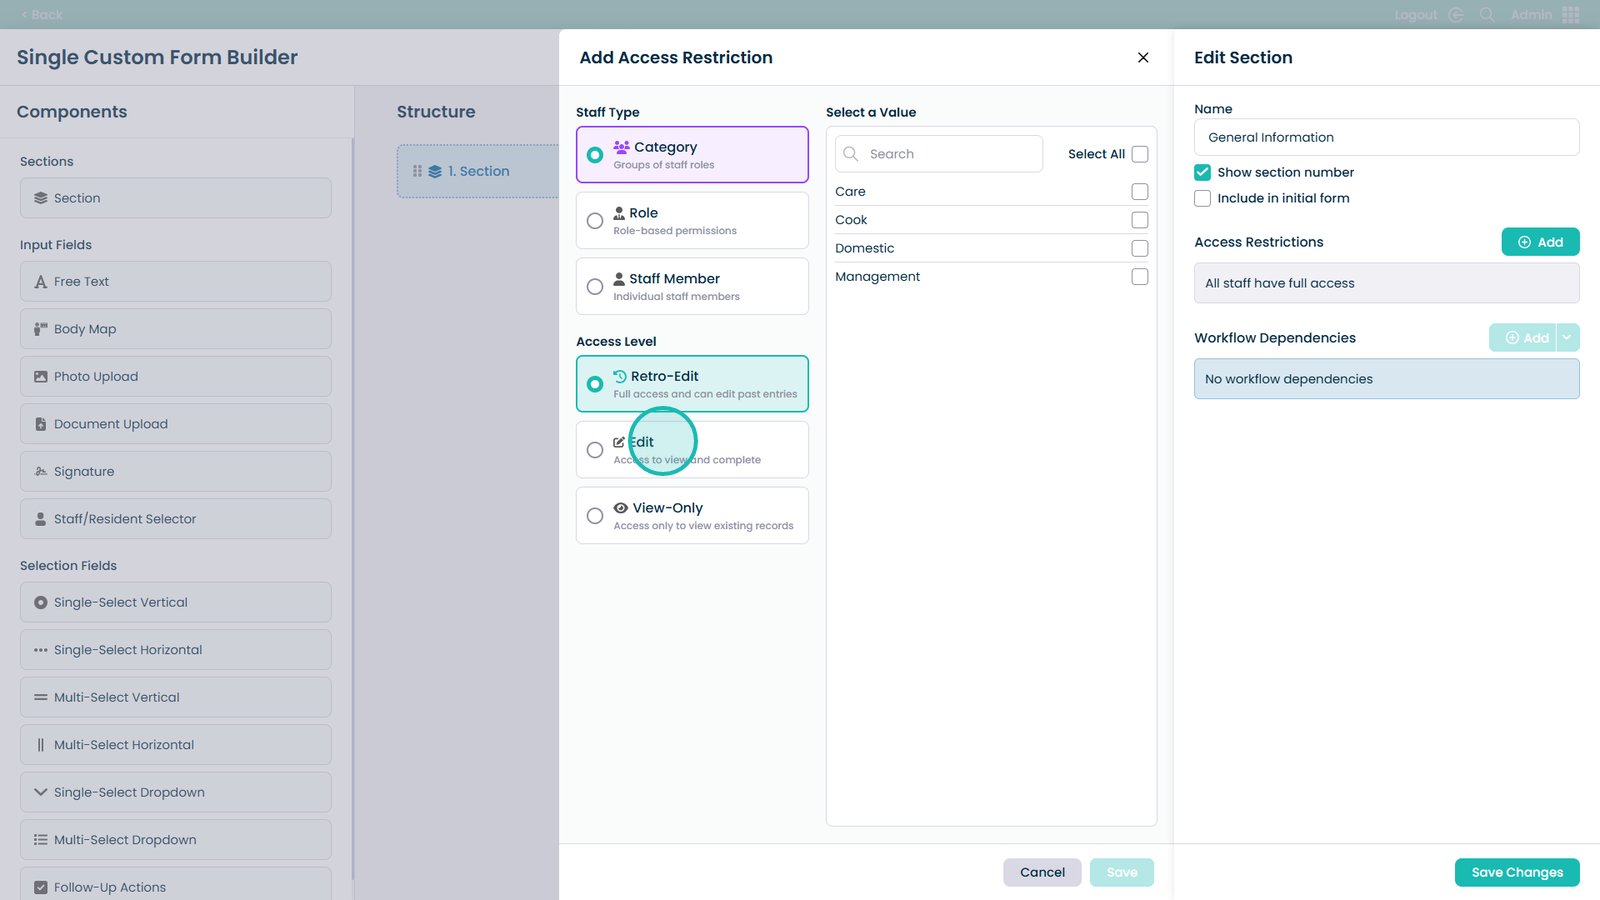
Edit: view and complete the form
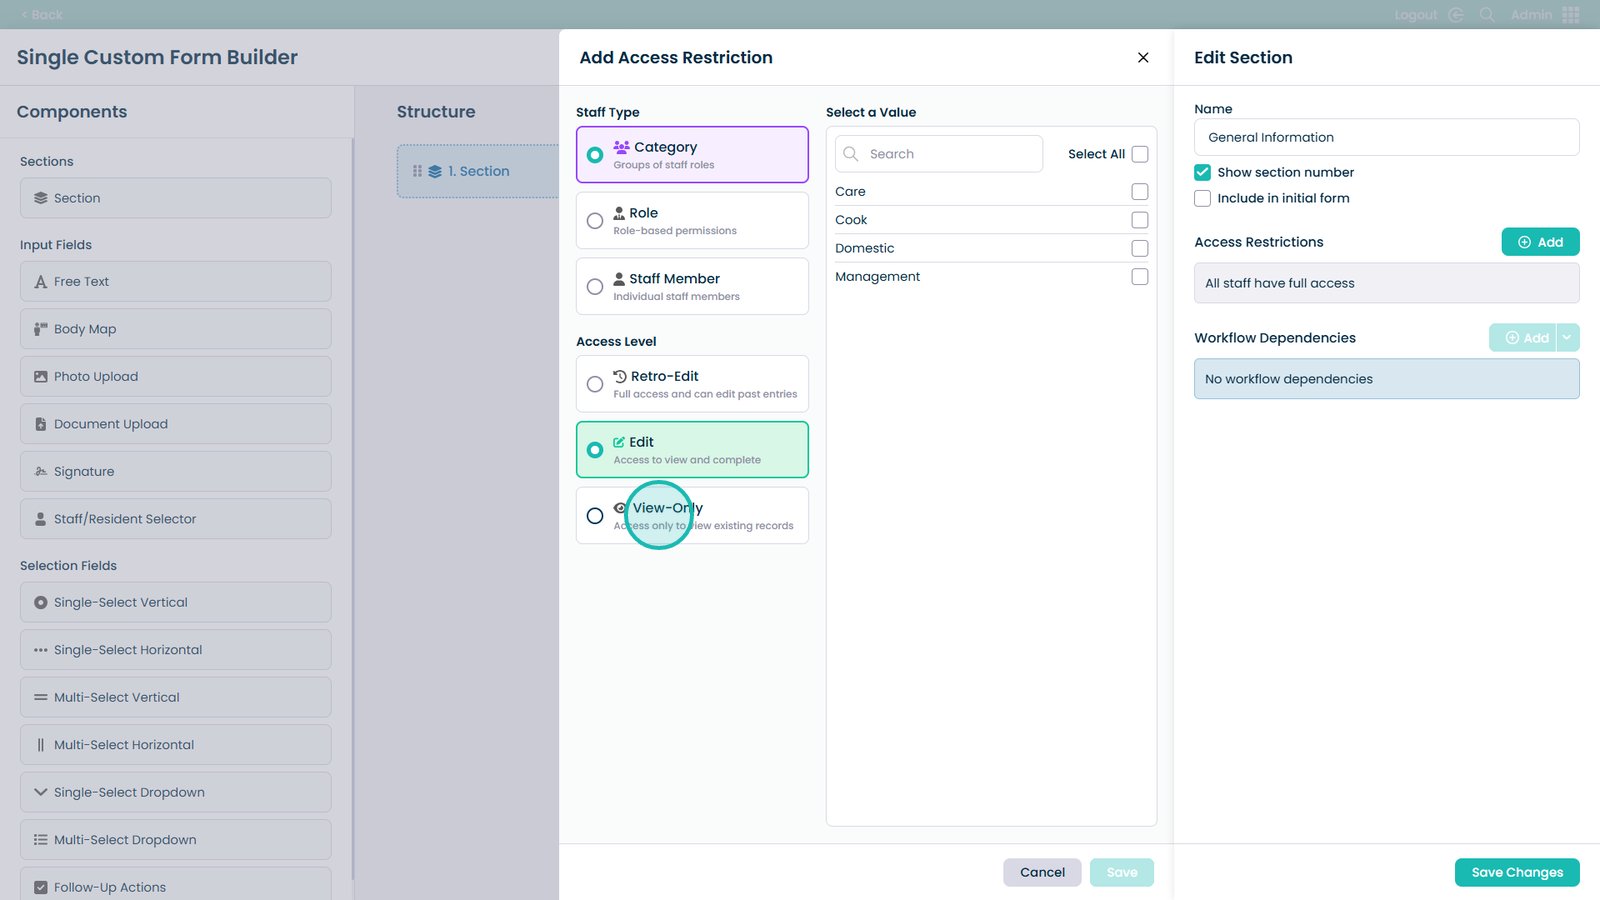
View-Only: view the form without editing
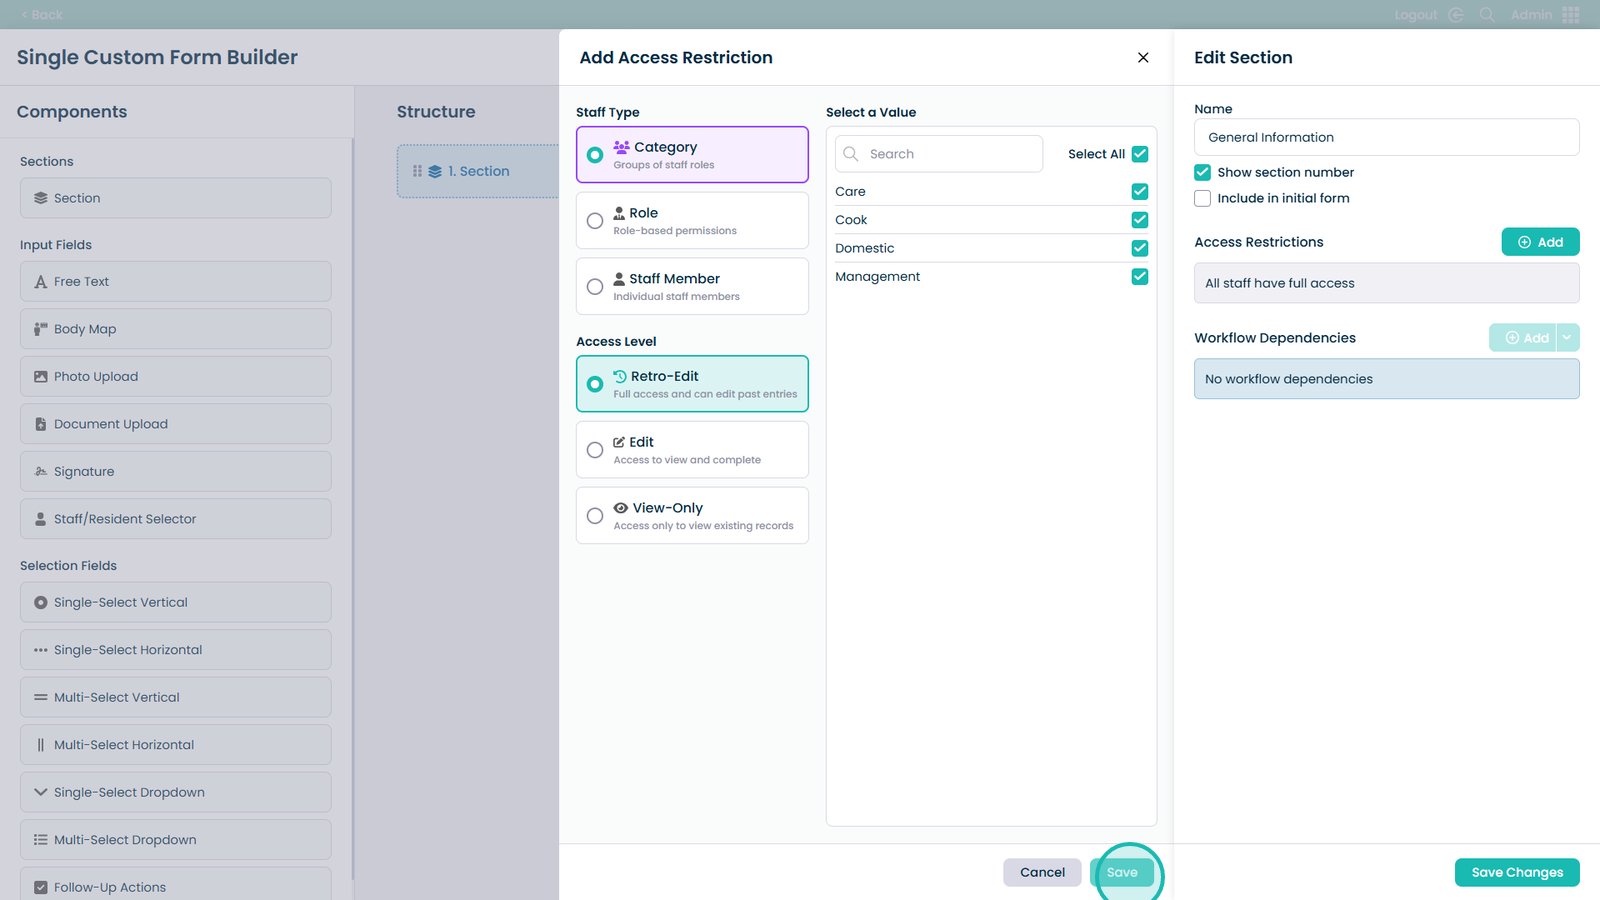
Click Save when you have made your selections
Click Save Changes to finish editing the section
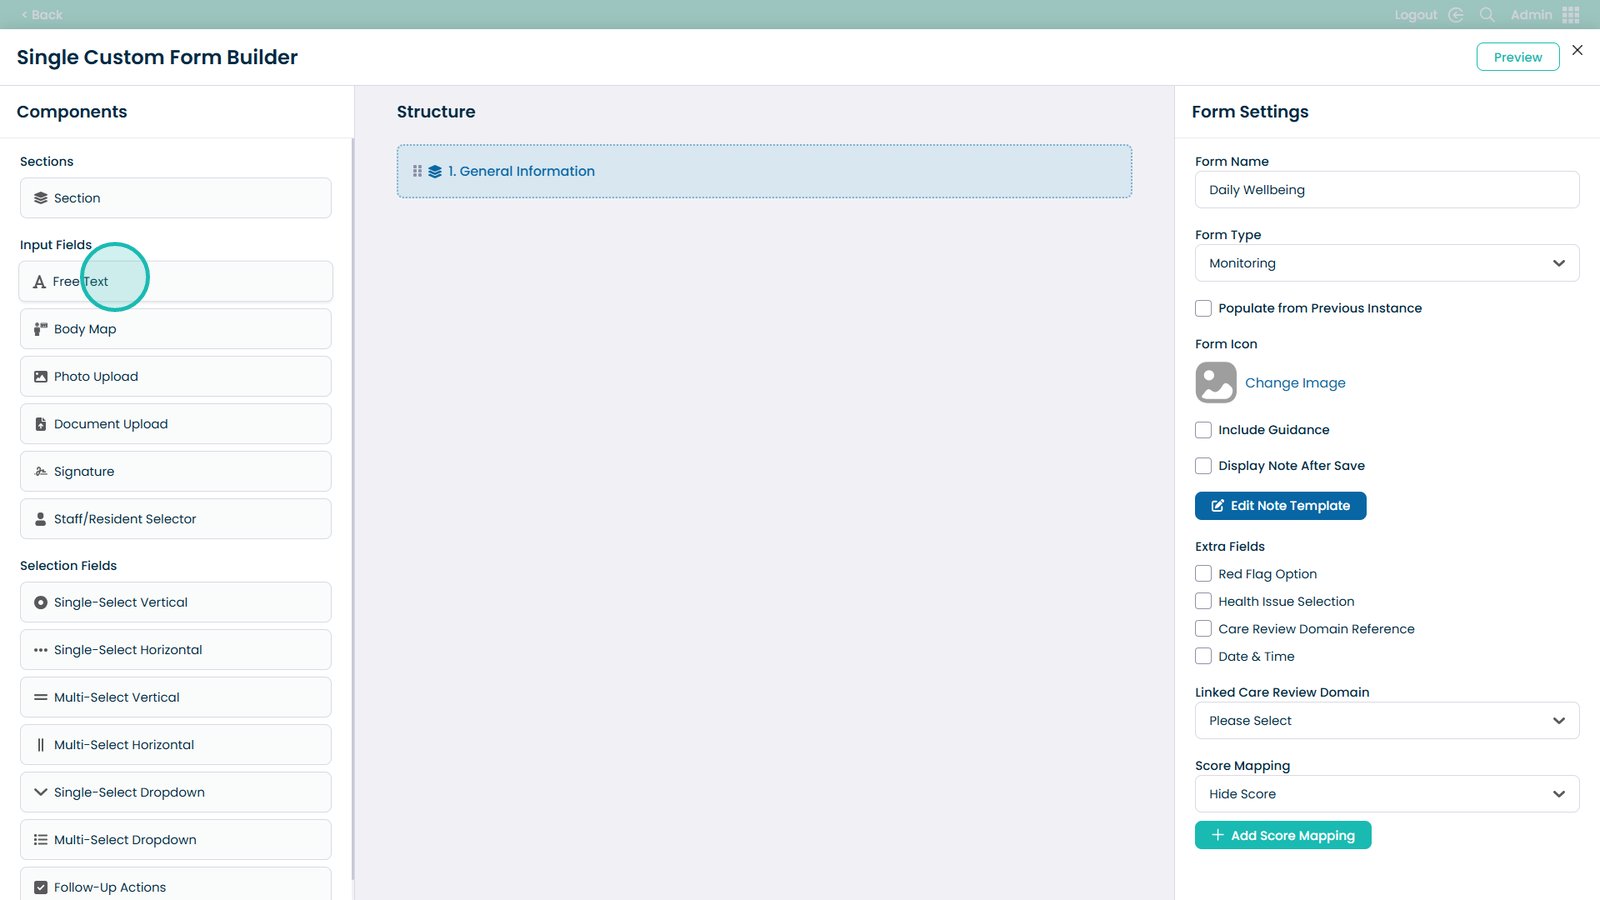
Drag fields from the left into the Section to add them
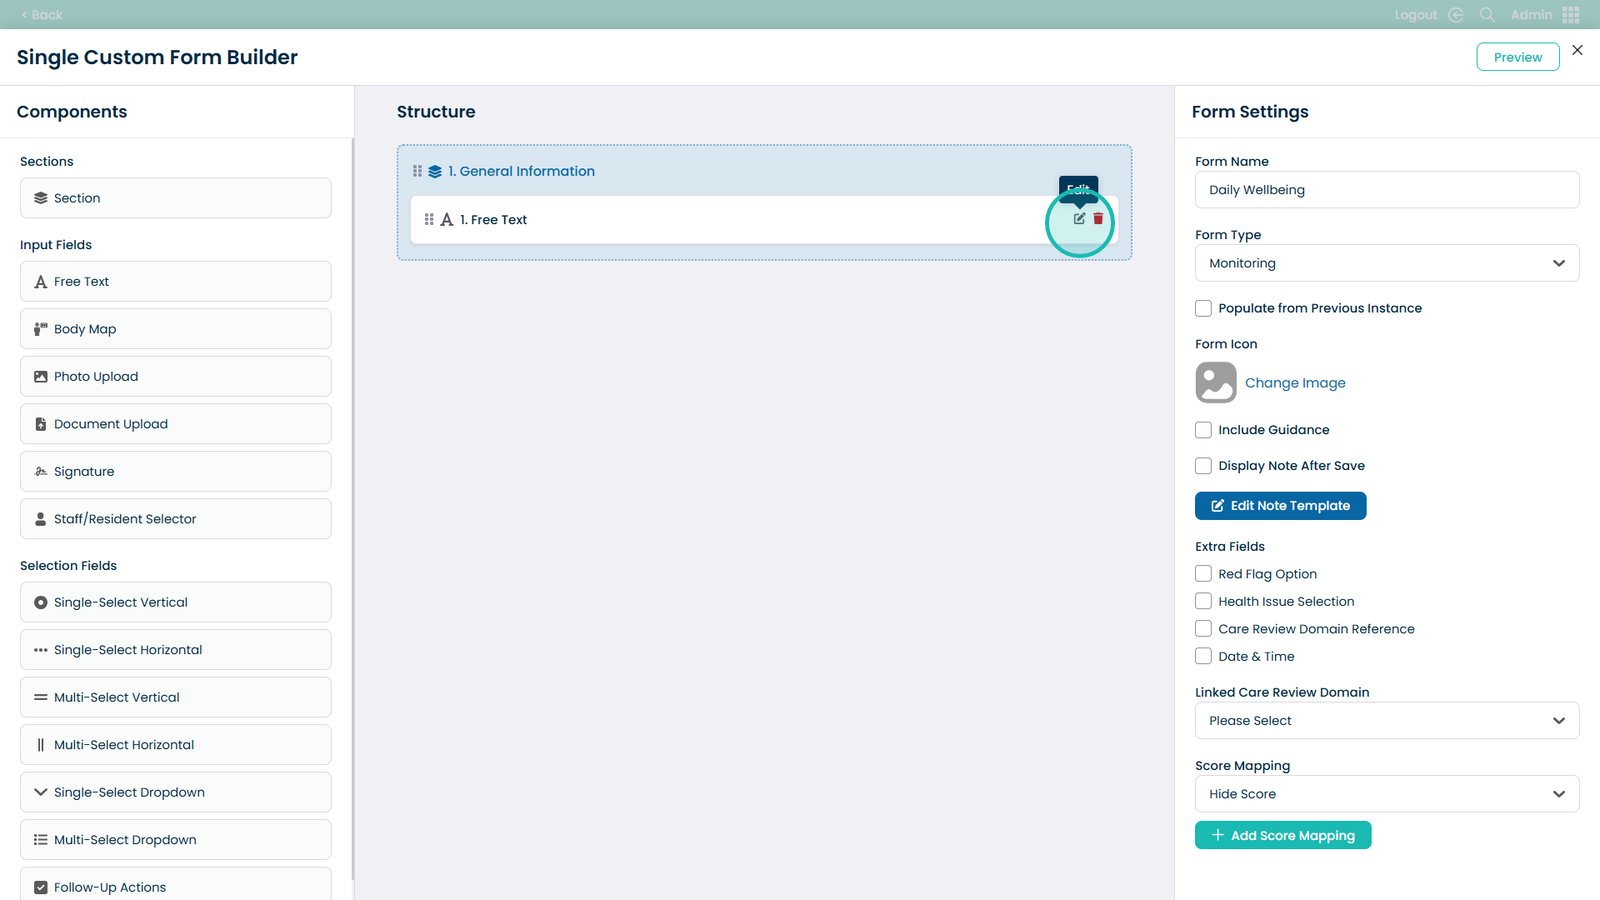
Edit the Free Text field (lets users enter any text)
Enter the header (usually a question) for the free text field
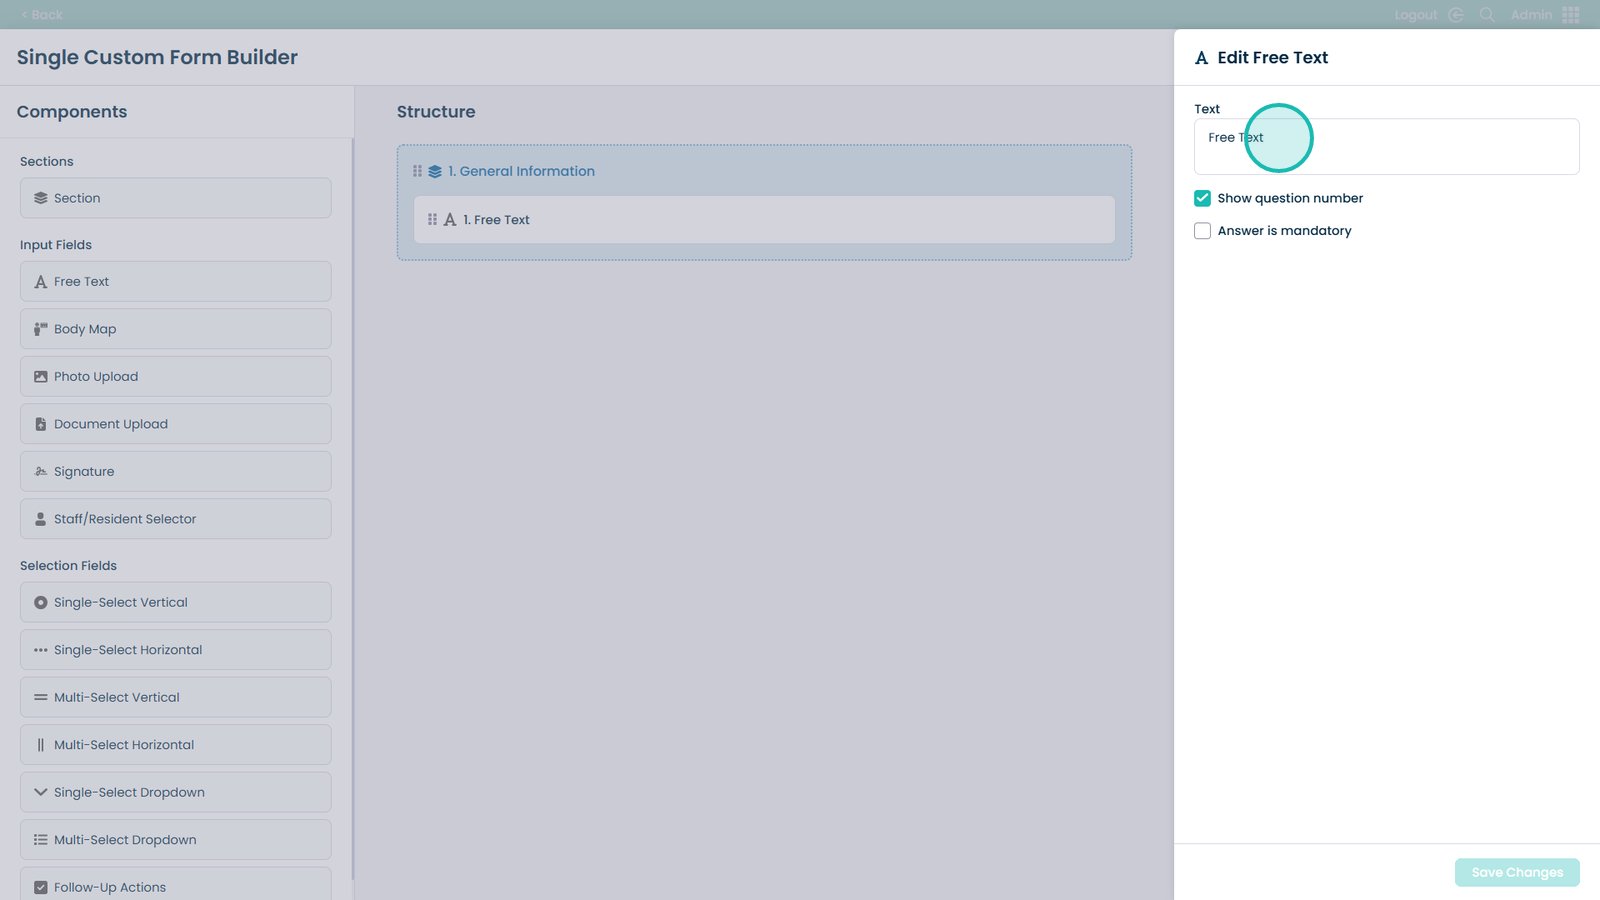
Tick to make the answer mandatory (if required)
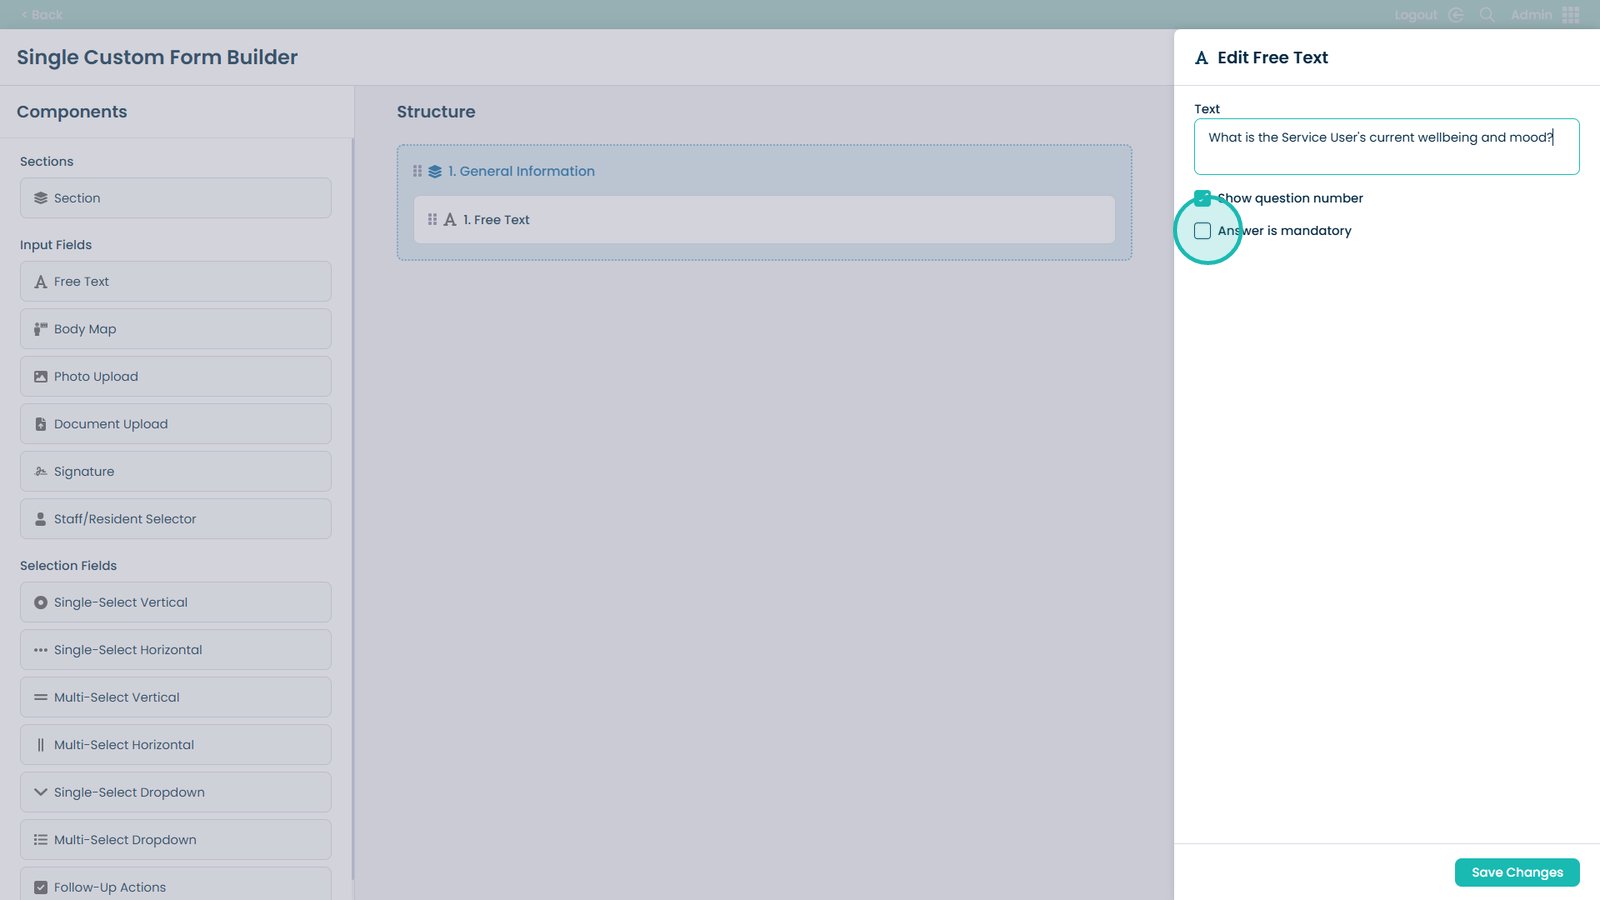
Click Save Changes to finish modifying the free text field
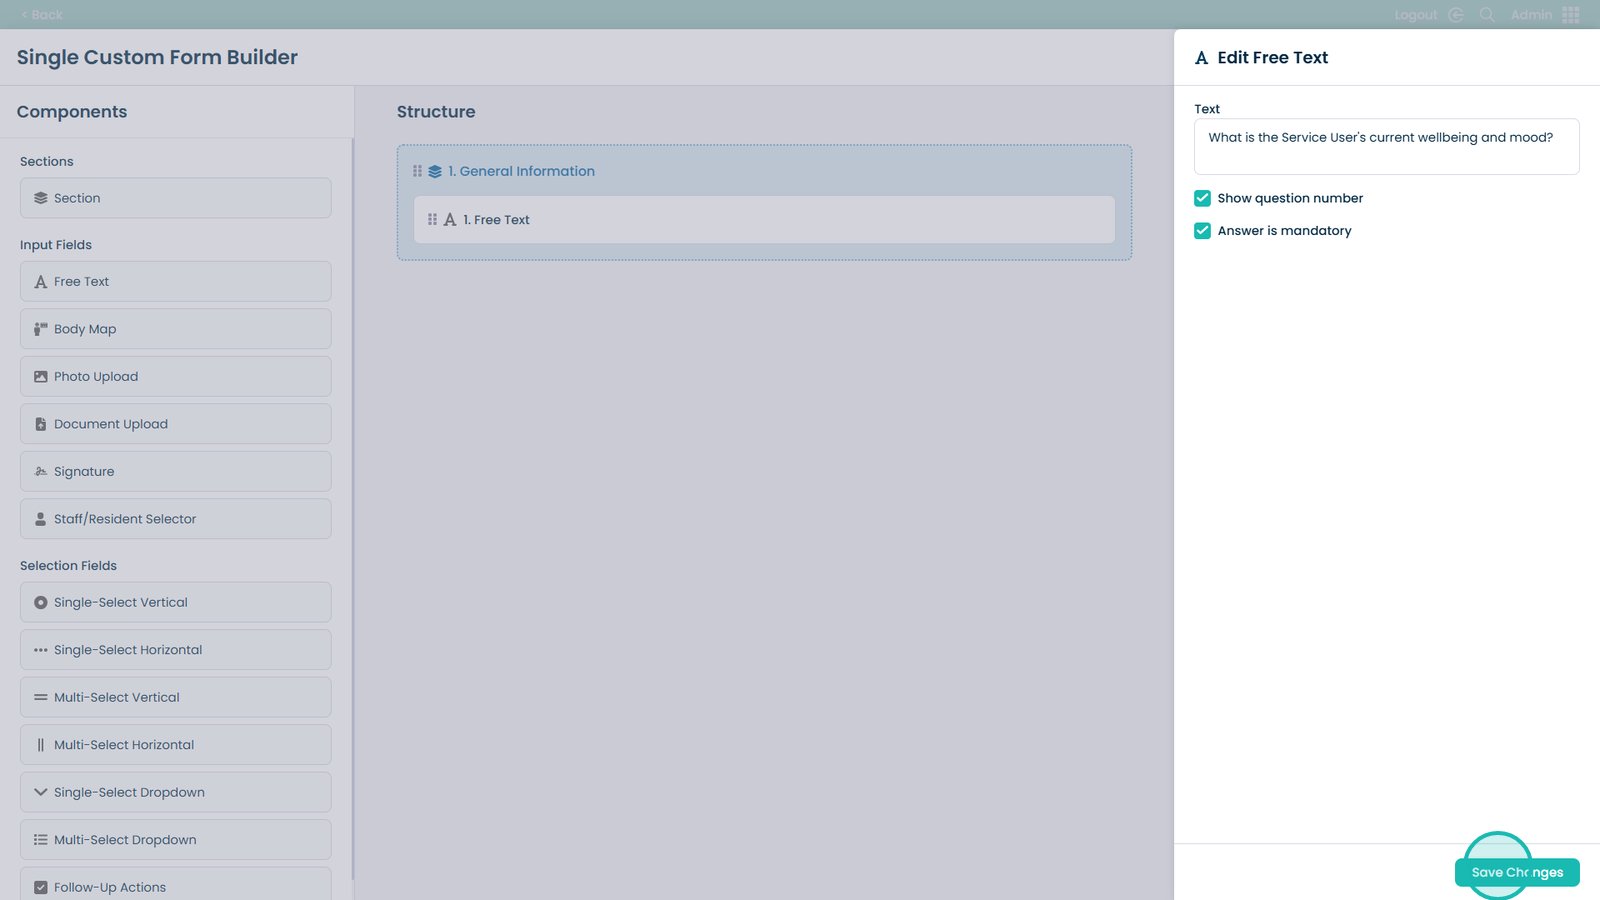
Add further input fields from the left and configure like the Free Text field
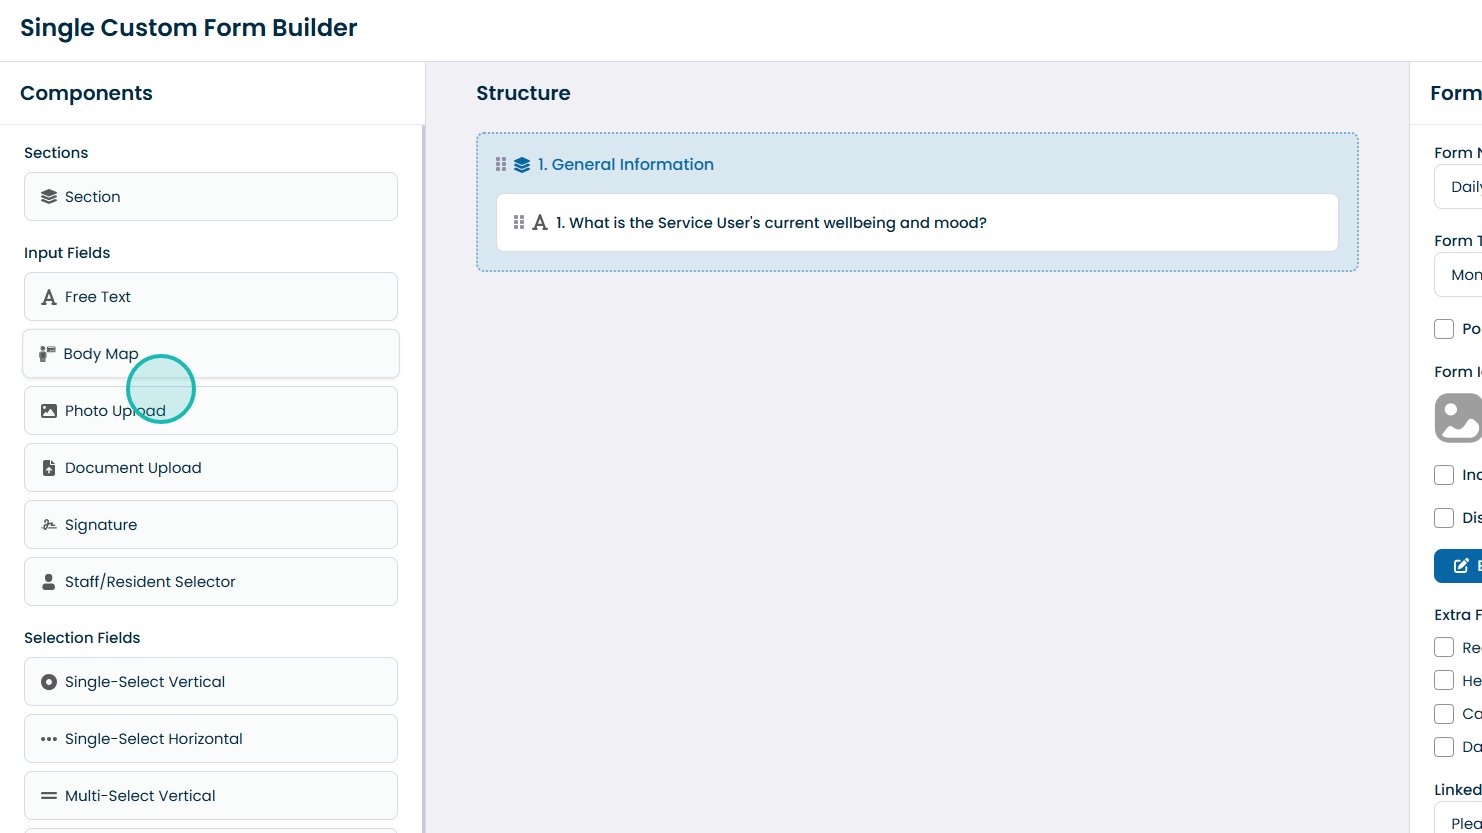
Add a Body Map to select an area of the body during the form
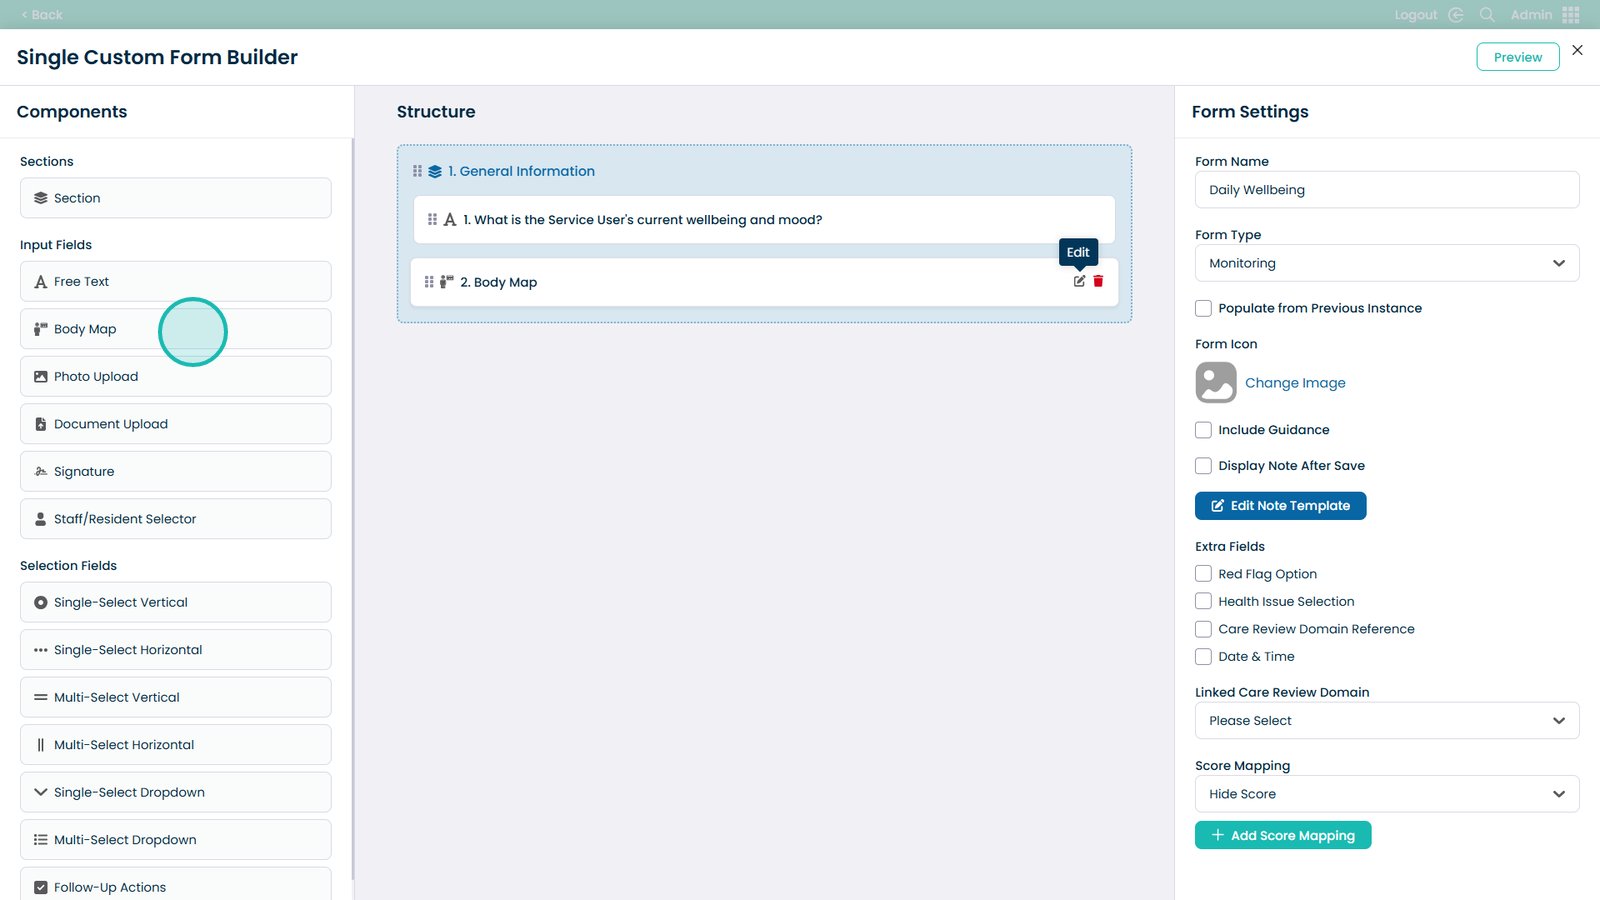
Add a Photo Upload to allow photo attachments during the form
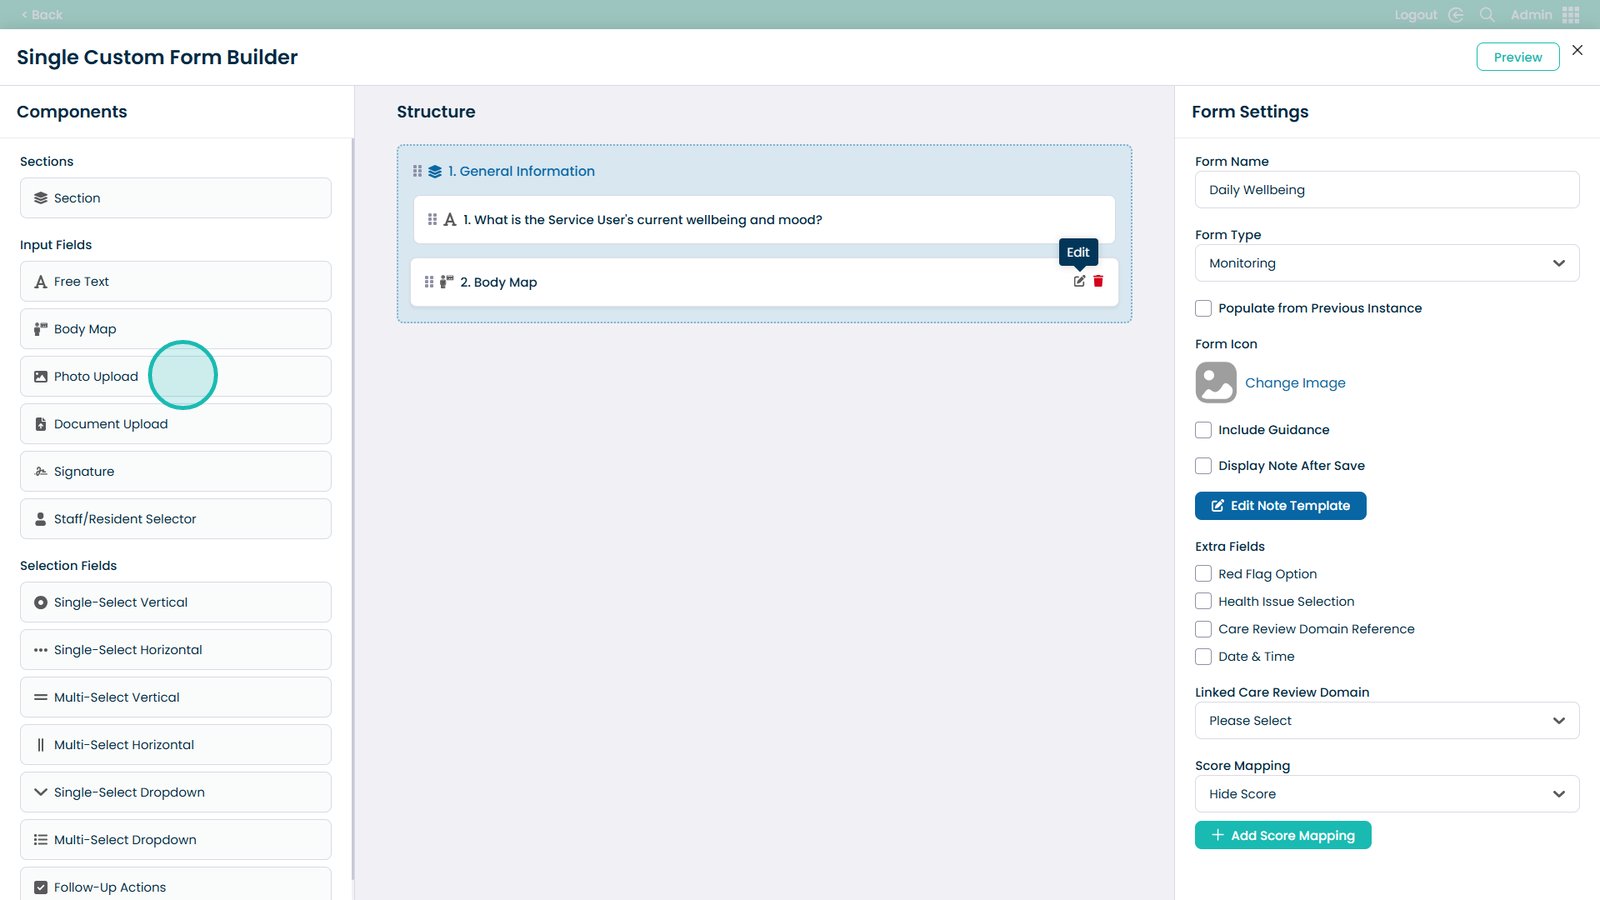
Use Selection fields: Single-Select, Multi-Select, Dropdown, Follow-Up Actions
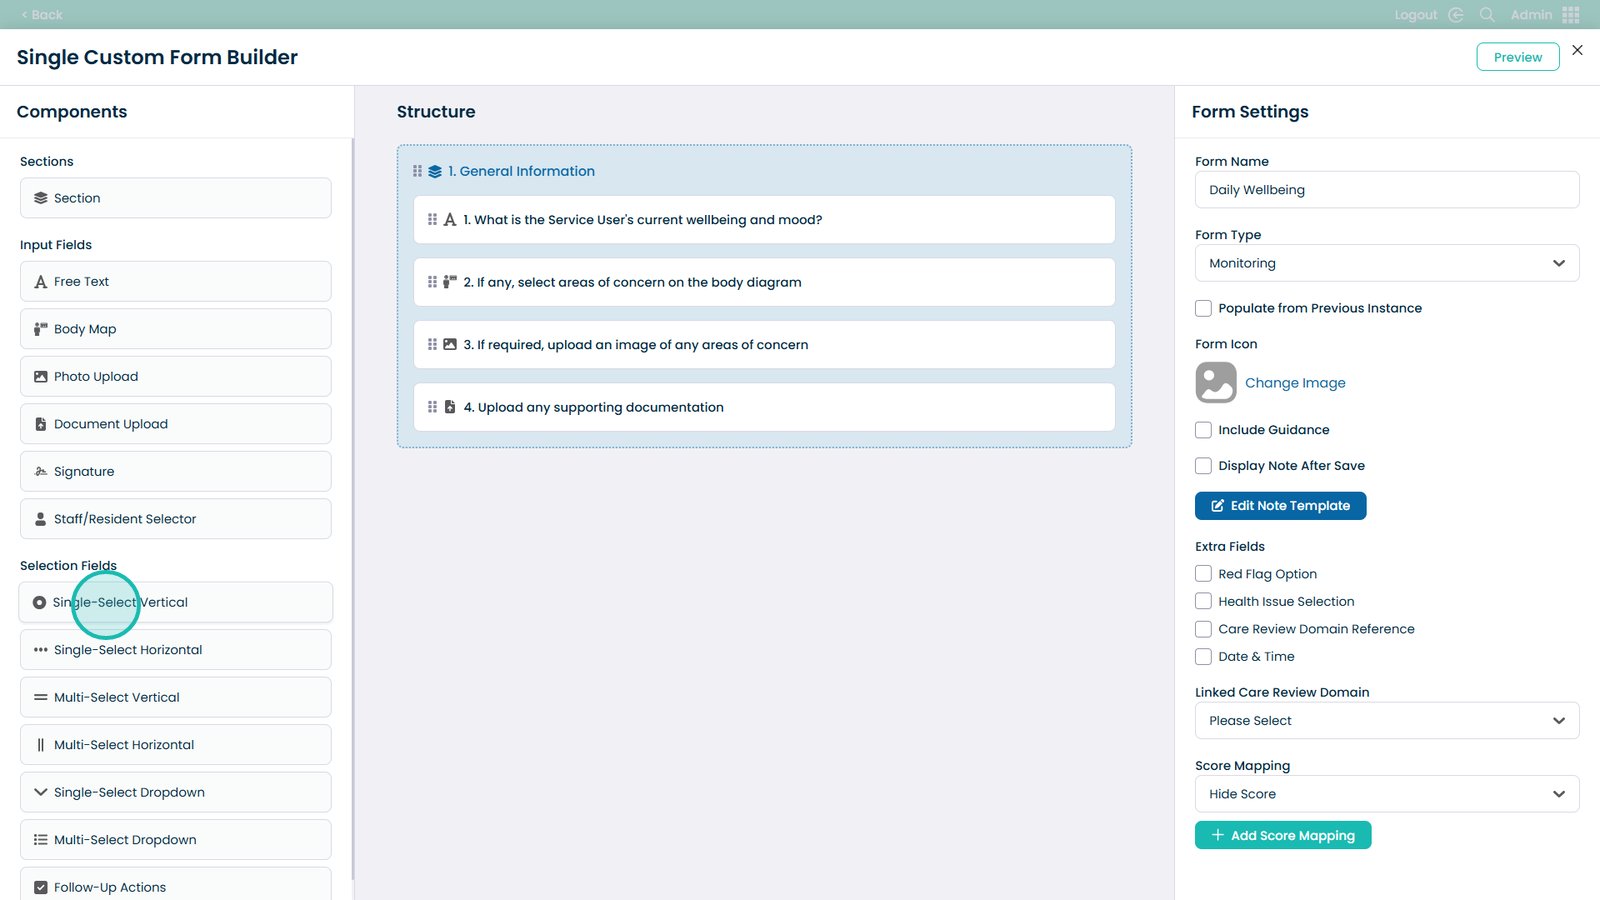
Drag the selection field you need to the section

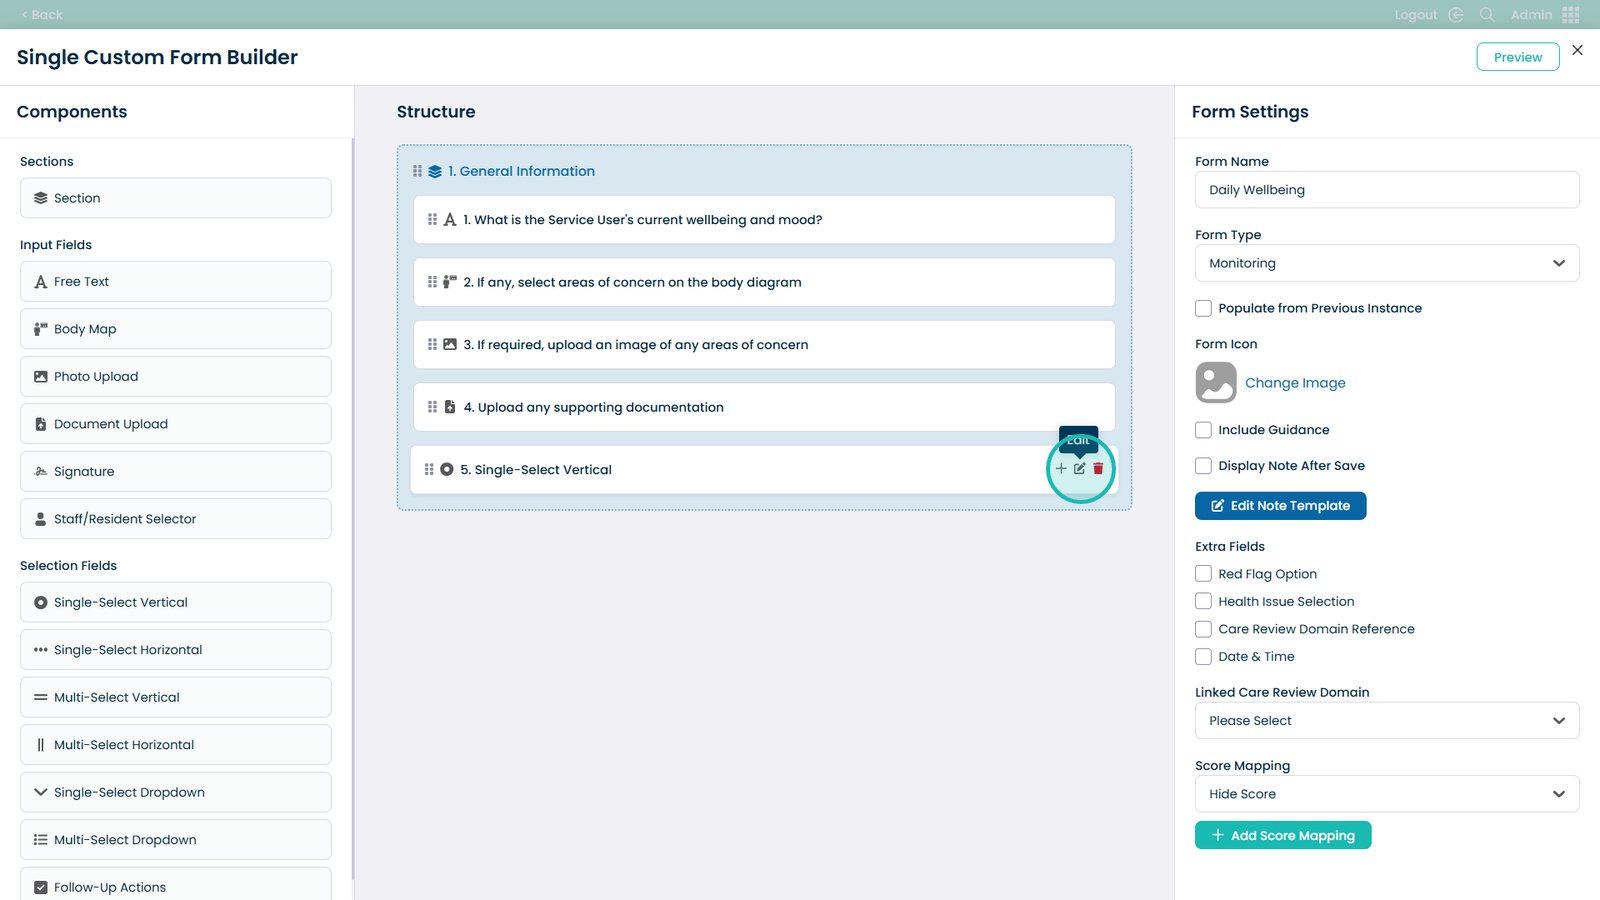
Click Edit to modify the selection field
Type the question in this box
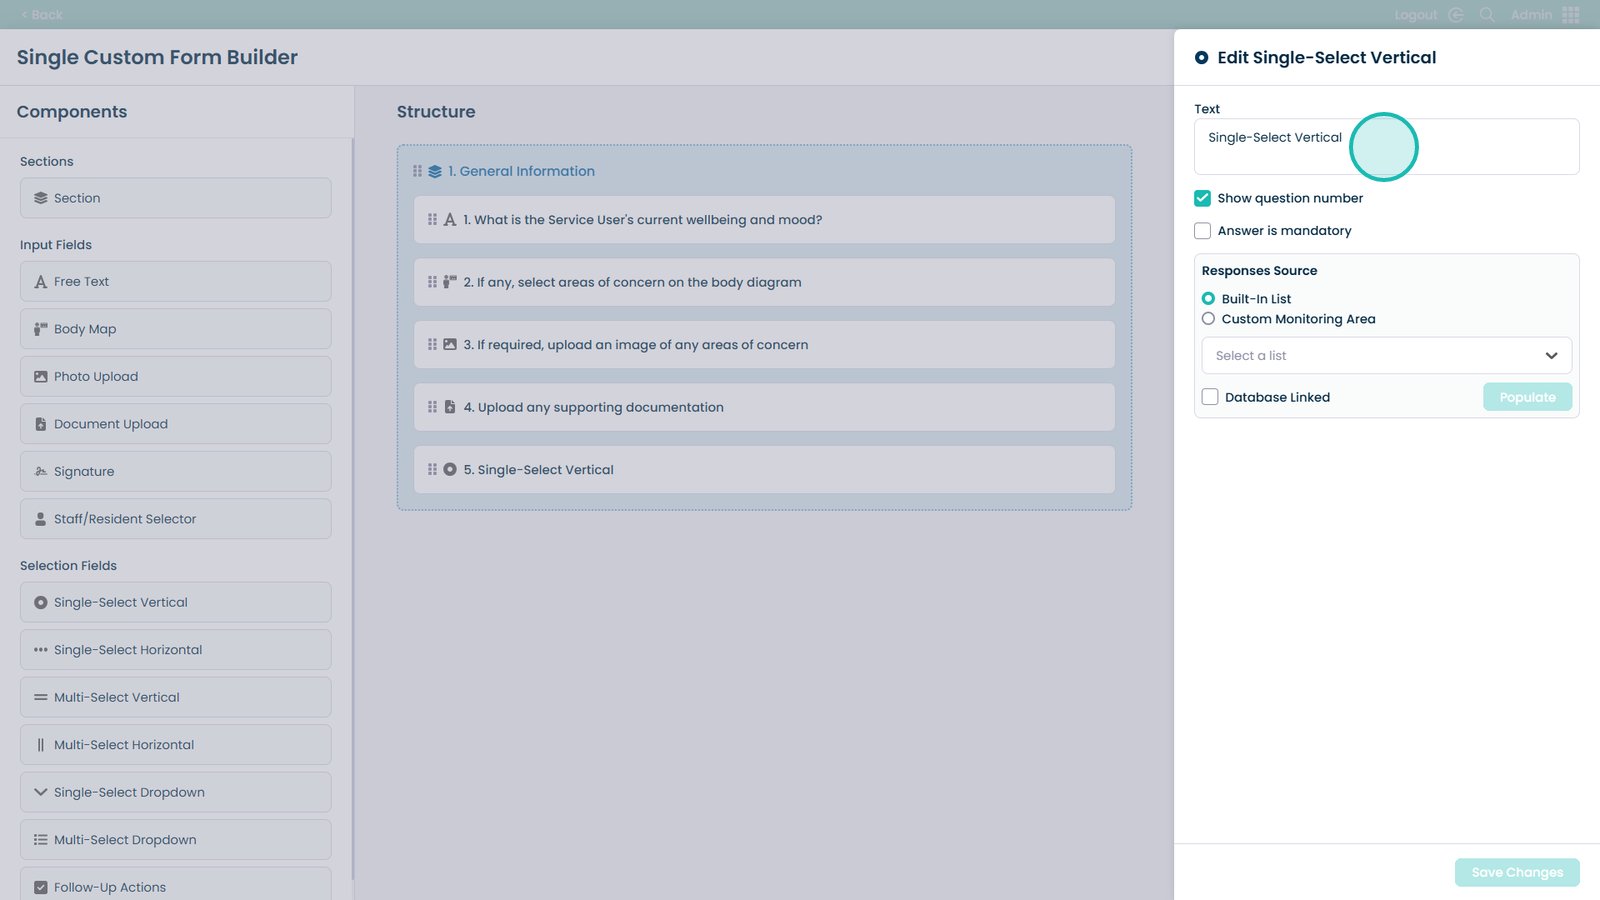
Choose whether the answer is mandatory
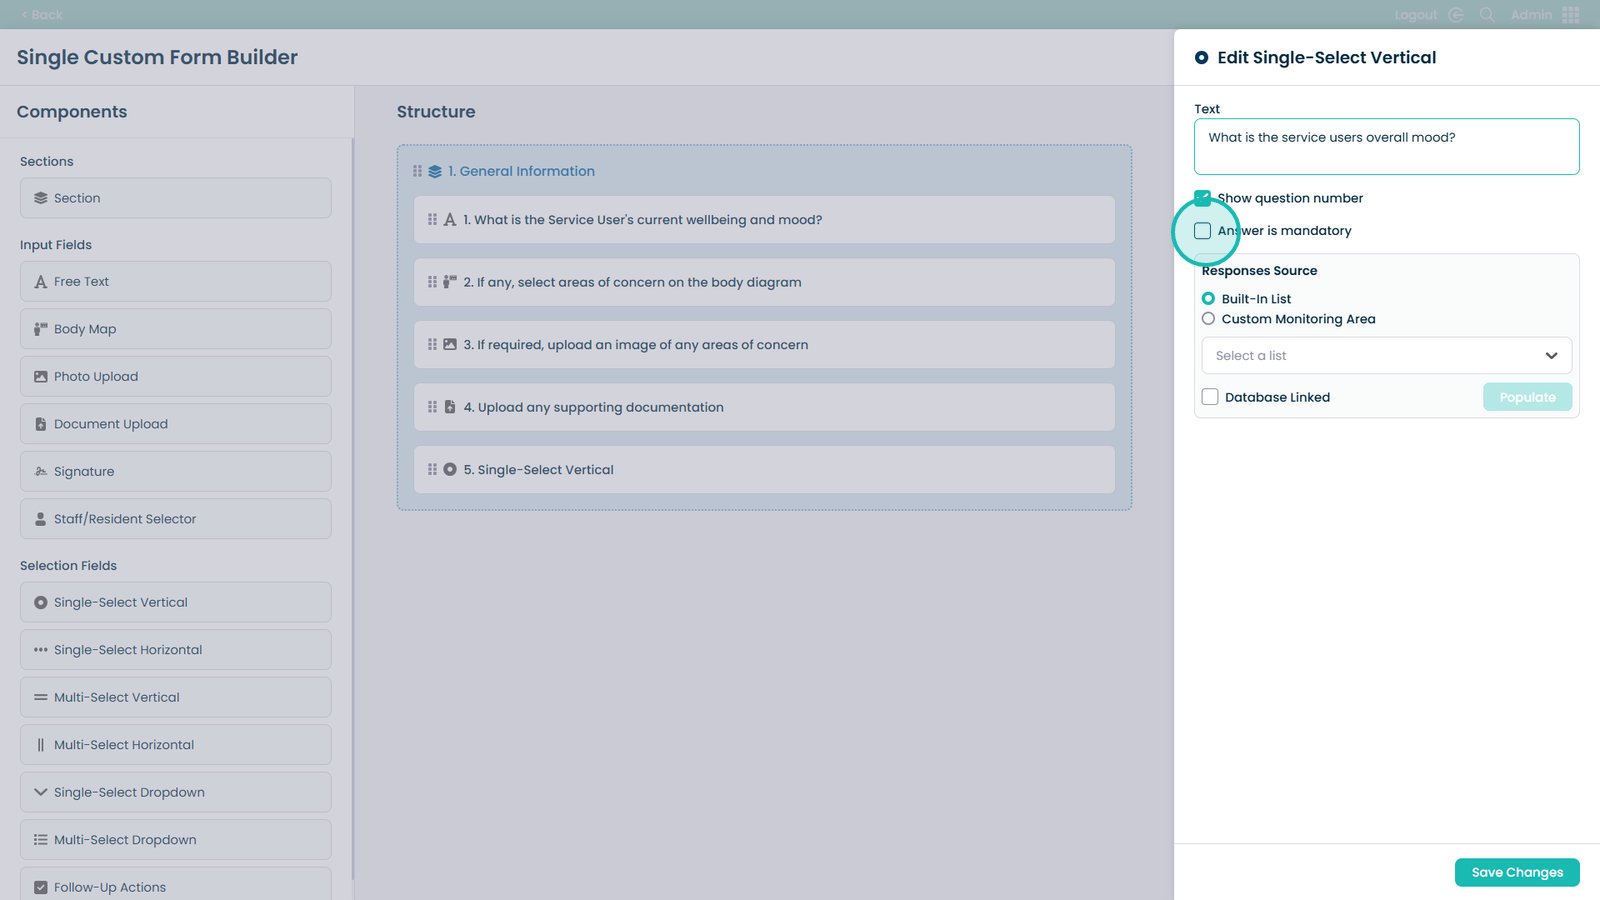
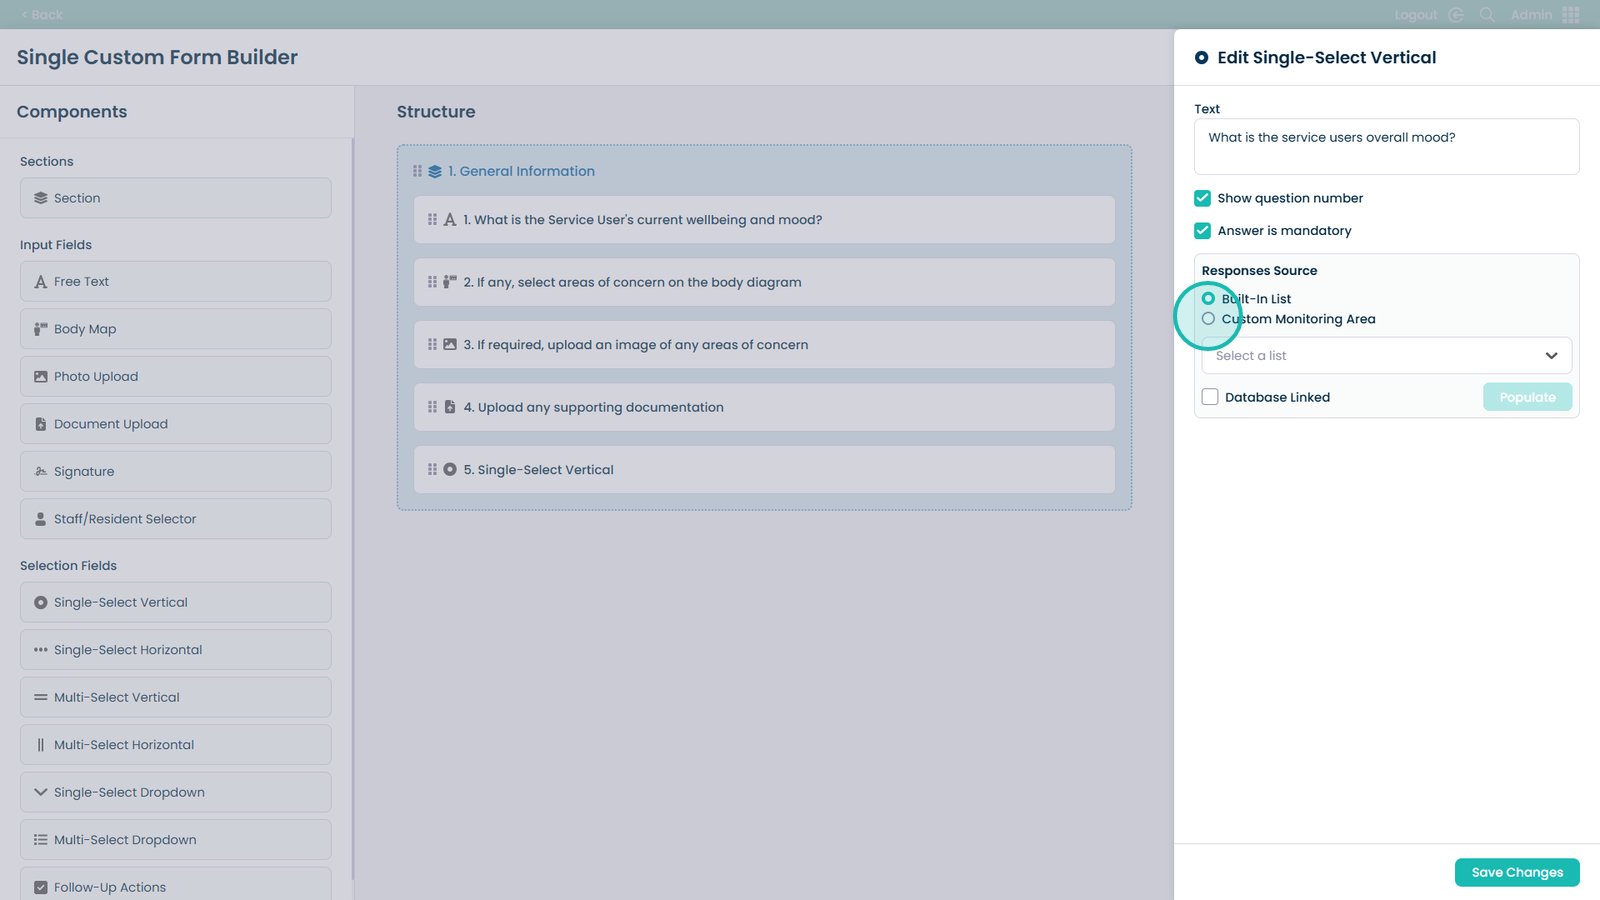
Select Built-In List or Custom Monitoring Area for responses
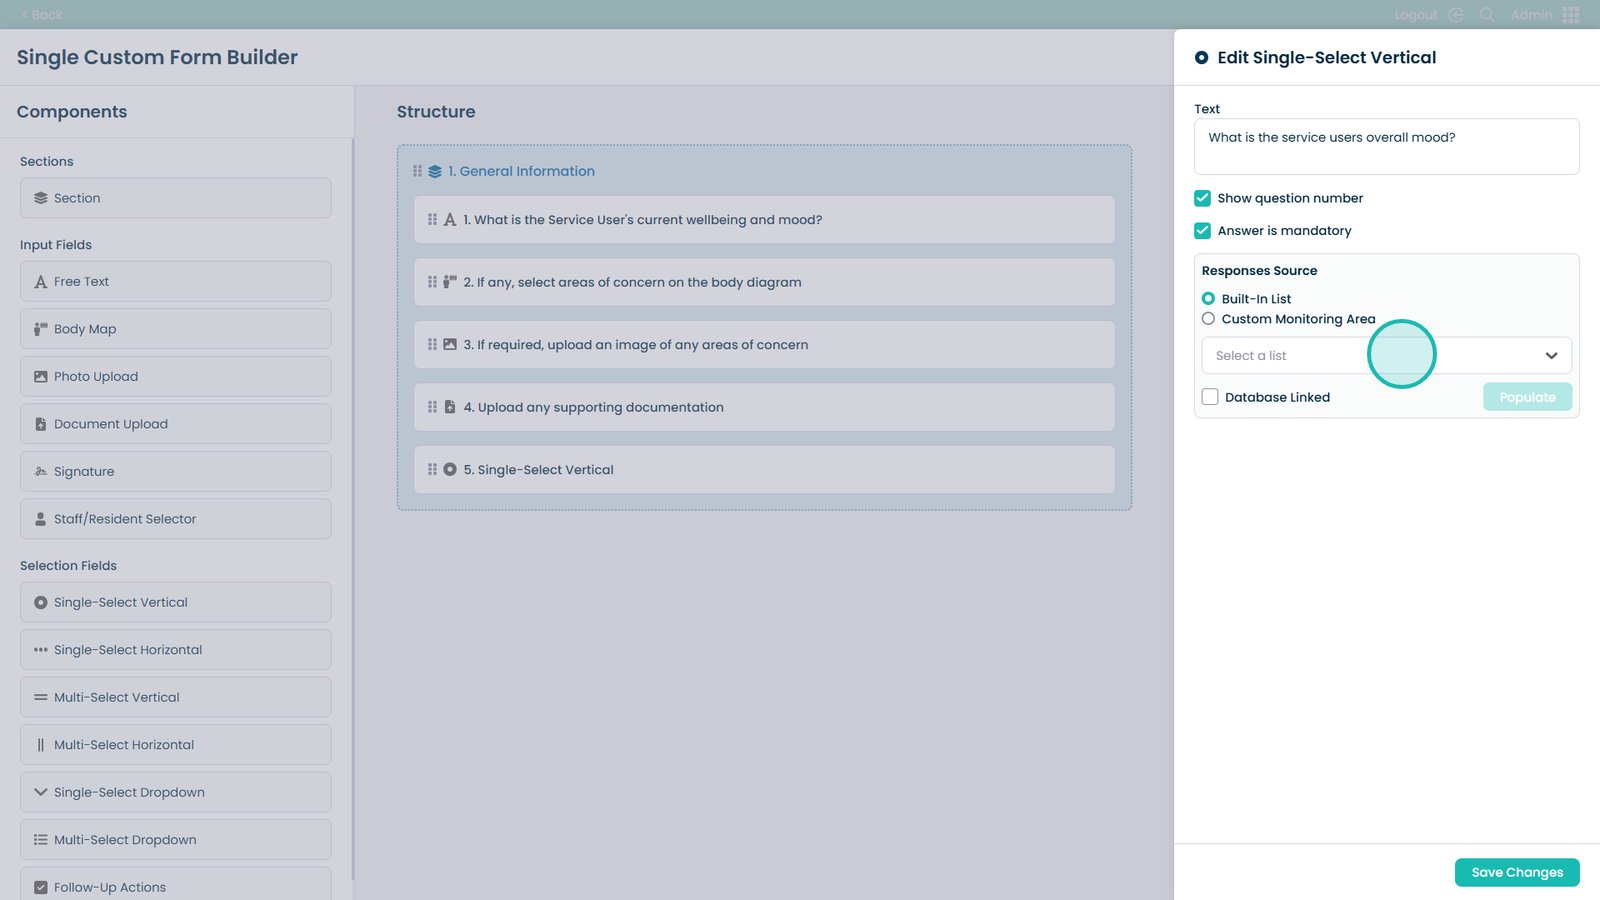
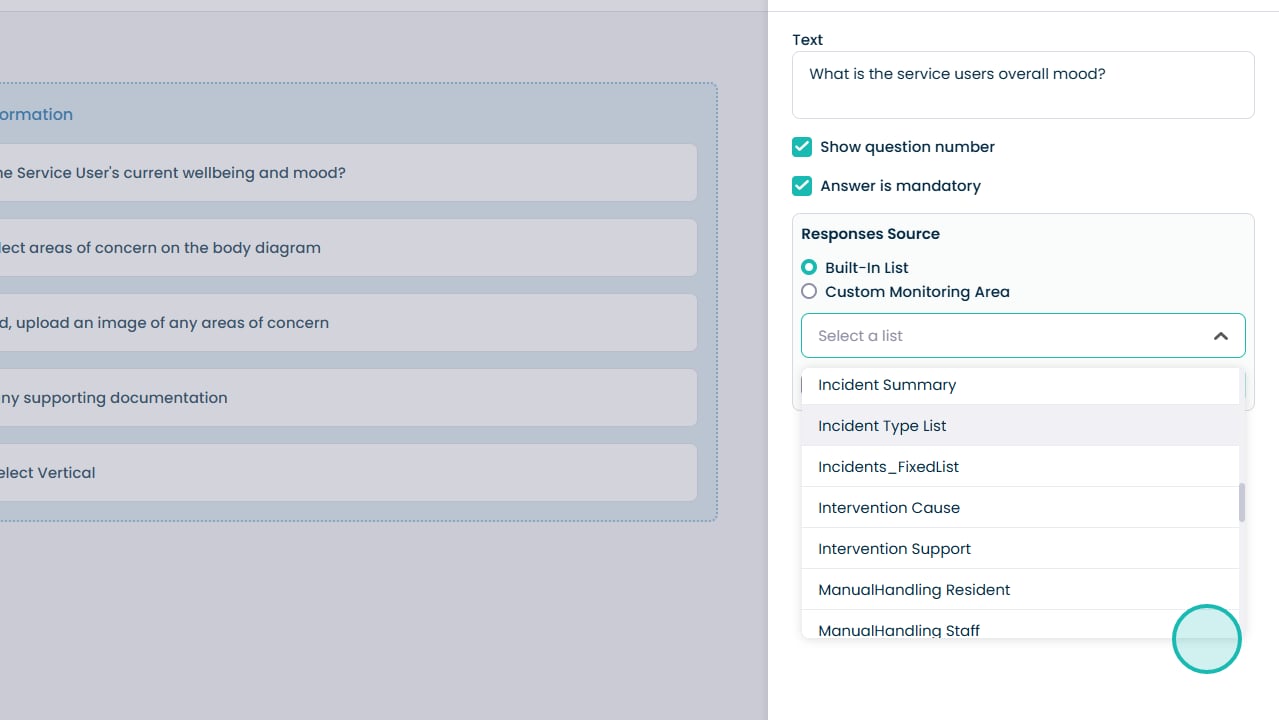
Choose an existing list from the drop-down menu
Or choose Custom Monitoring Area as the Responses Source
Open the Monitoring Area dropdown
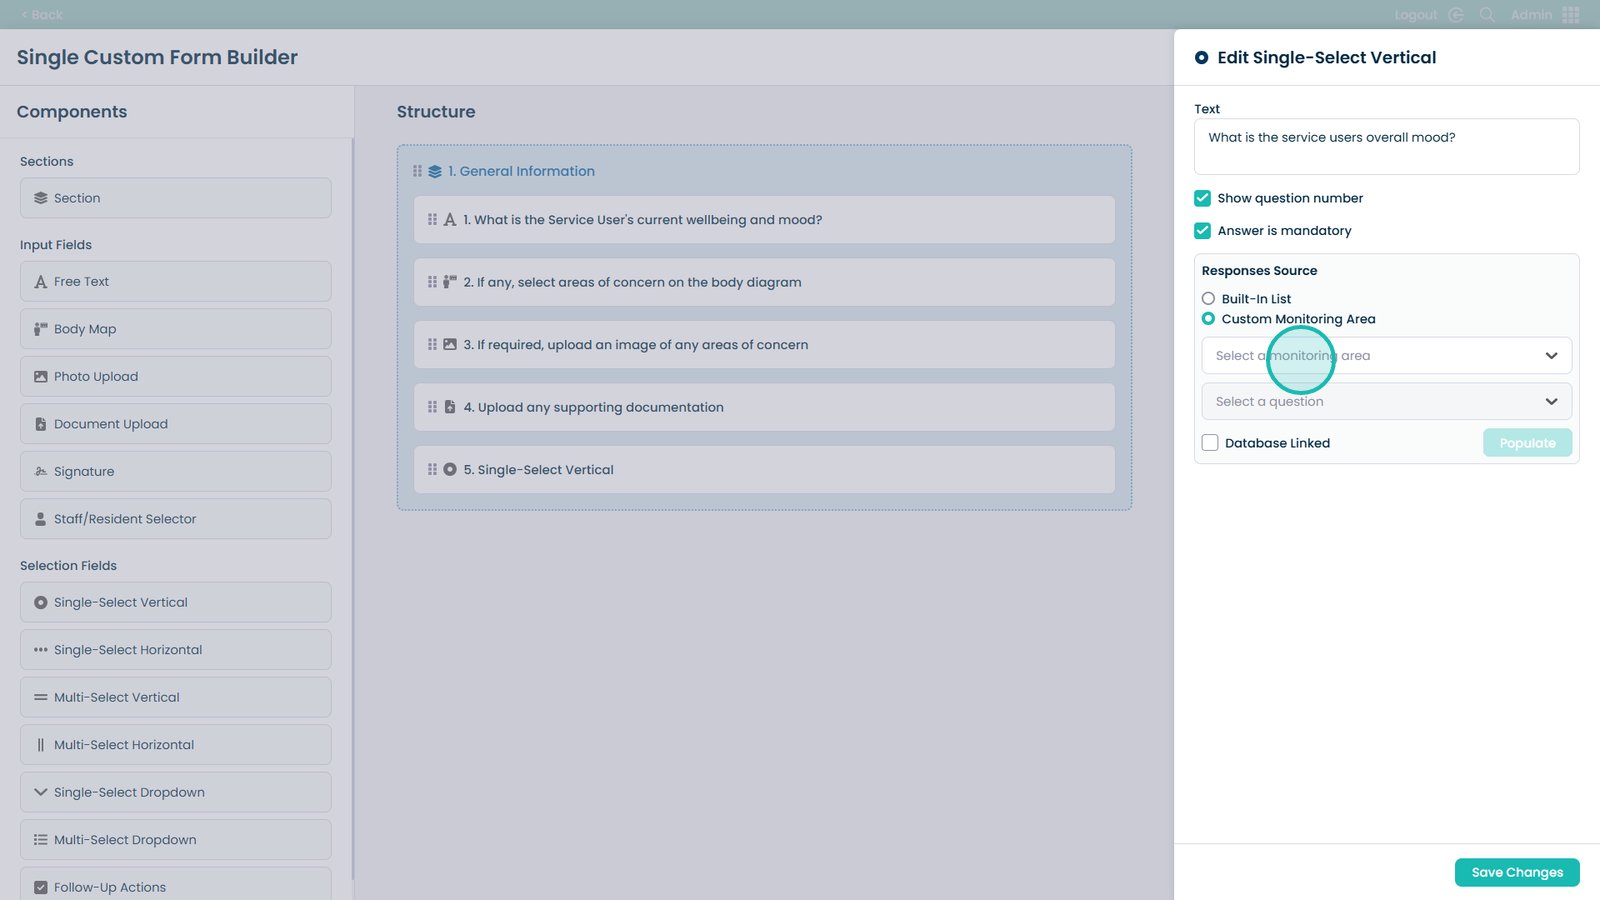
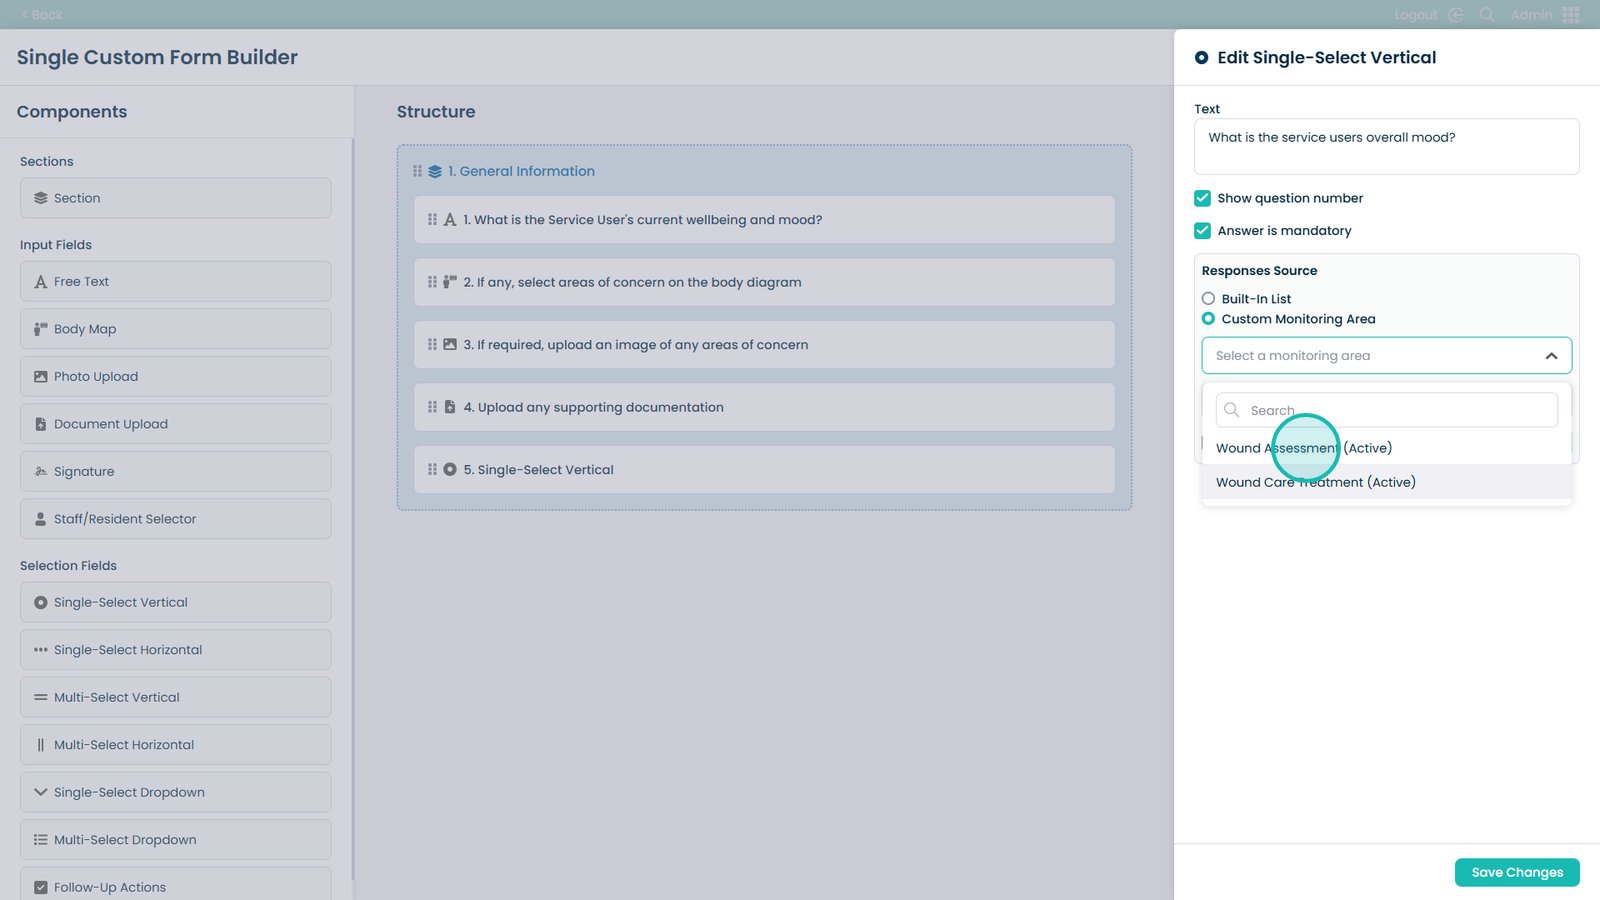
Choose the Monitoring Area
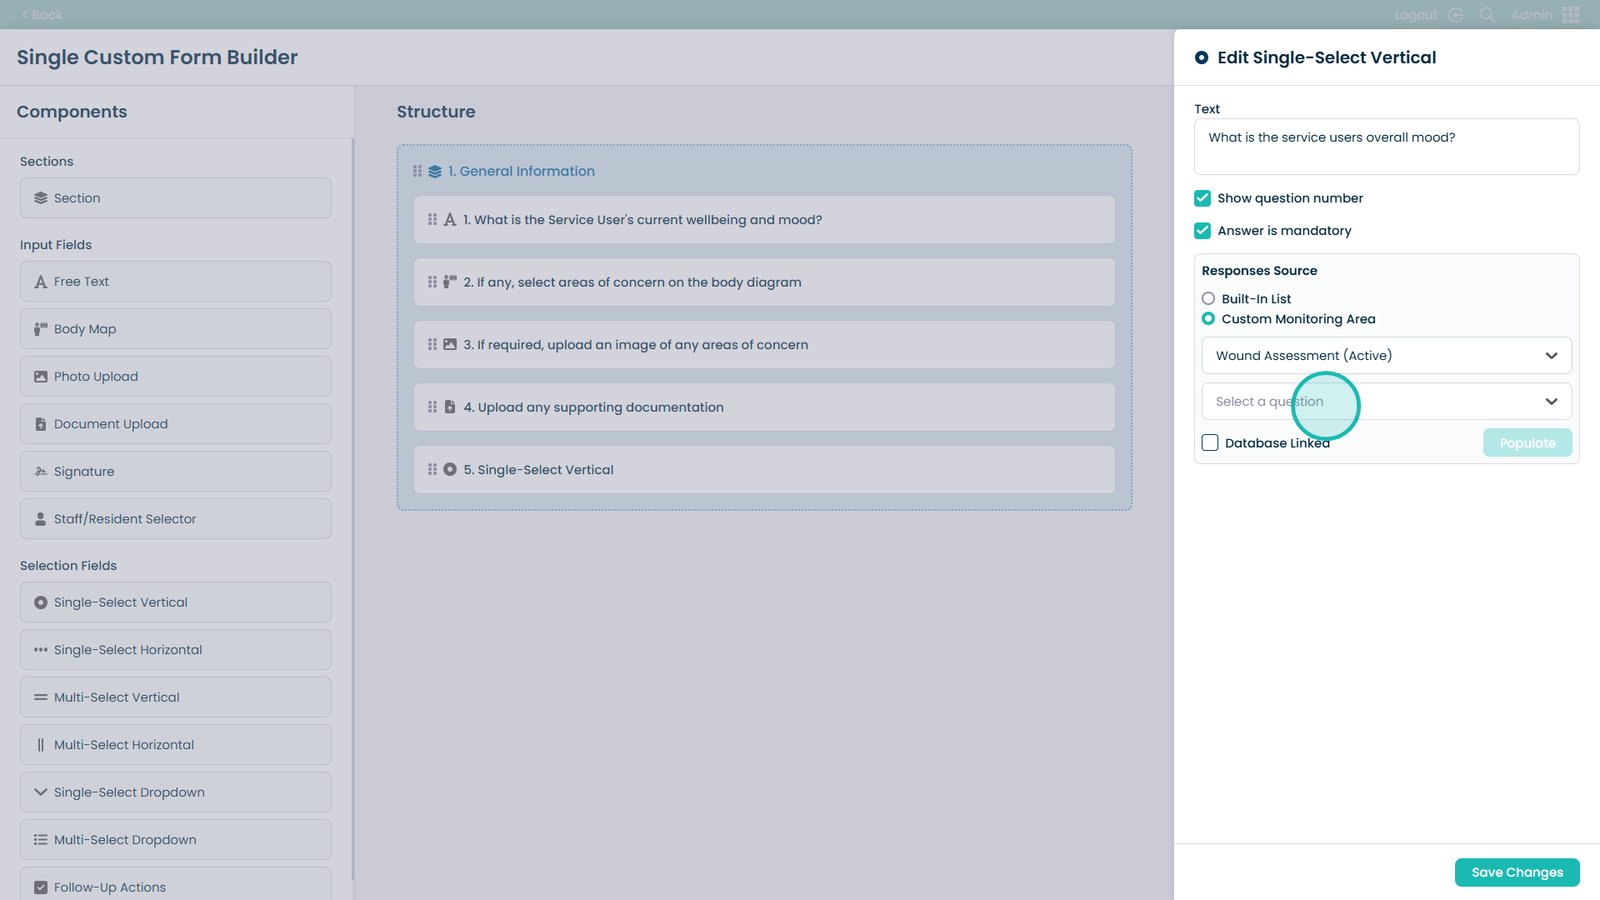
Open the Questions dropdown
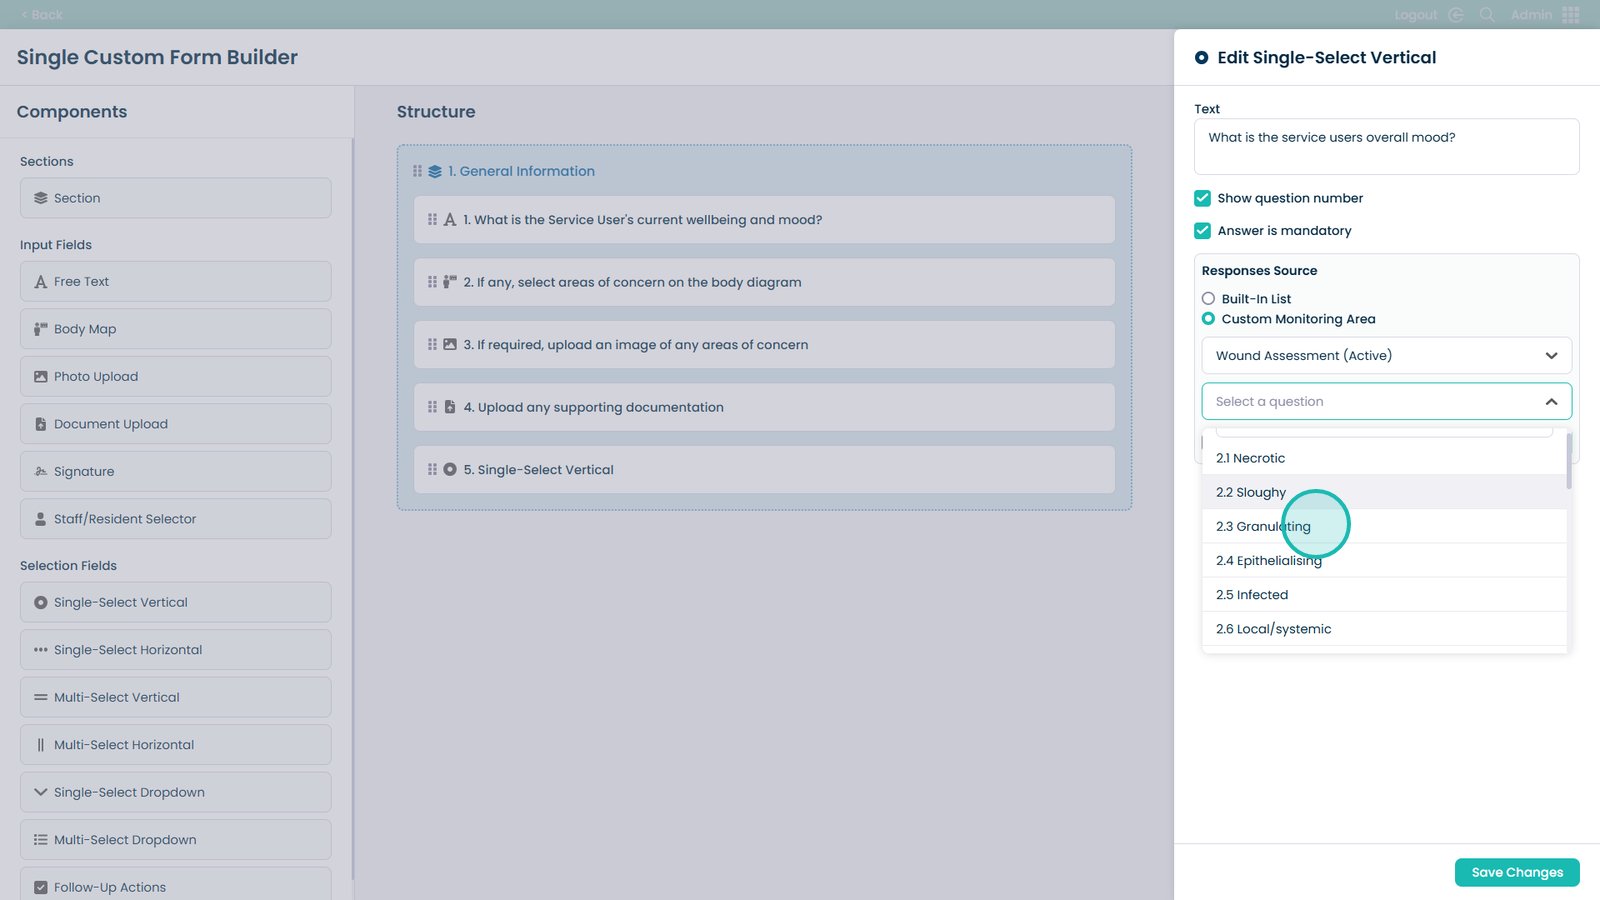
Select the questions you want
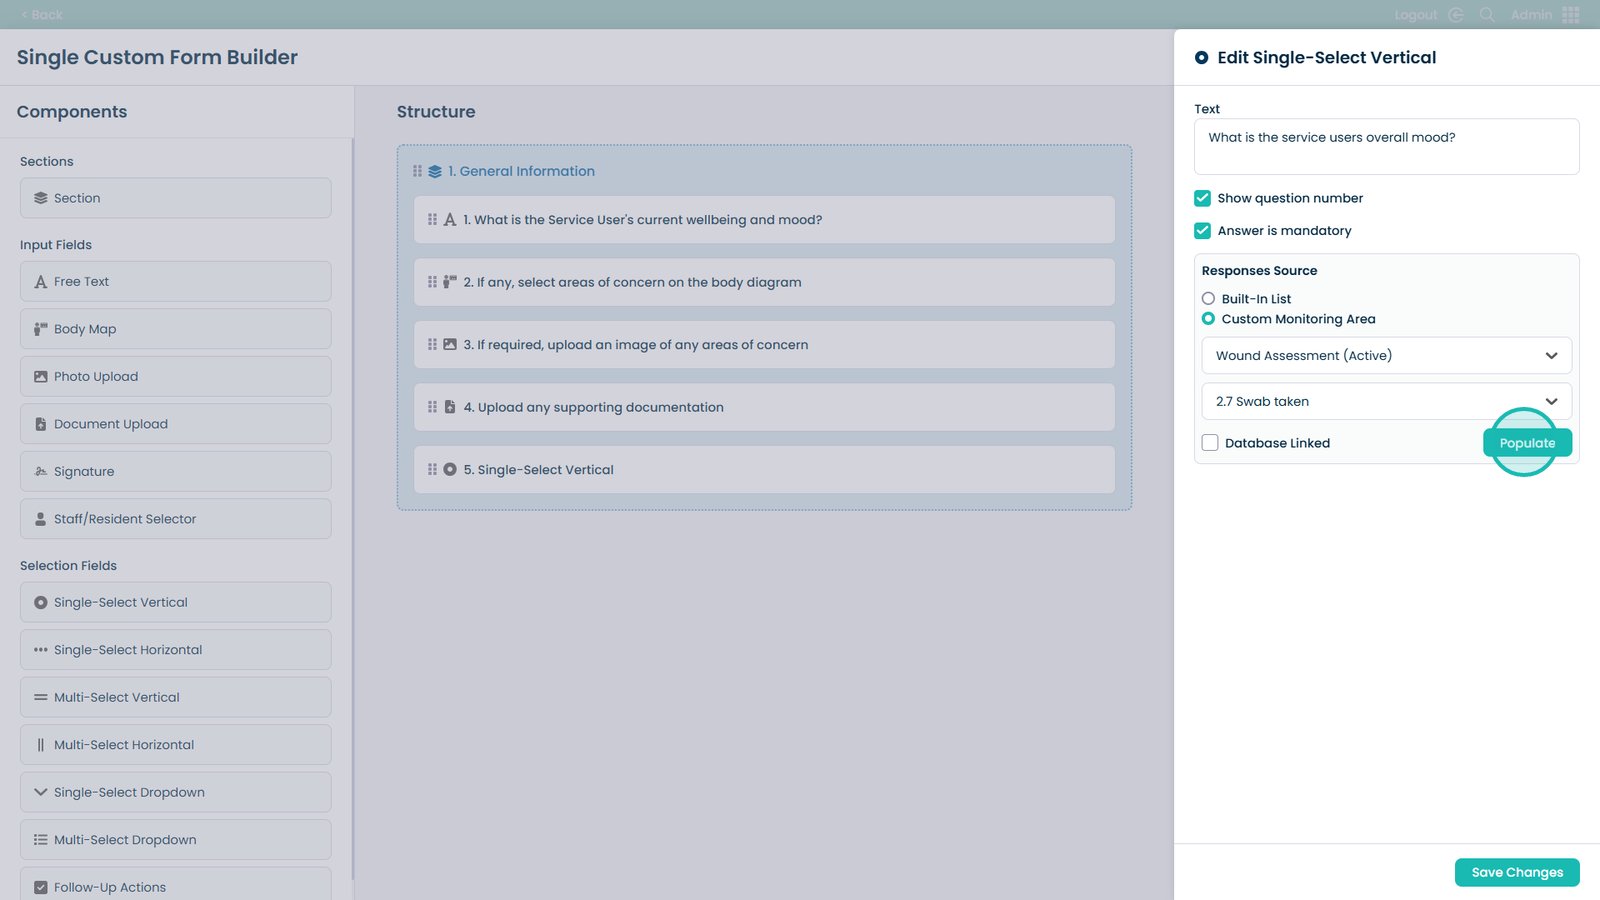
Click Populate to load the responses
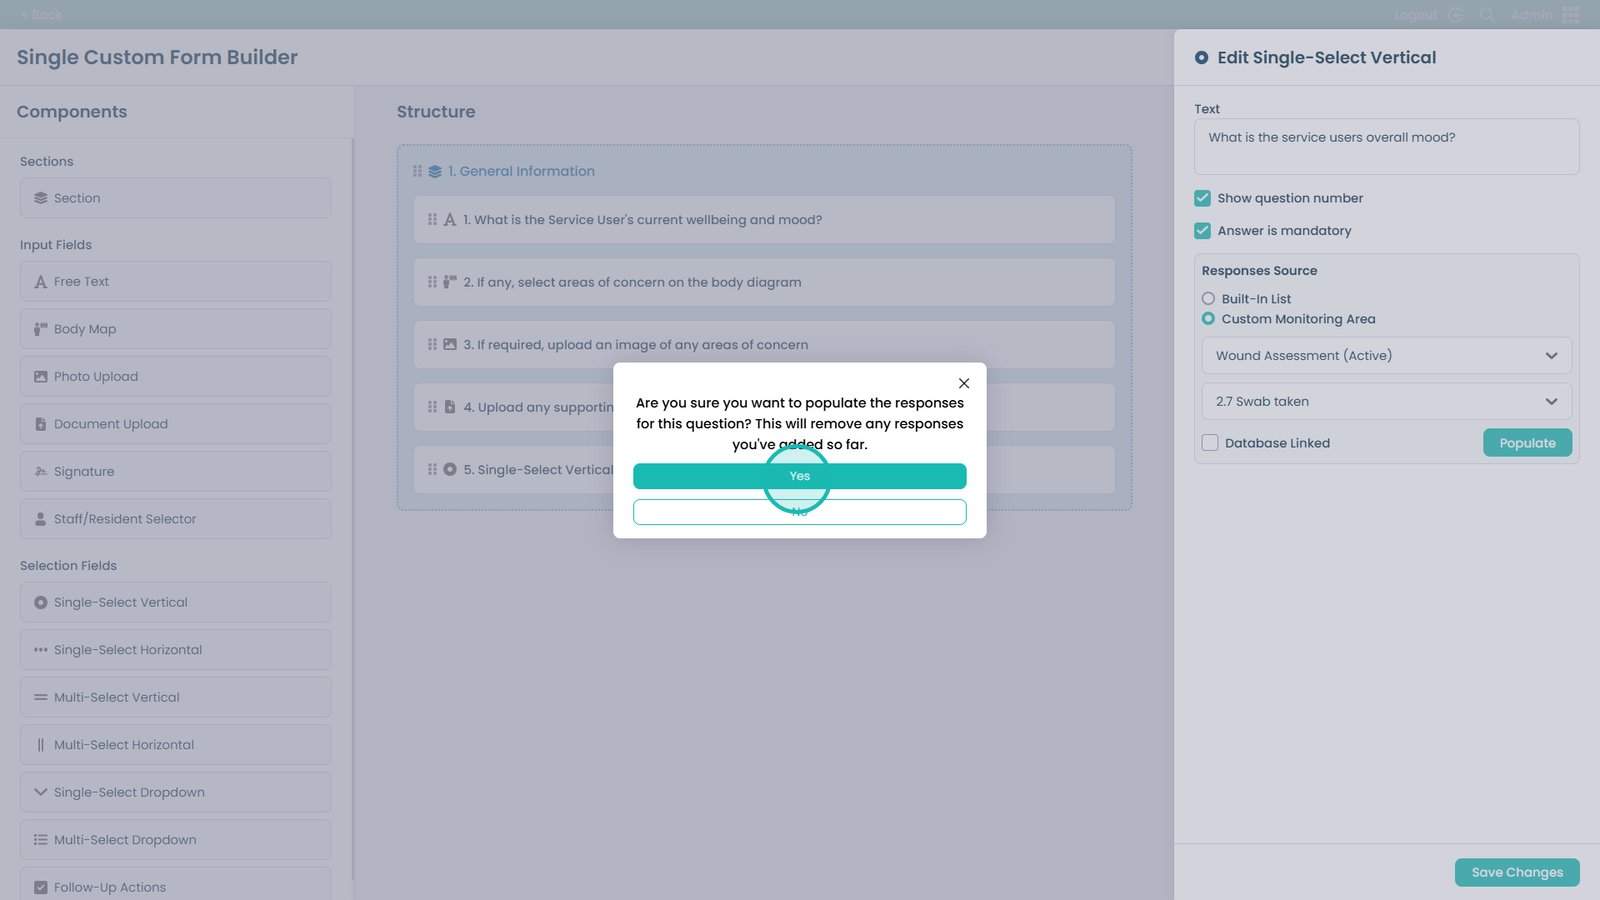
Confirm overwriting existing responses (click Yes)
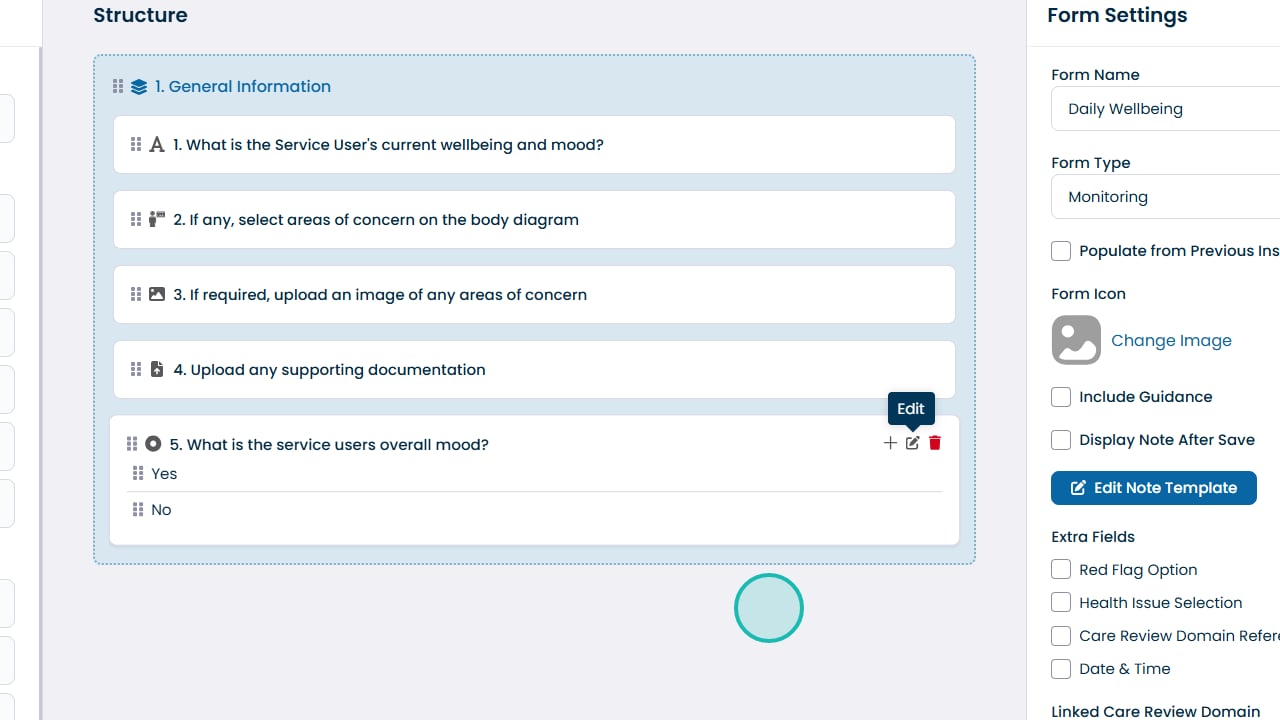
Verify that responses have loaded
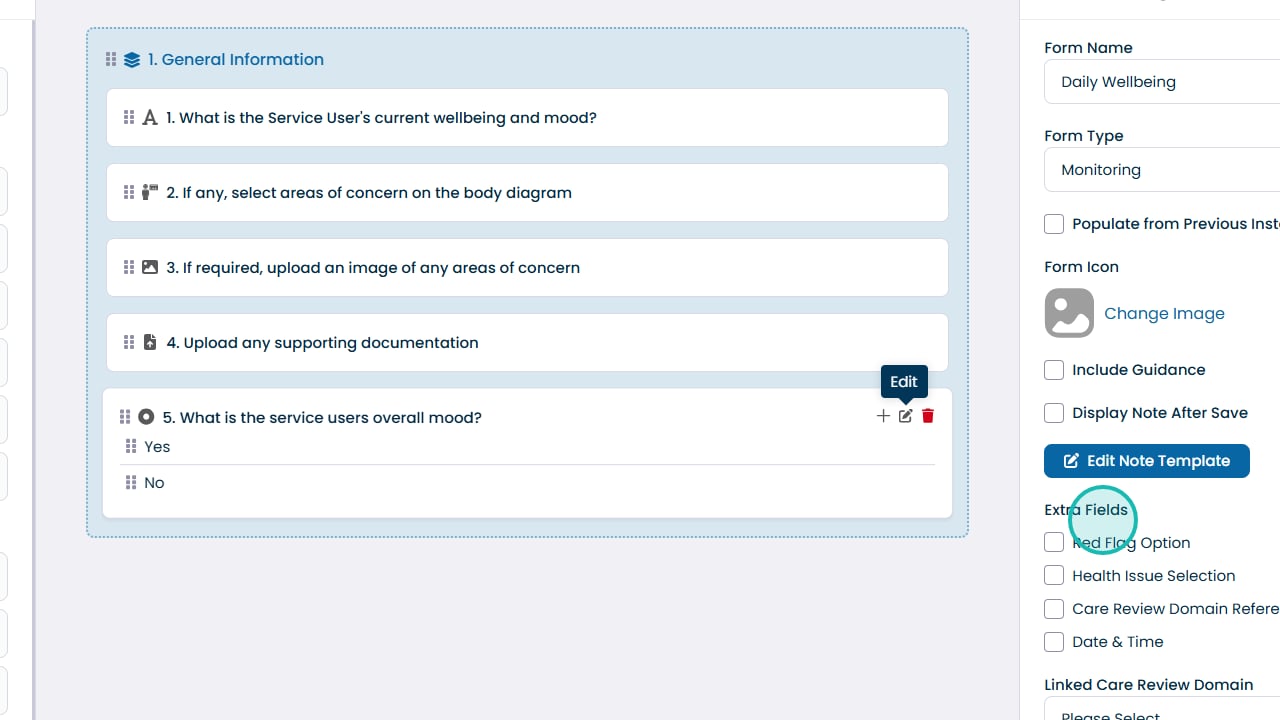
To add further responses, click the + button to add further answers
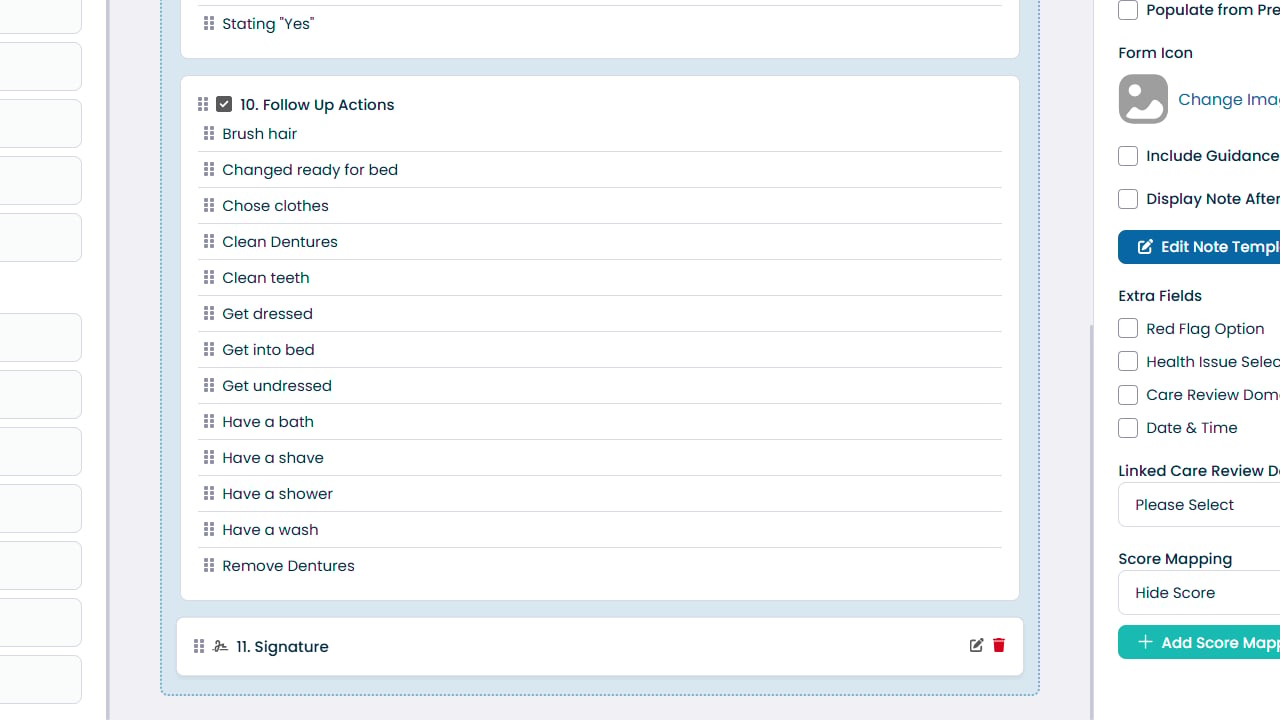
Add a Signature field (drag into section)
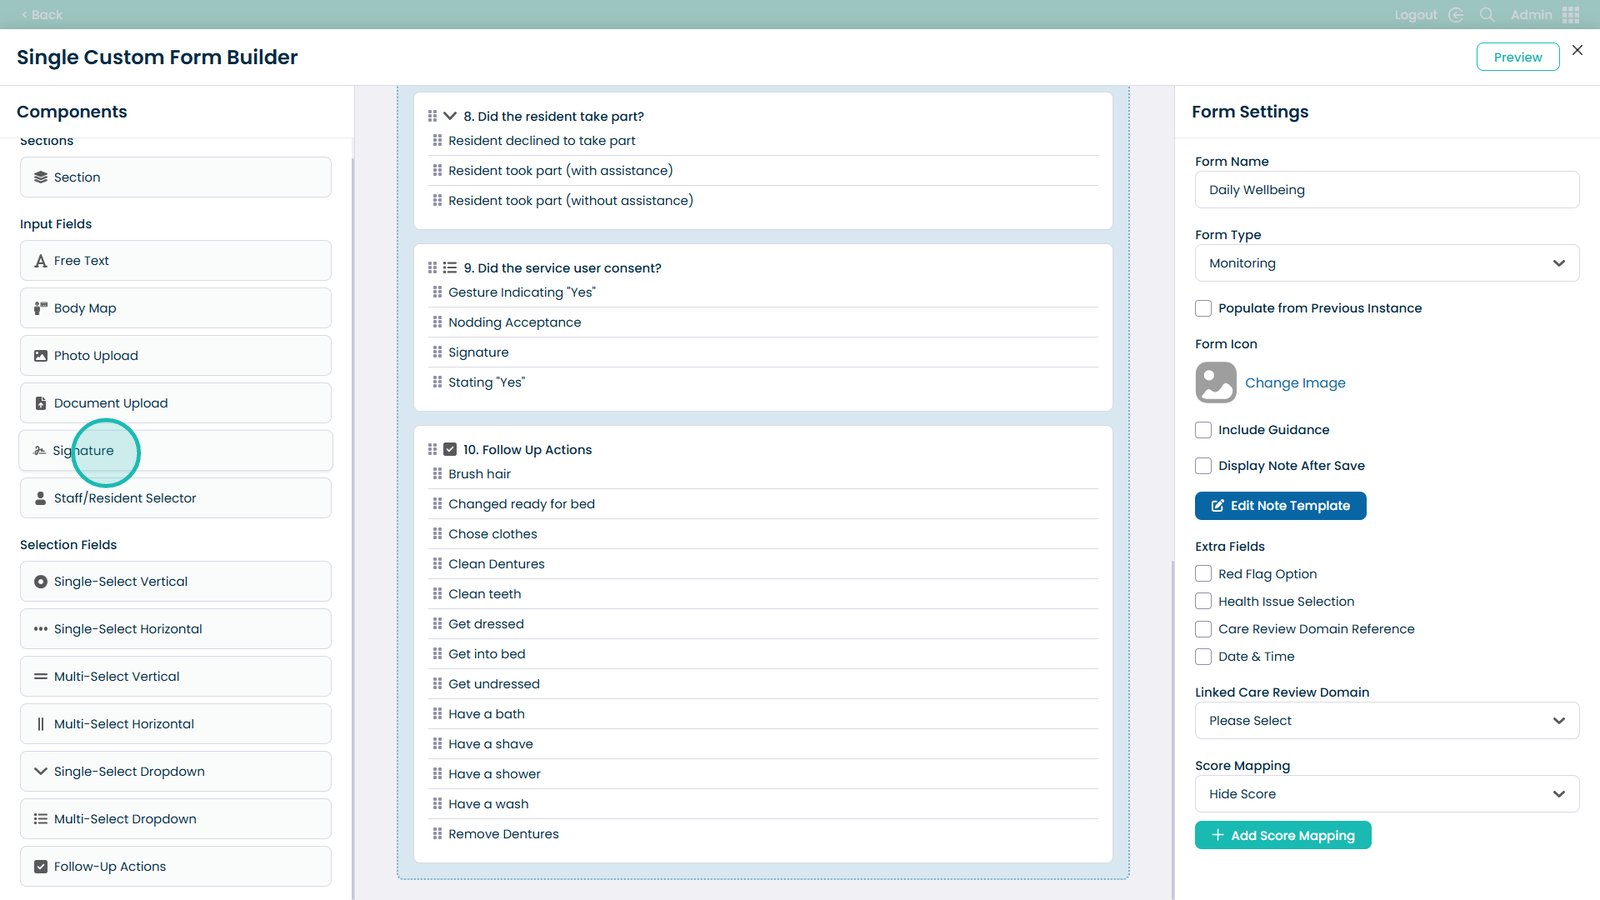
Modify the Signature field
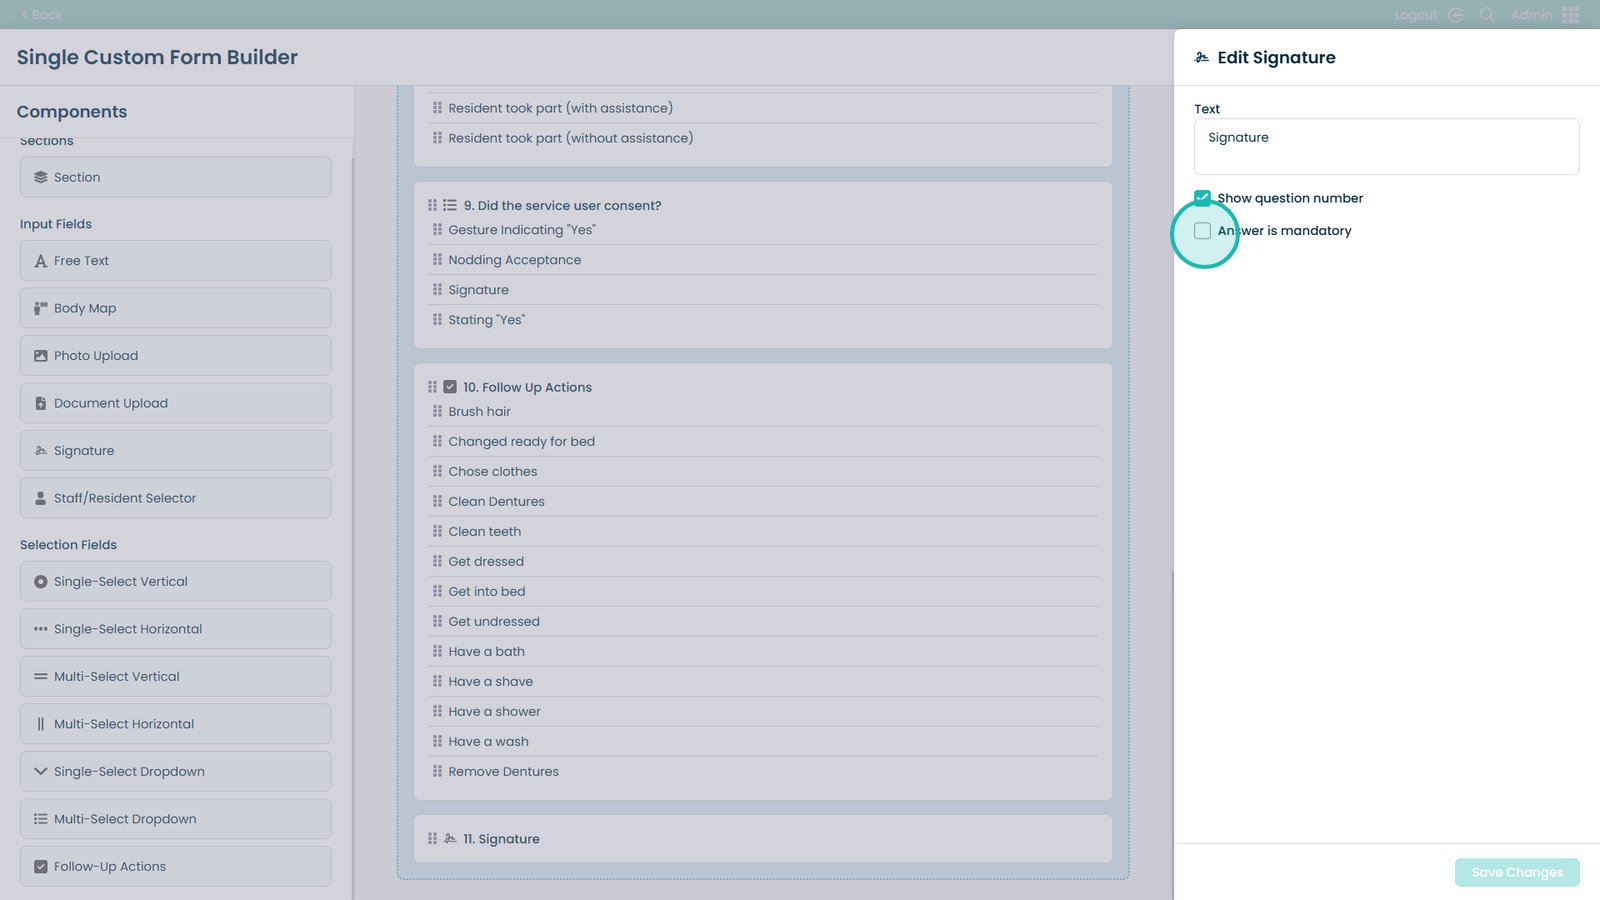
Mark the Signature as mandatory (if required)
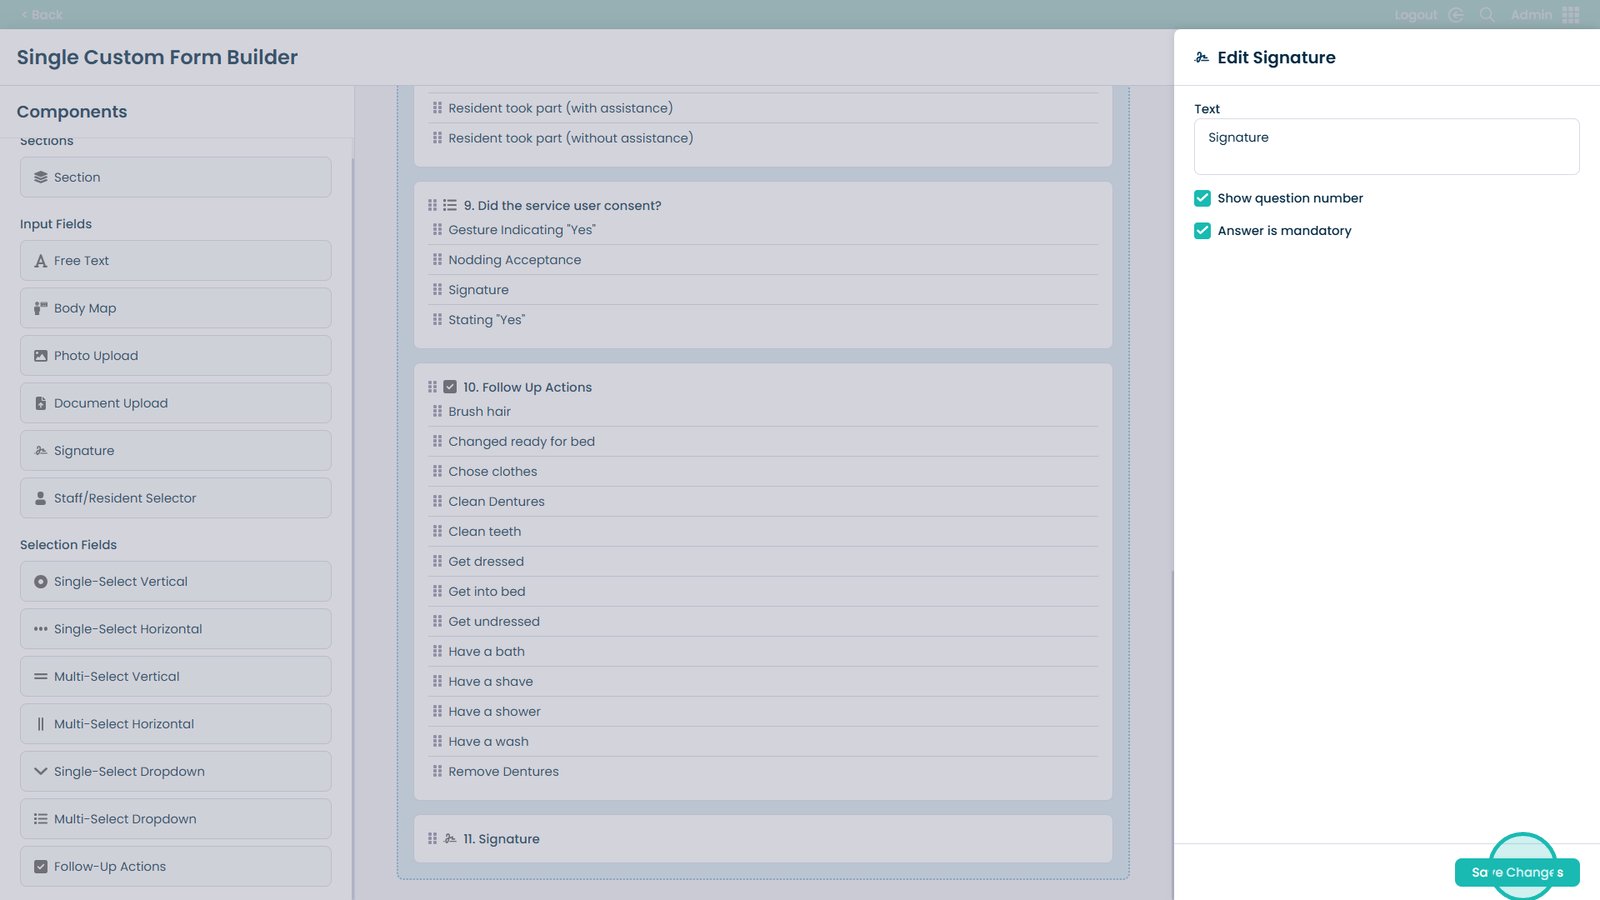
Click Save Changes when done (Signature field)
Form Settings: enable “Populate from previous instance” (optional)
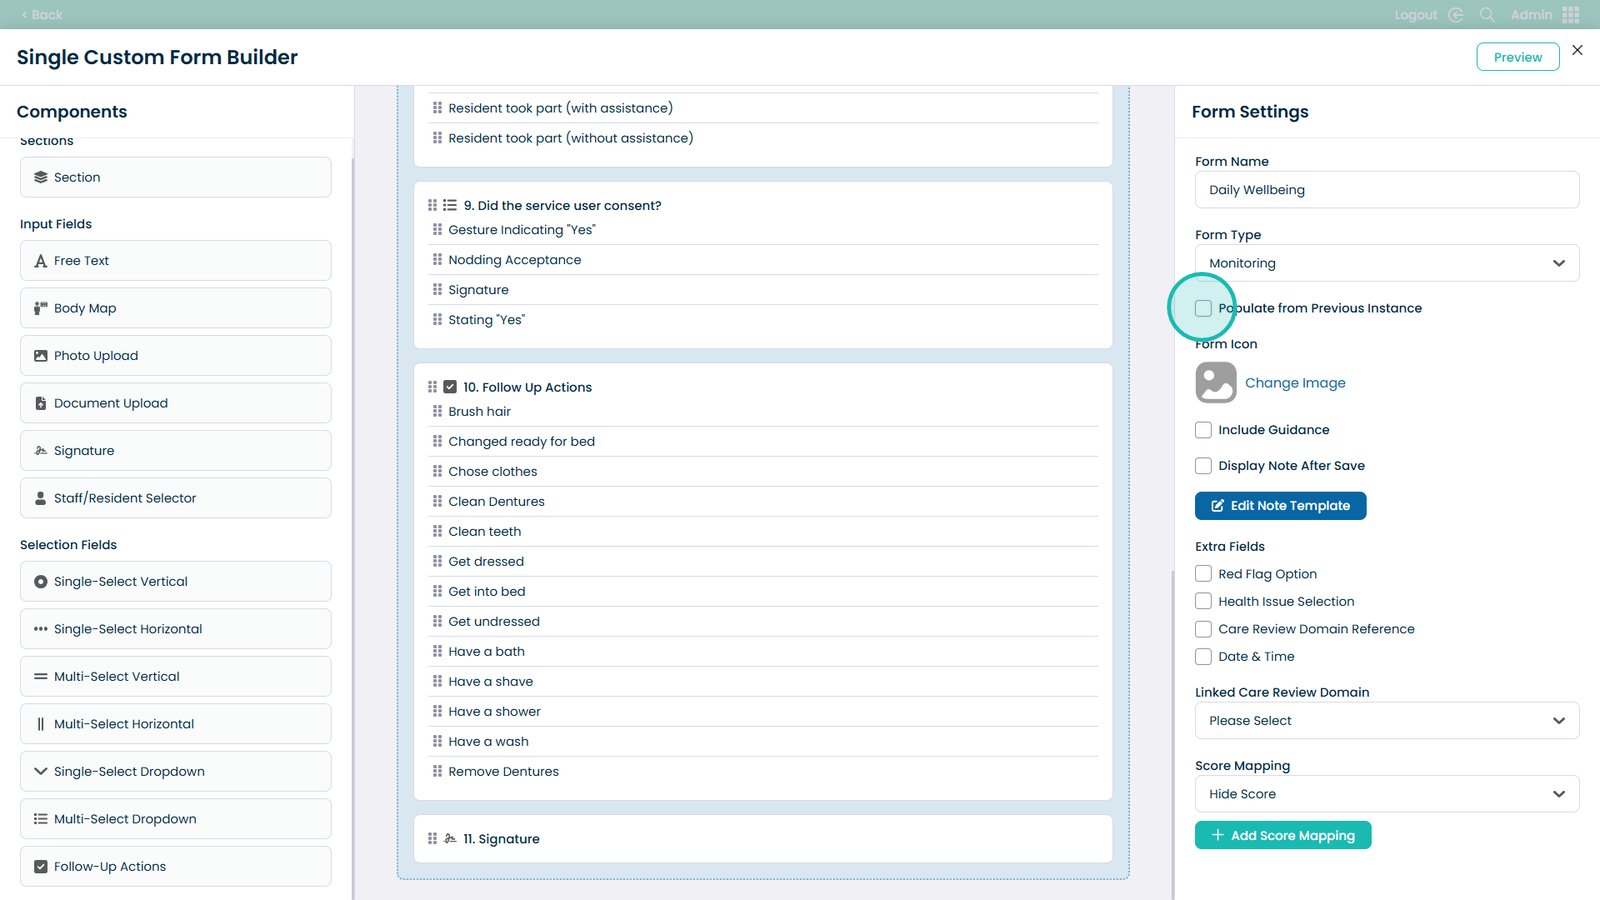
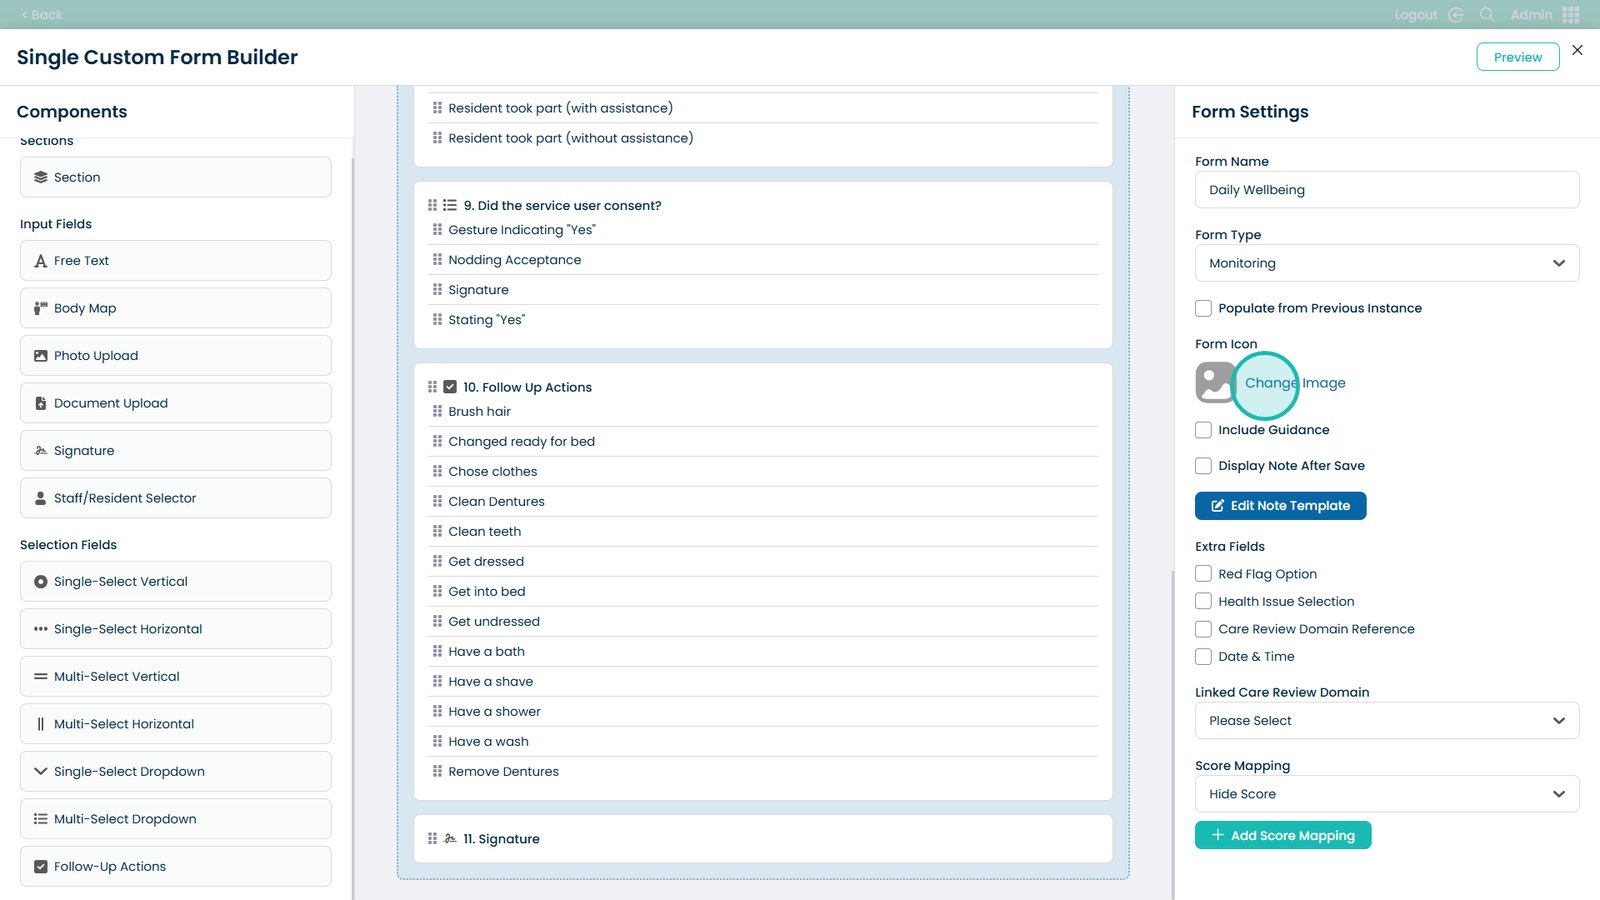
Change the form image and add an icon for easy identification
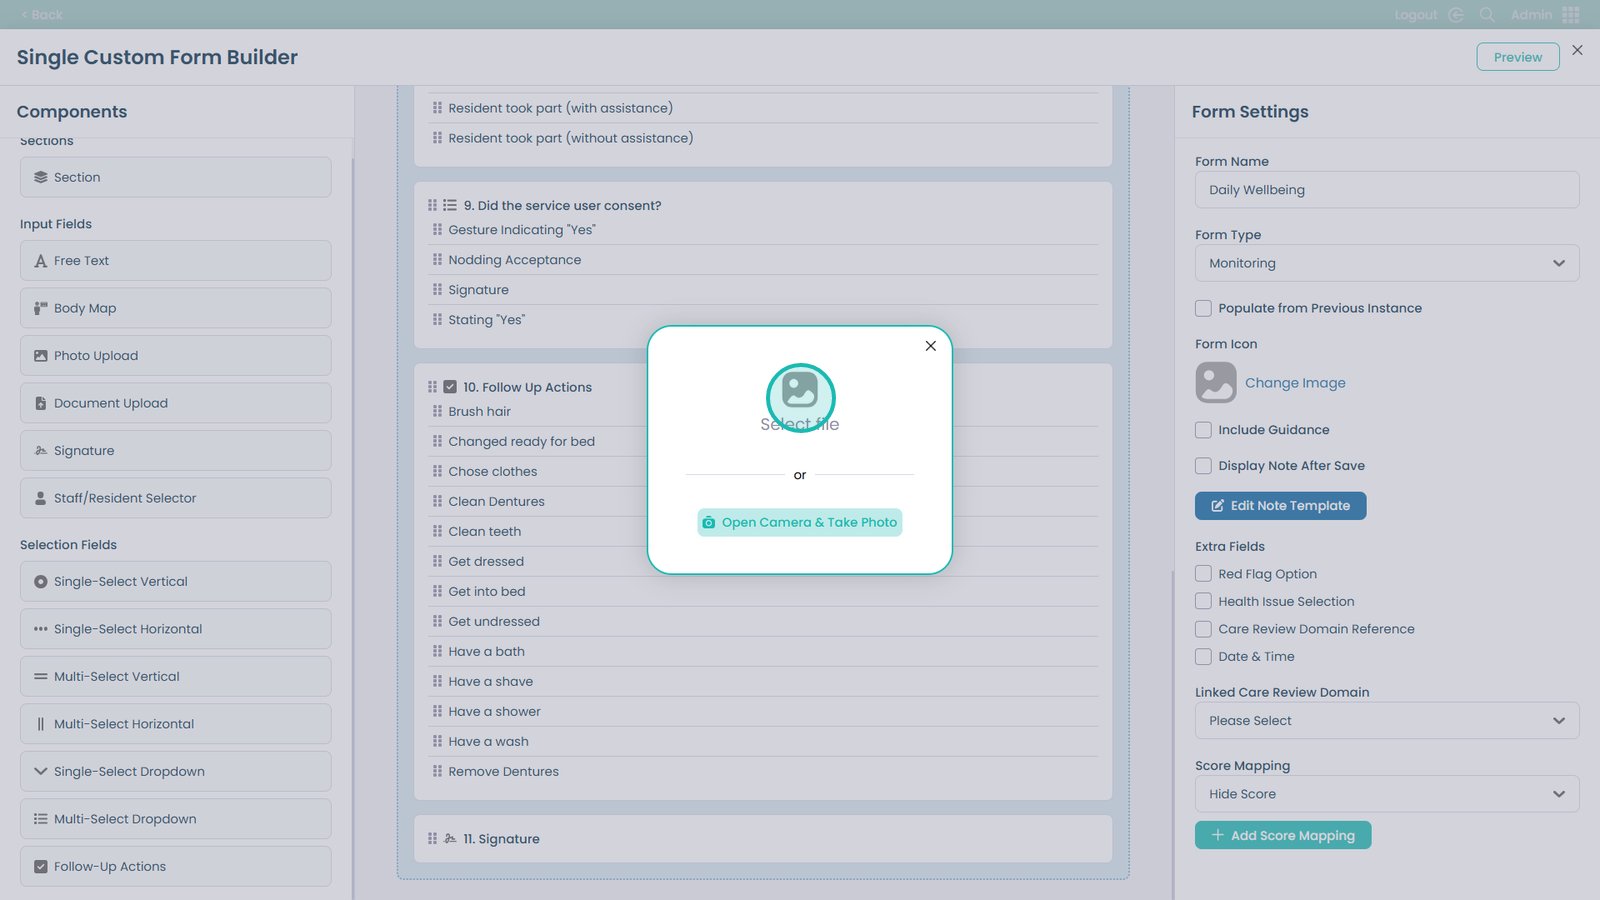
Click “Select file” and upload an icon from your computer
Add guidance to the form (optional)
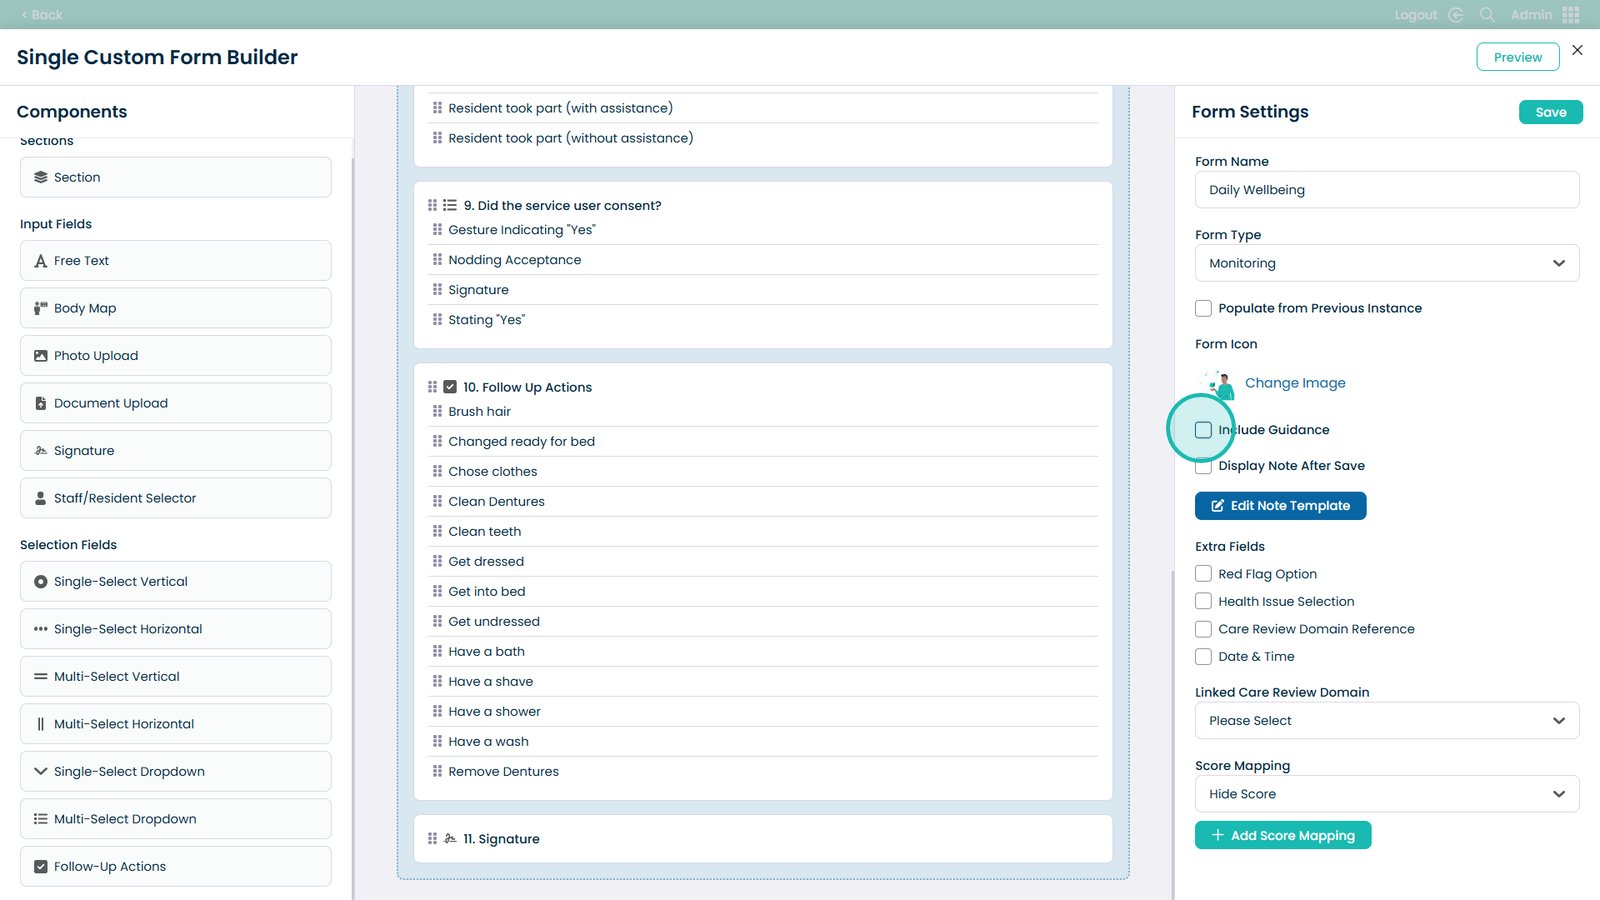
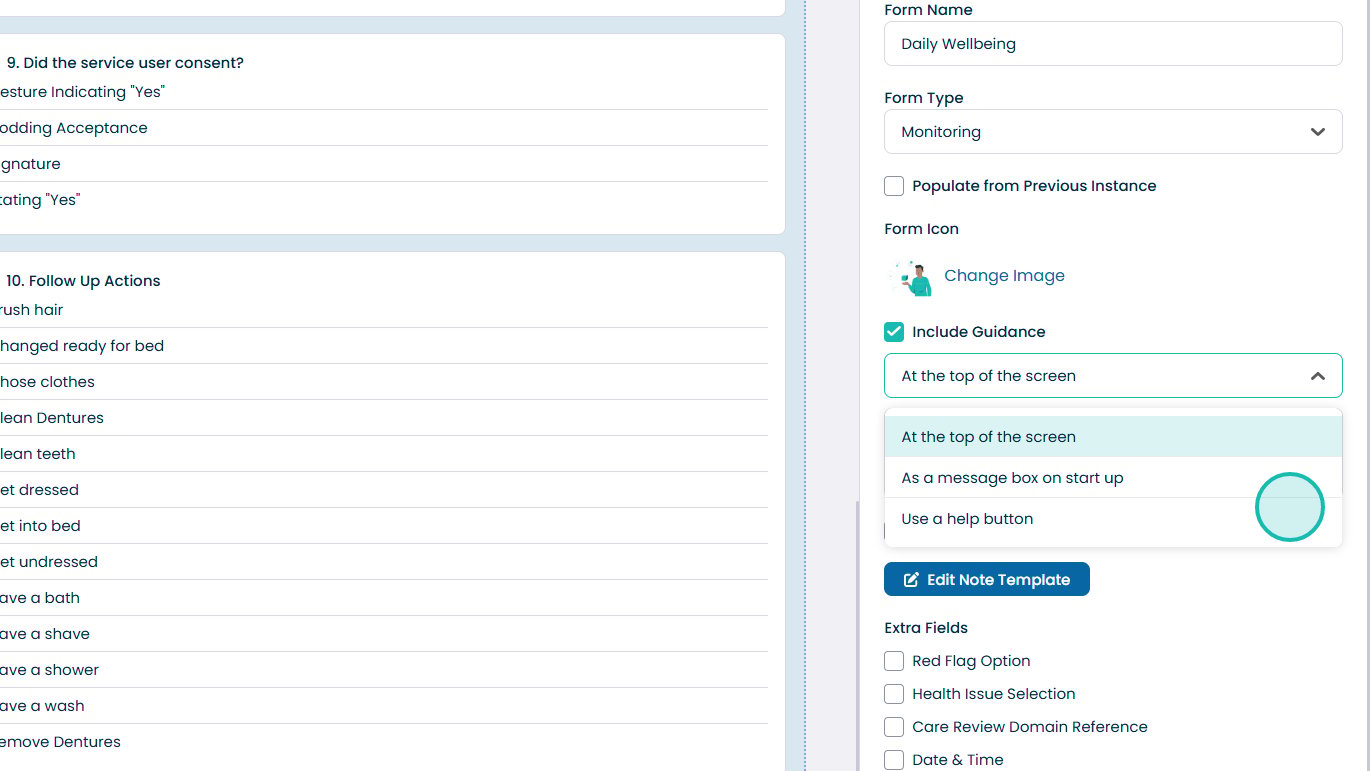
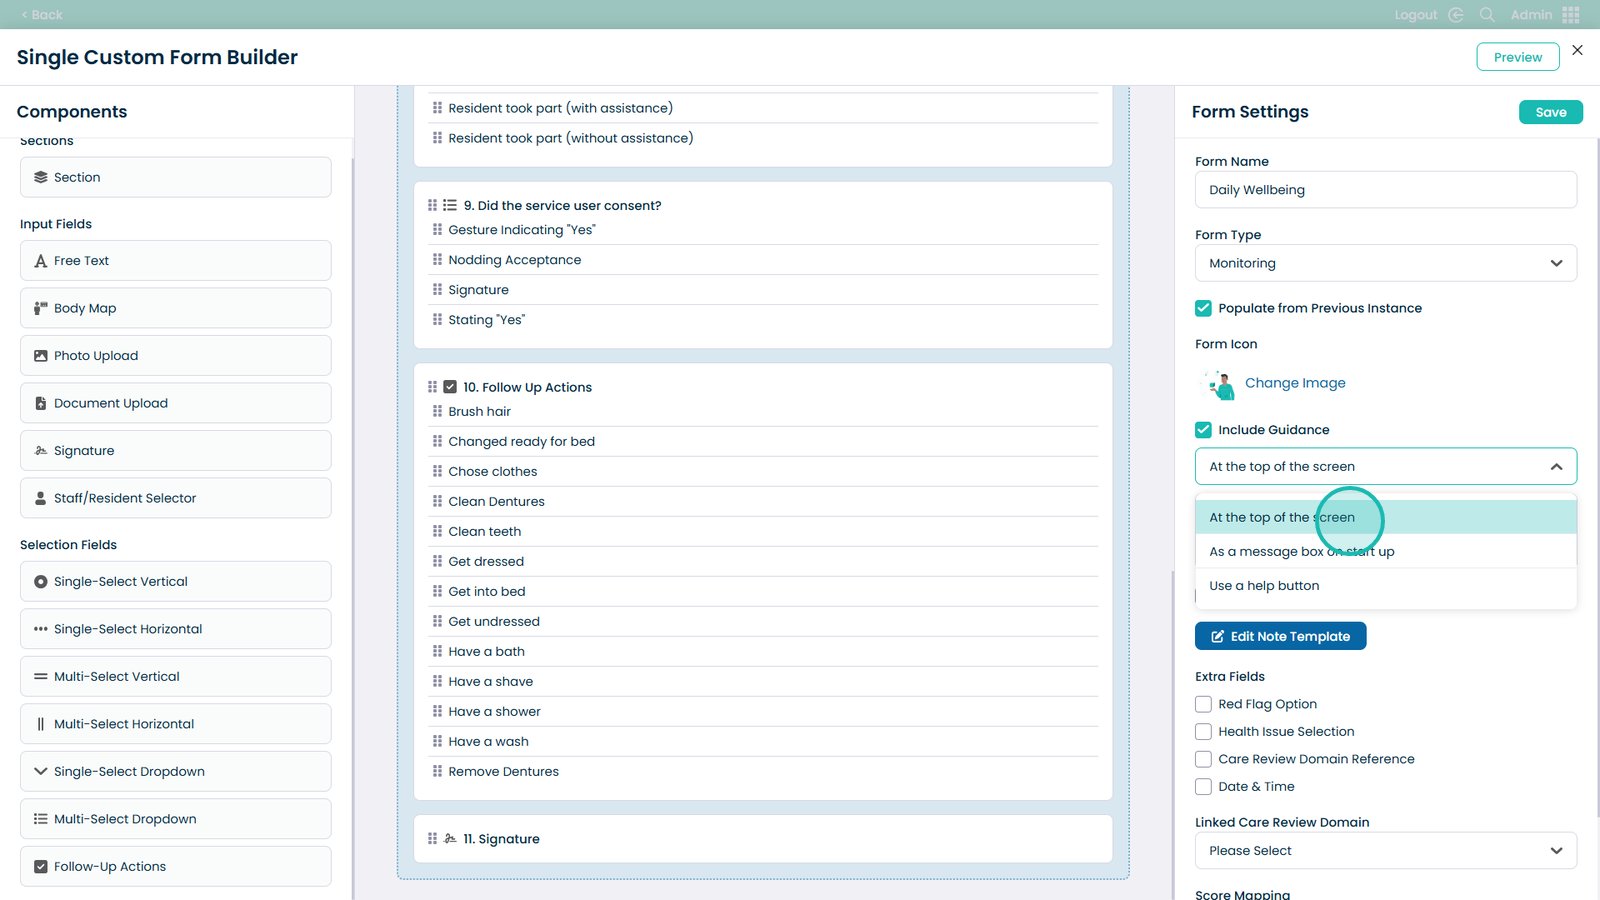
Choose how the guidance is shown (dropdown)
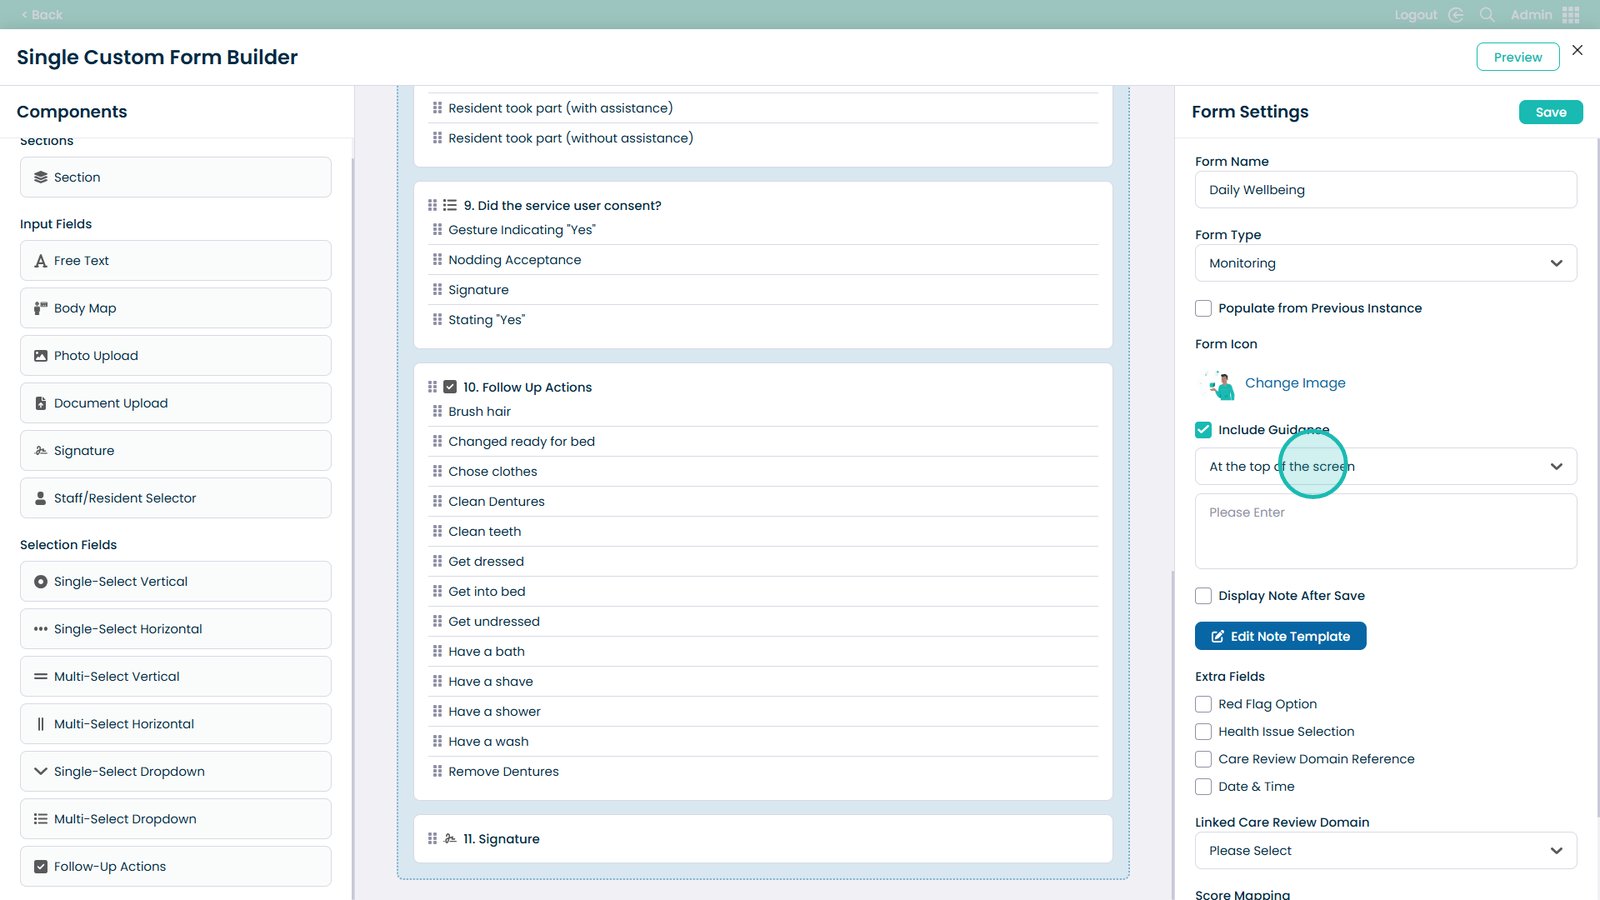
Guidance options: paragraph at top, message on start, or help button
Enter the guidance text in this box
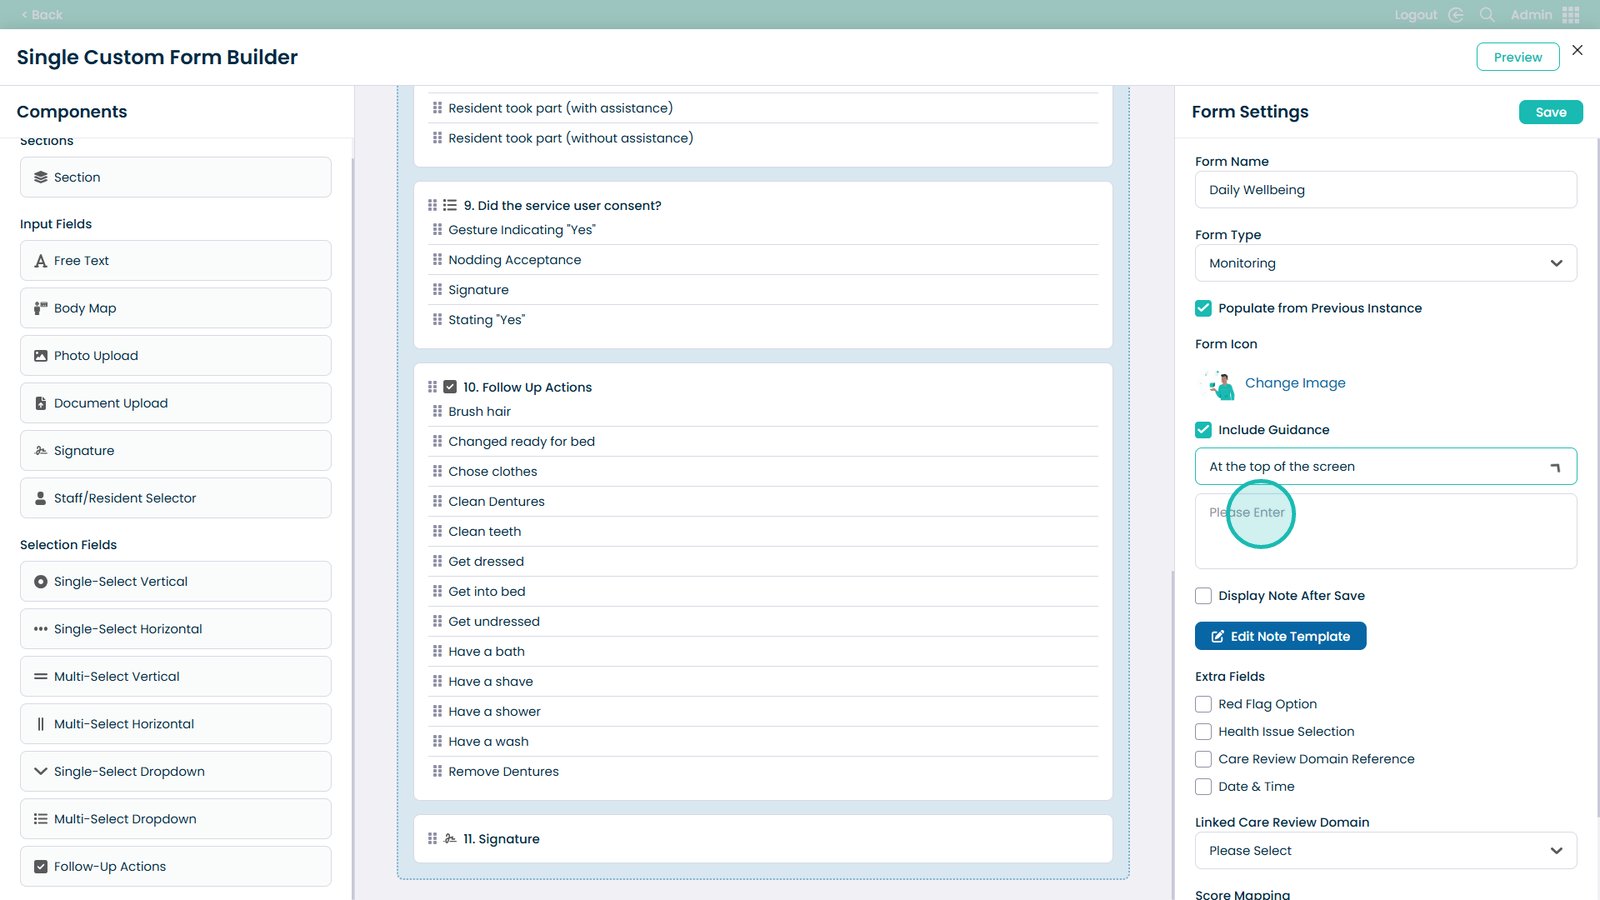
Optionally display a Note after saving the form
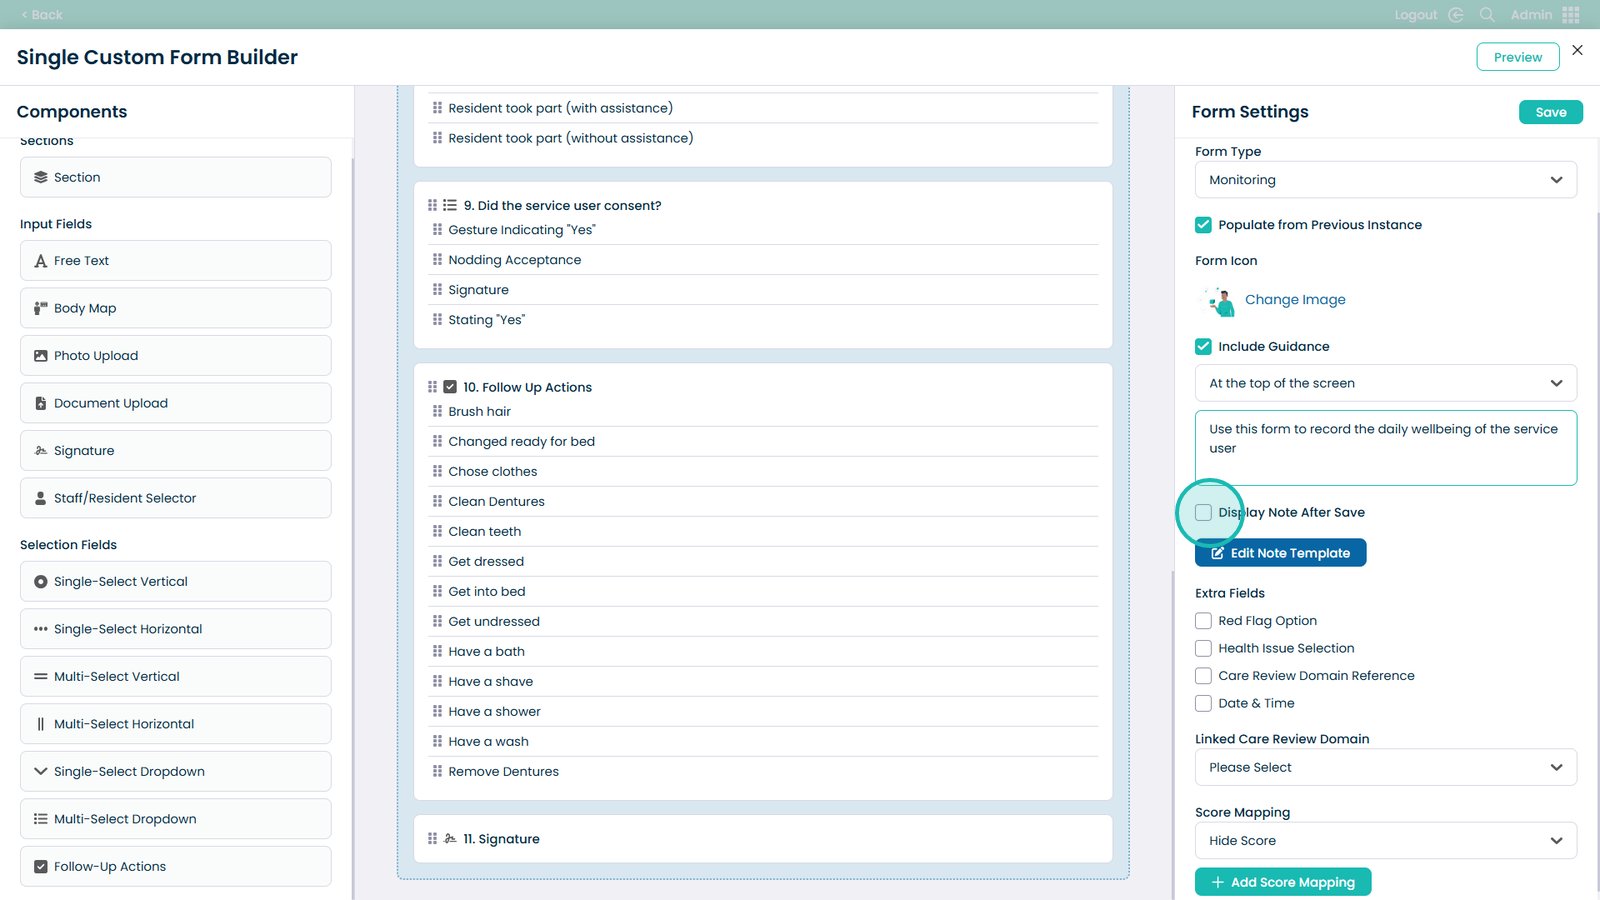
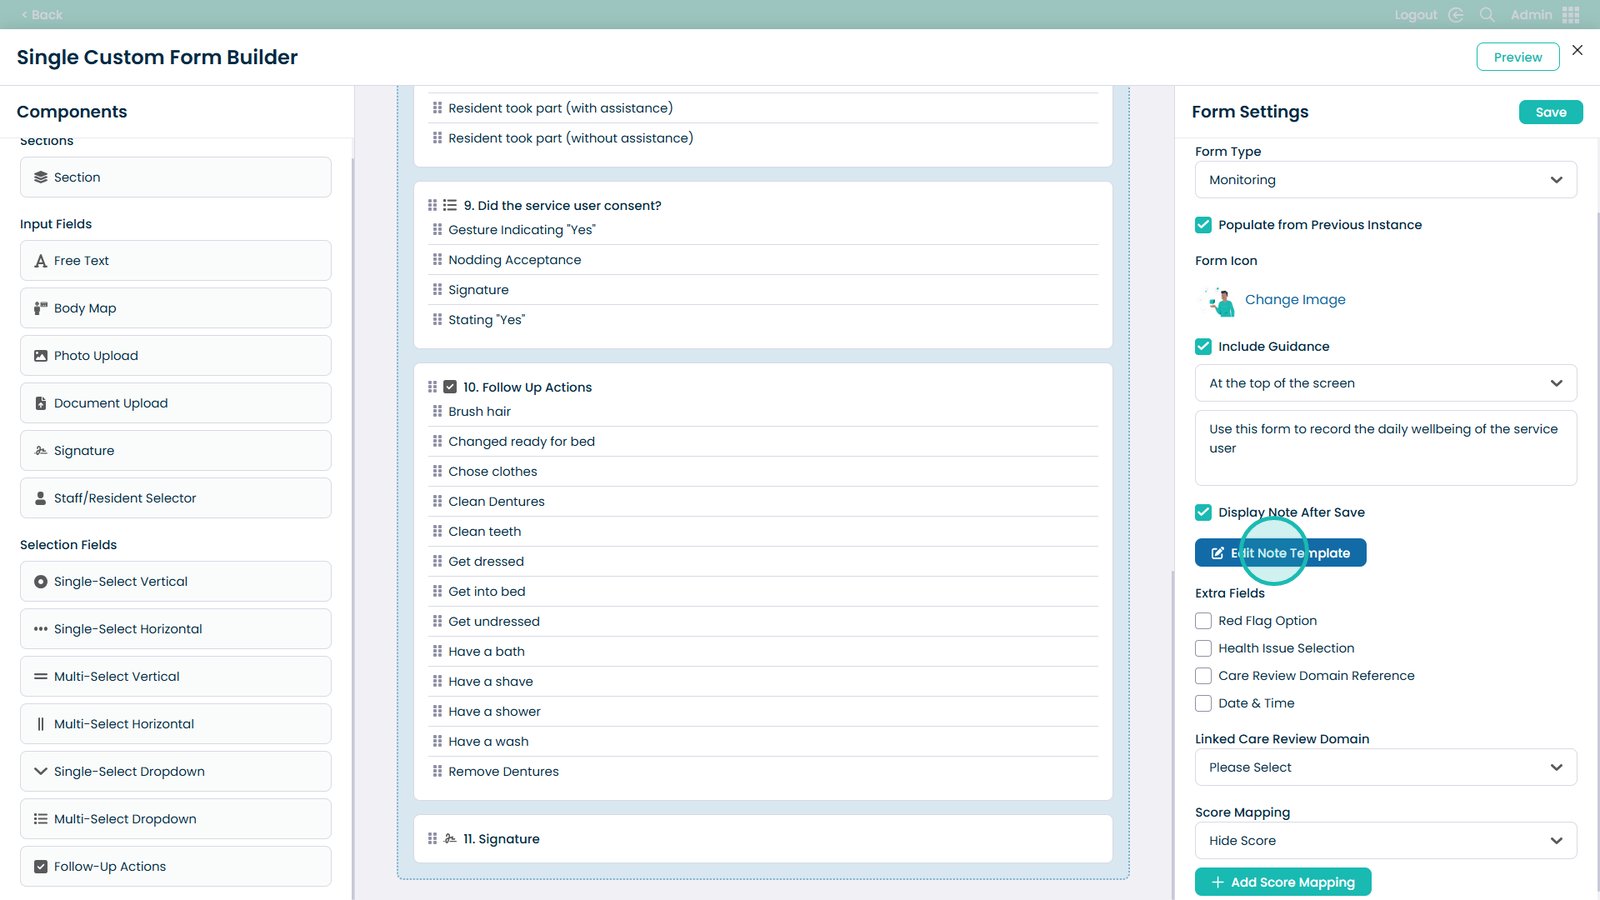
Click Edit Note Template
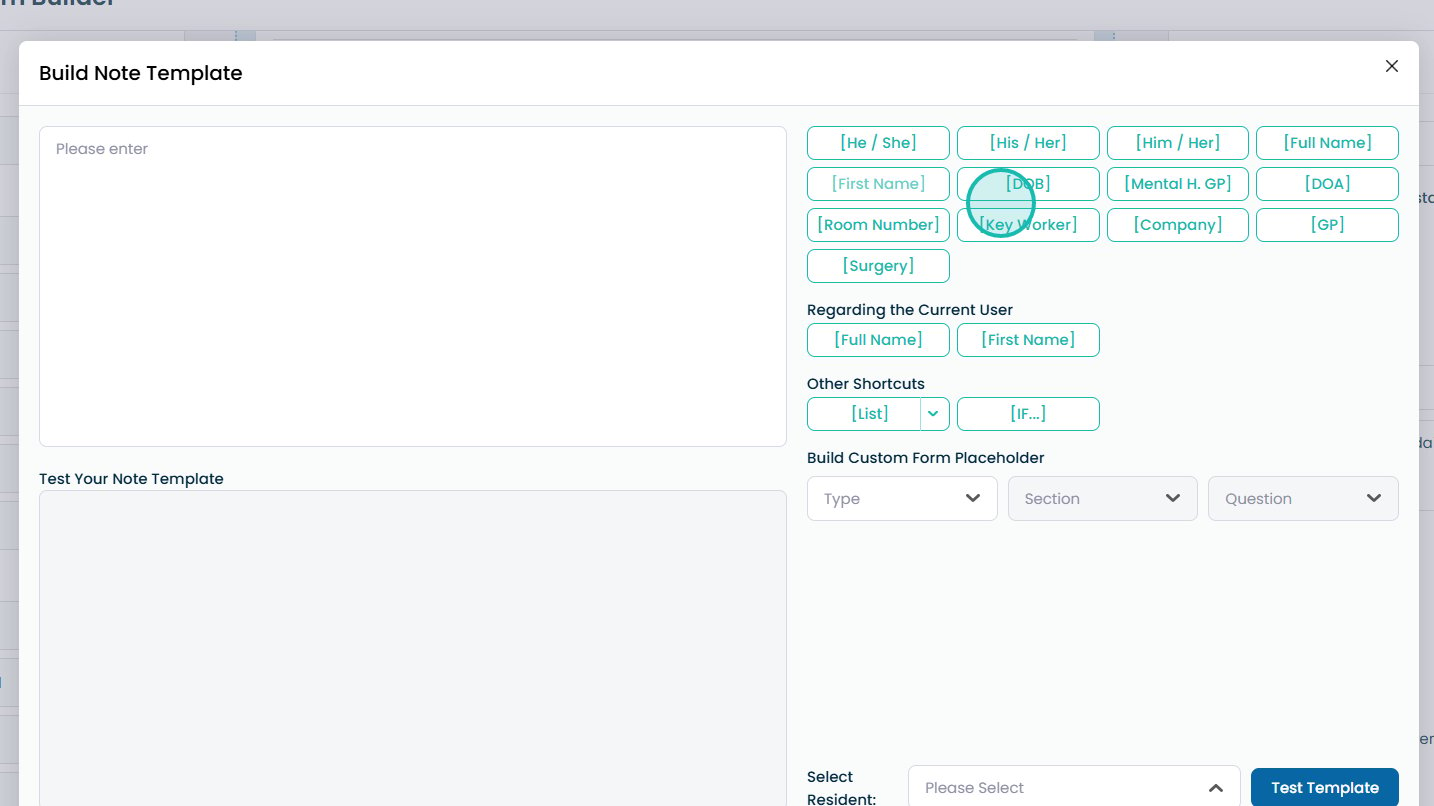
Use autofill tokens from the right panel
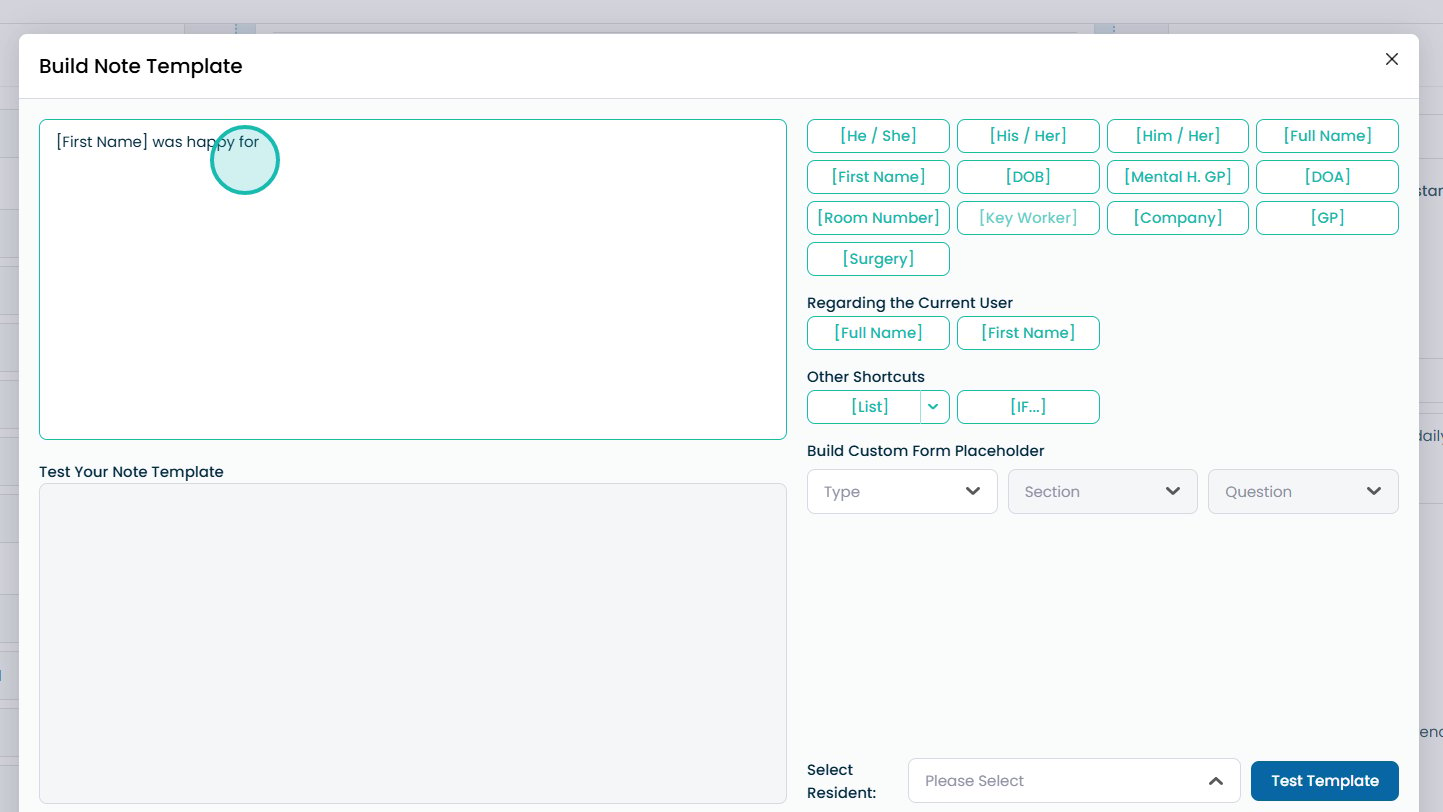
Enter free text into the left-hand box
Add a prefilled section from form components
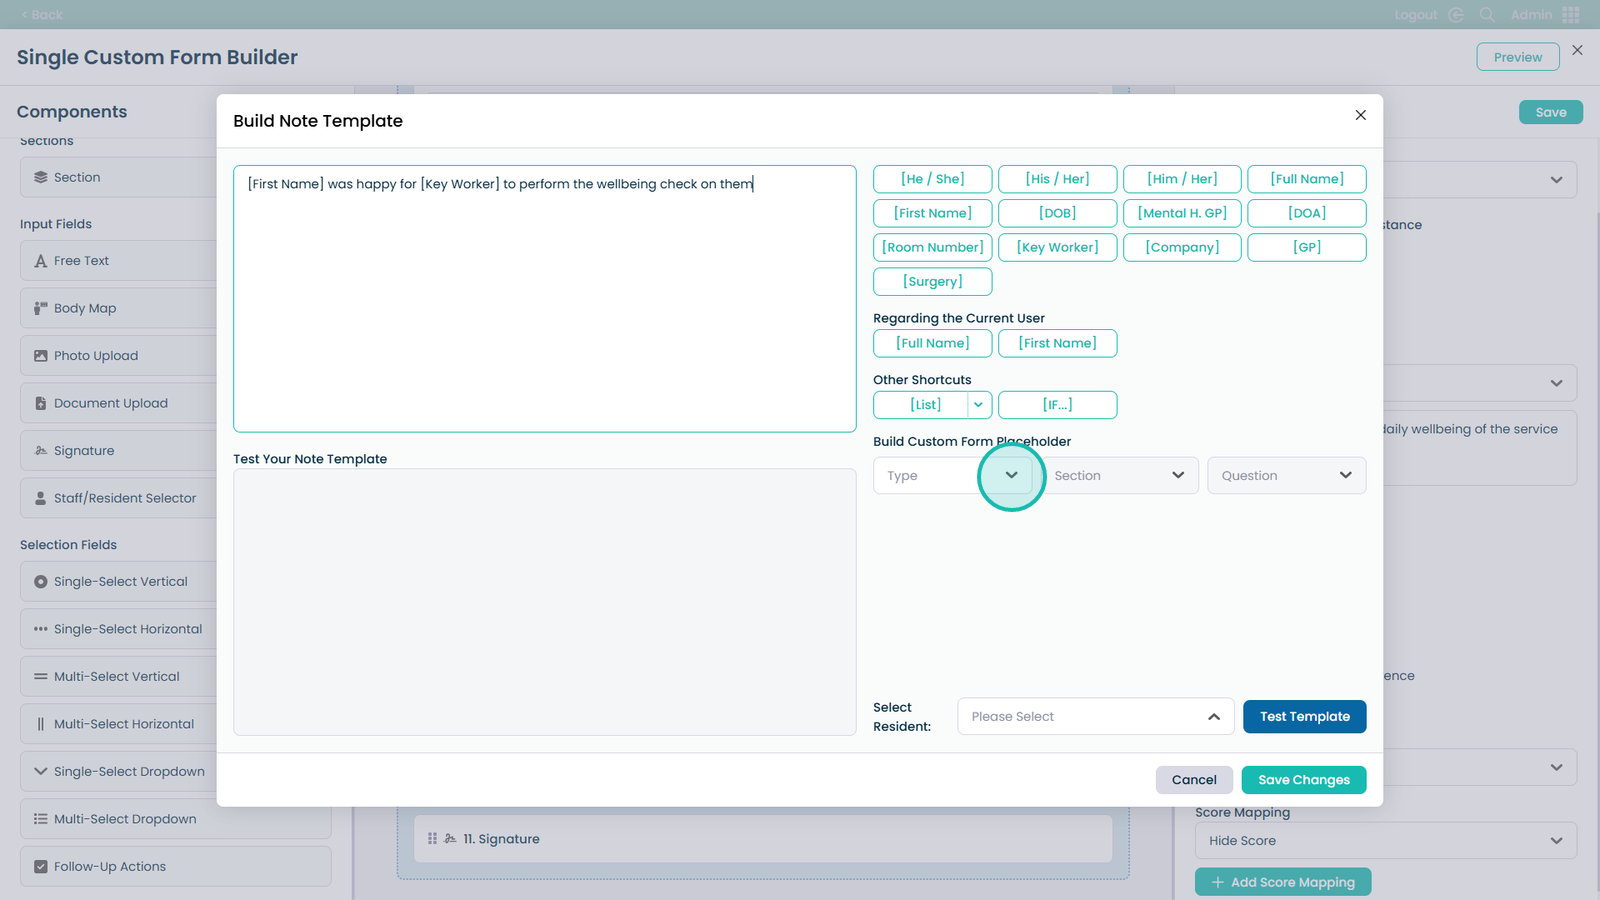
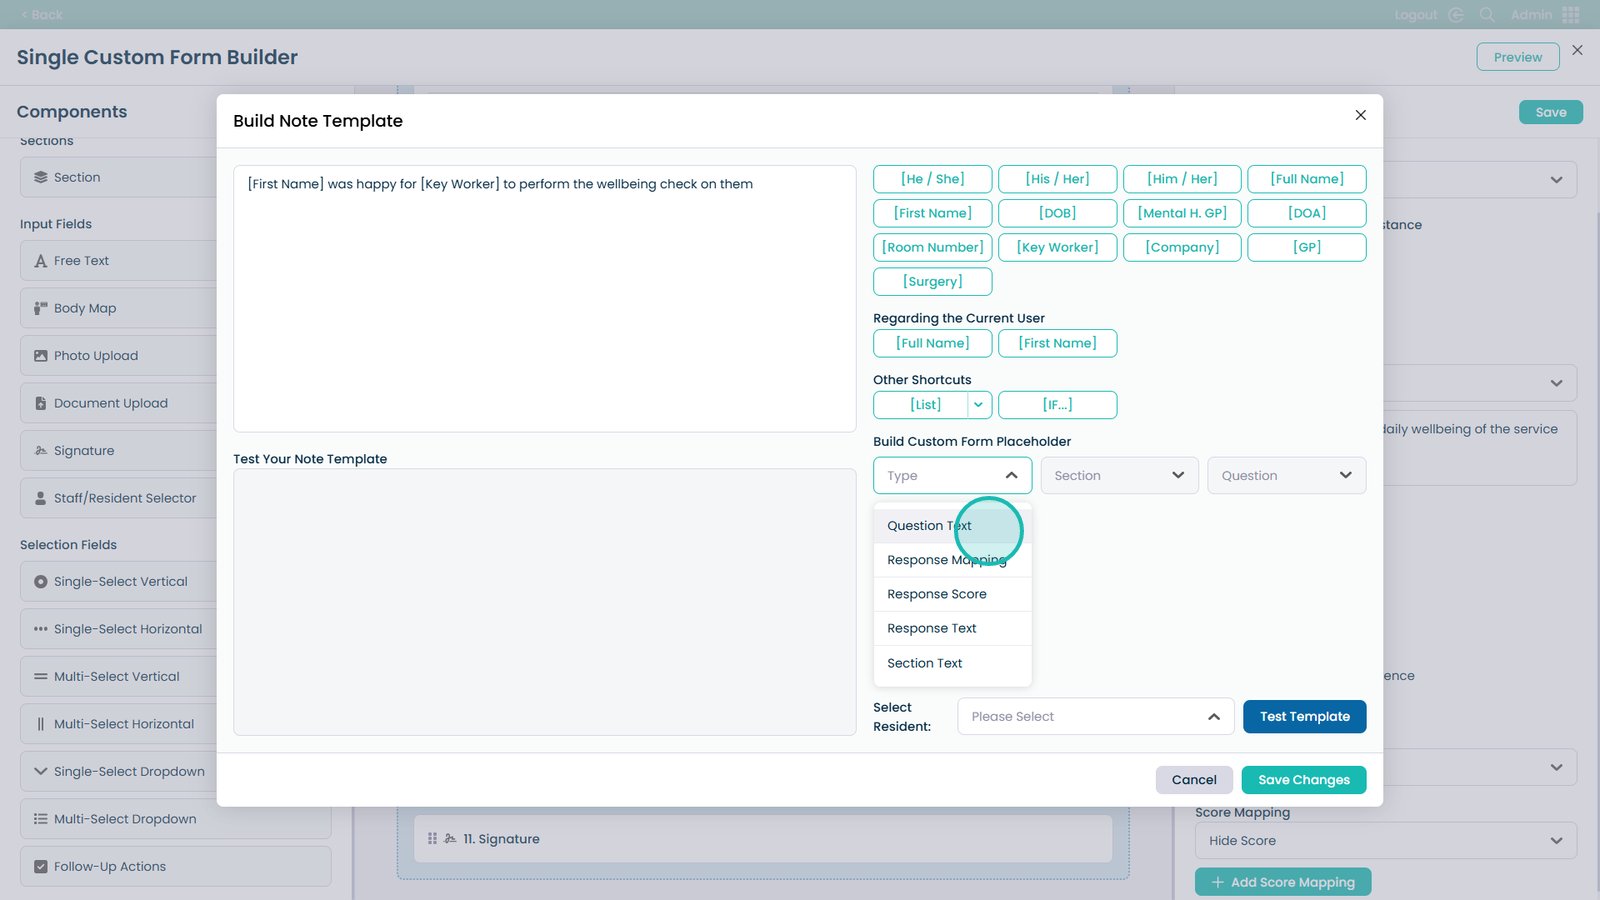
Choose which part to add
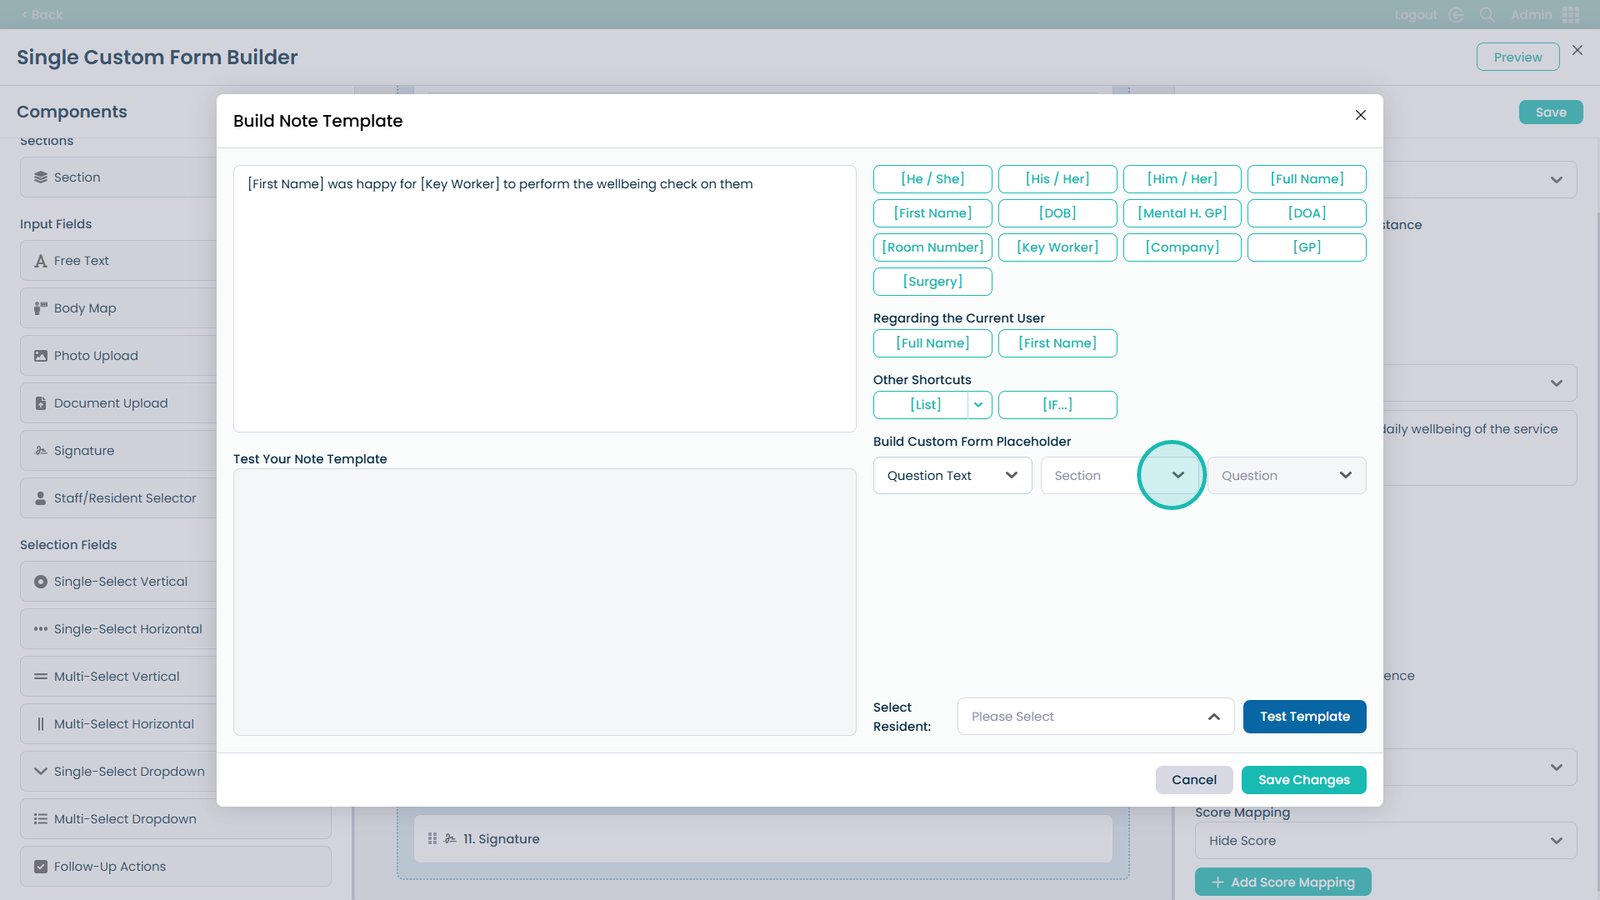
Select the Section to pull from
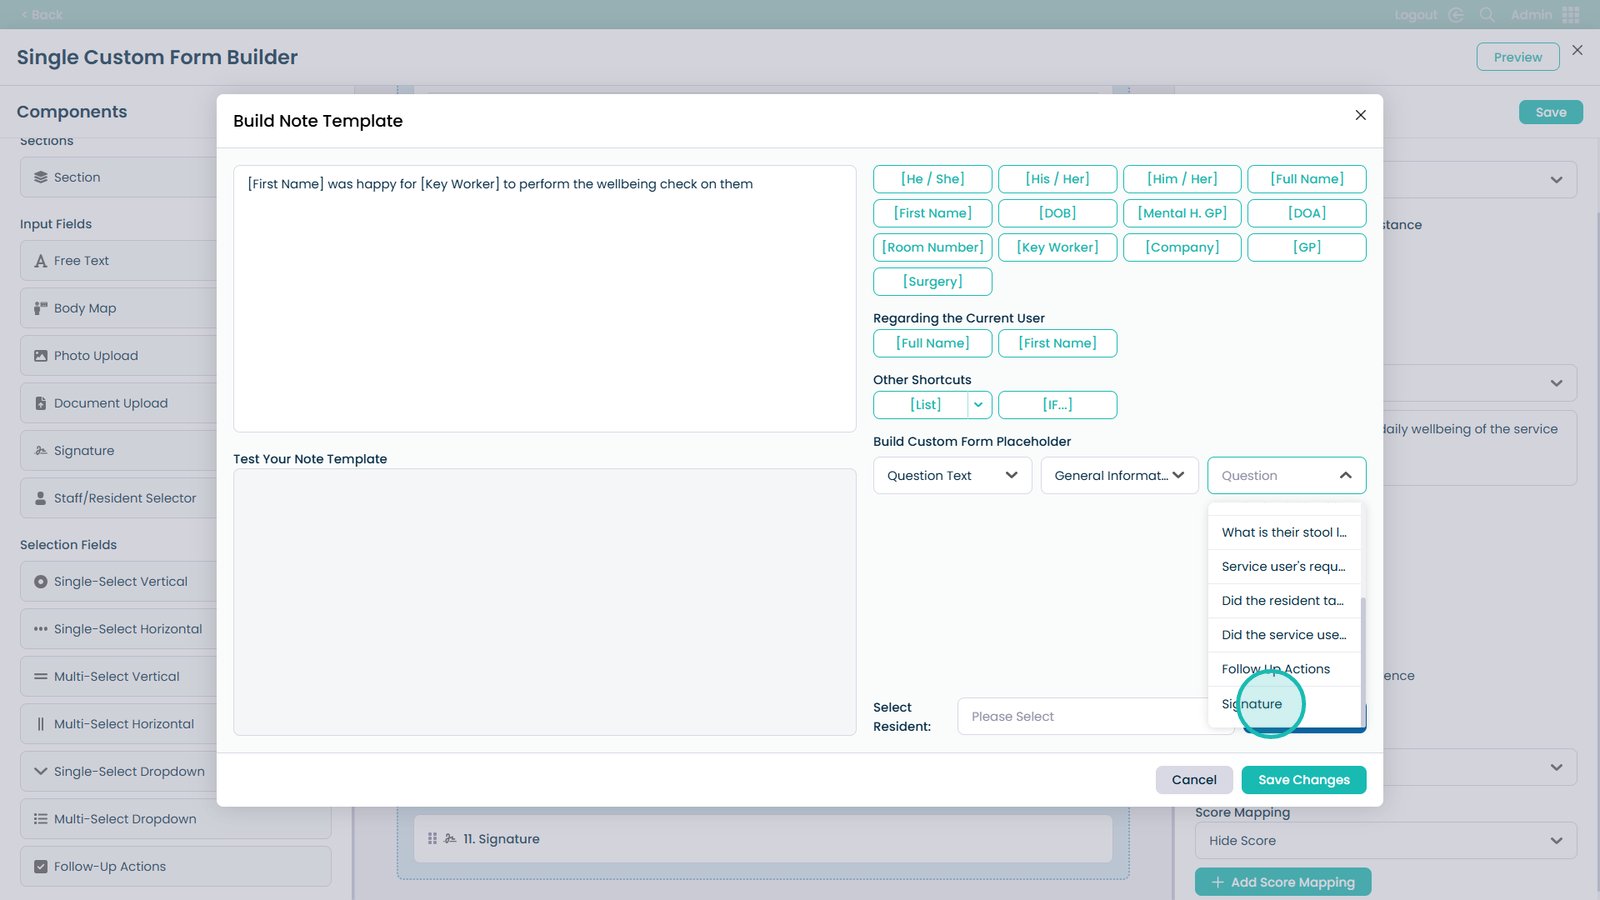
Choose the question to auto-insert into the note
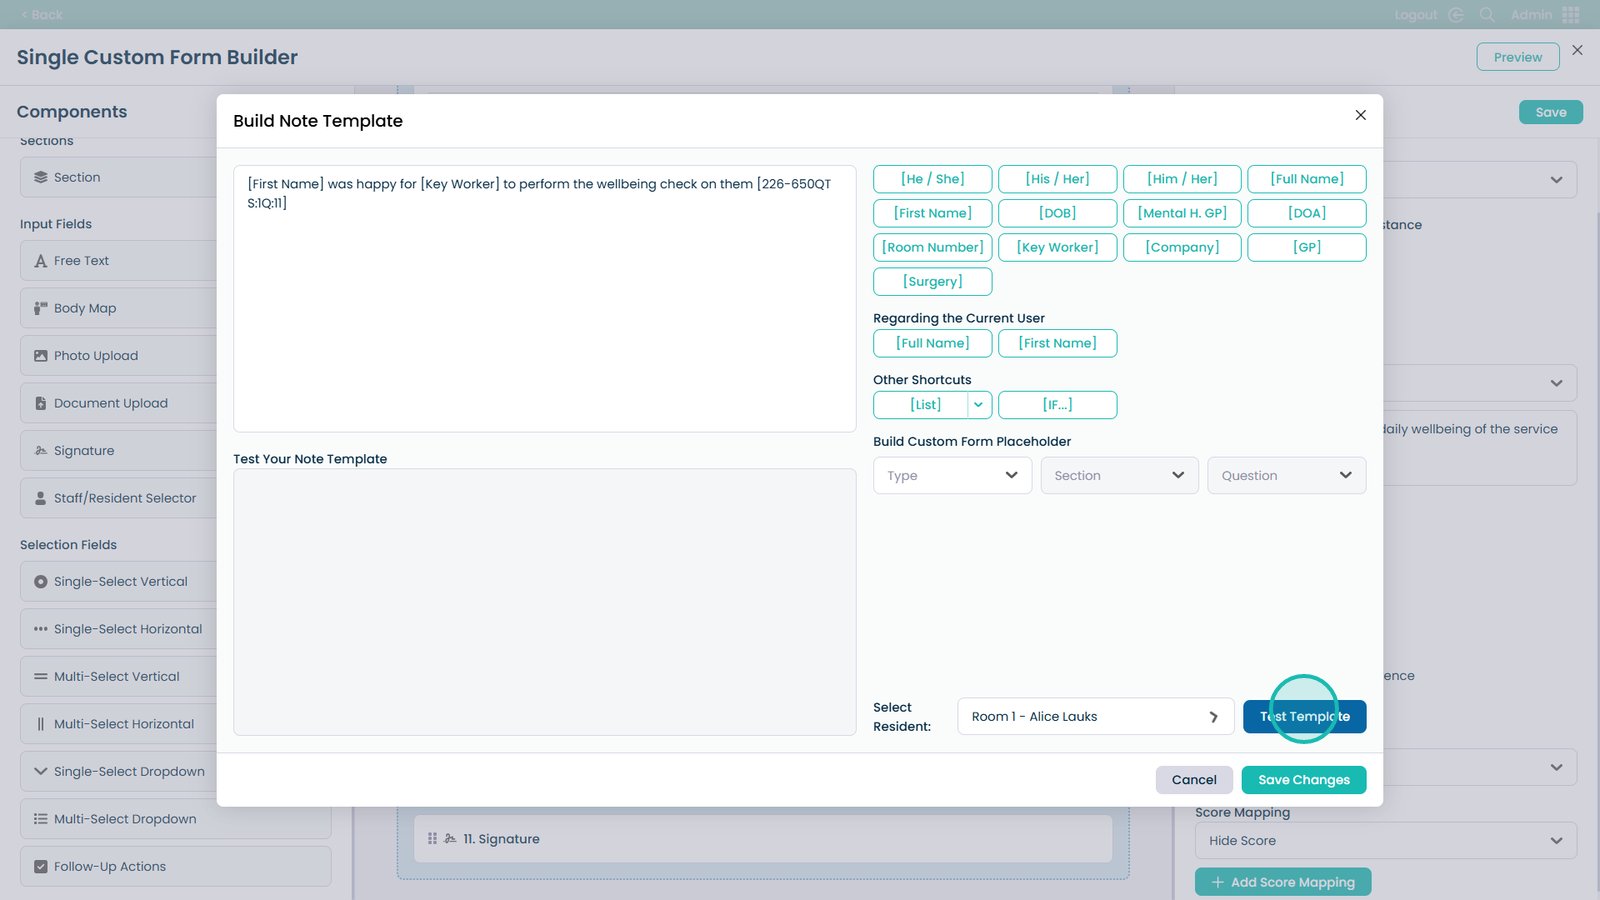
Test the template by choosing a resident
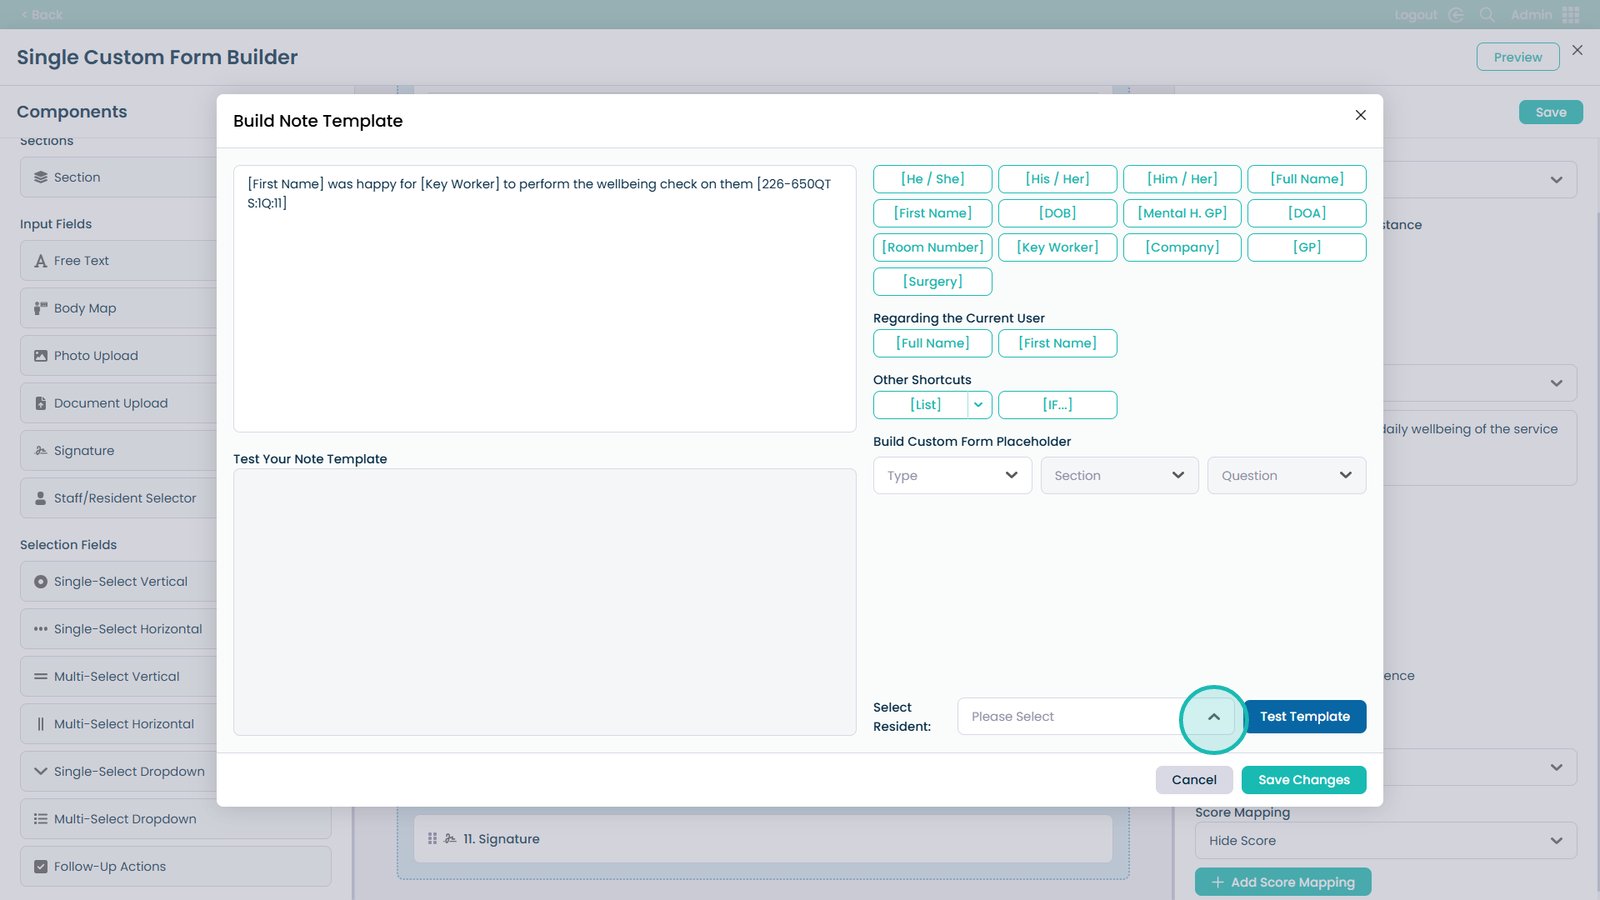
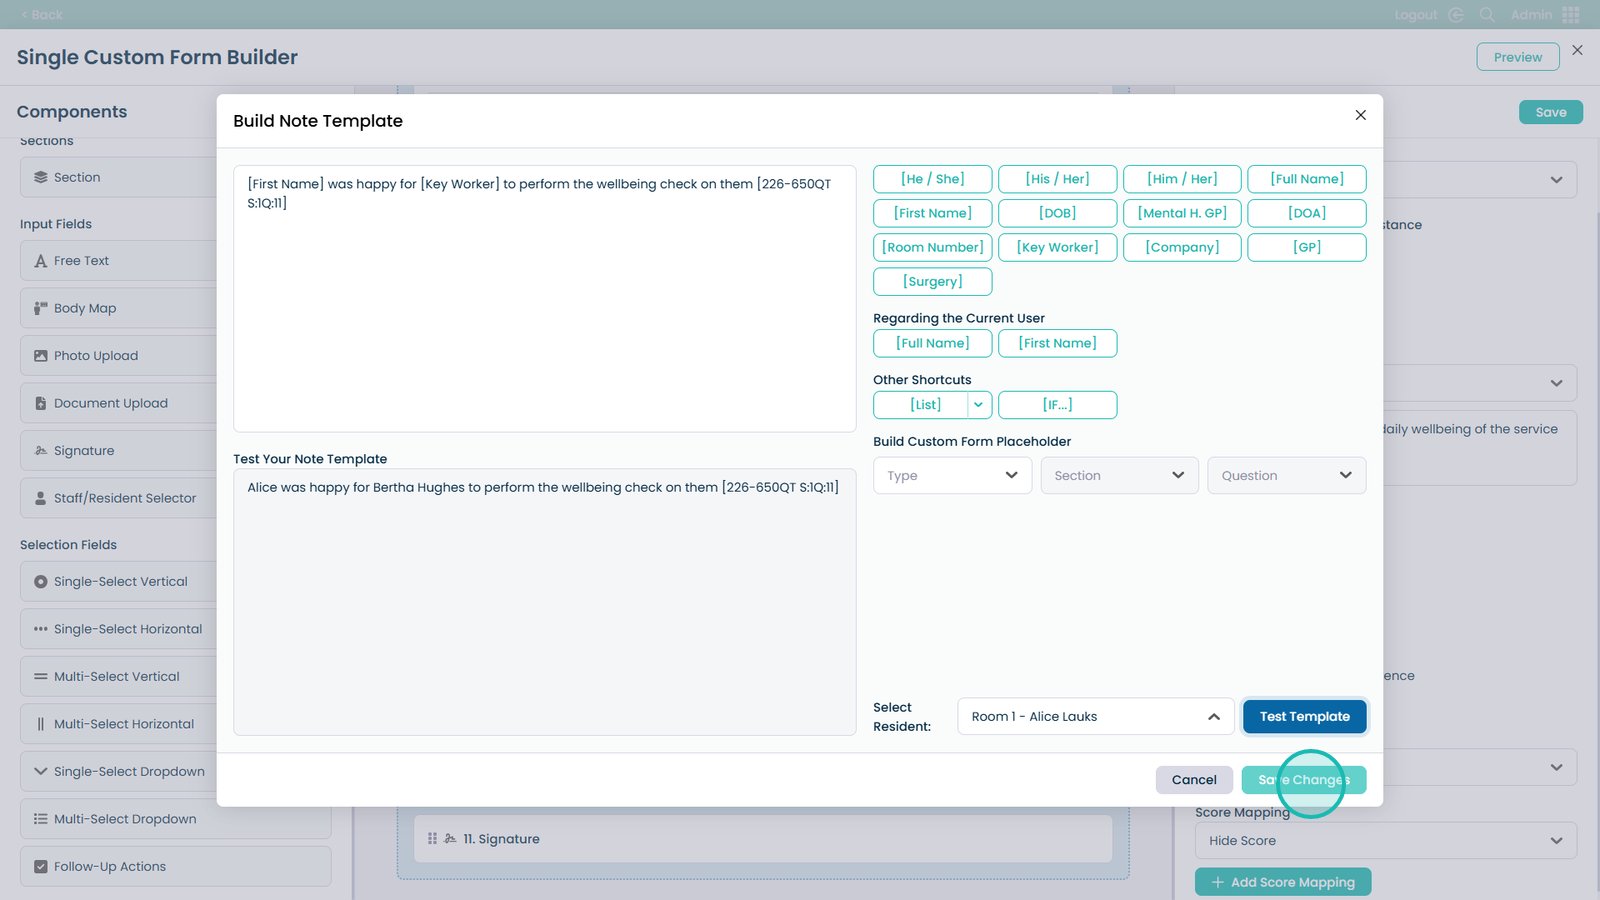
Click Test Template to preview the generated note
Click Save Changes when happy (note template)
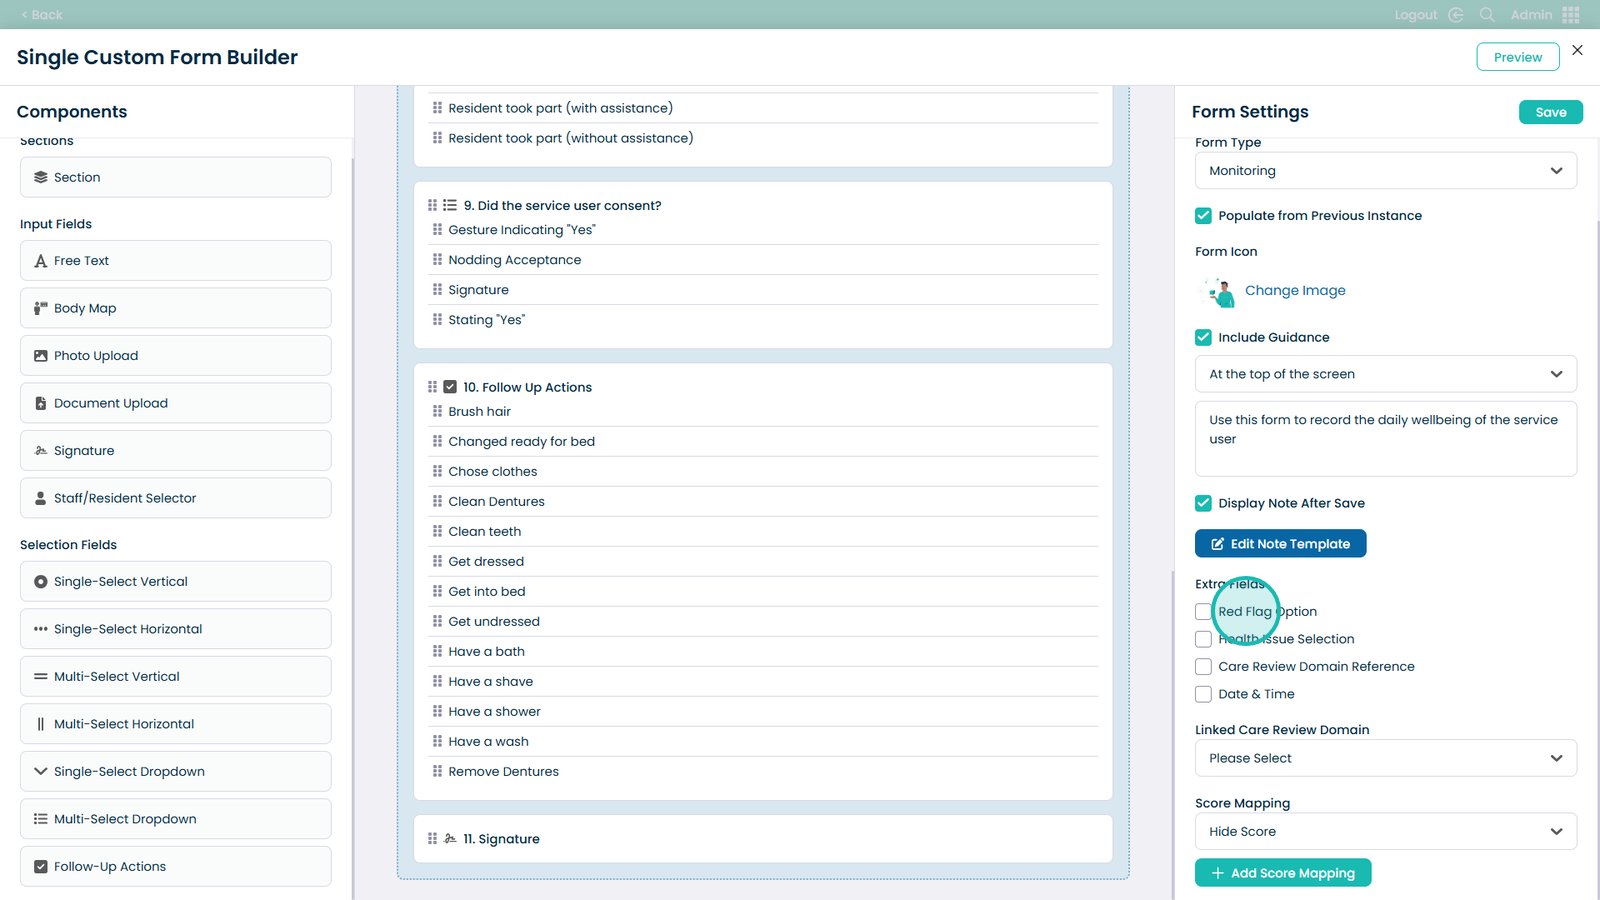
Enable Extra Fields: Red Flag, Health Issue, Care Review Domain, Date & Time
Link a Care Review Domain to this form (click the selector)
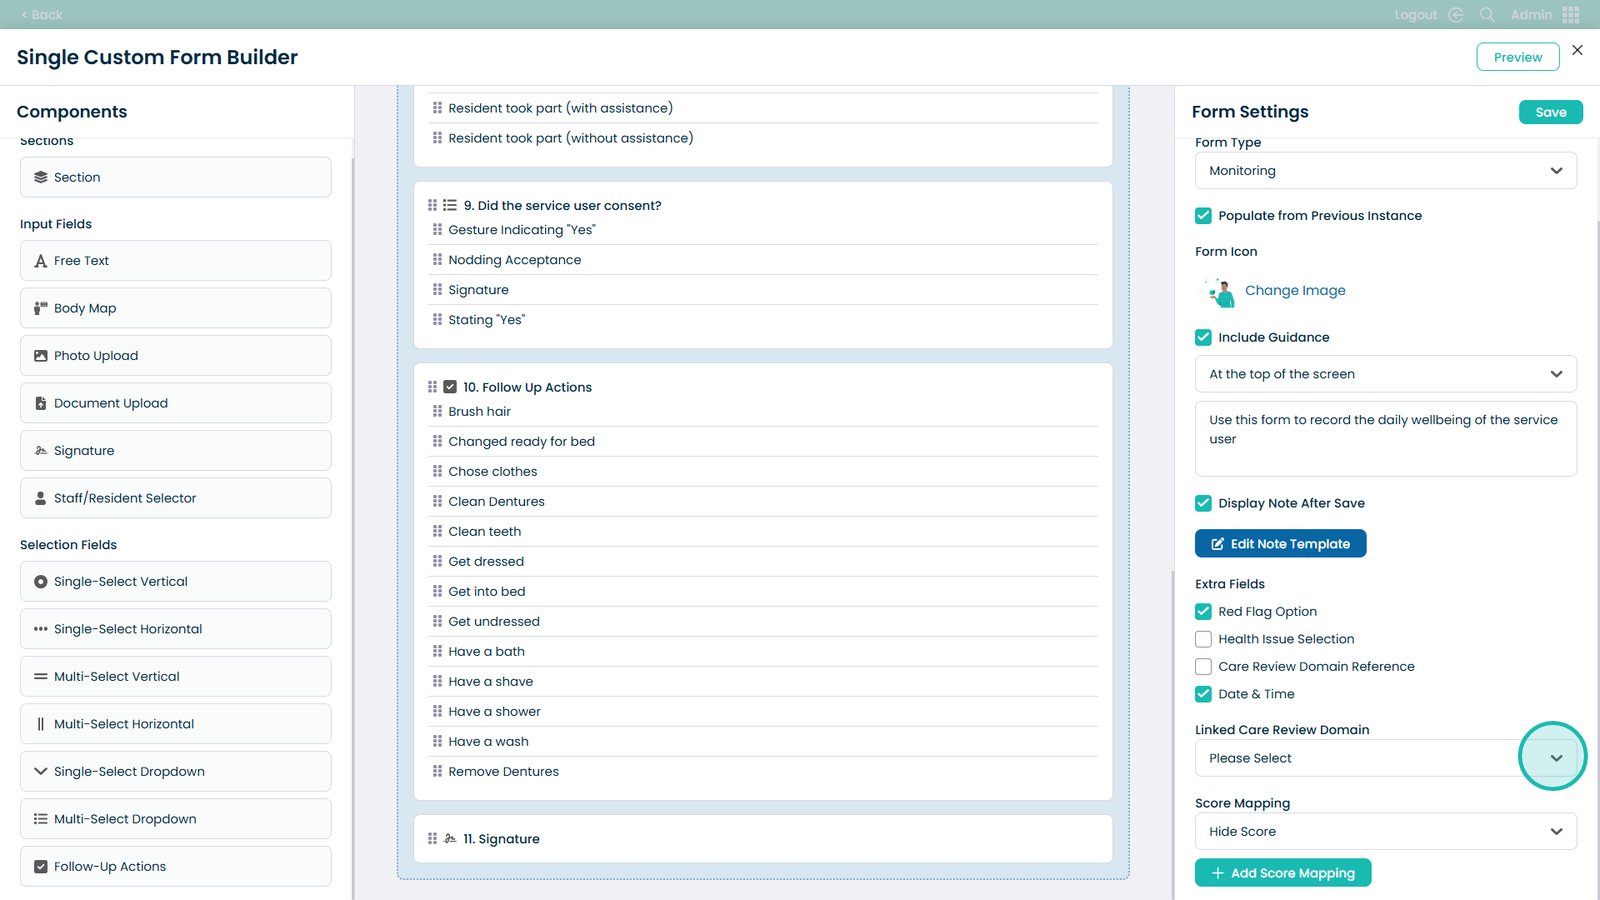
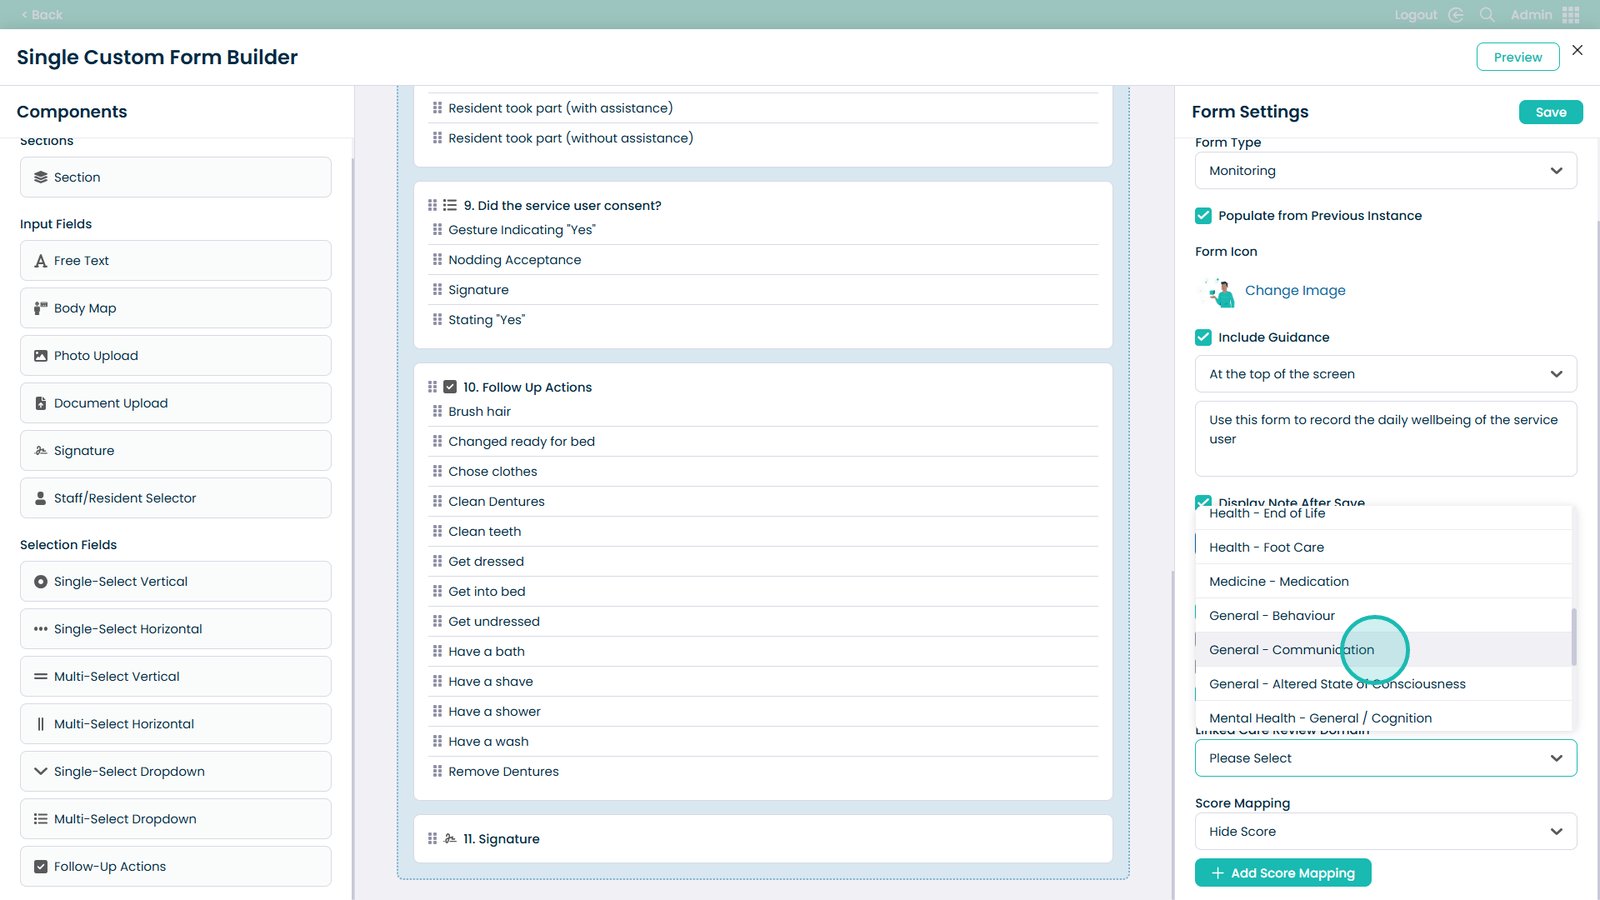
Choose the Care Review Domain from the dropdown
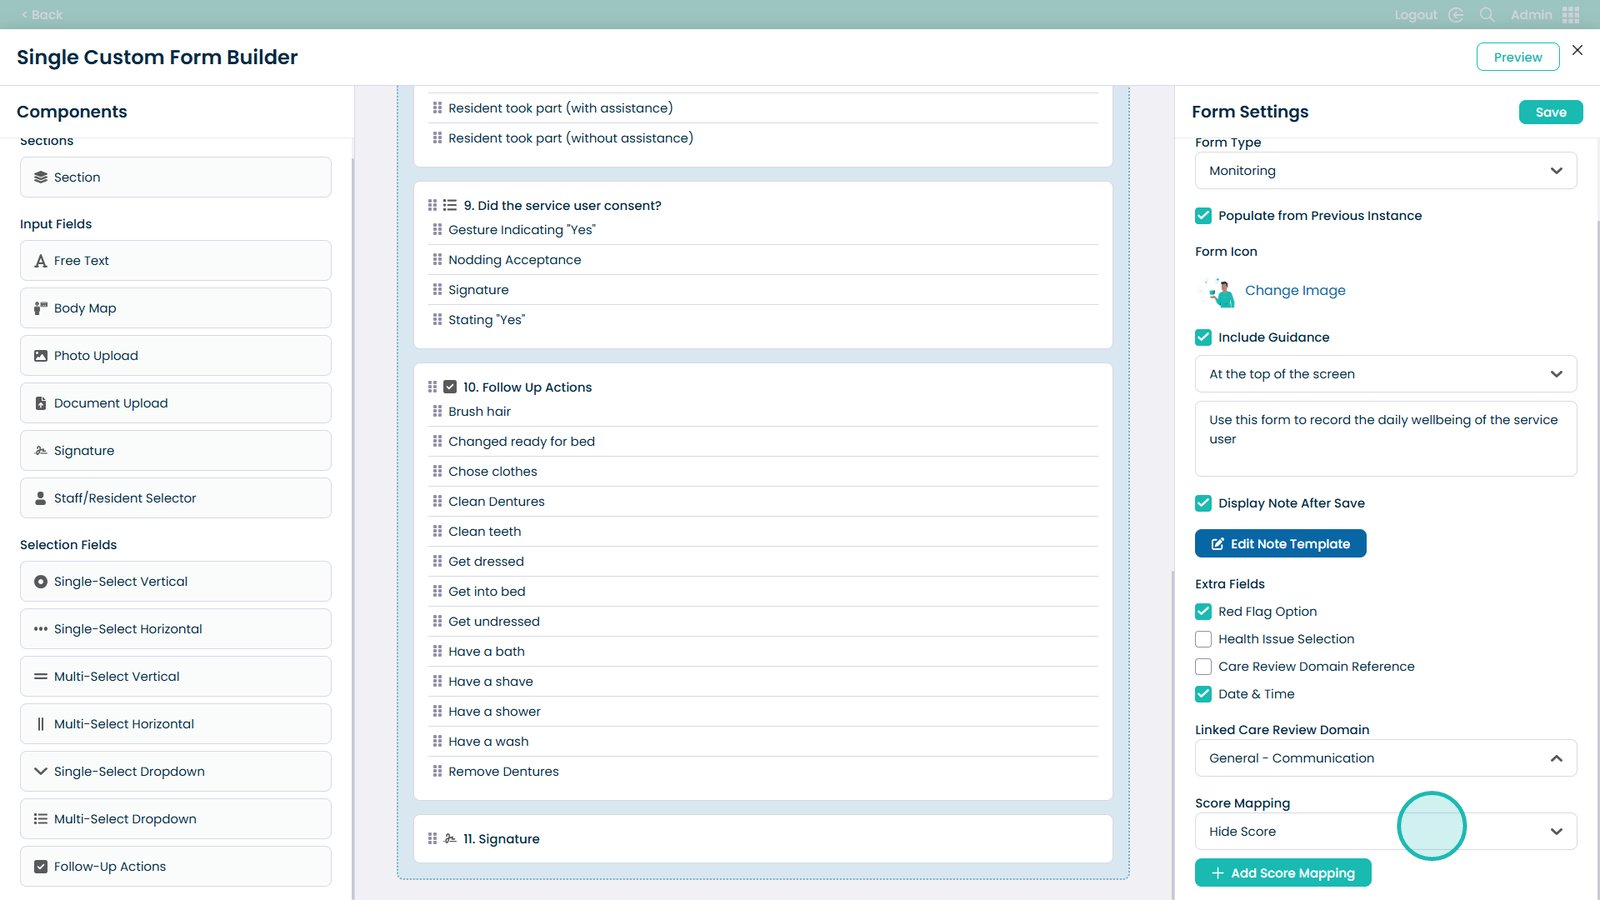
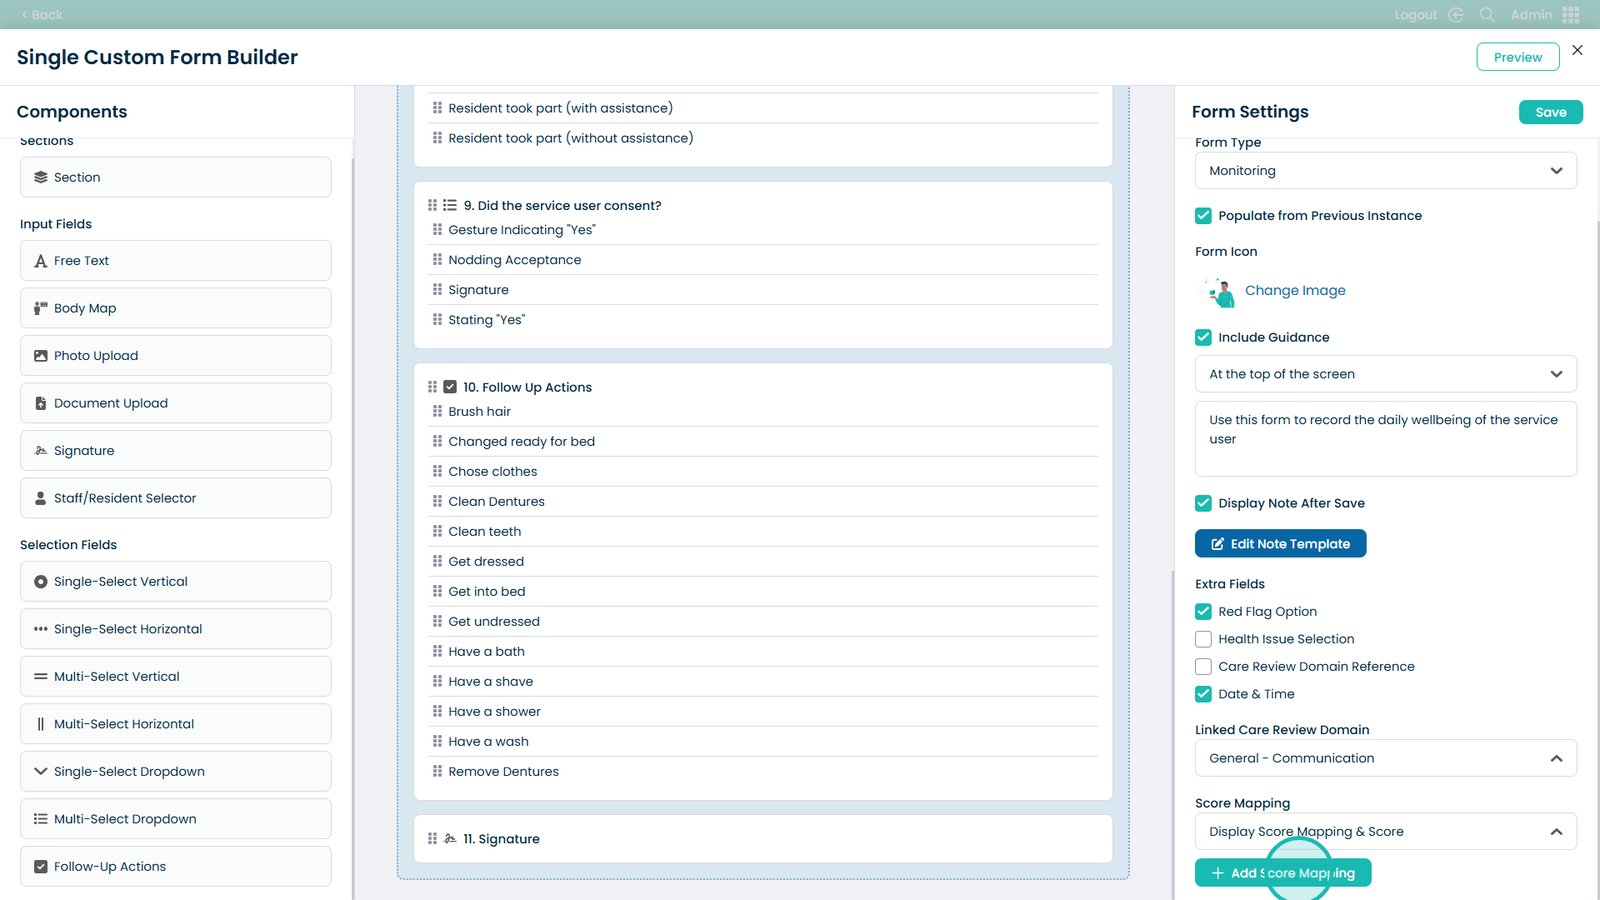
Enable Score Mapping (optional)
Choose to display Score, Score Mapping, or Both
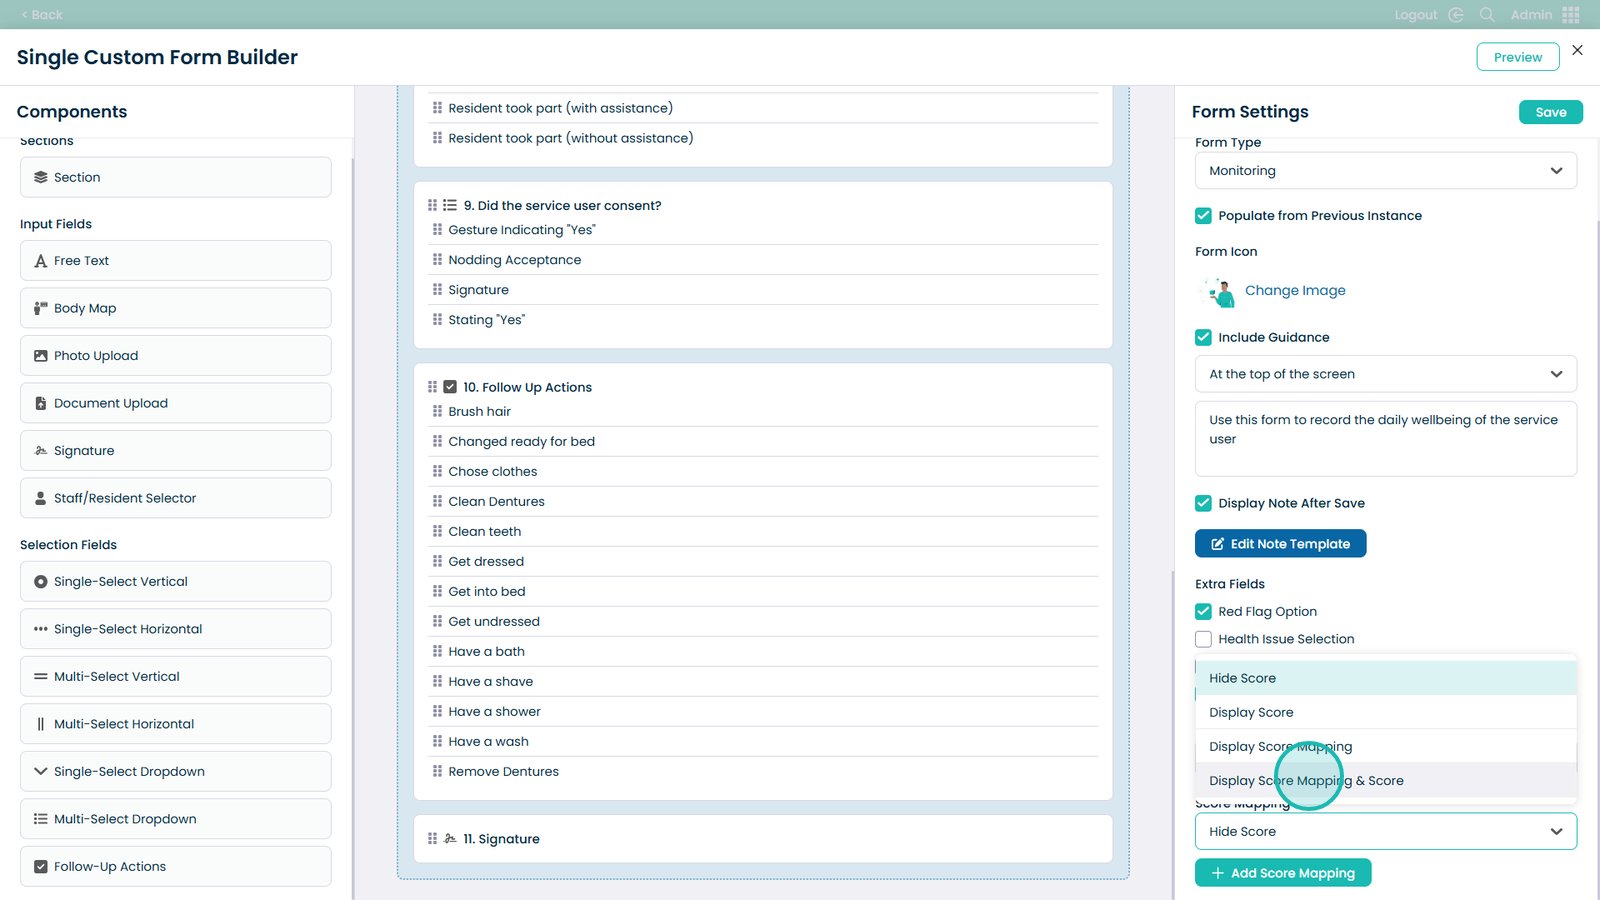
Click Add Score Mapping
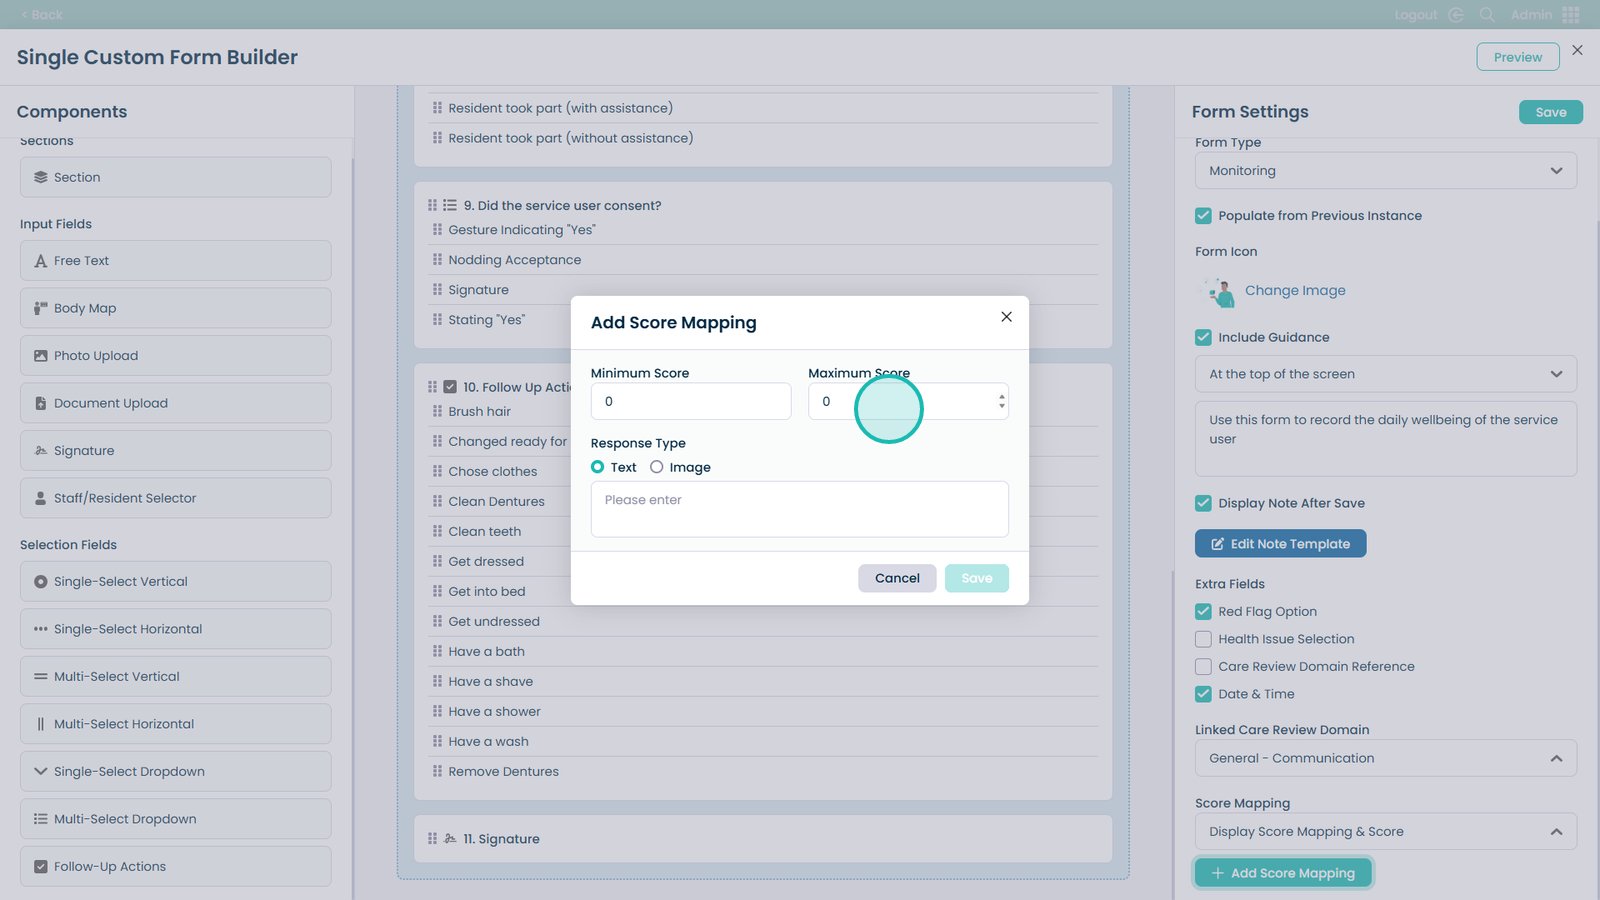
Set Minimum and Maximum scores for the range
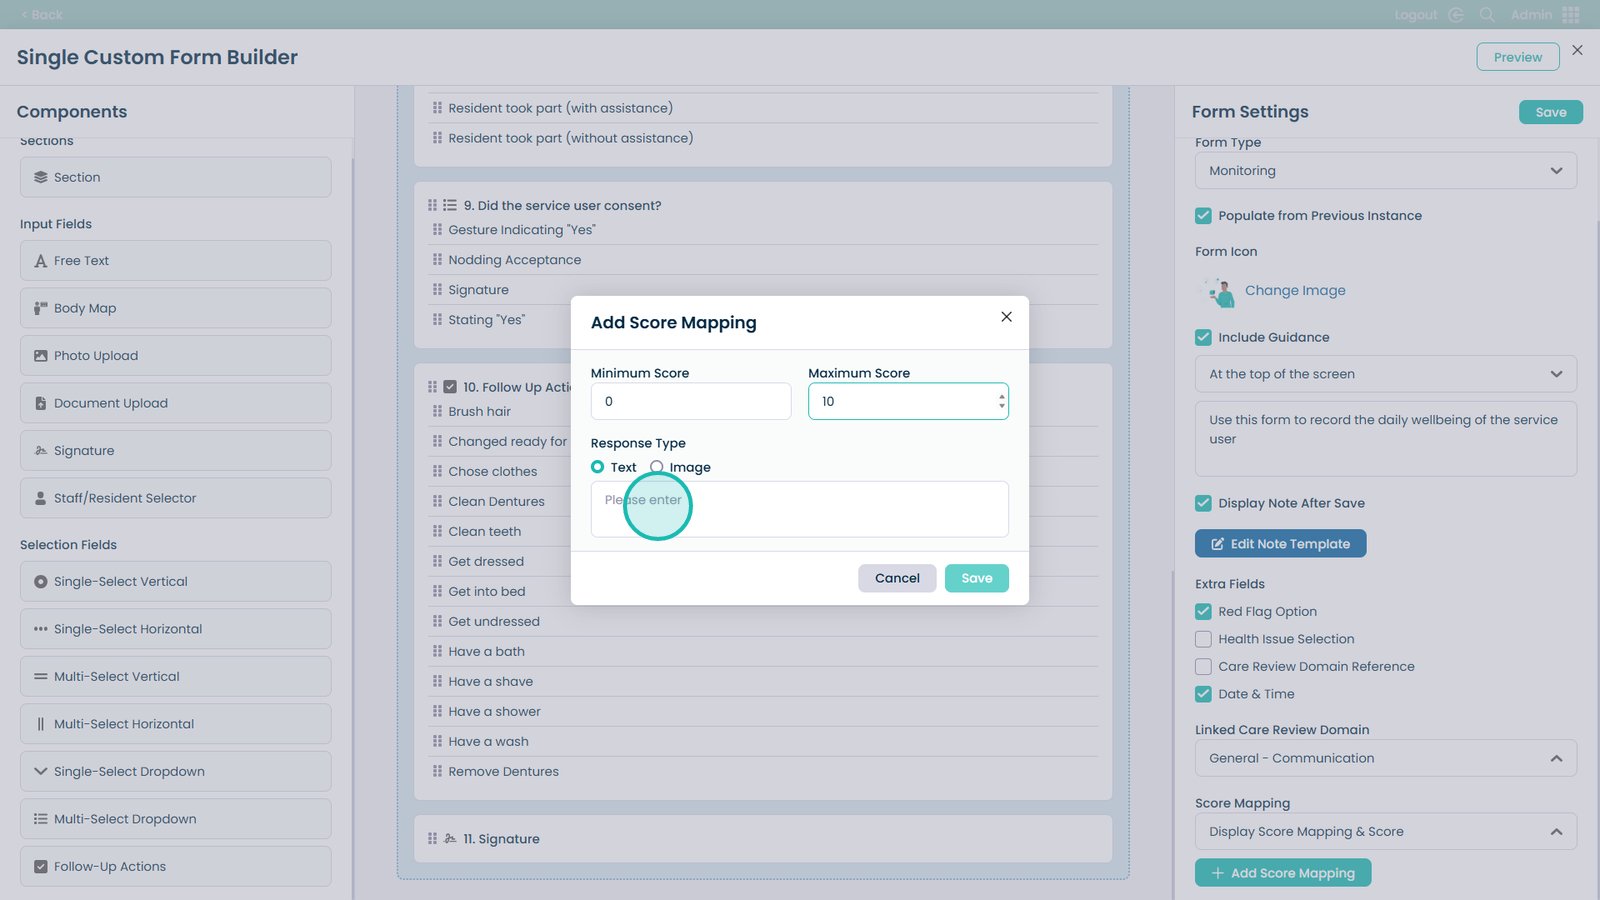
Add response text or an image for the score mapping (optional)
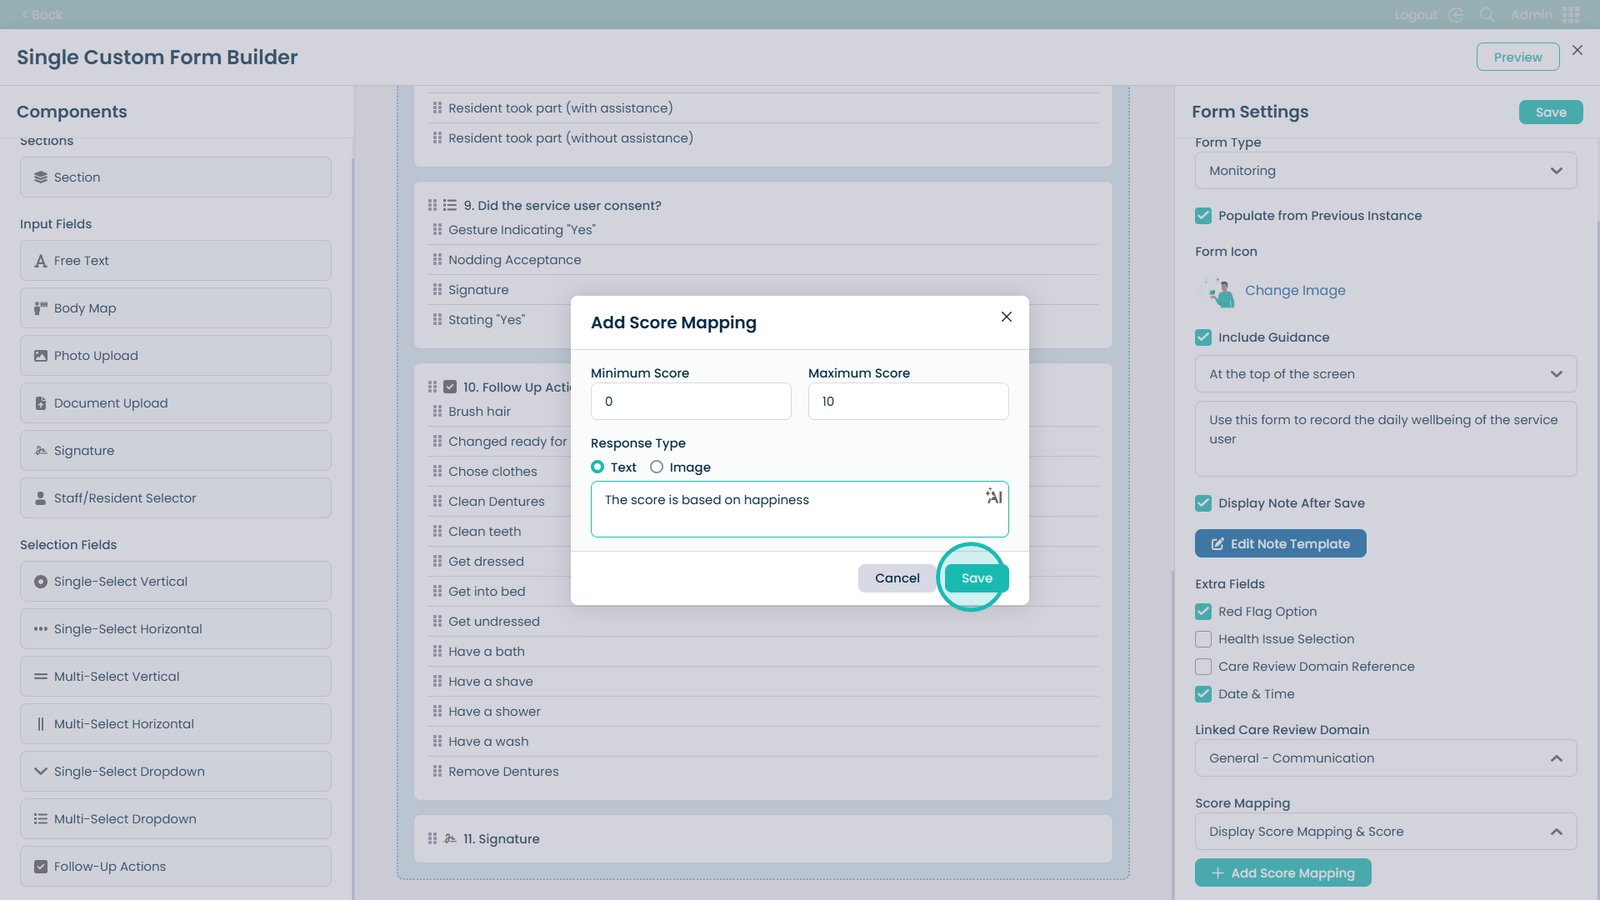
Click Save when done
Click Save at the top right of the screen to save the form
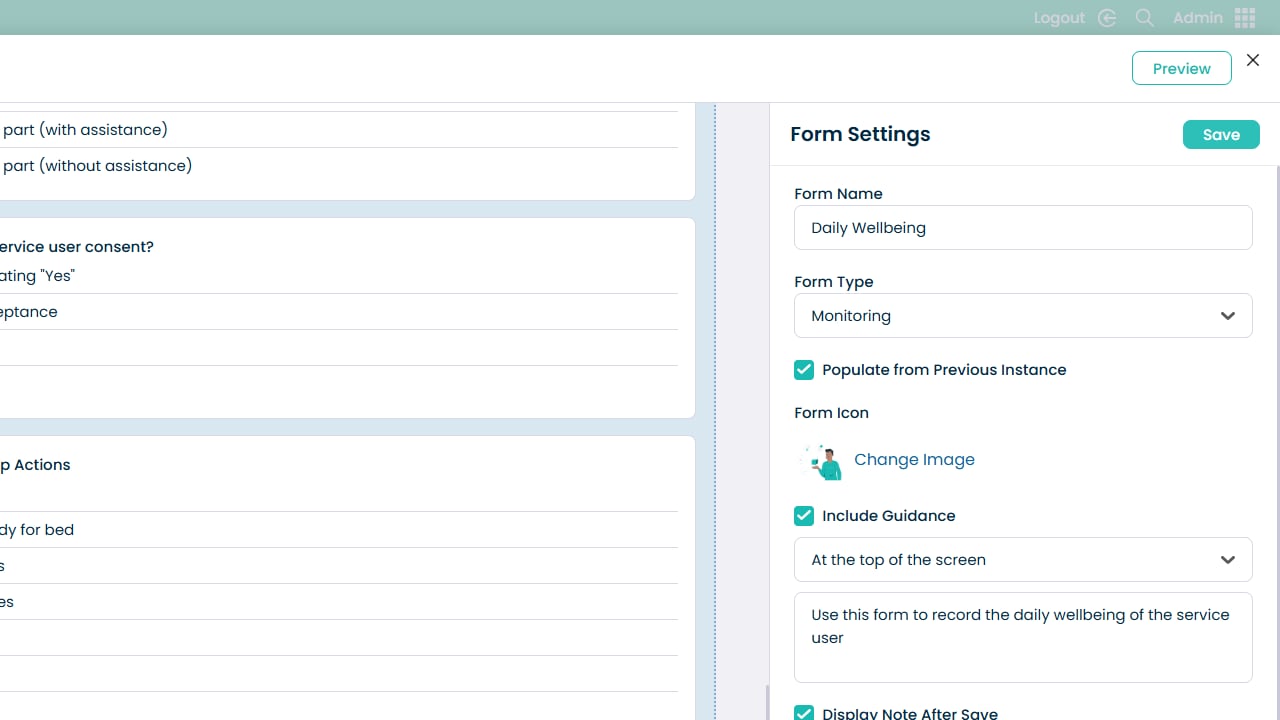
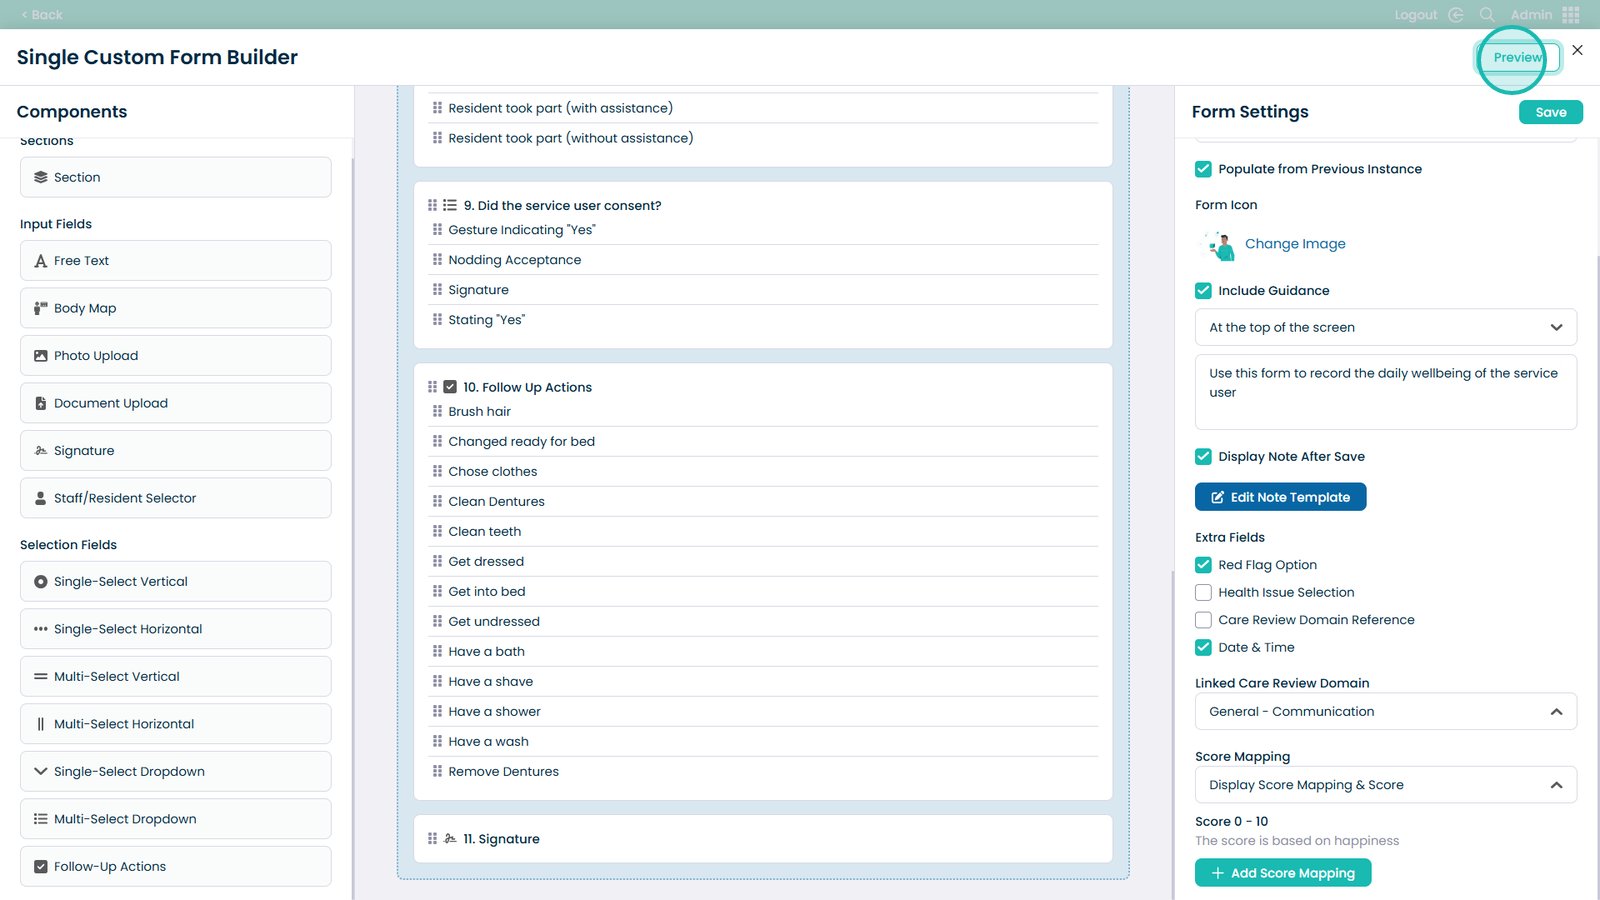
Click Preview to see how the form looks
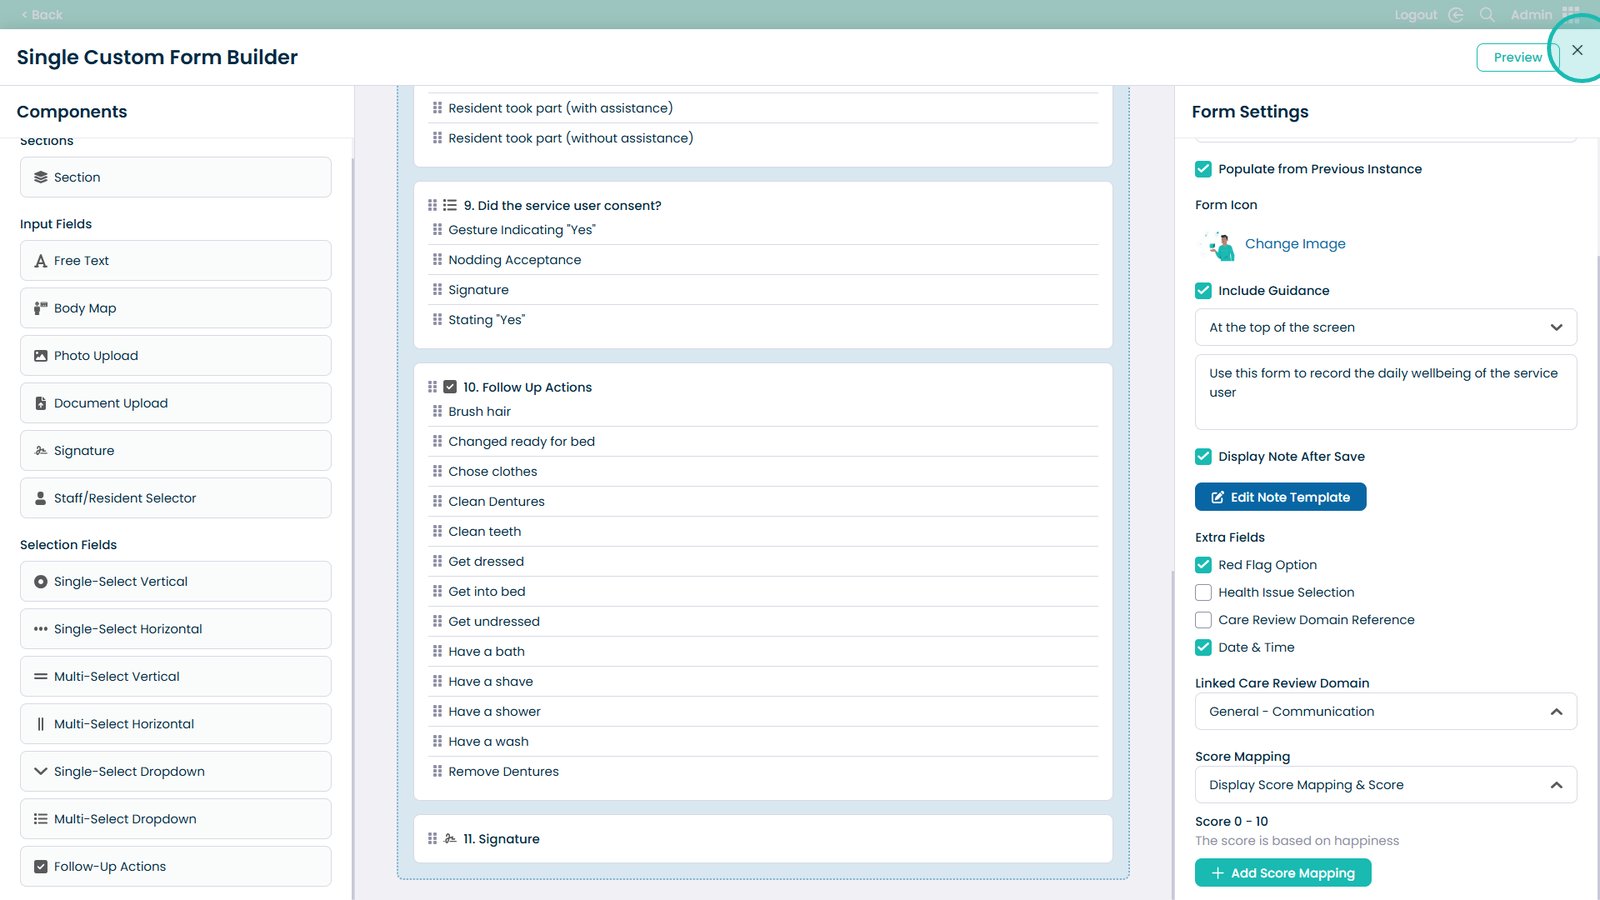
Close the form builder (click the ×). Save first.
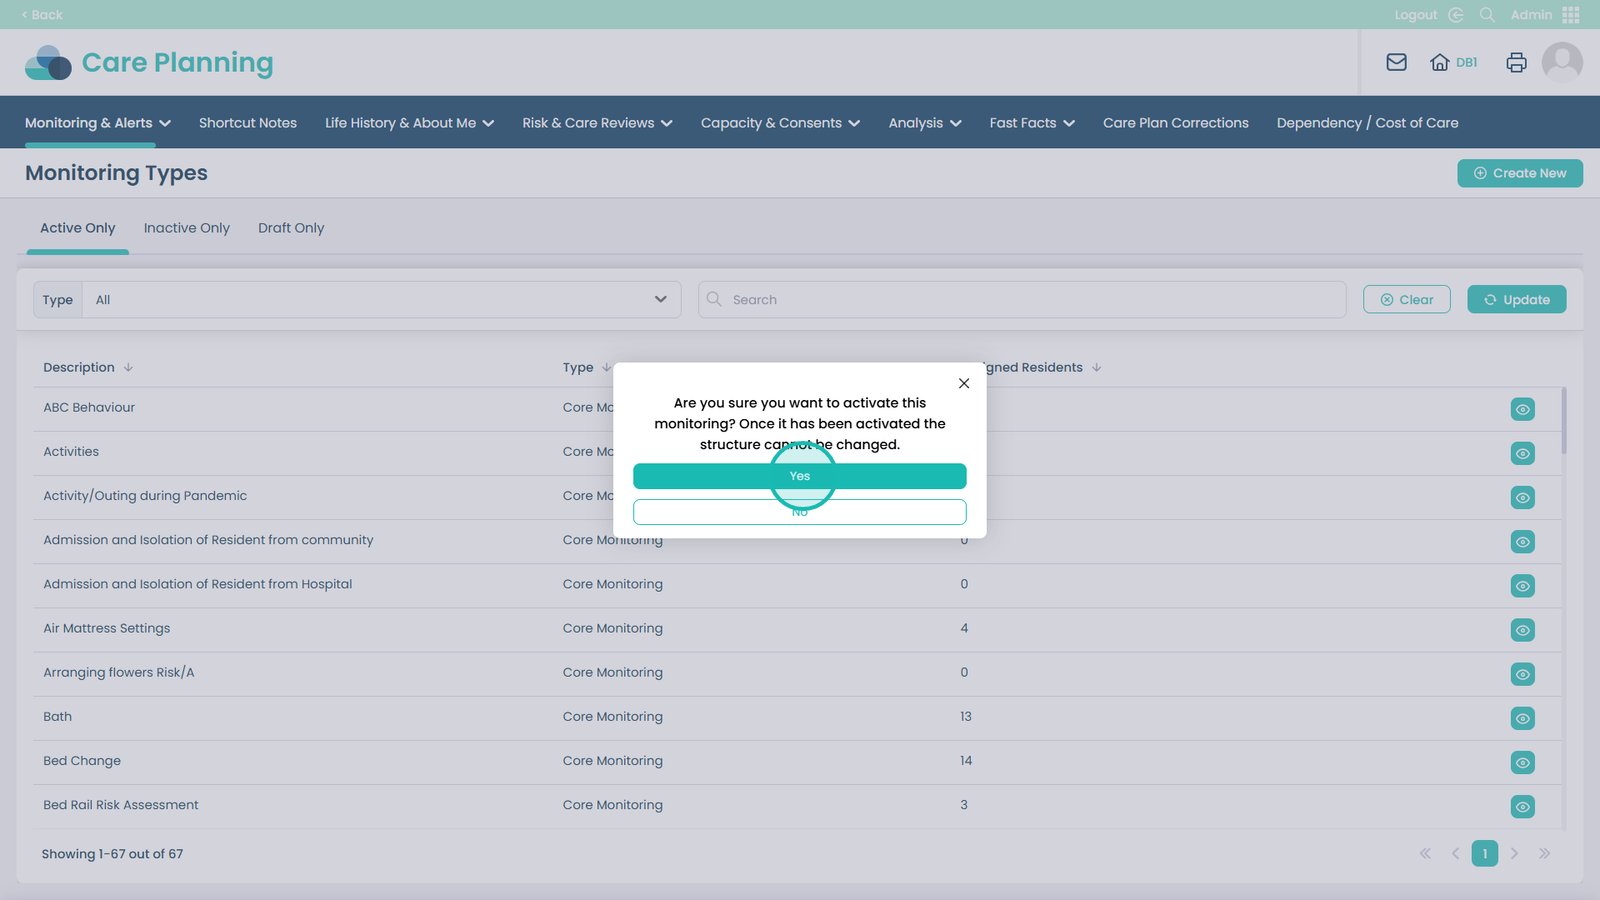
Activate the form
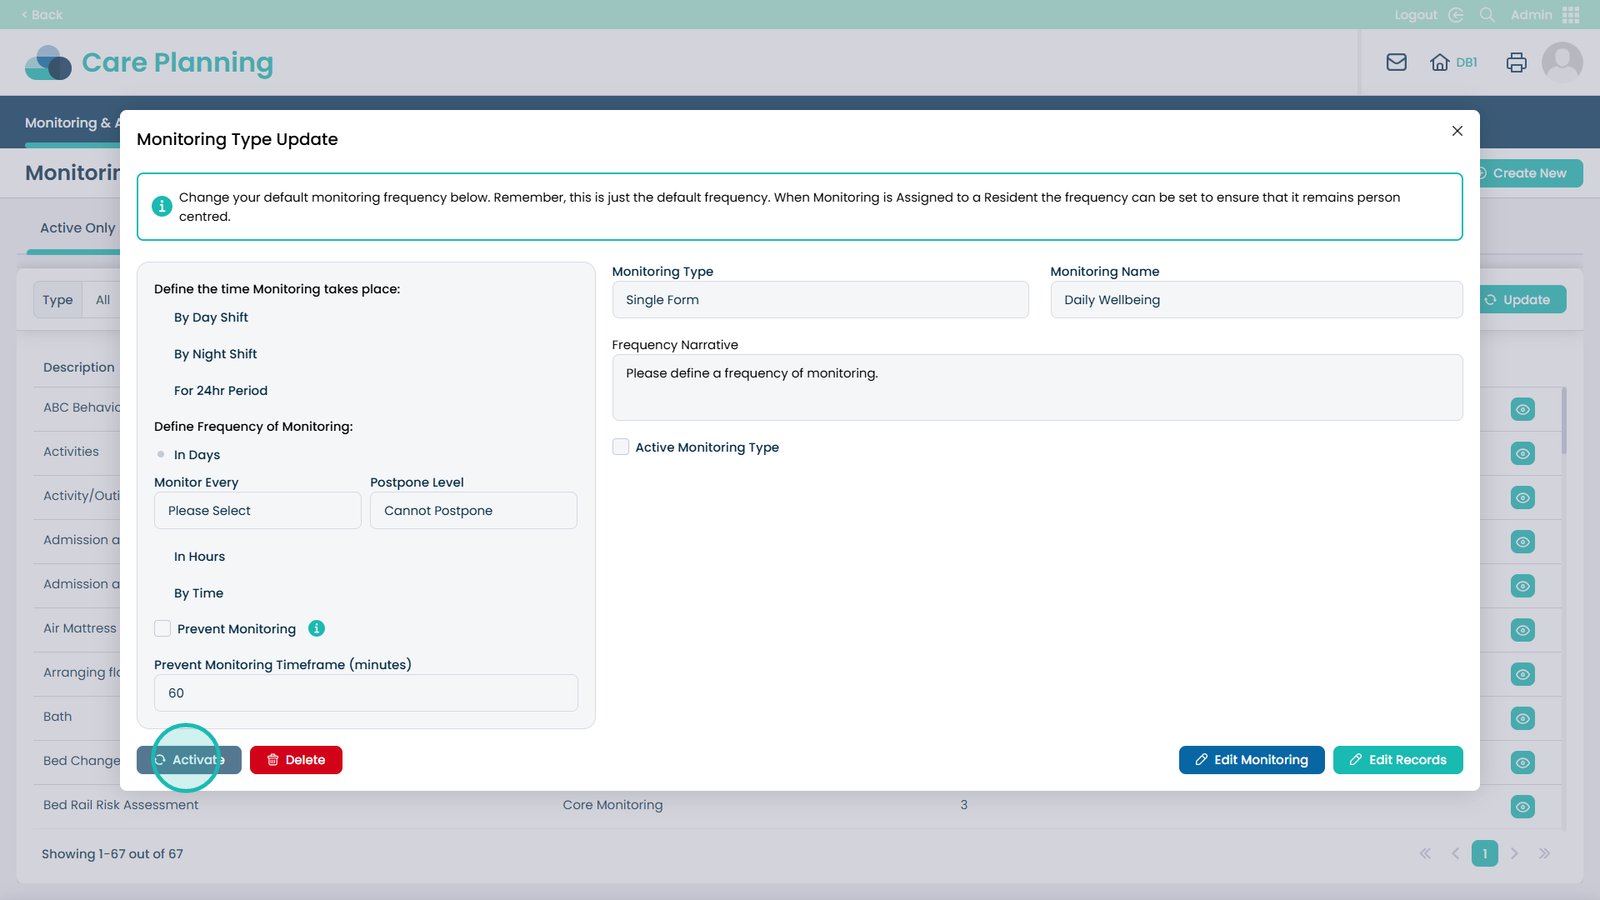
Confirm activation (cannot modify after activation)
