How to manage meals on Cloud
Keeping your meal information accurate and up to date is essential for providing a smooth dining experience for residents and staff. This feature makes it easy to view all of your meals in one place, filter them by type, and quickly switch between active and inactive options. You can search for specific meals, reactivate dishes when they’re needed again, and make updates to meal details whenever your menu changes.
By following this guide, you’ll be able to manage your meals with confidence, save time, and ensure that everyone always has access to the right meal choices.
Interactive Guide
Text based guide
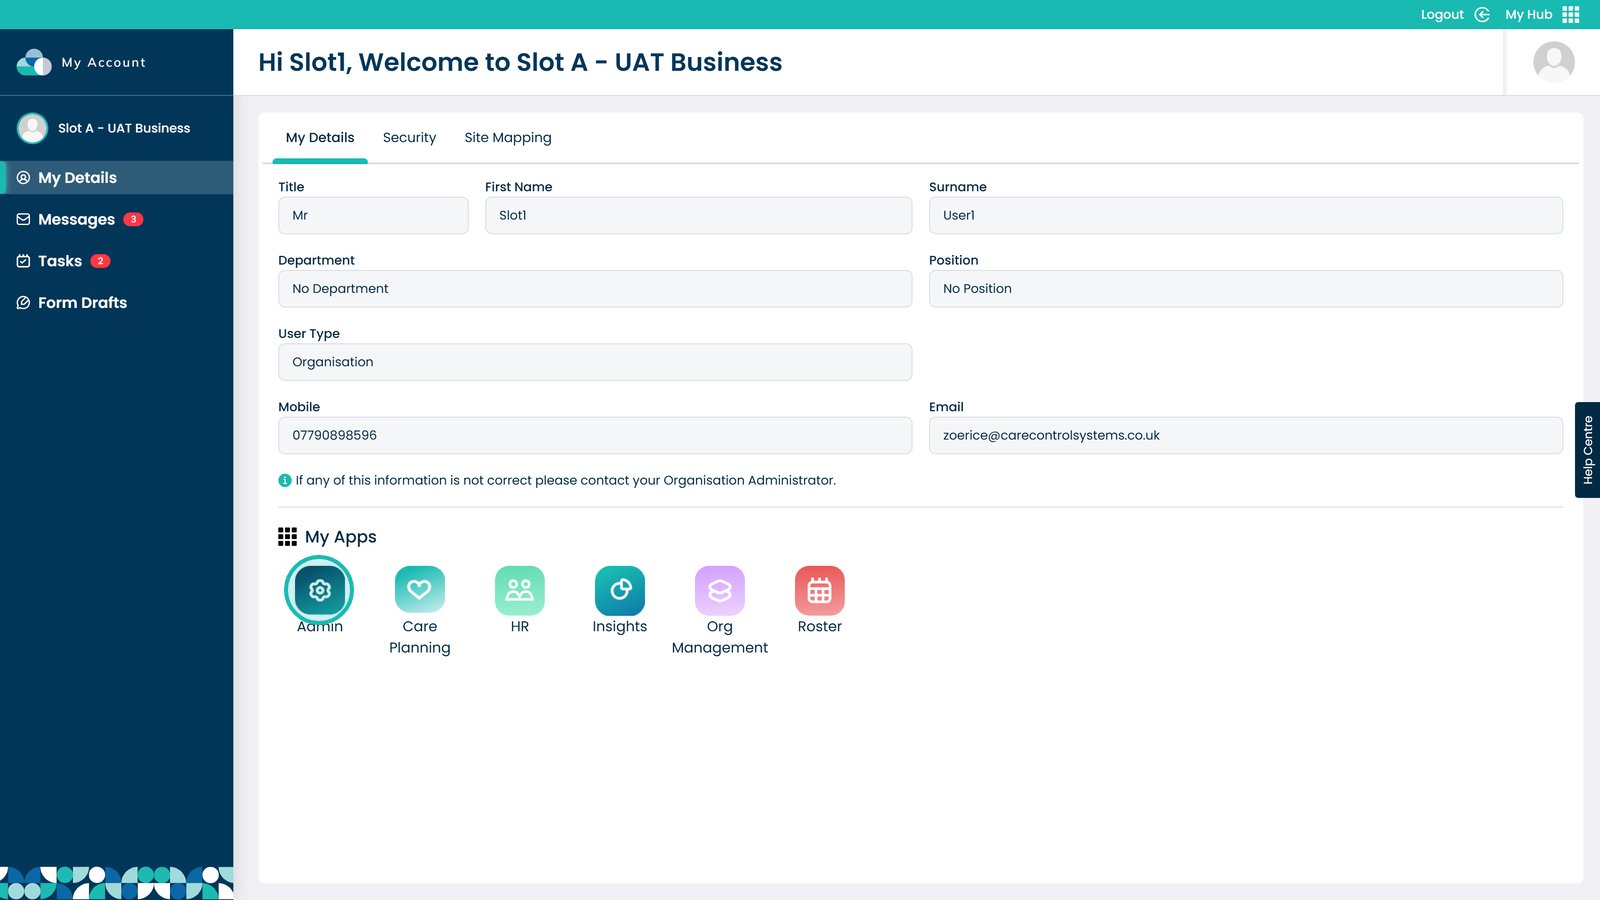
Enter the Admin App

Â
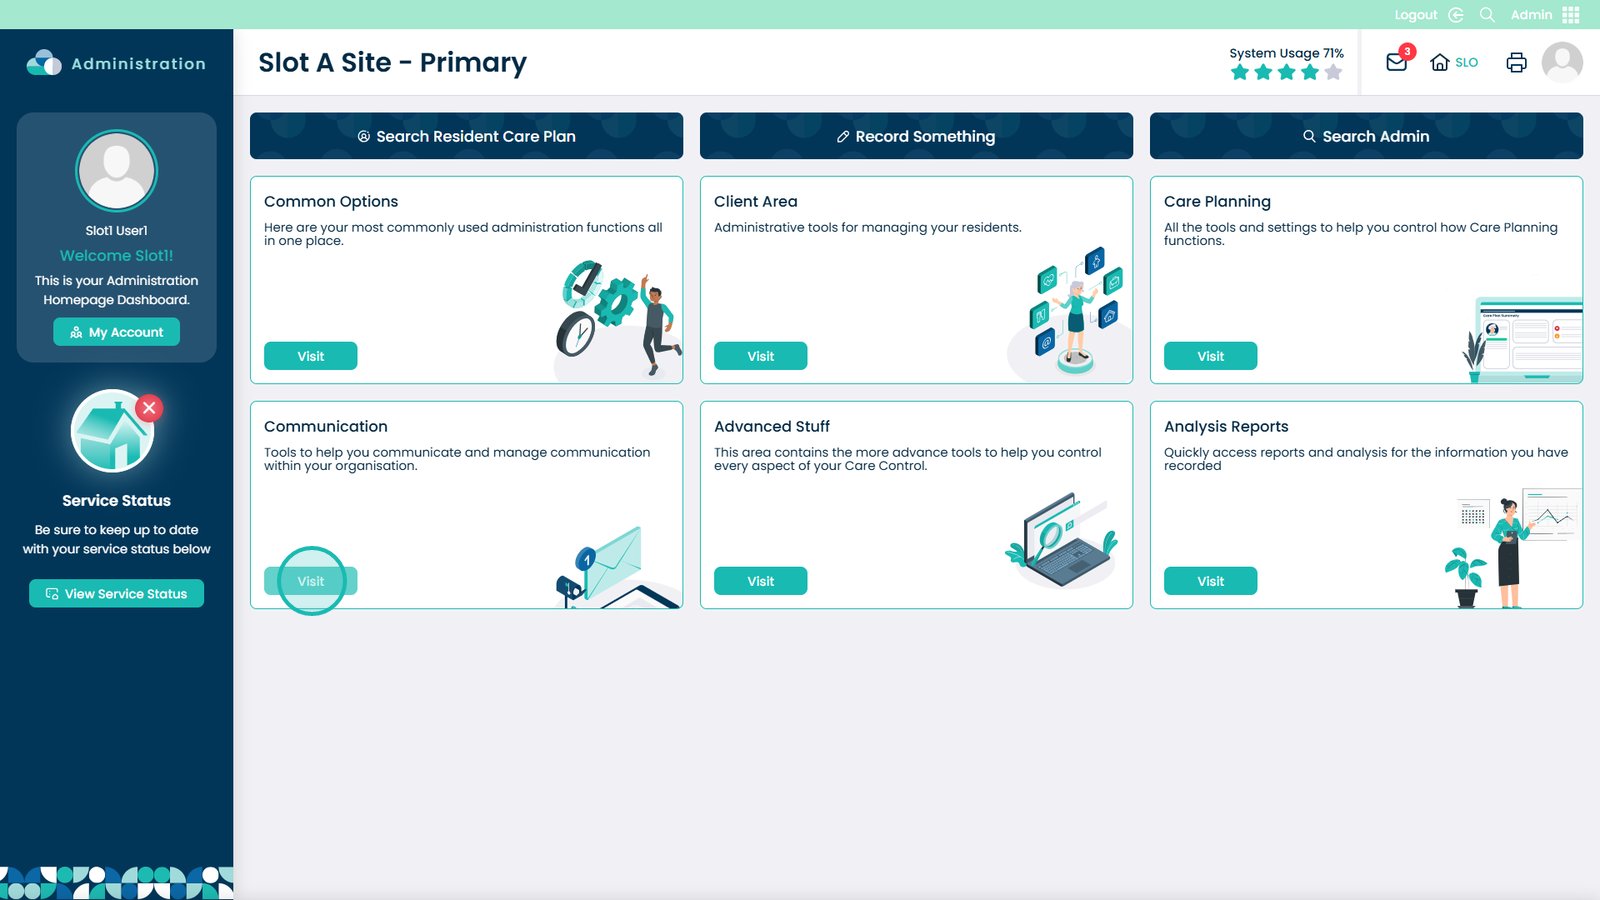
Visit the Communication area

Â
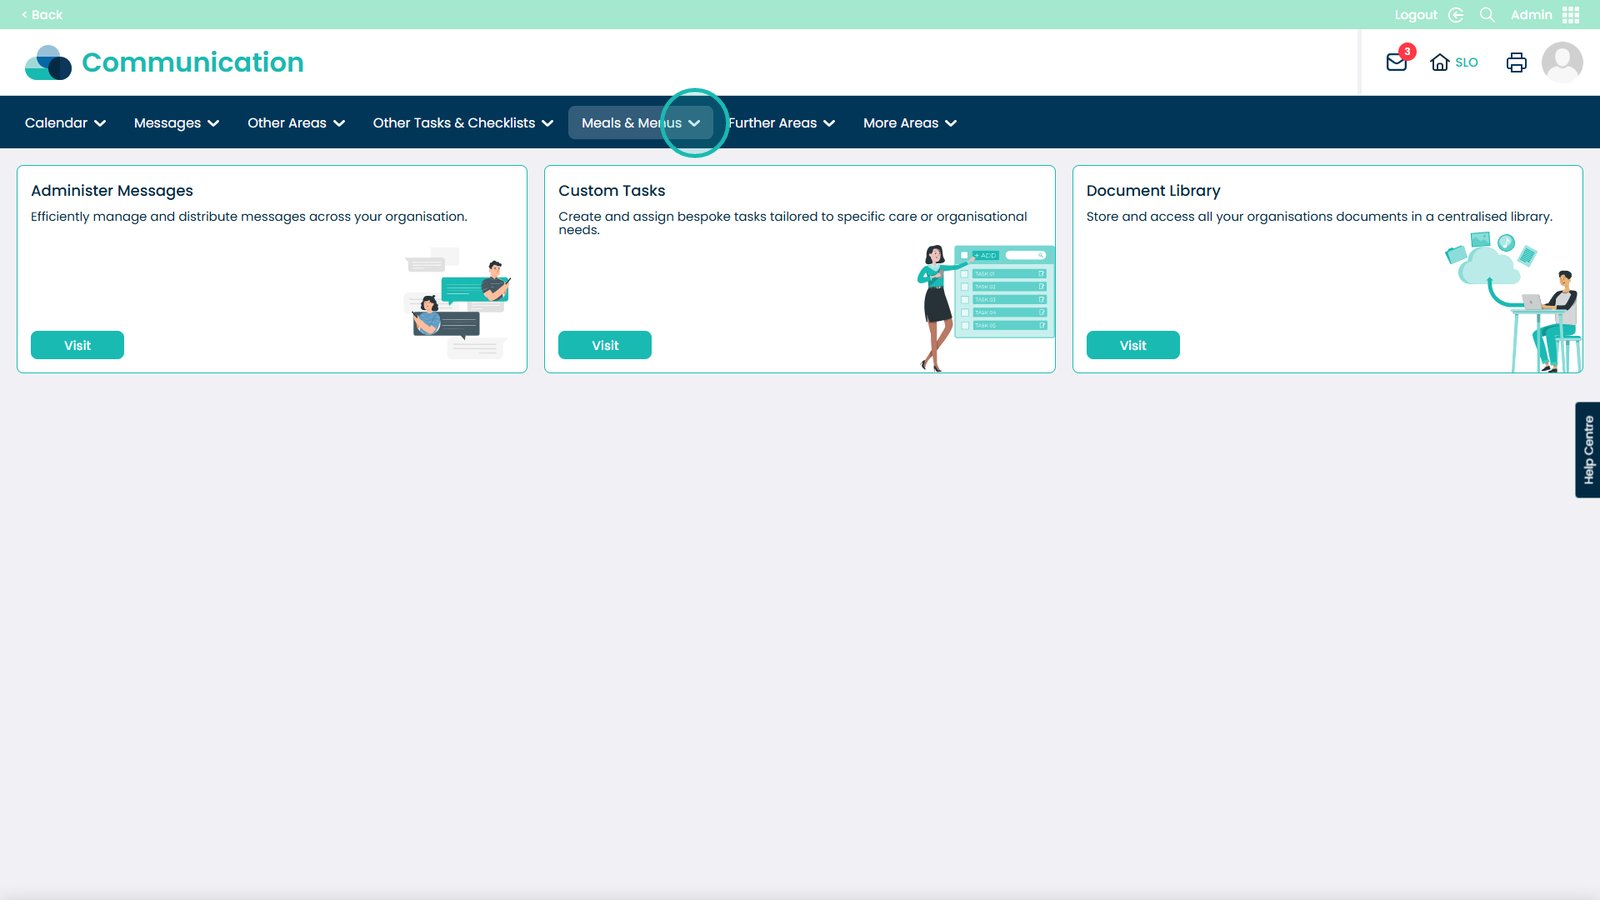
Open the Meals & Menus drop-down

Â
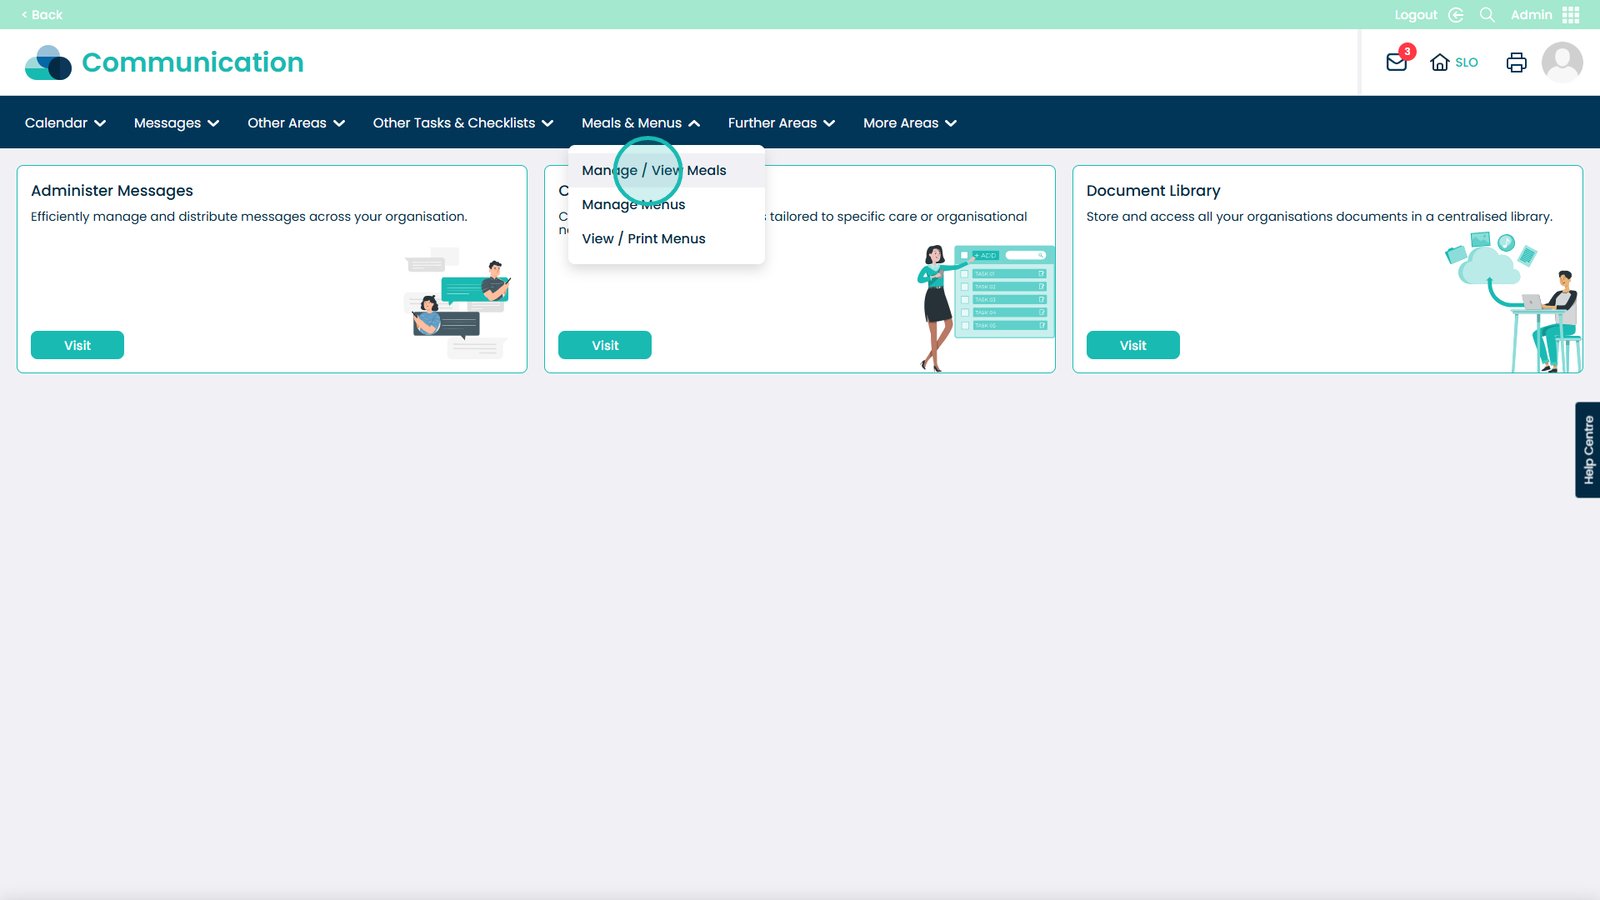
Select to Manage / View Meals

Â
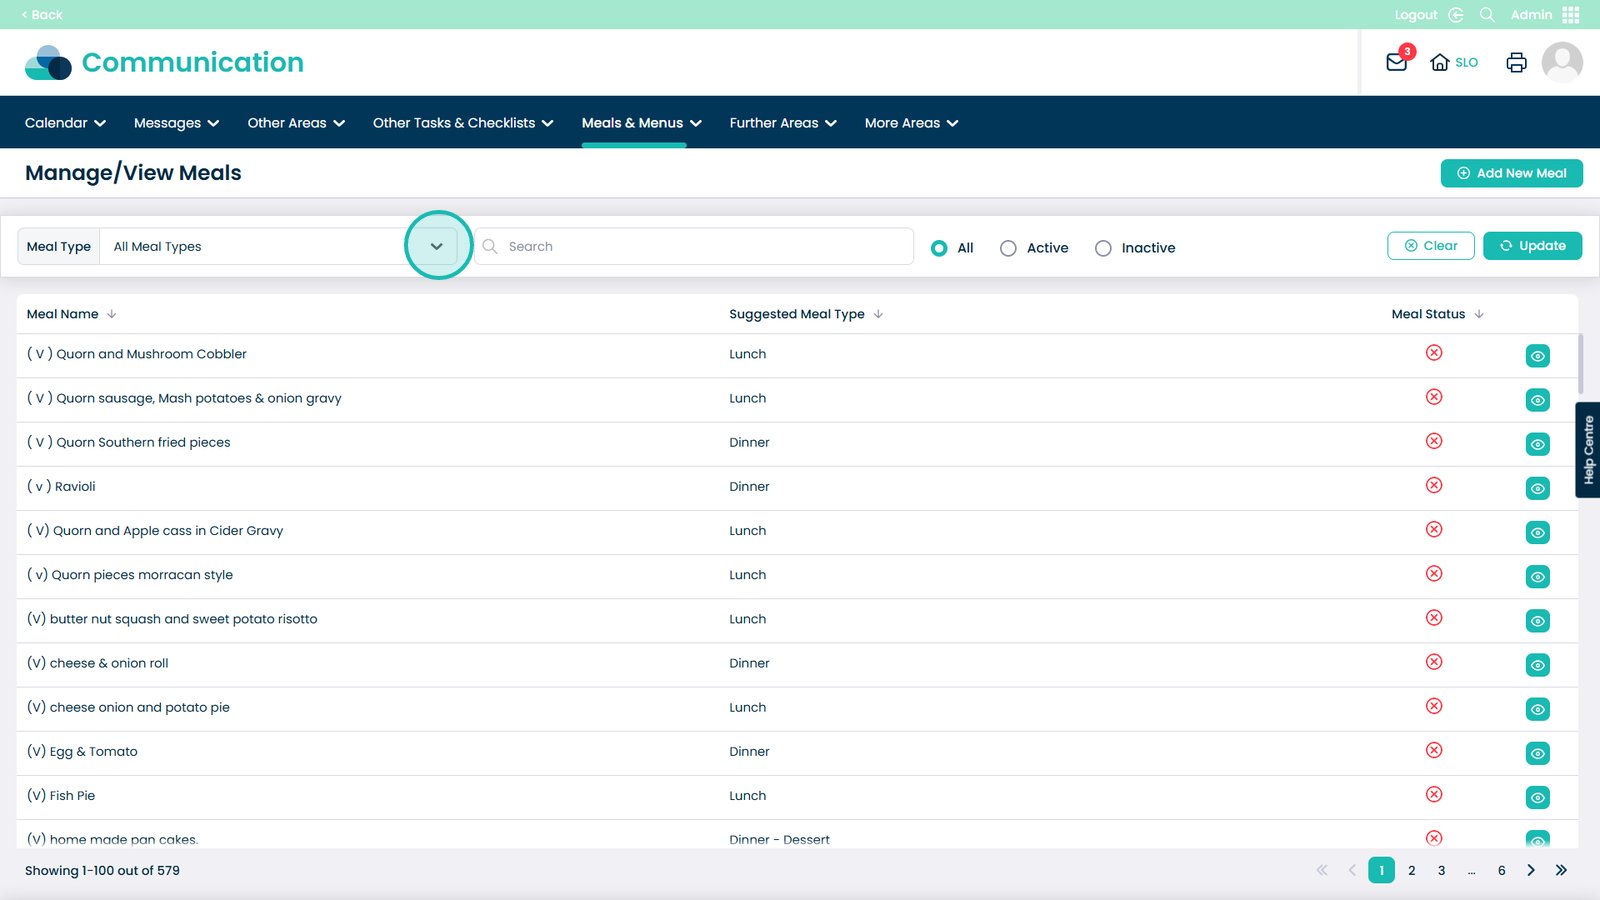
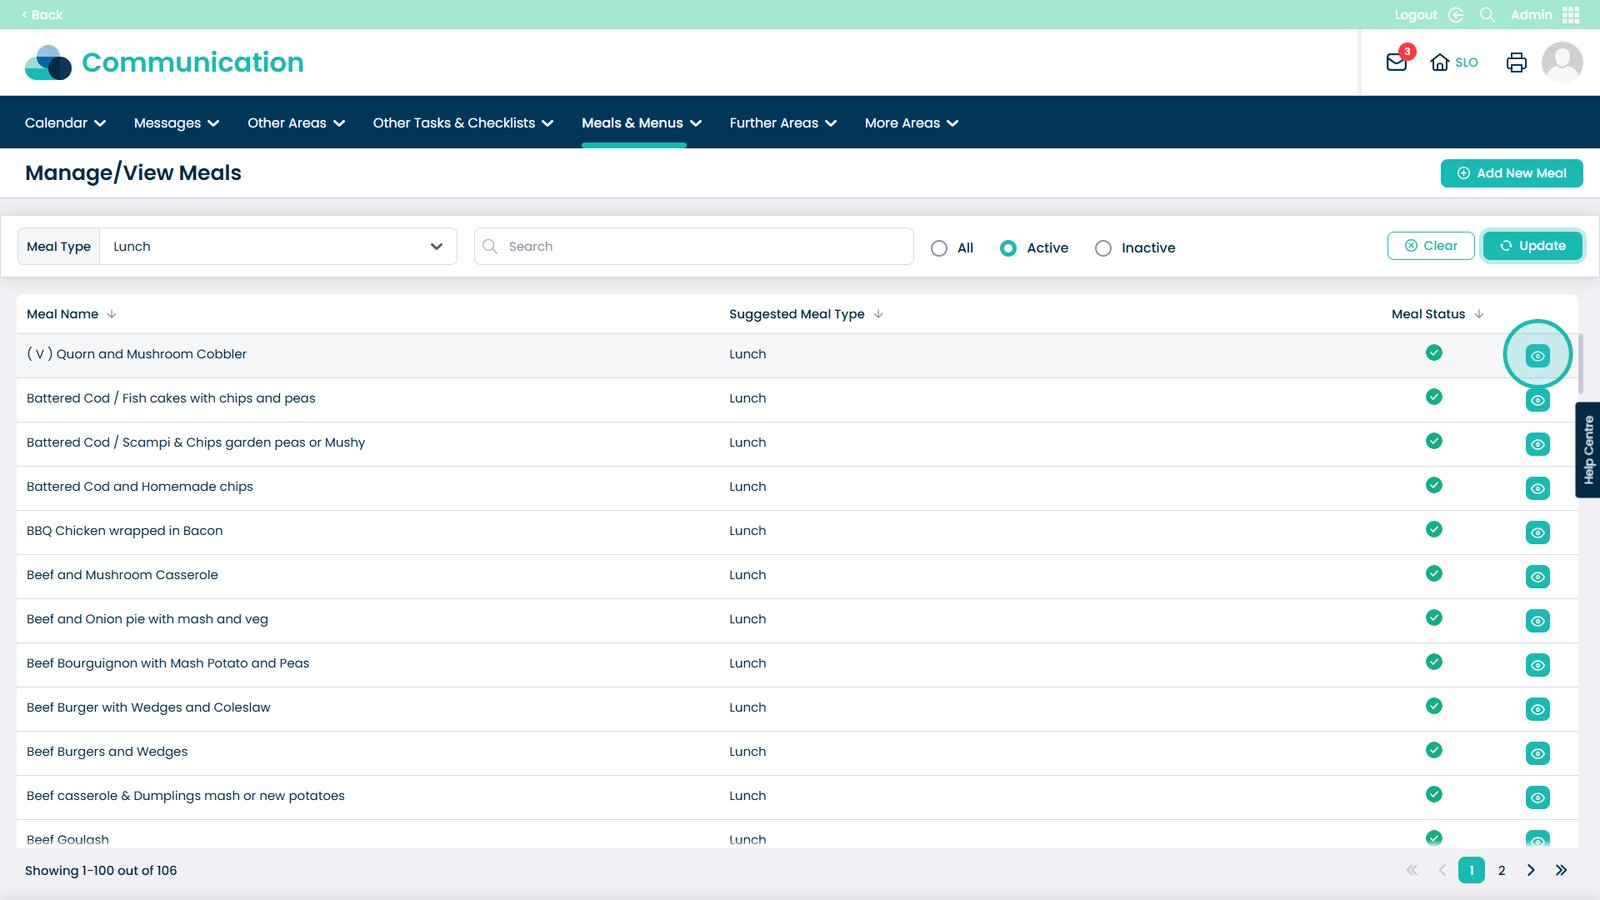
On this page you can see every meal. You can start filtering by selecting the drop-down

Â
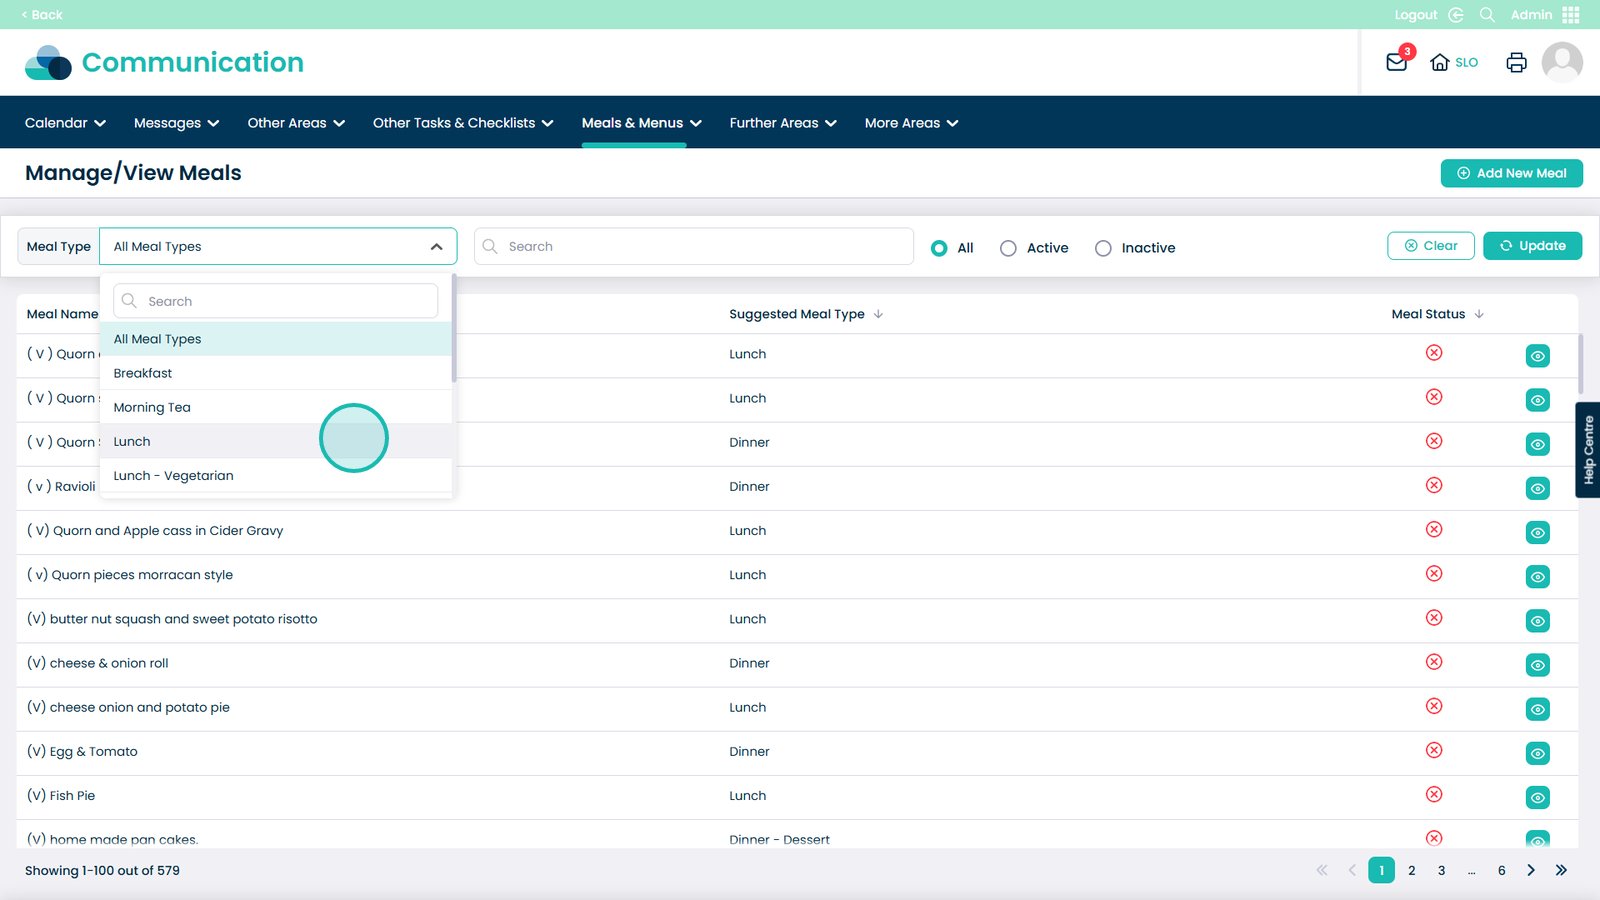
Choose which meal type you want to filter by

Â
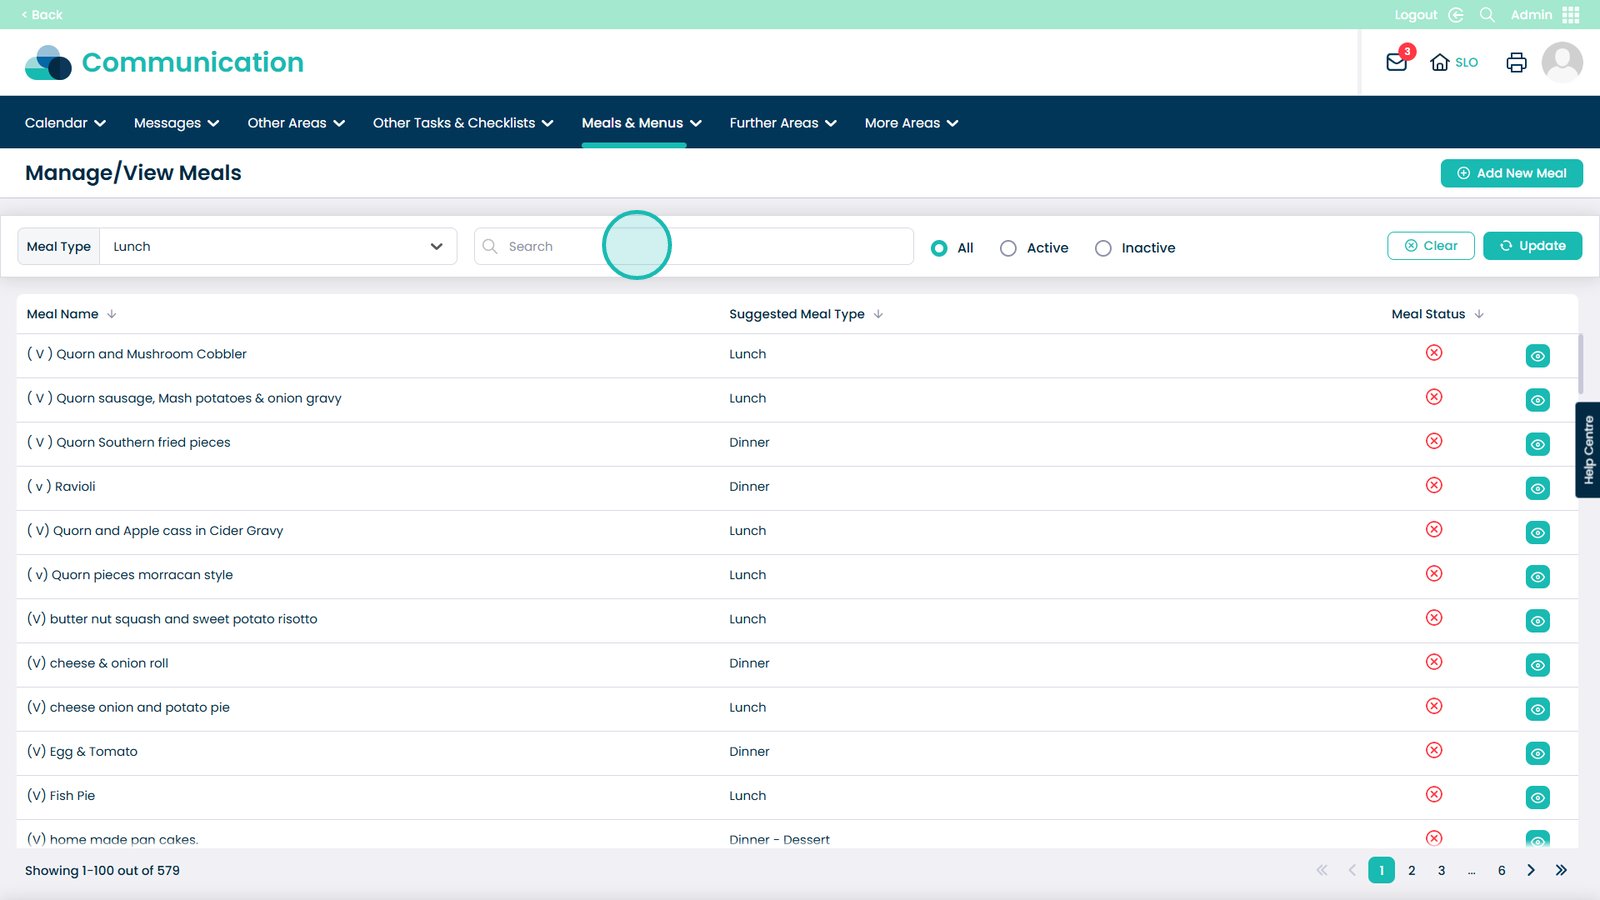
You can also specifically search for meals using the search bar

Â
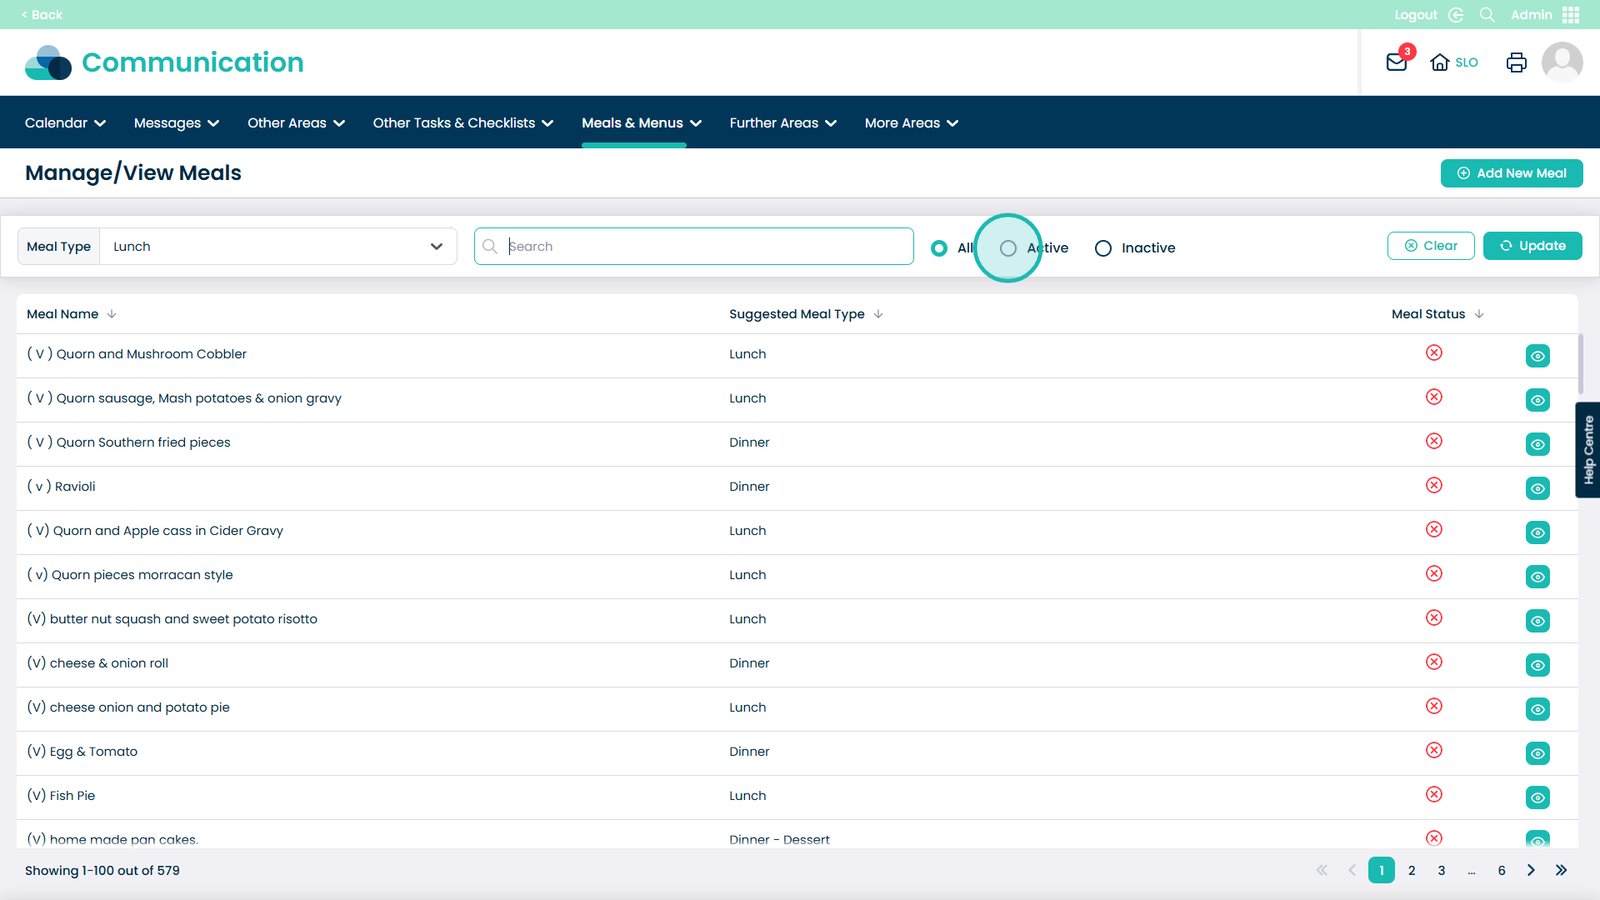
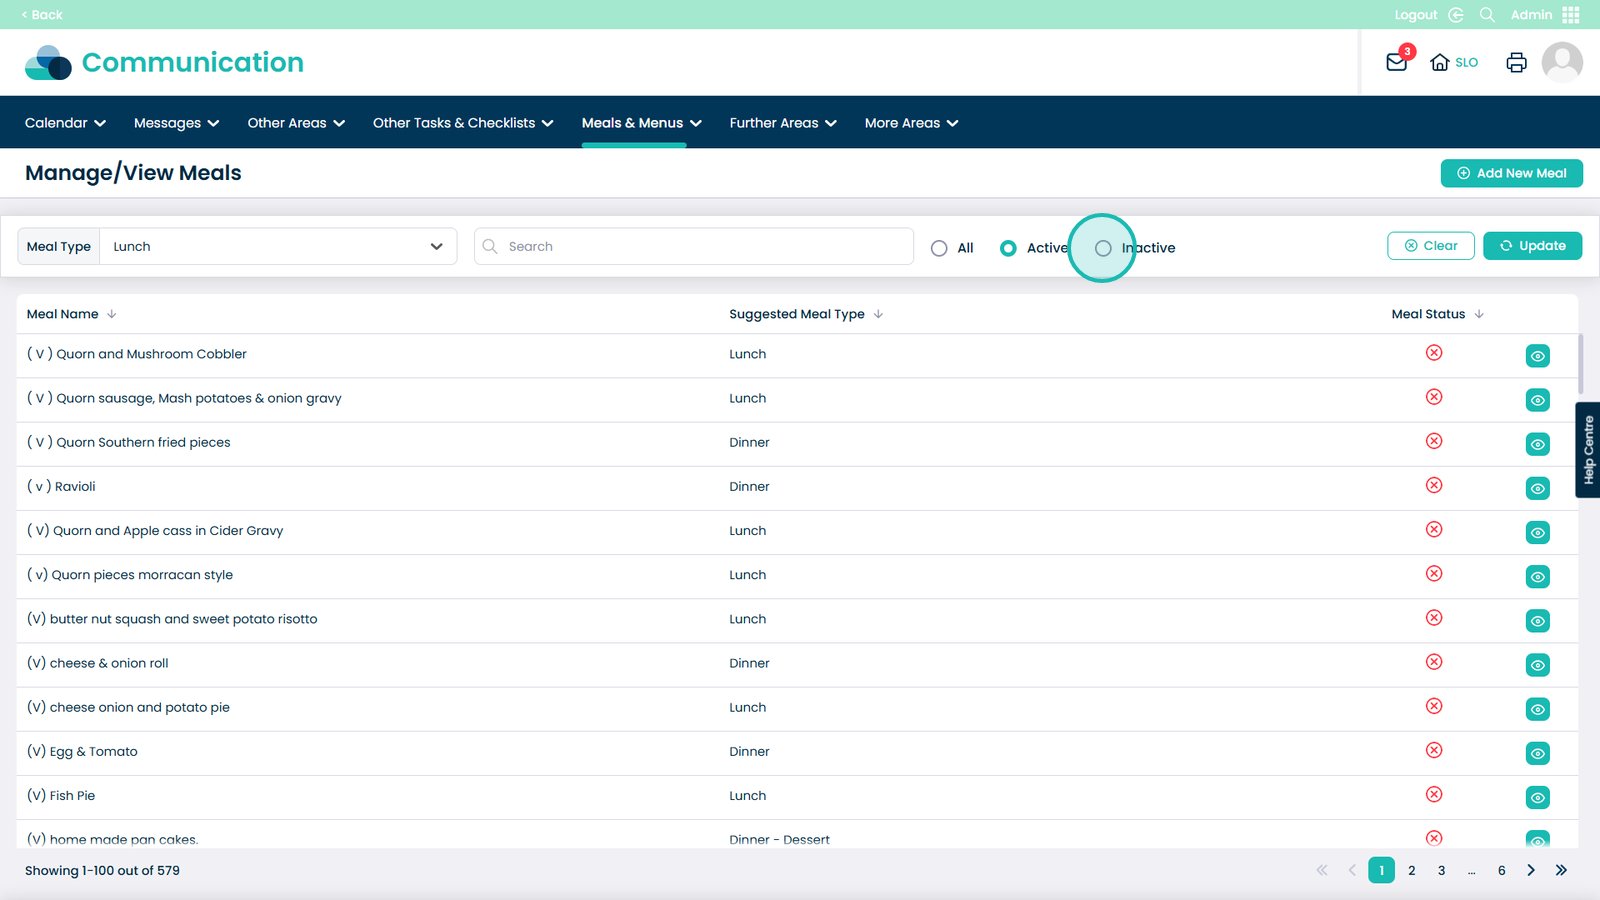
You can pick to show Active meals

Â
Or pick to show Inactive meals

Â
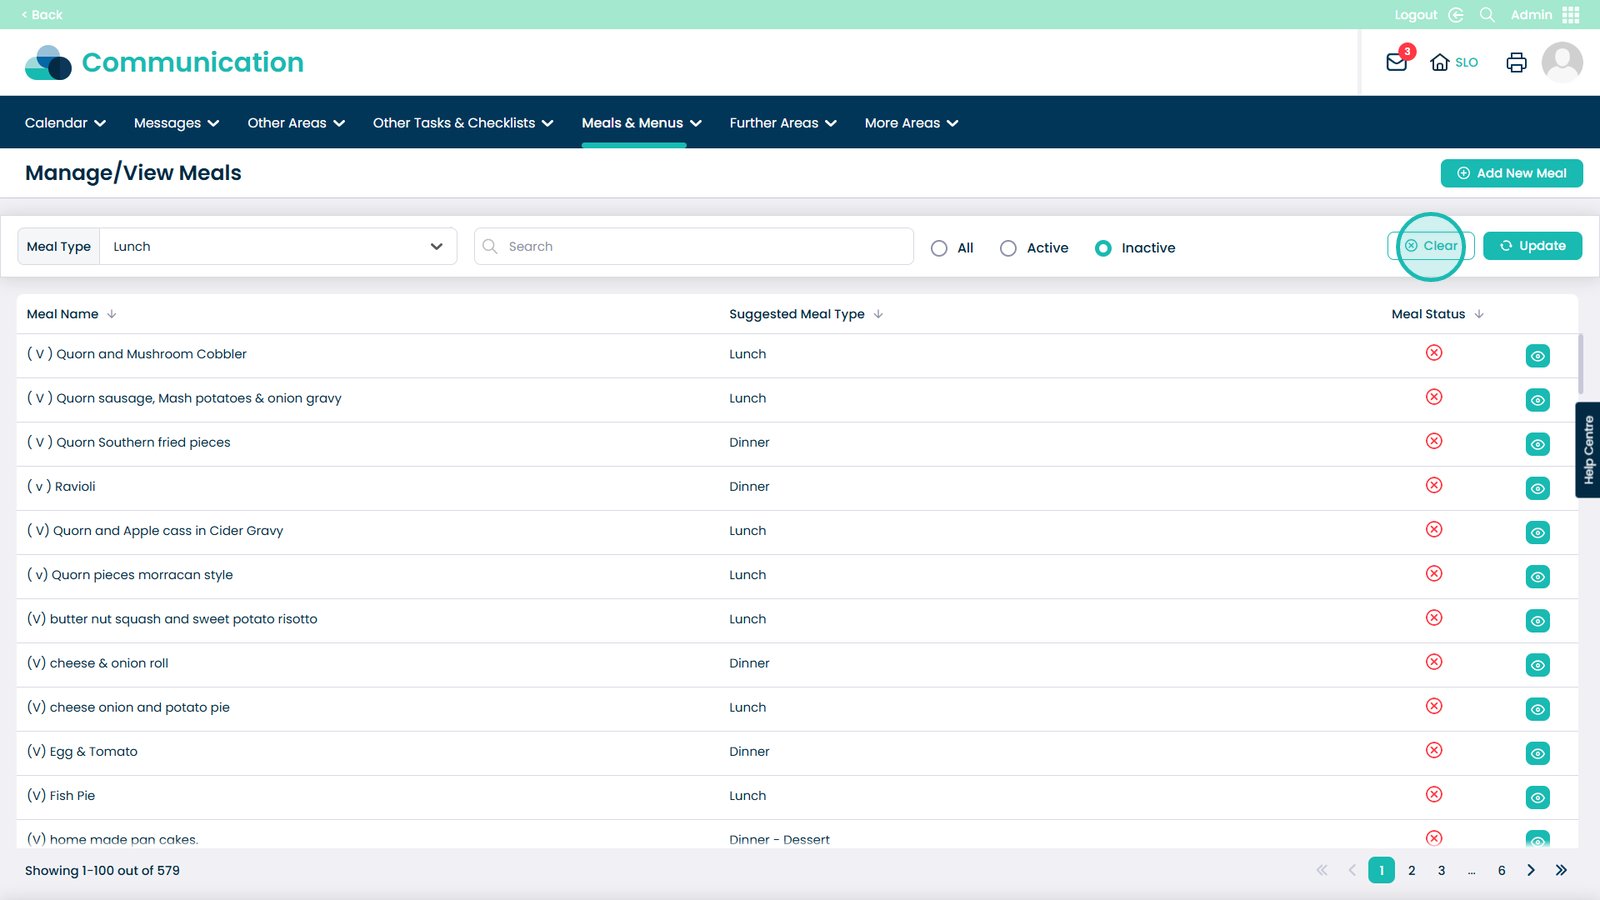
Click Clear to reset the filters

Â
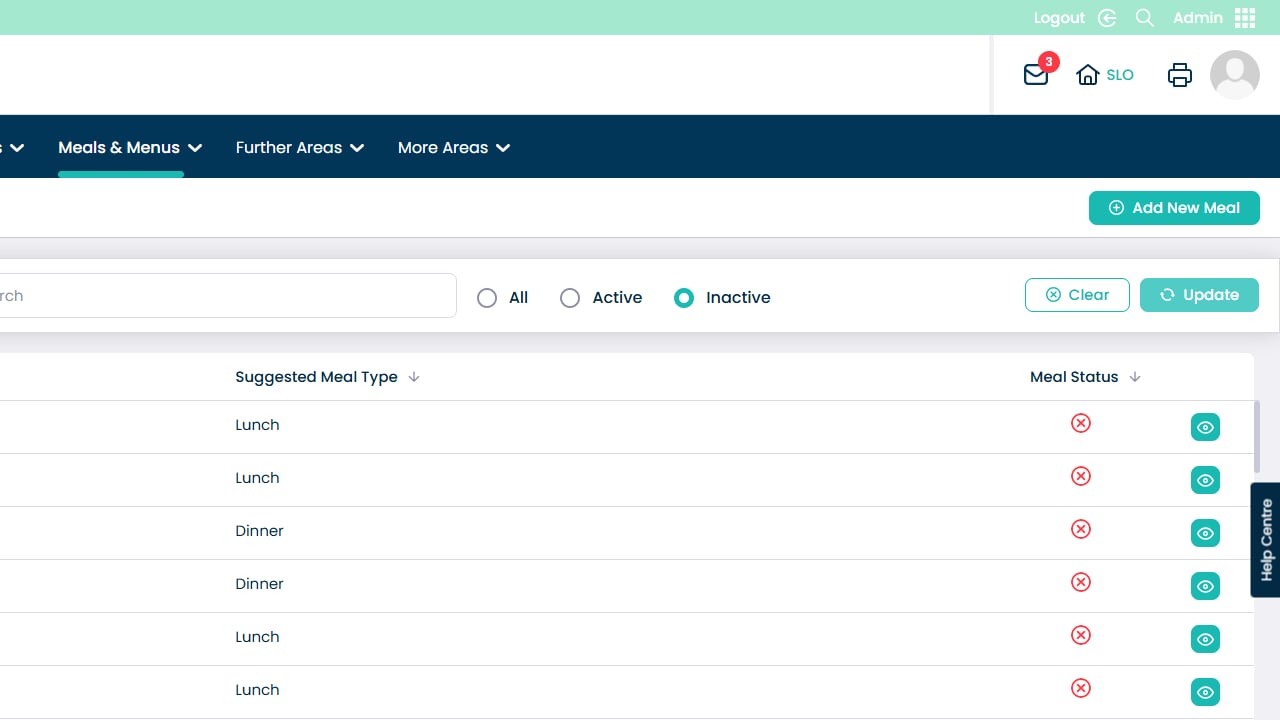
Click update to use the filters

Â
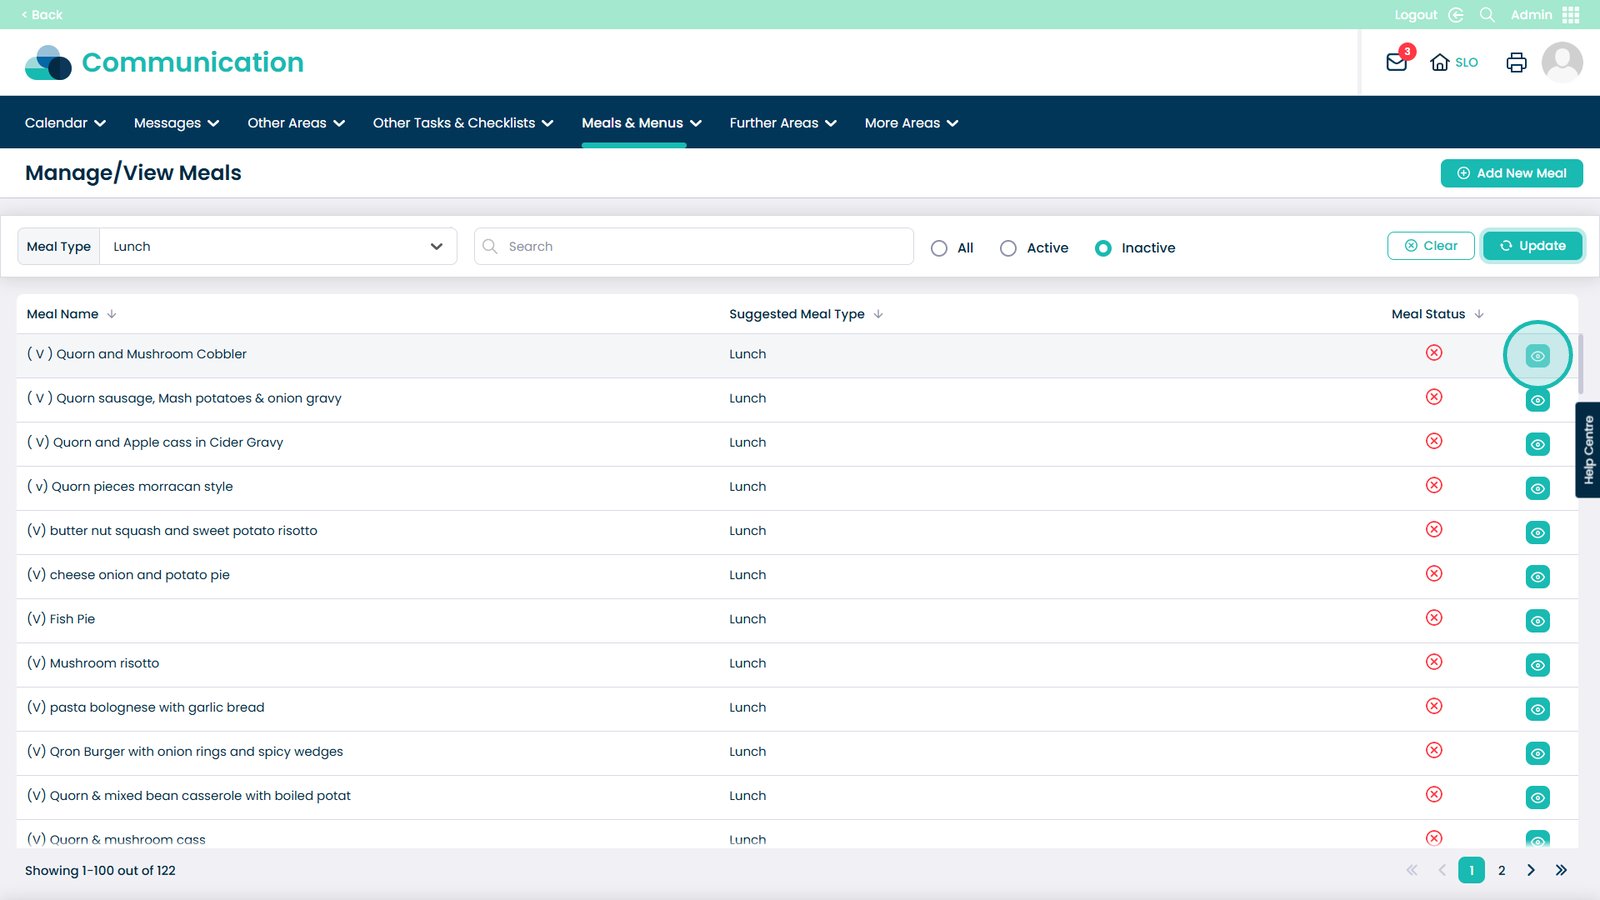
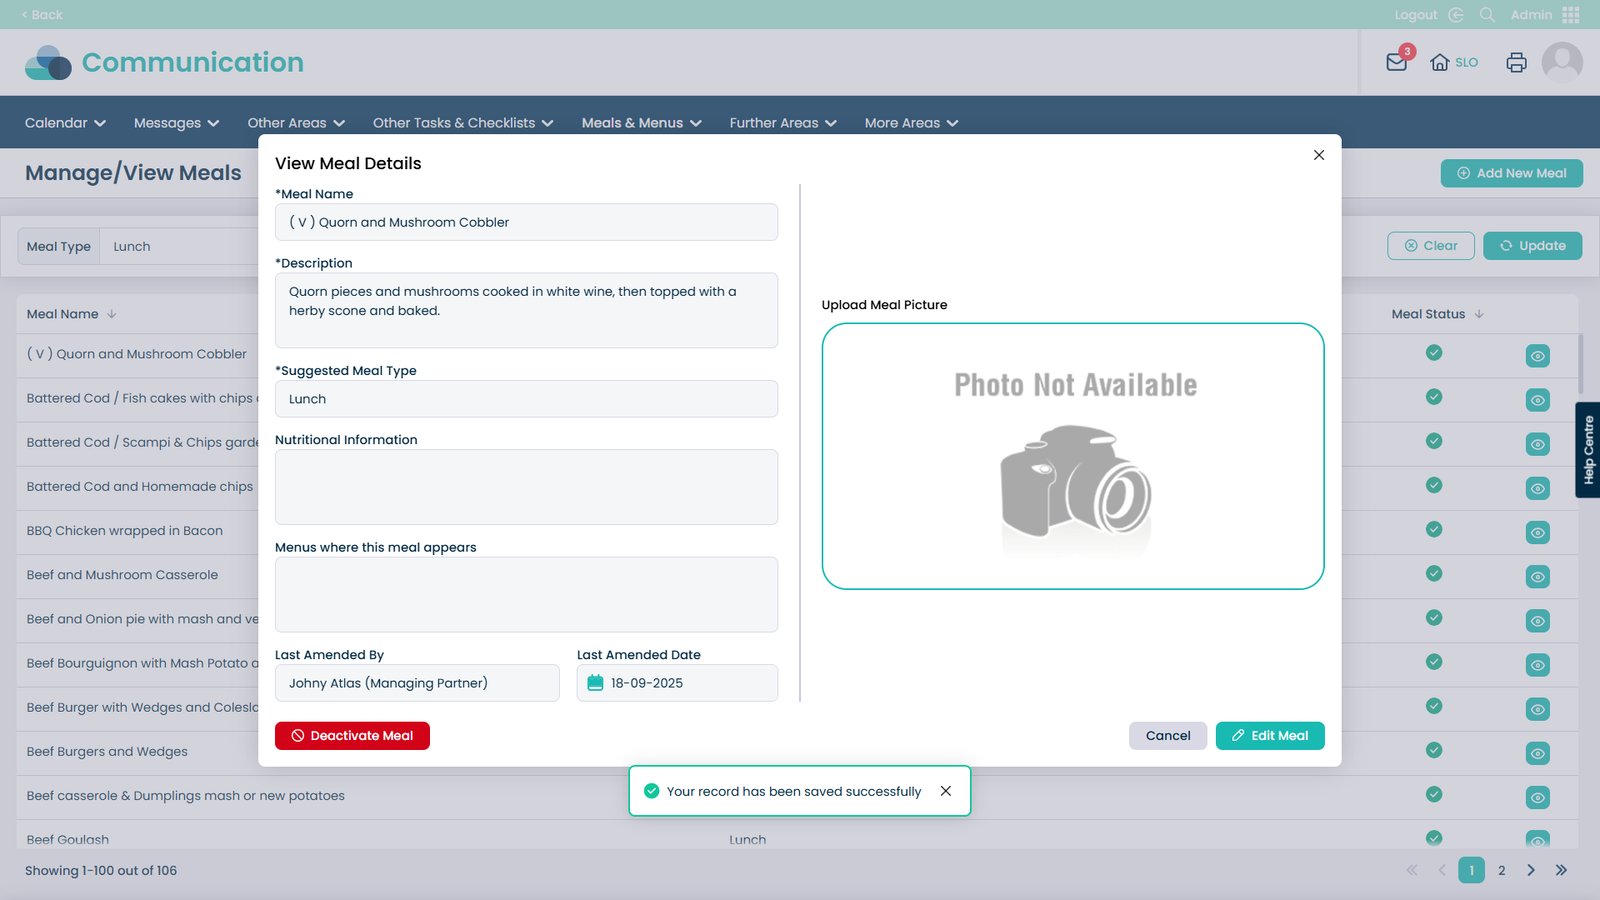
On a food item, click the eye icon to view it

Â
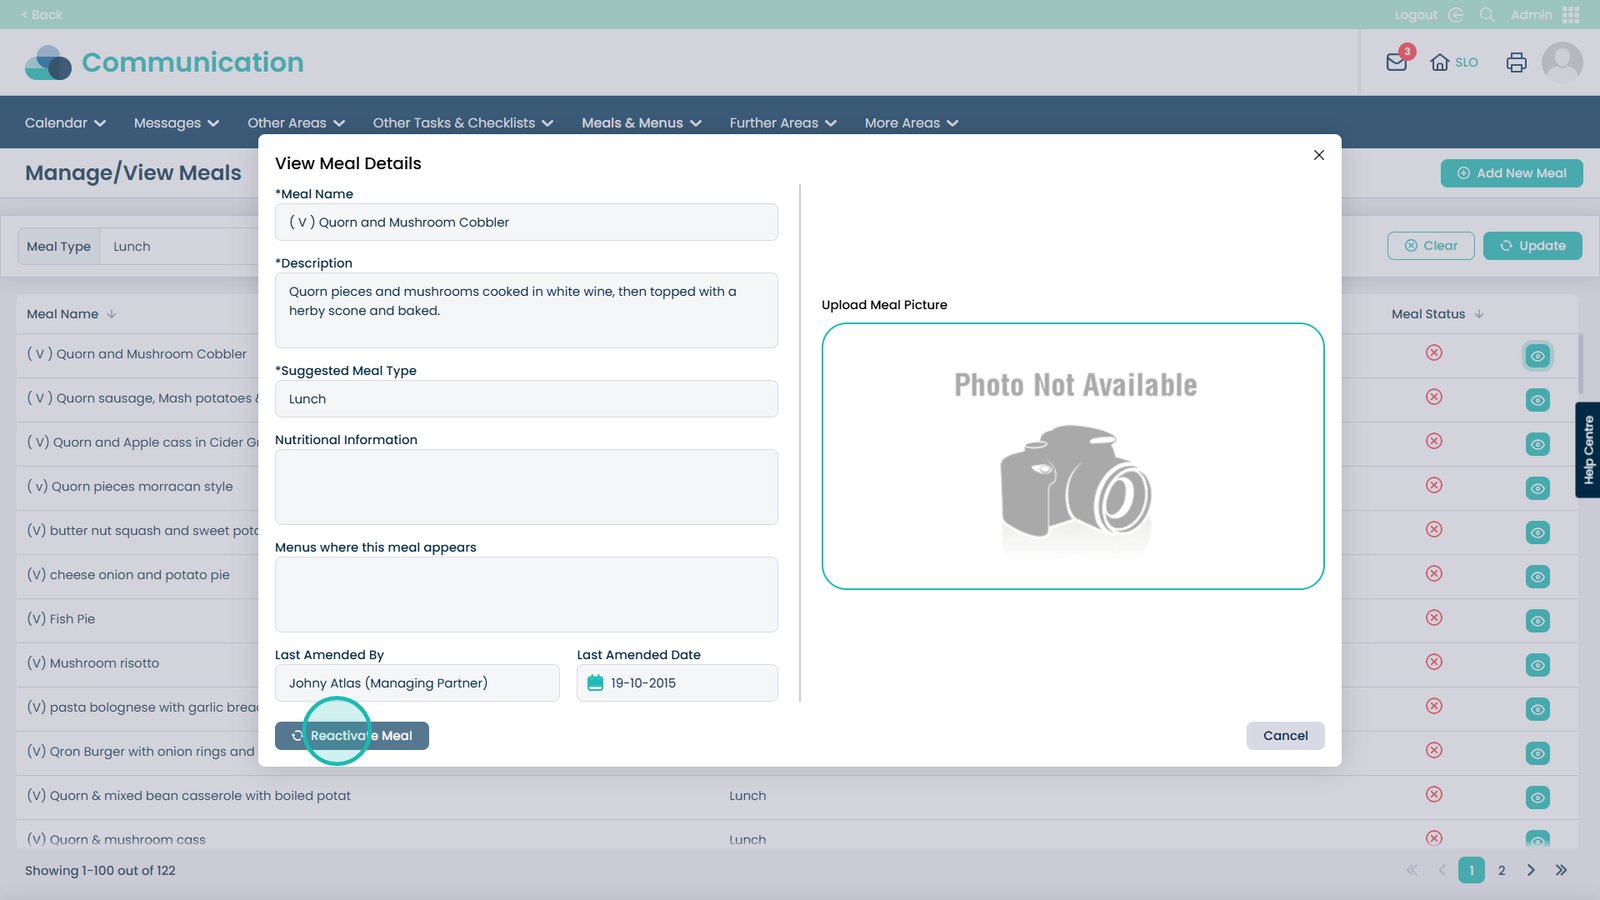
On this screen you can reactivate the meal to make it useable again

Â
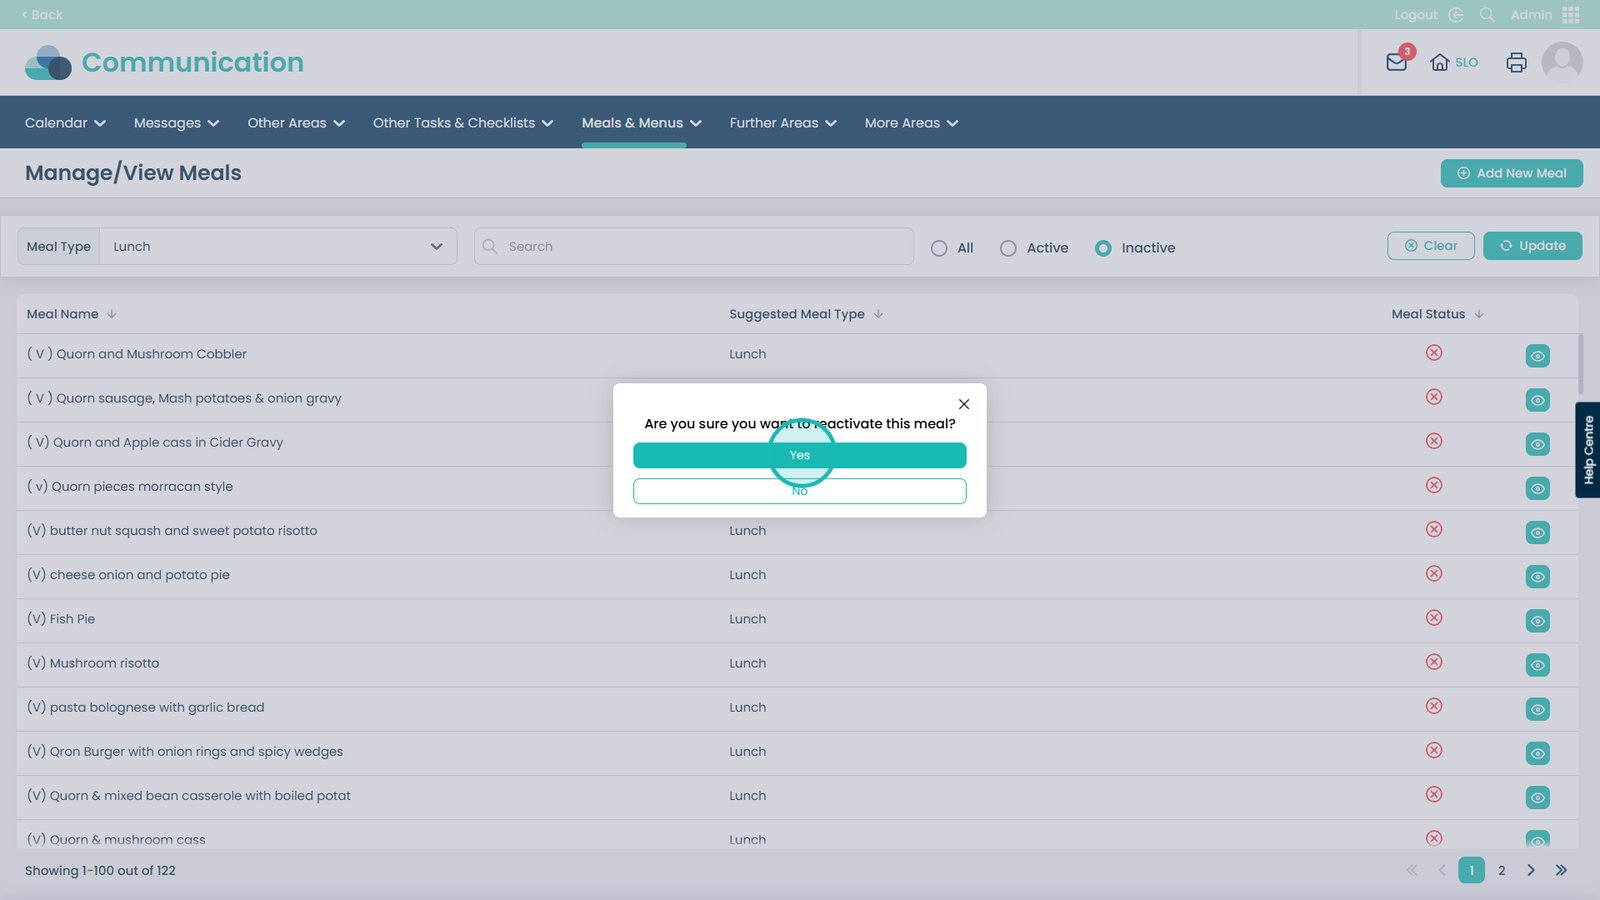
Select Yes to reactivate the meal

Â
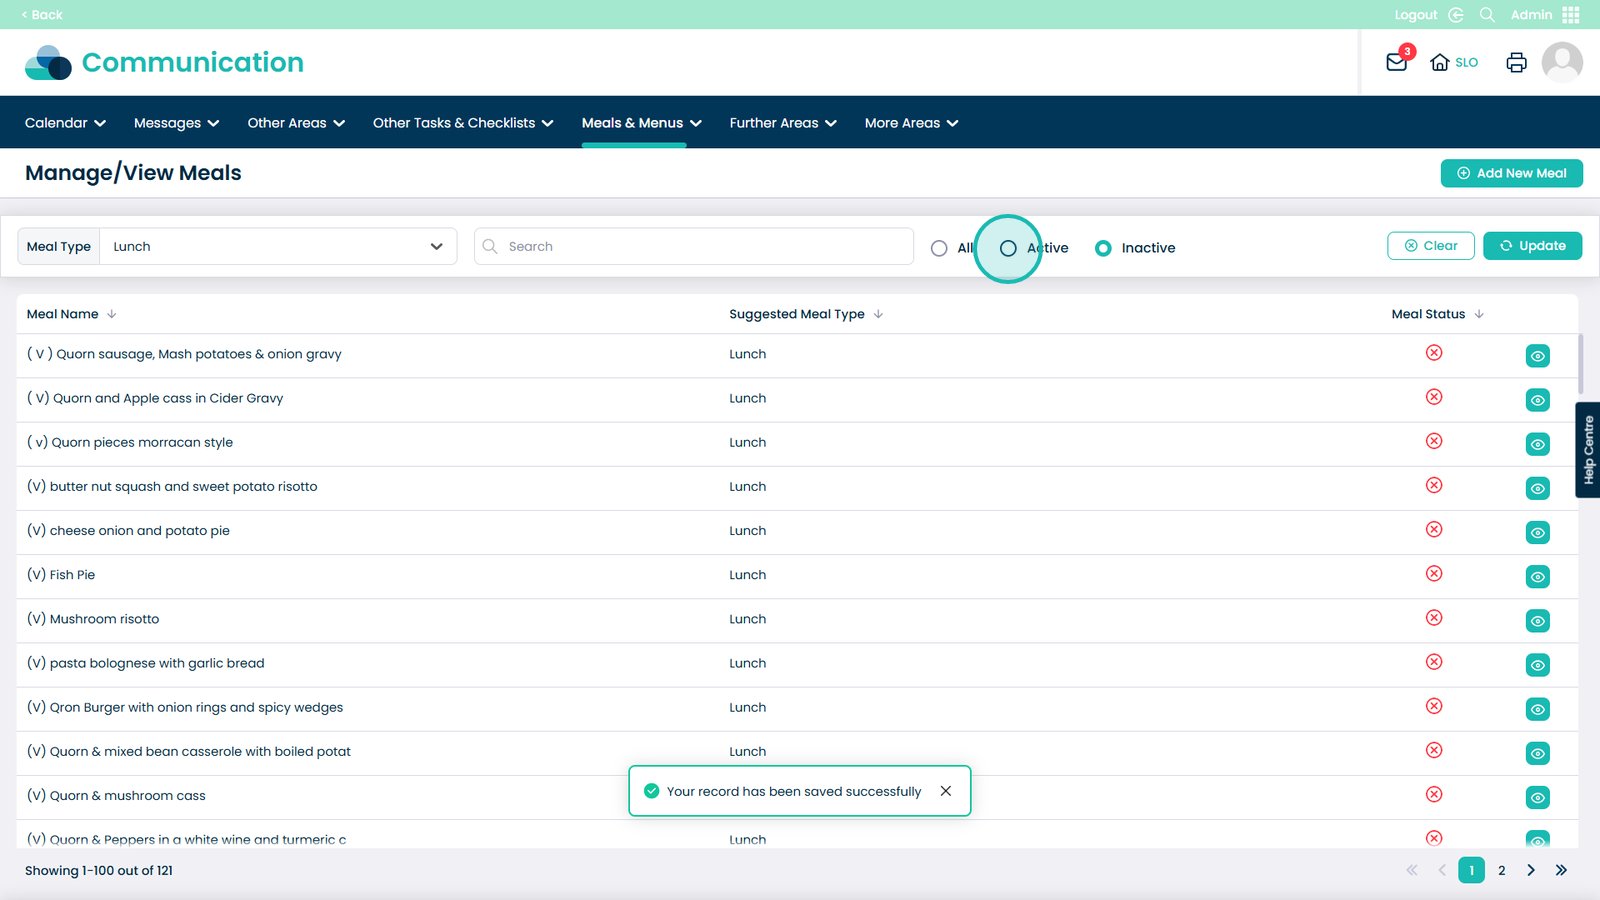
To then edit that meal, select the Active filter

Â
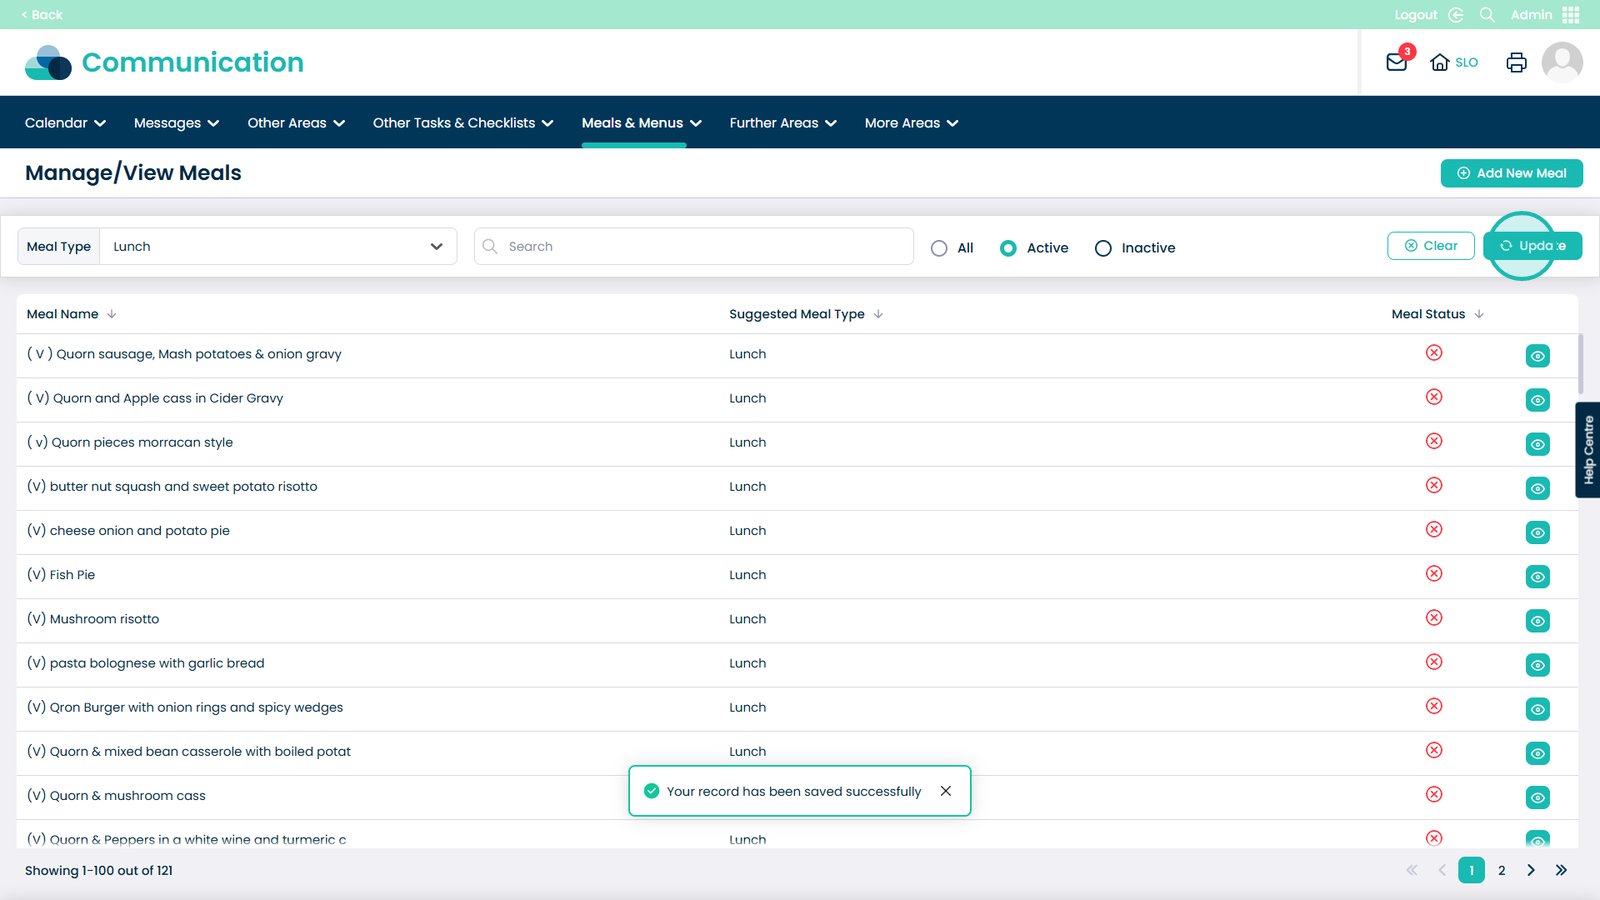
Click Update to use the filter

Â
Click the eye icon to open up the meal details

Â
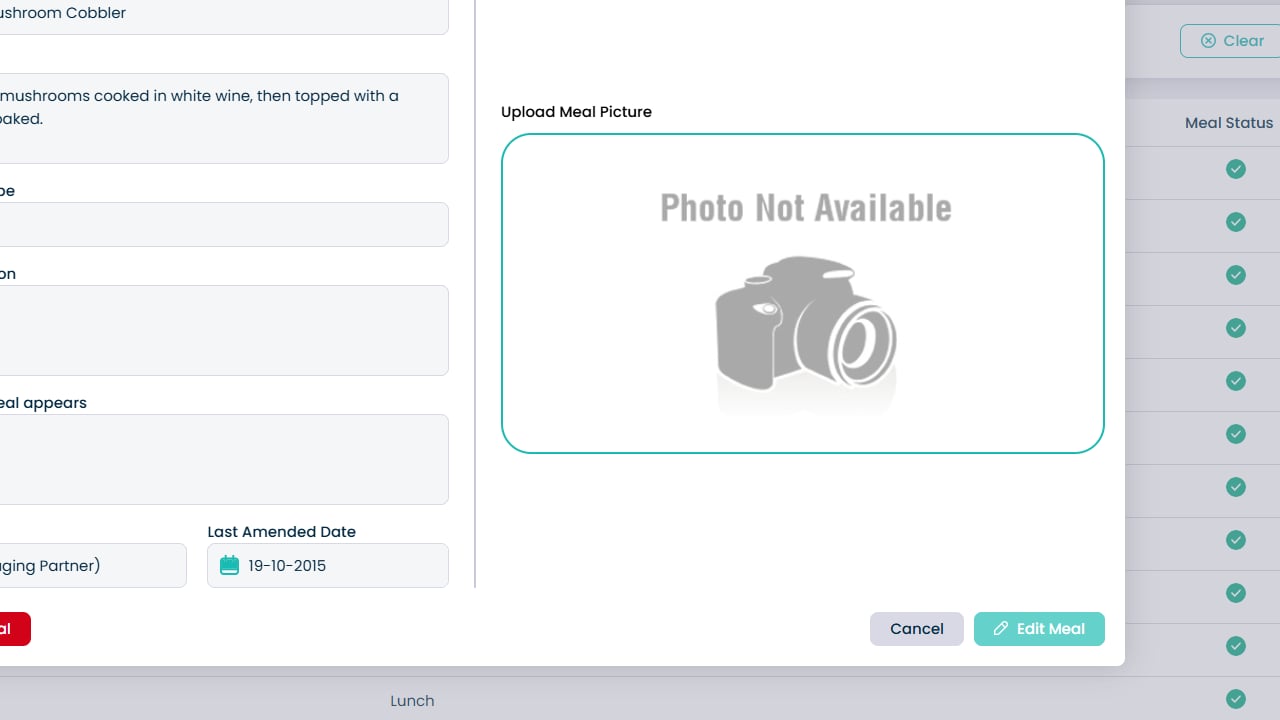
Select to Edit Meal

Â
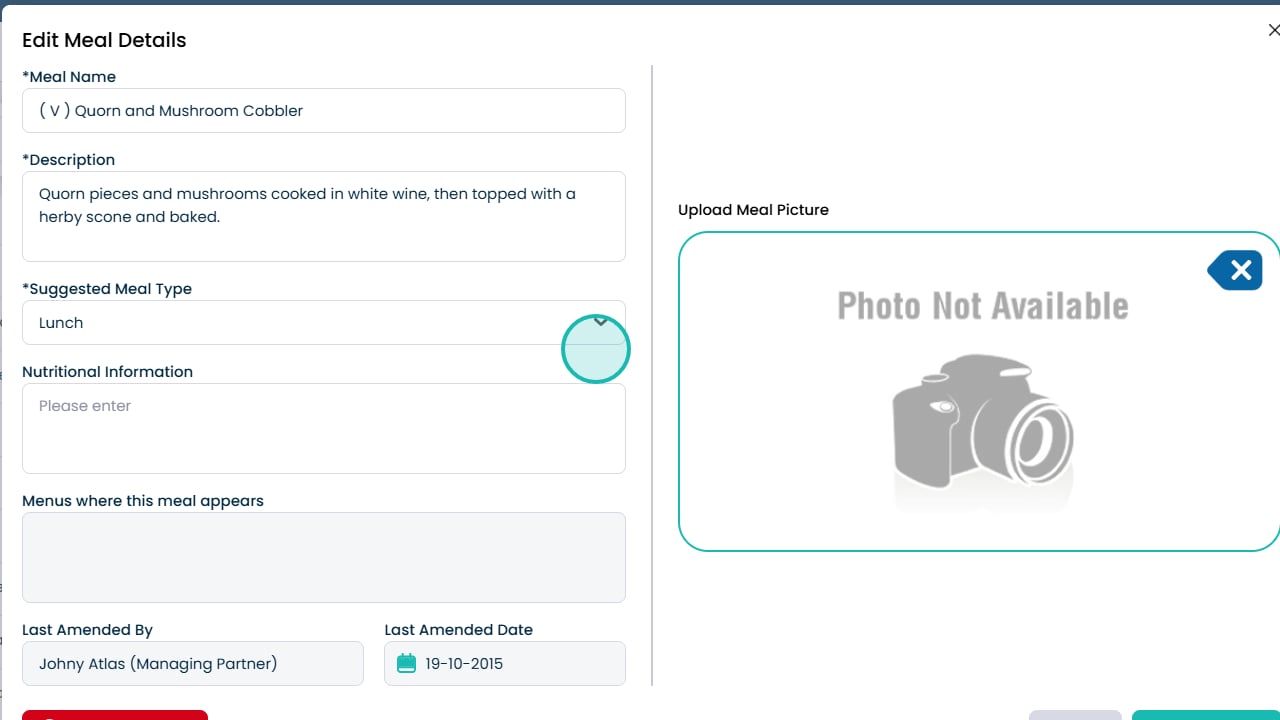
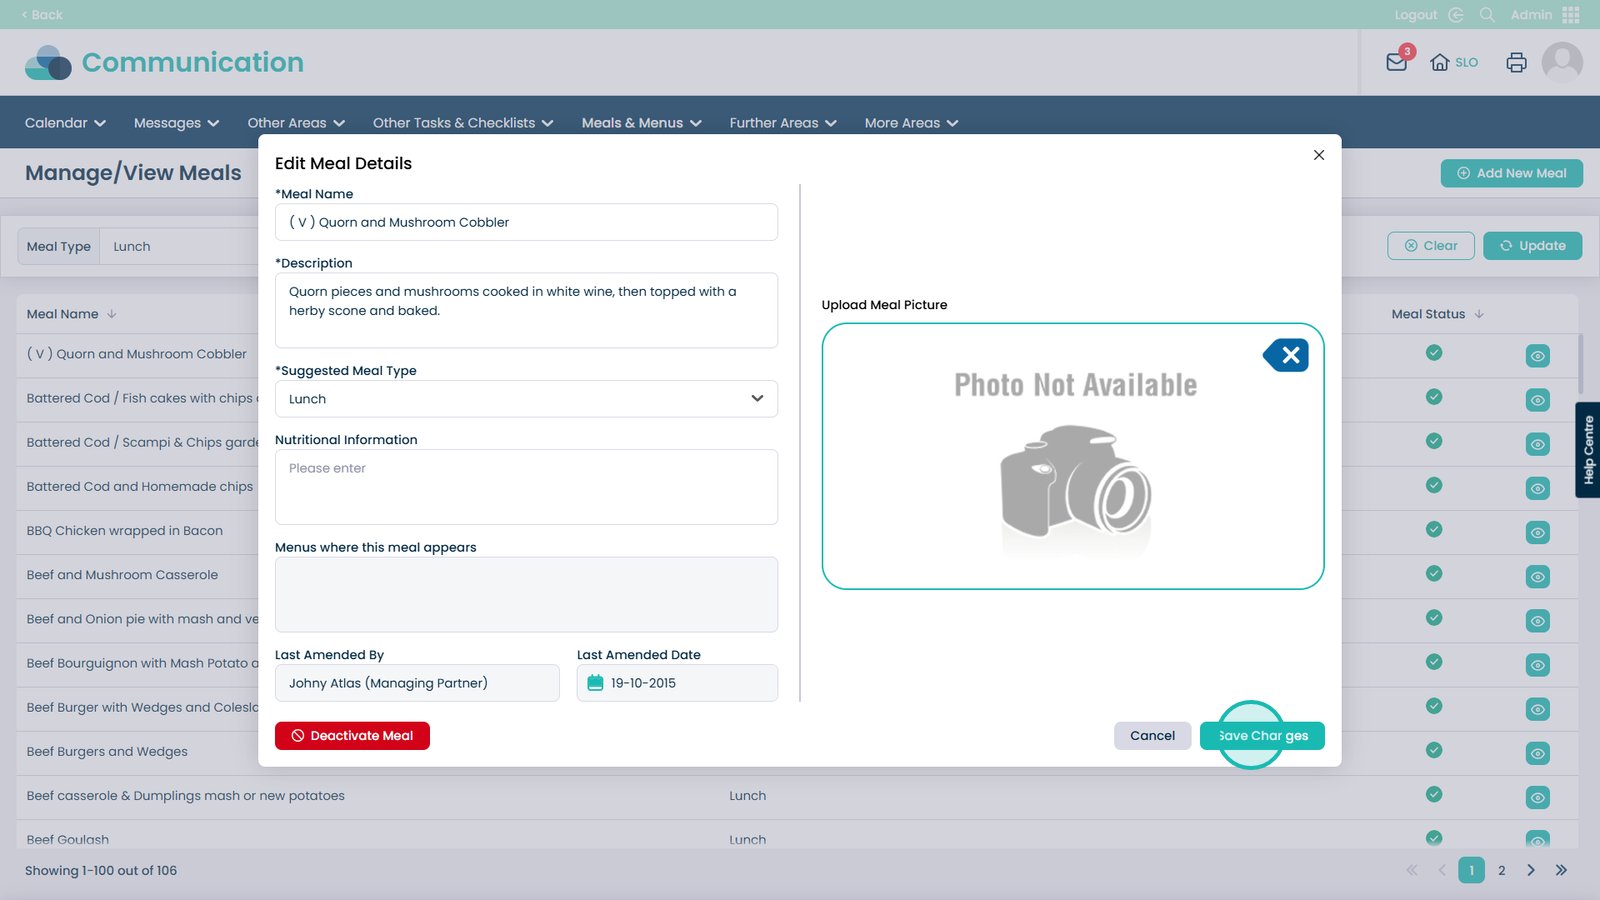
You can now modify meal details using these boxes

Â
When done, select Save Changes to update the meal

Â
Process Complete