How to record a PURPOSE-T Assessment
This walkthrough shows how to record a PURPOSE-T pressure-ulcer risk assessment in the Care Planning app, step by step. You’ll see how to open the form, capture mobility/skin status and clinical judgement, and save the result so it feeds into the person’s care plan.
What is PURPOSE-T?
PURPOSE-T (Pressure Ulcer Risk Primary or Secondary Evaluation Tool) is an evidence-based risk assessment instrument developed by the University of Leeds to help clinicians identify adults at risk of developing pressure ulcers and to guide prevention and treatment actions. It separates primary prevention (people at risk) from secondary prevention (people with existing/previous ulcers), supports clinical judgement, and is recognised by NICE as a validated adult risk scale.
Interactive Guide
Text based guide
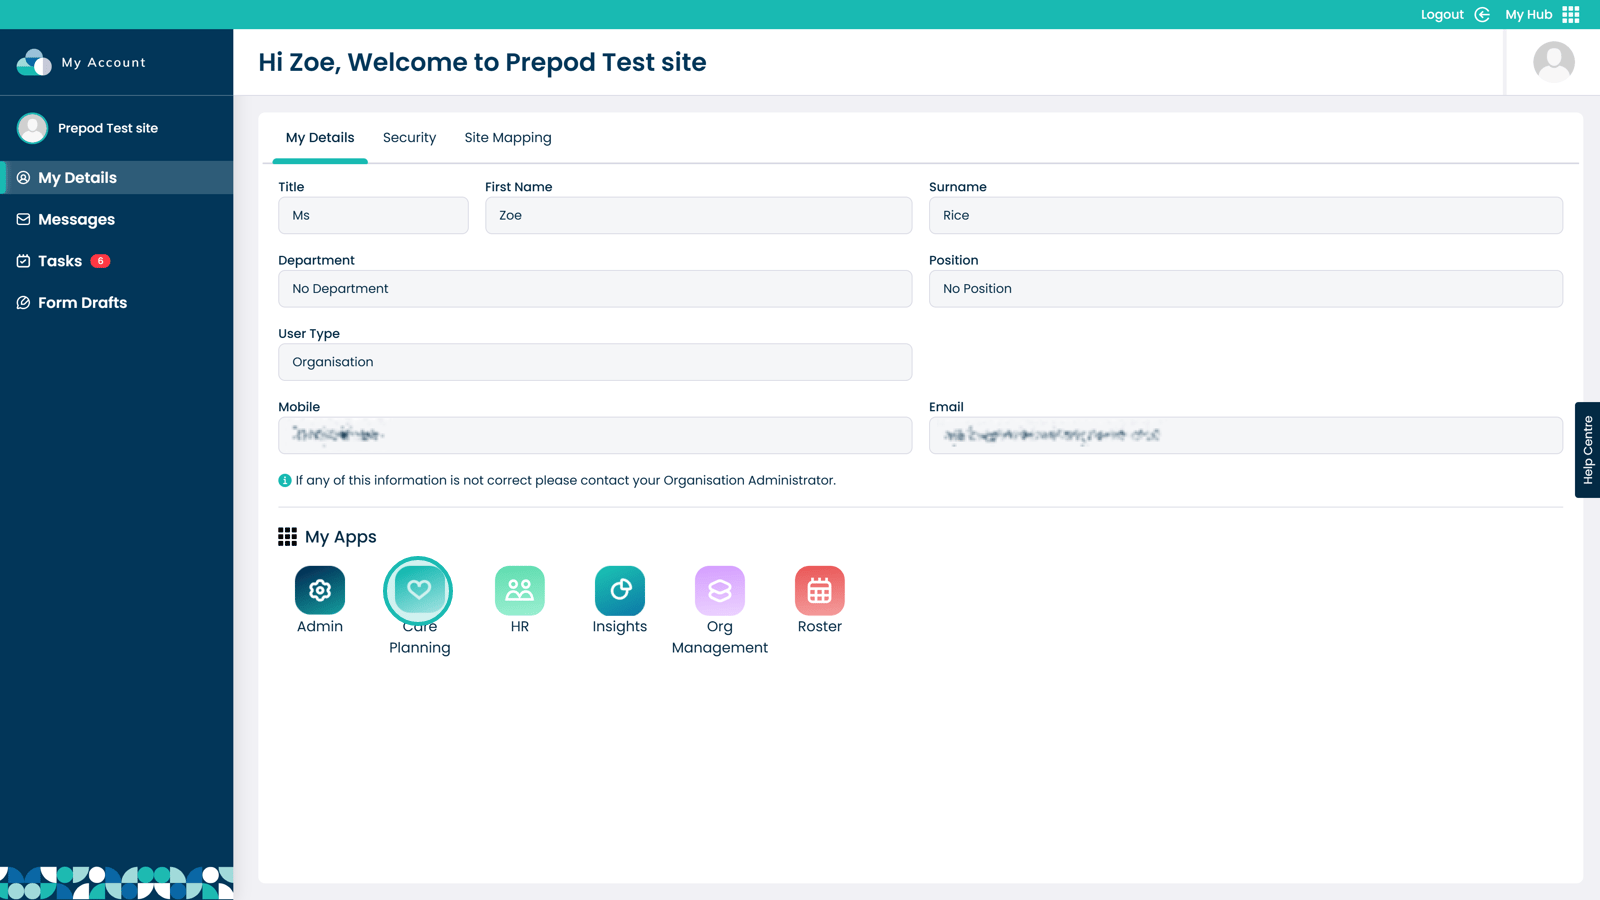
Enter the Care Planning App
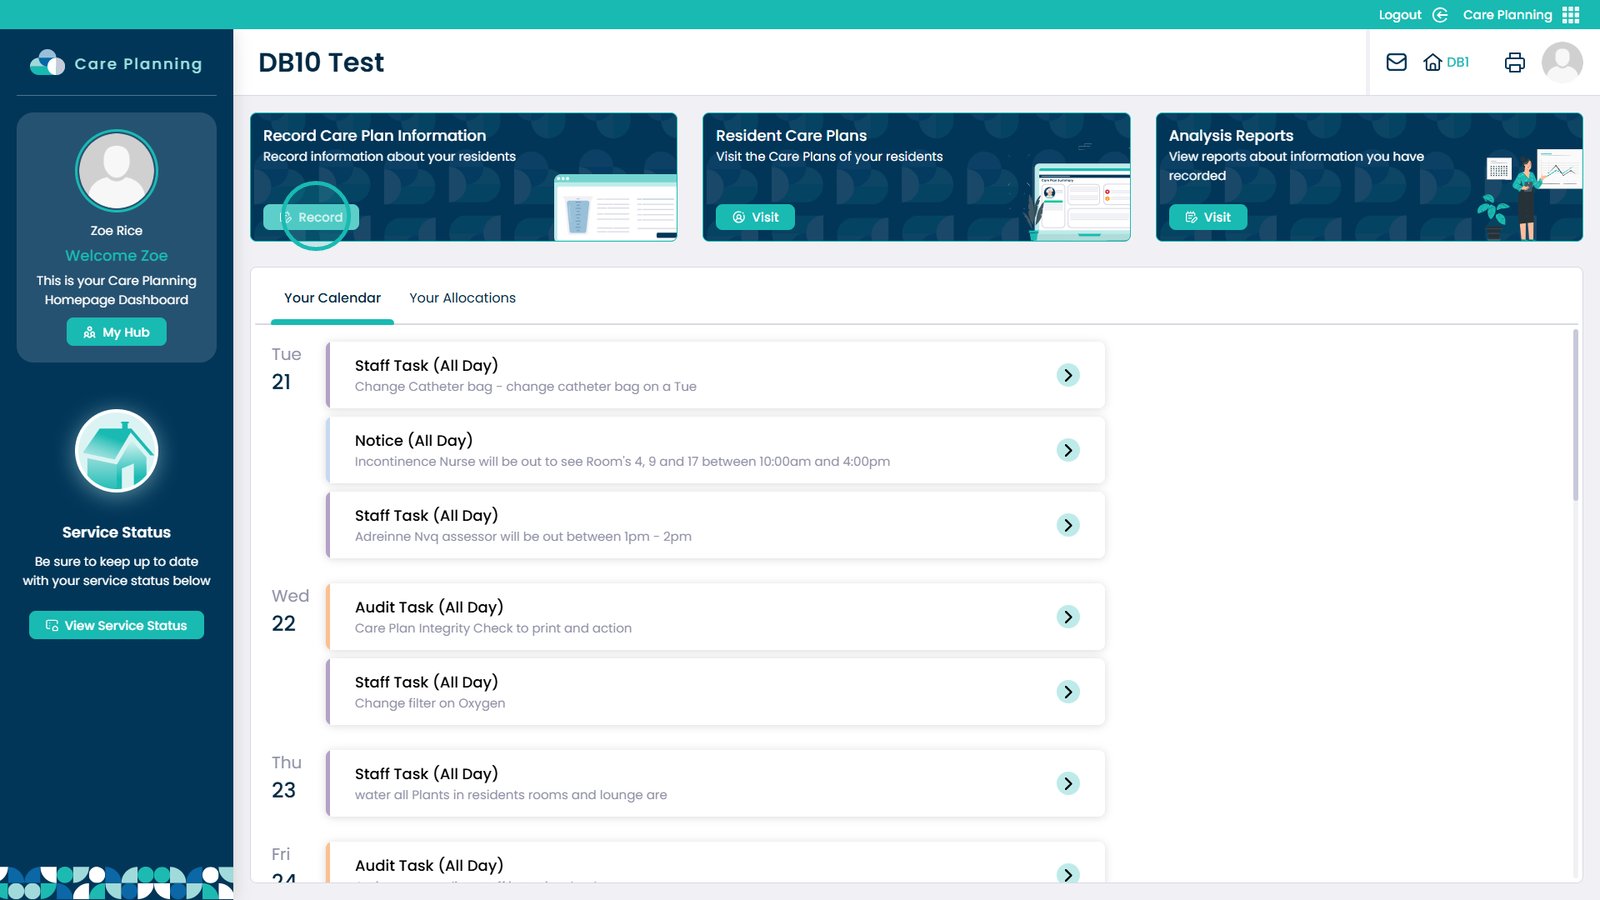
Click Record on Record Care Plan Information
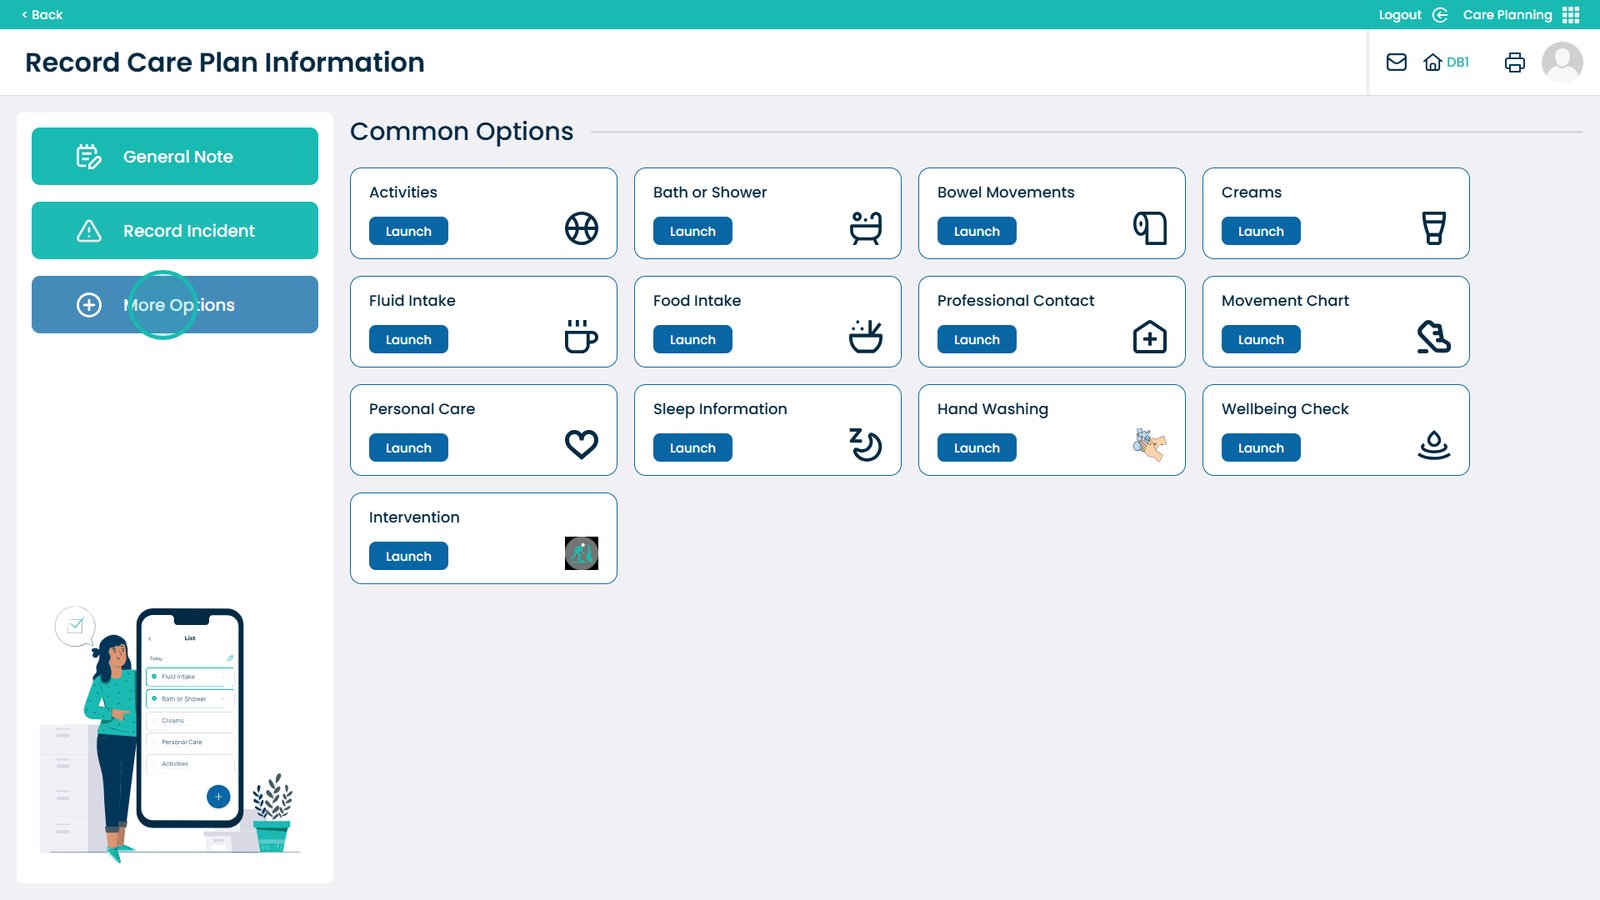
Select More Options
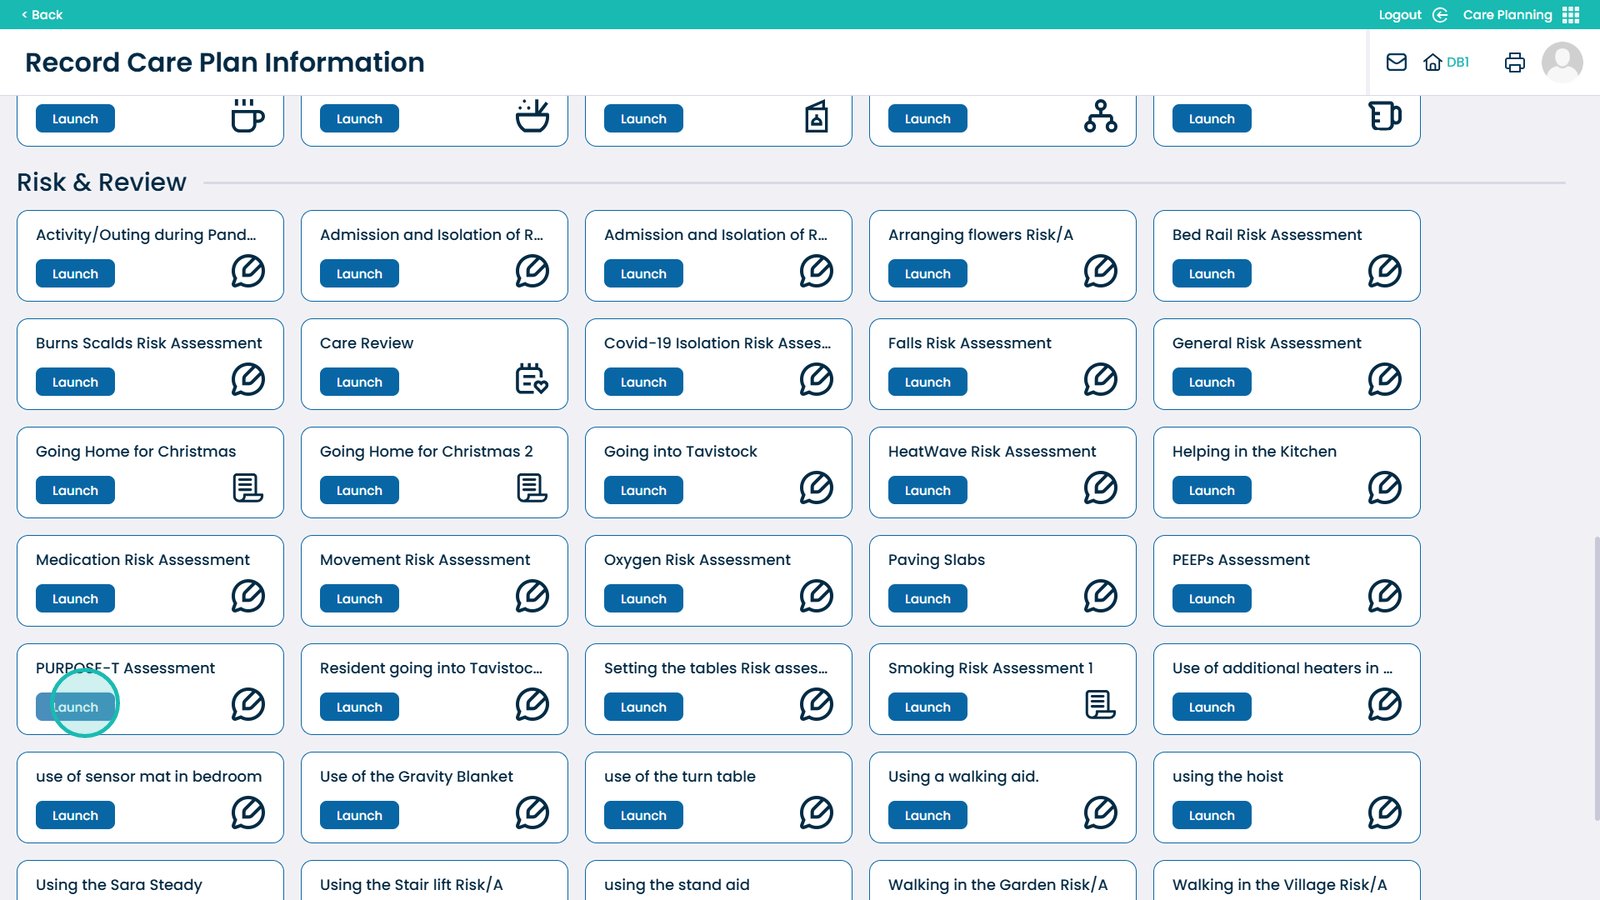
Scroll down until you see Risk & Review, then click Launch on Purpose-T Assessment
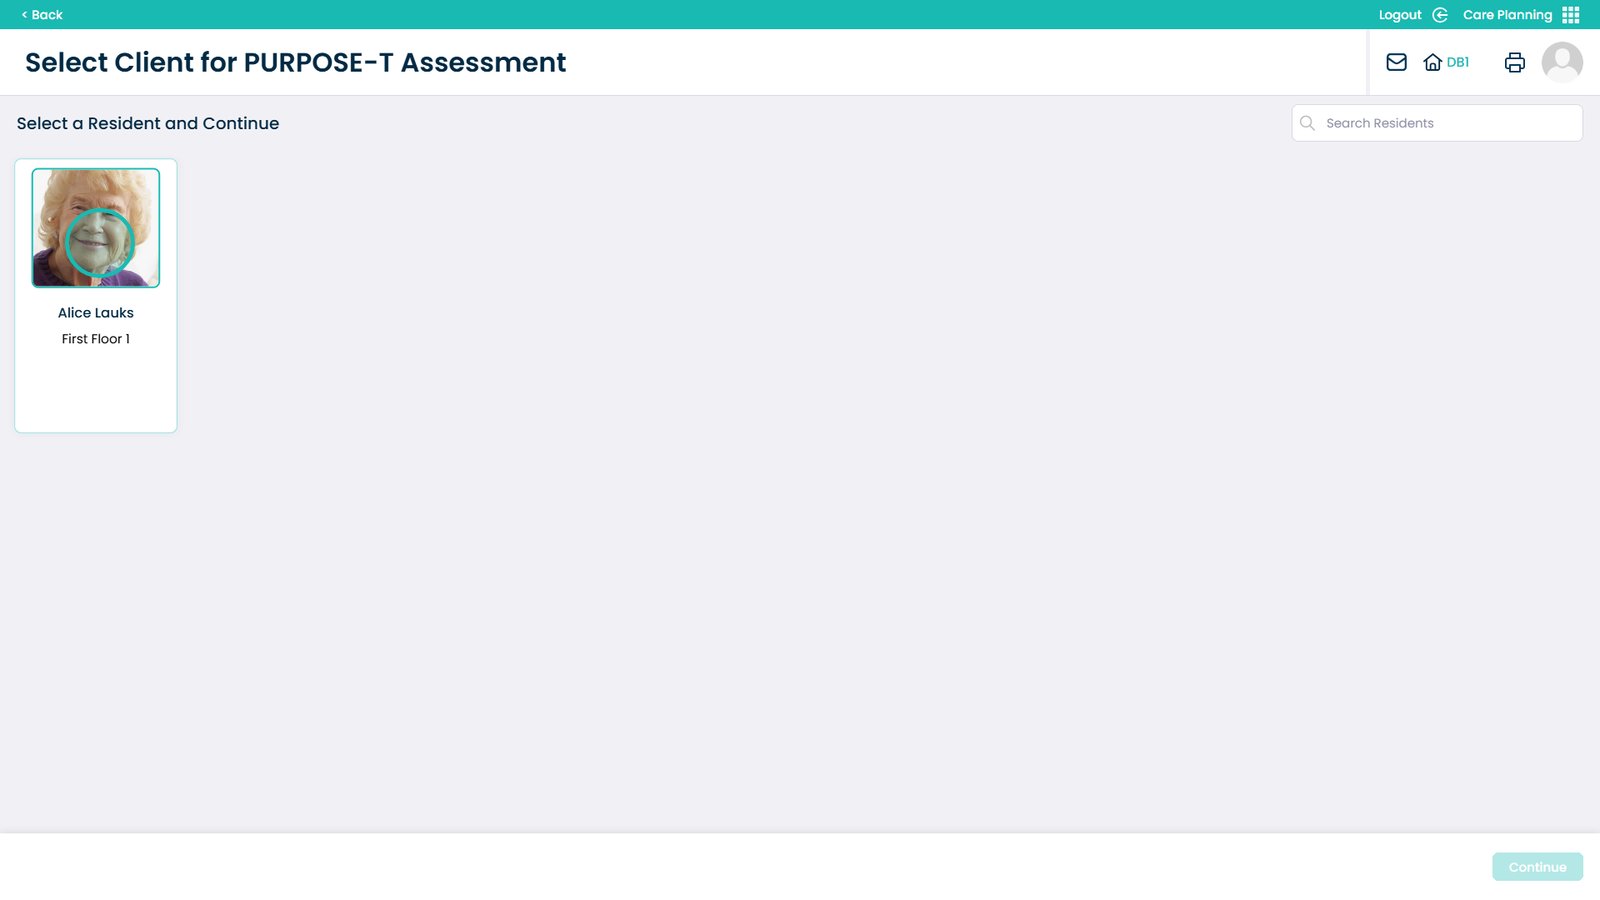
Select the Service User
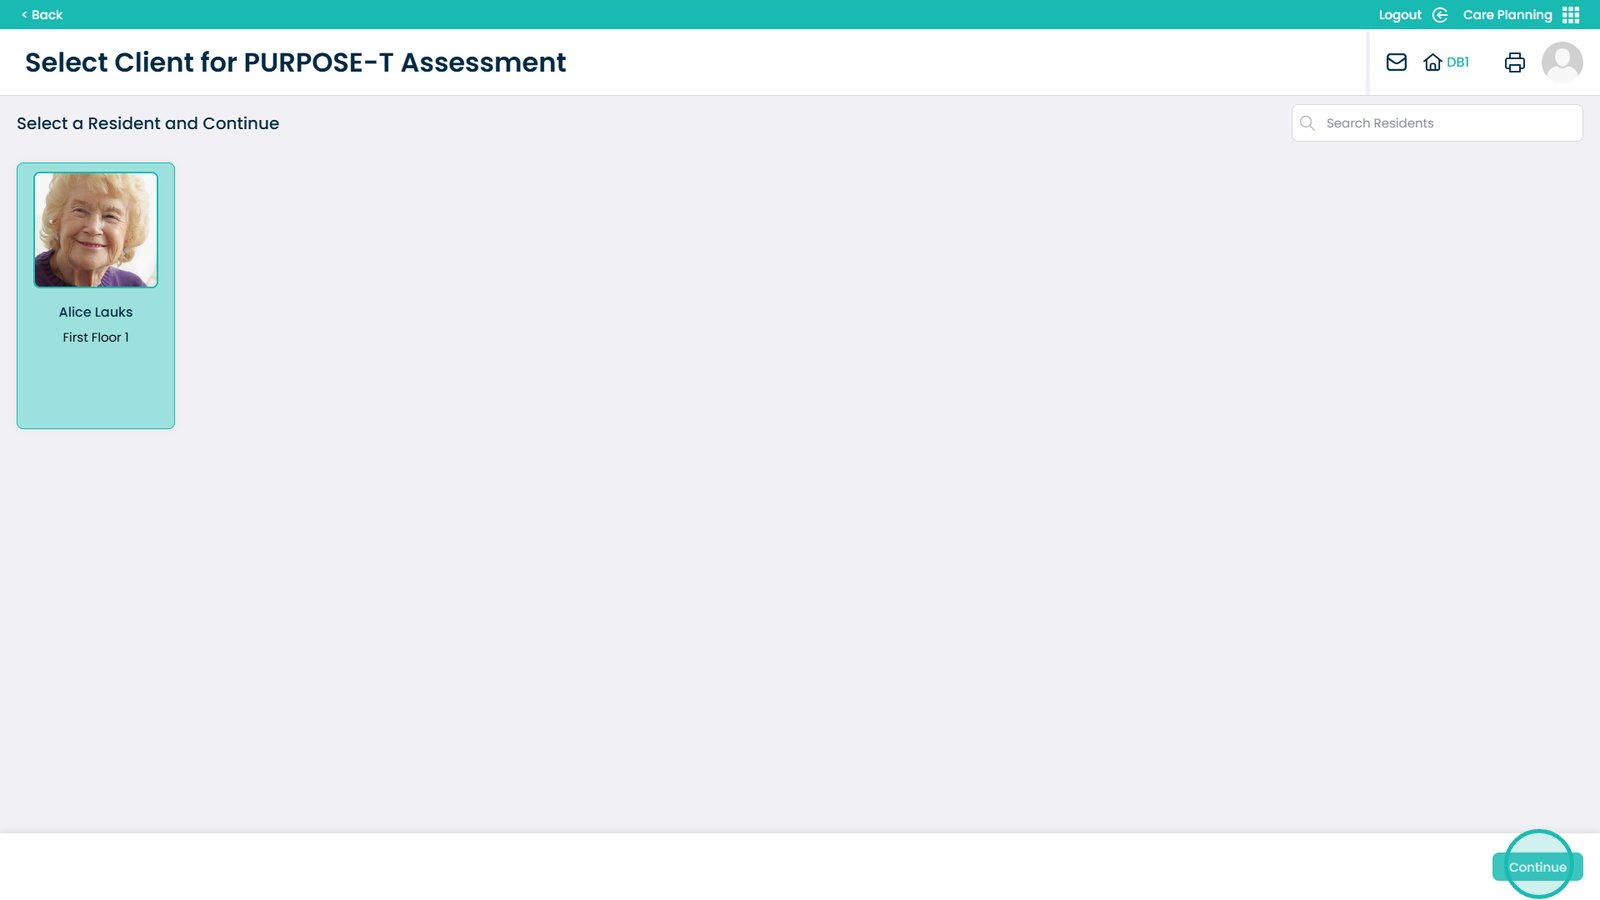
Select continue once the service user is highlighted
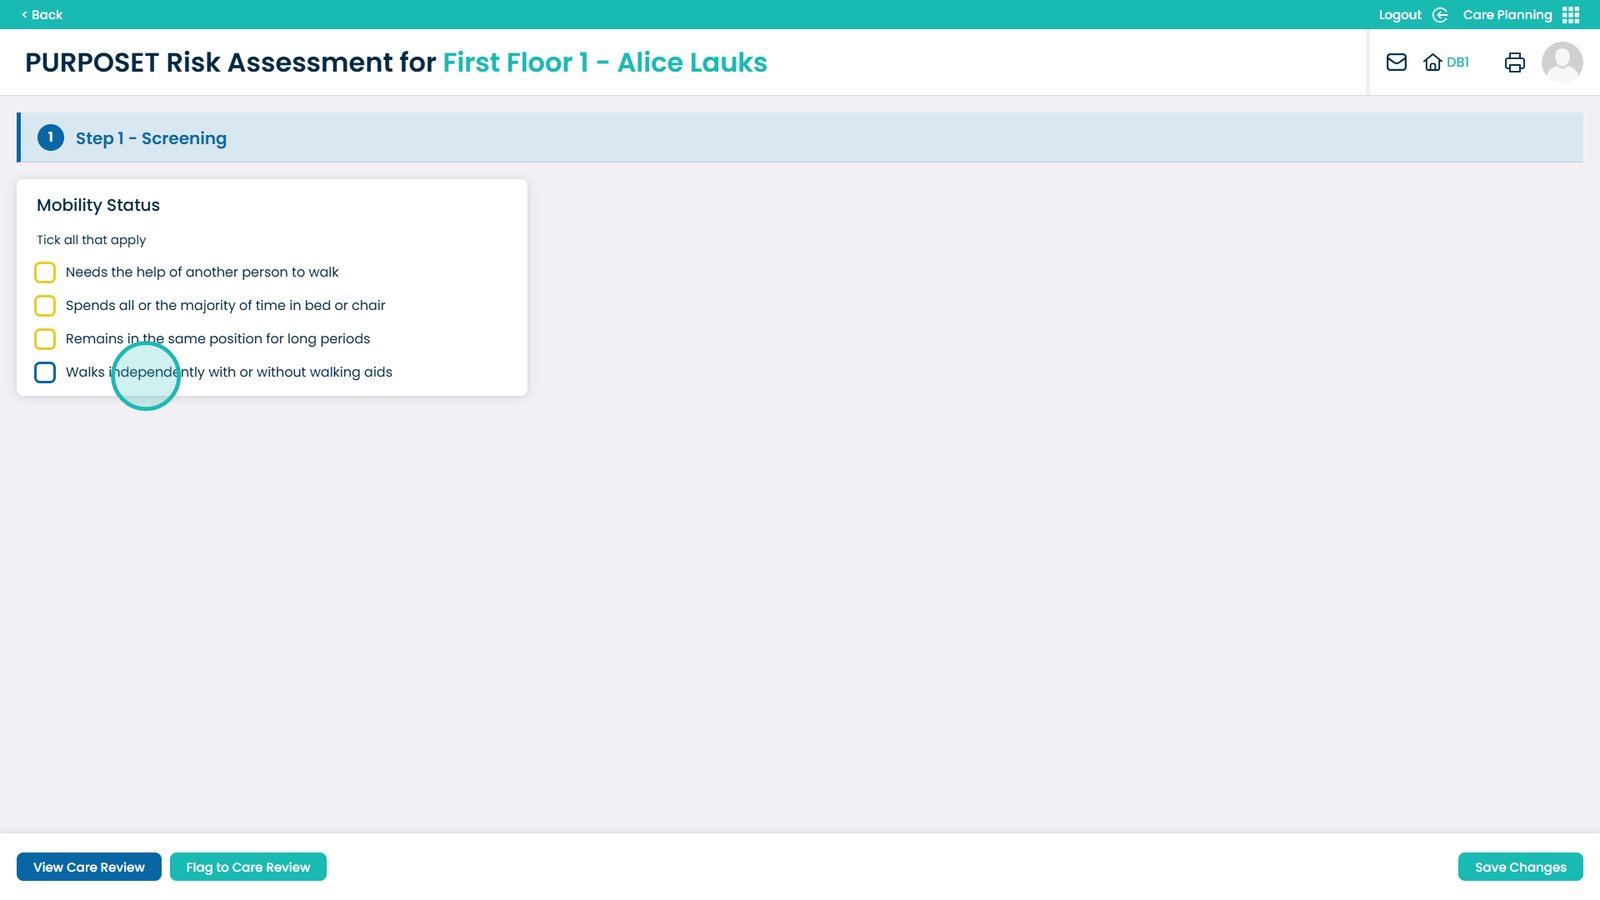
Start by recording the mobility status. Some options will open up further questions to answer
The Skin Status box has opened, you can now select options that apply
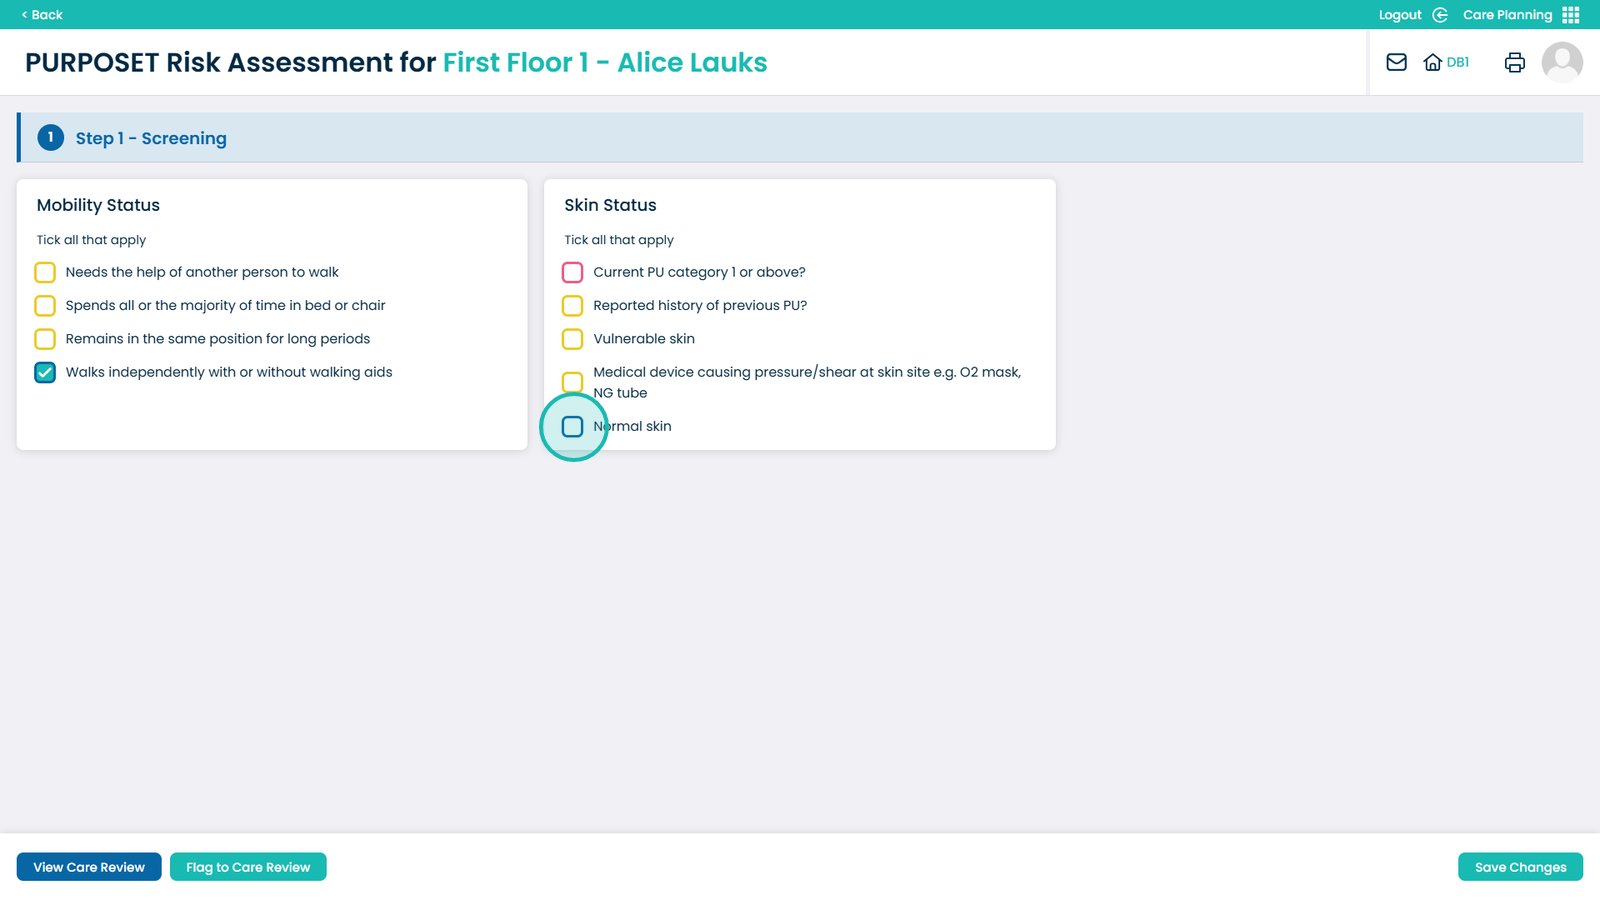
Now the Clinical Judgement tick boxes have opened. You can now click all that apply here as well.
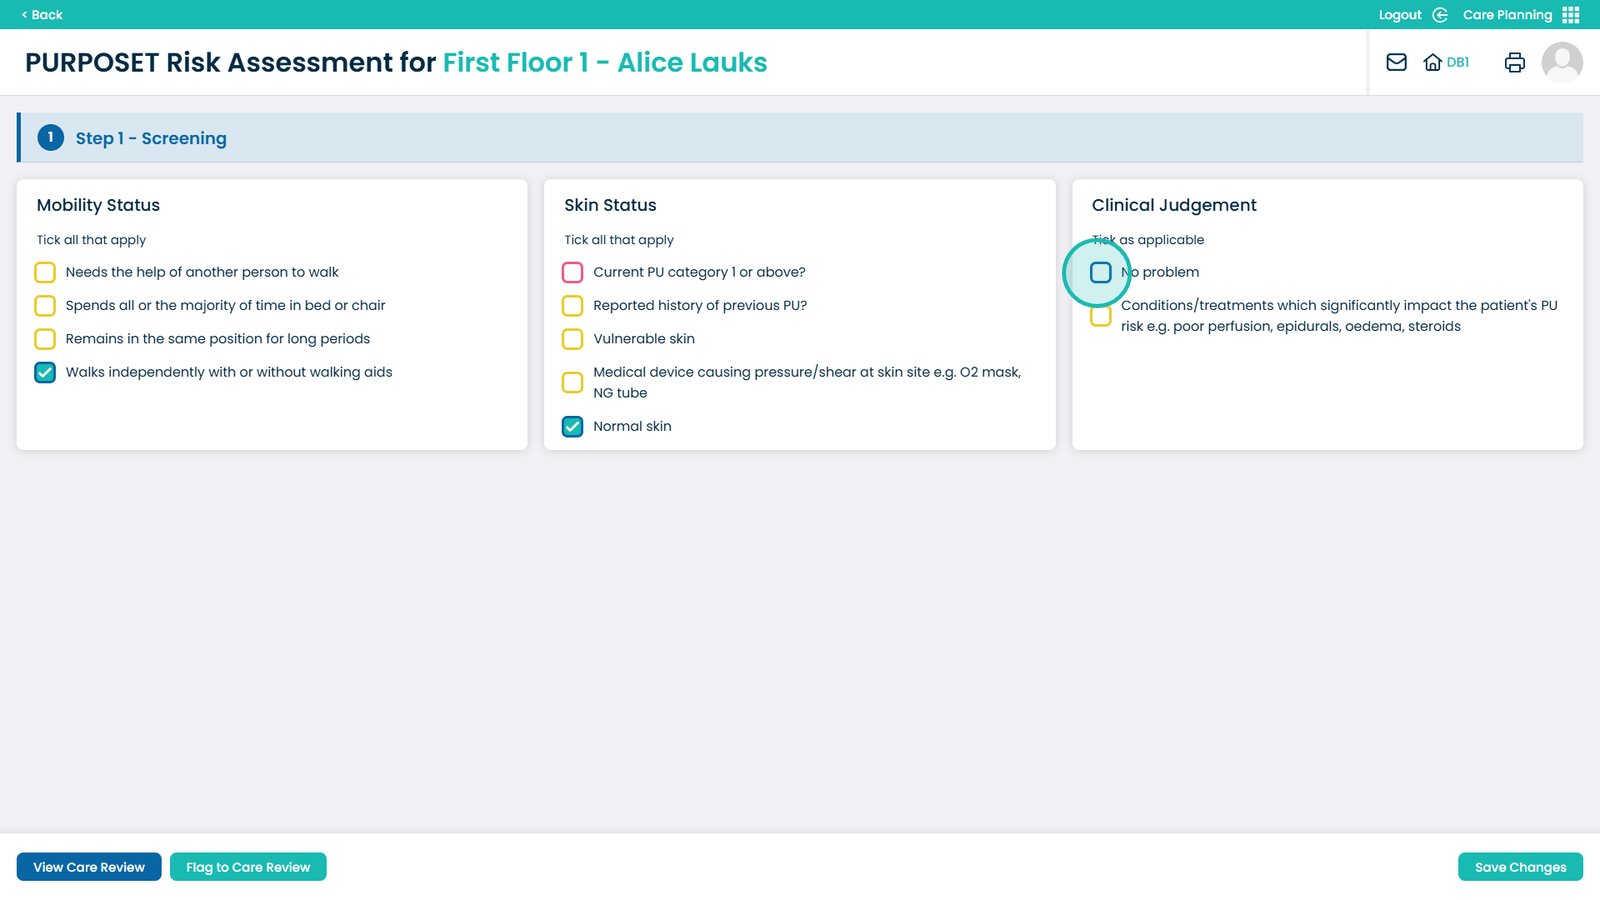
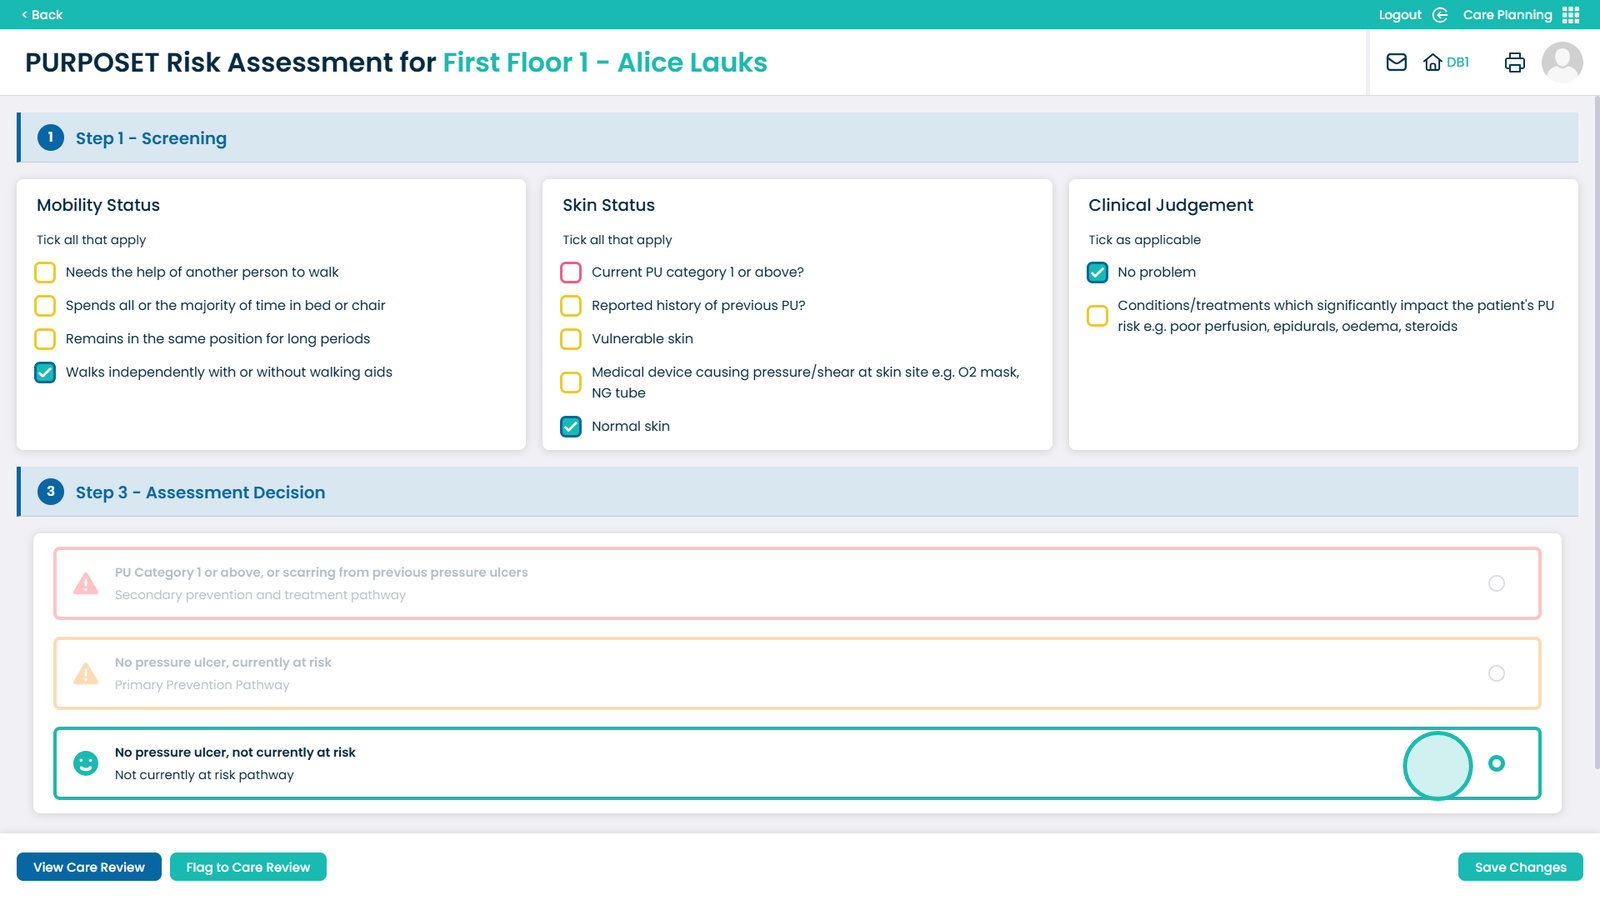
You can now see with our current selections that there are no pressure ulcers and the user is not currently at risk. We will now go back to the beginning and show what a high-risk assessment looks like.
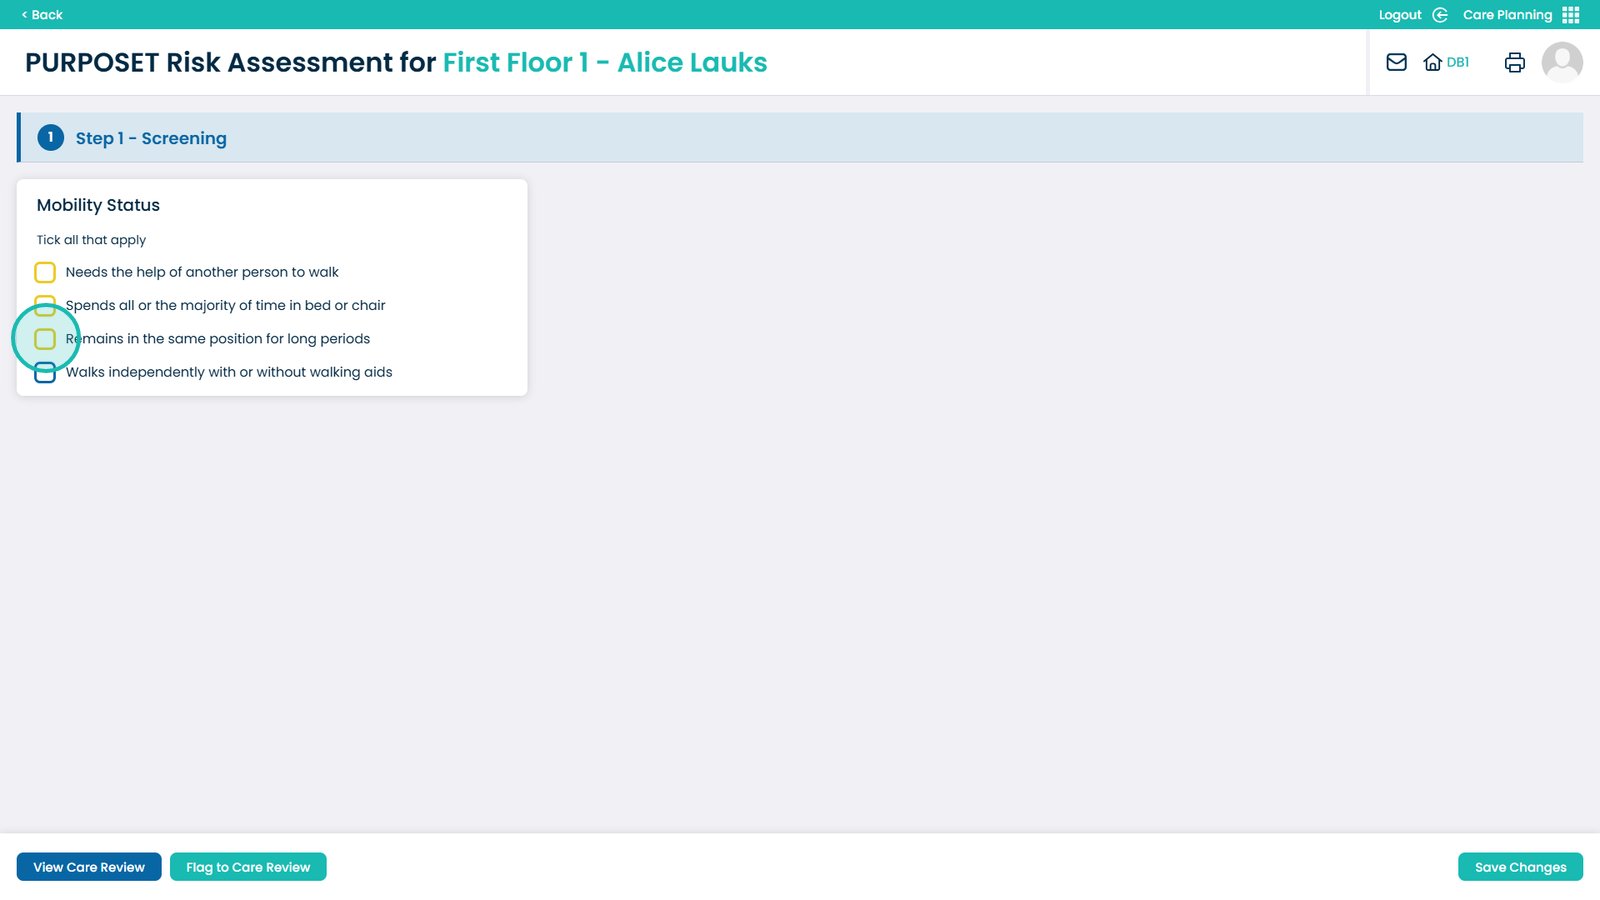
Now fill out the form using all of the options that apply to the service user. This example will show a higher risk of pressure ulcers
On the Analysis of Independent movement you should select the ones that apply. The columns will show the extent of all independent movement and the rows will be the frequency of position changes.
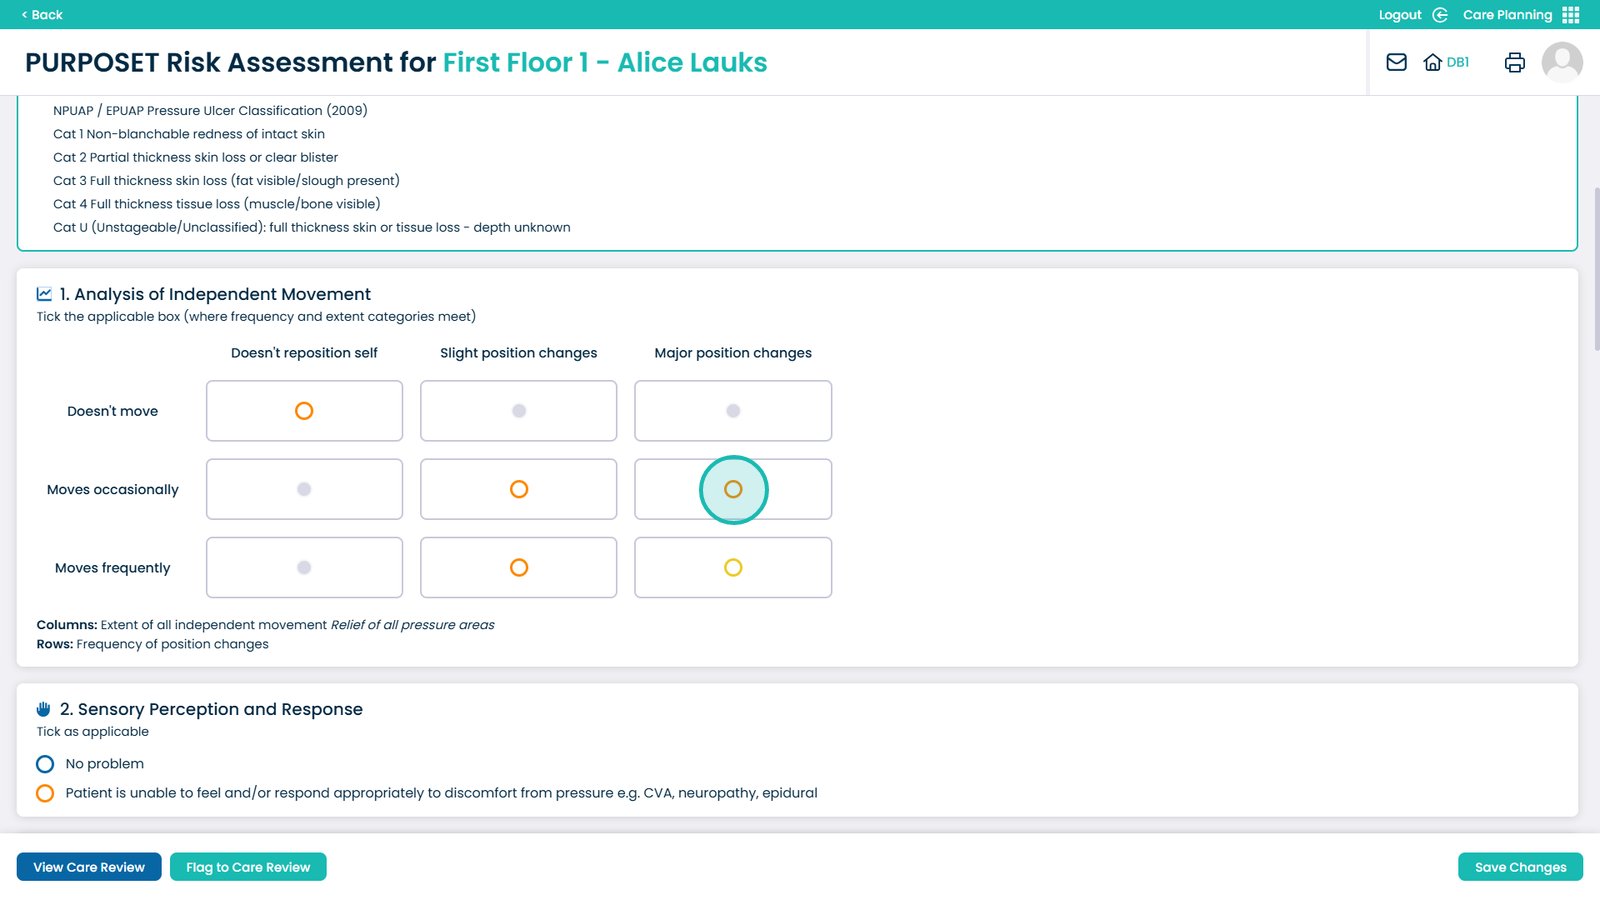
Now continue through the rest of the form selecting the options that apply
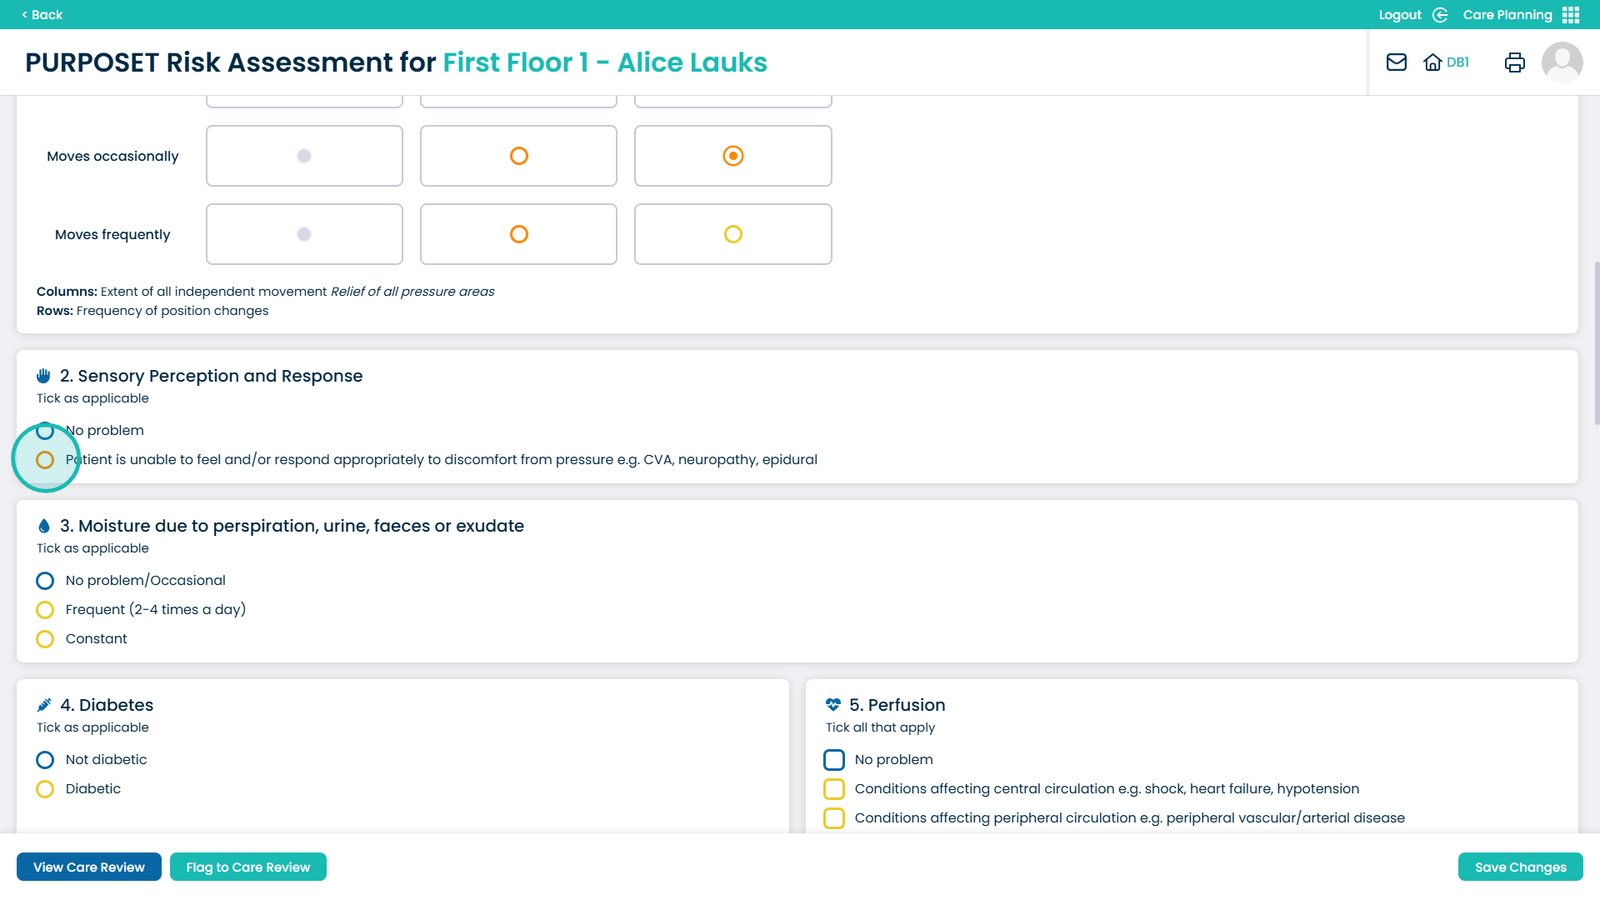
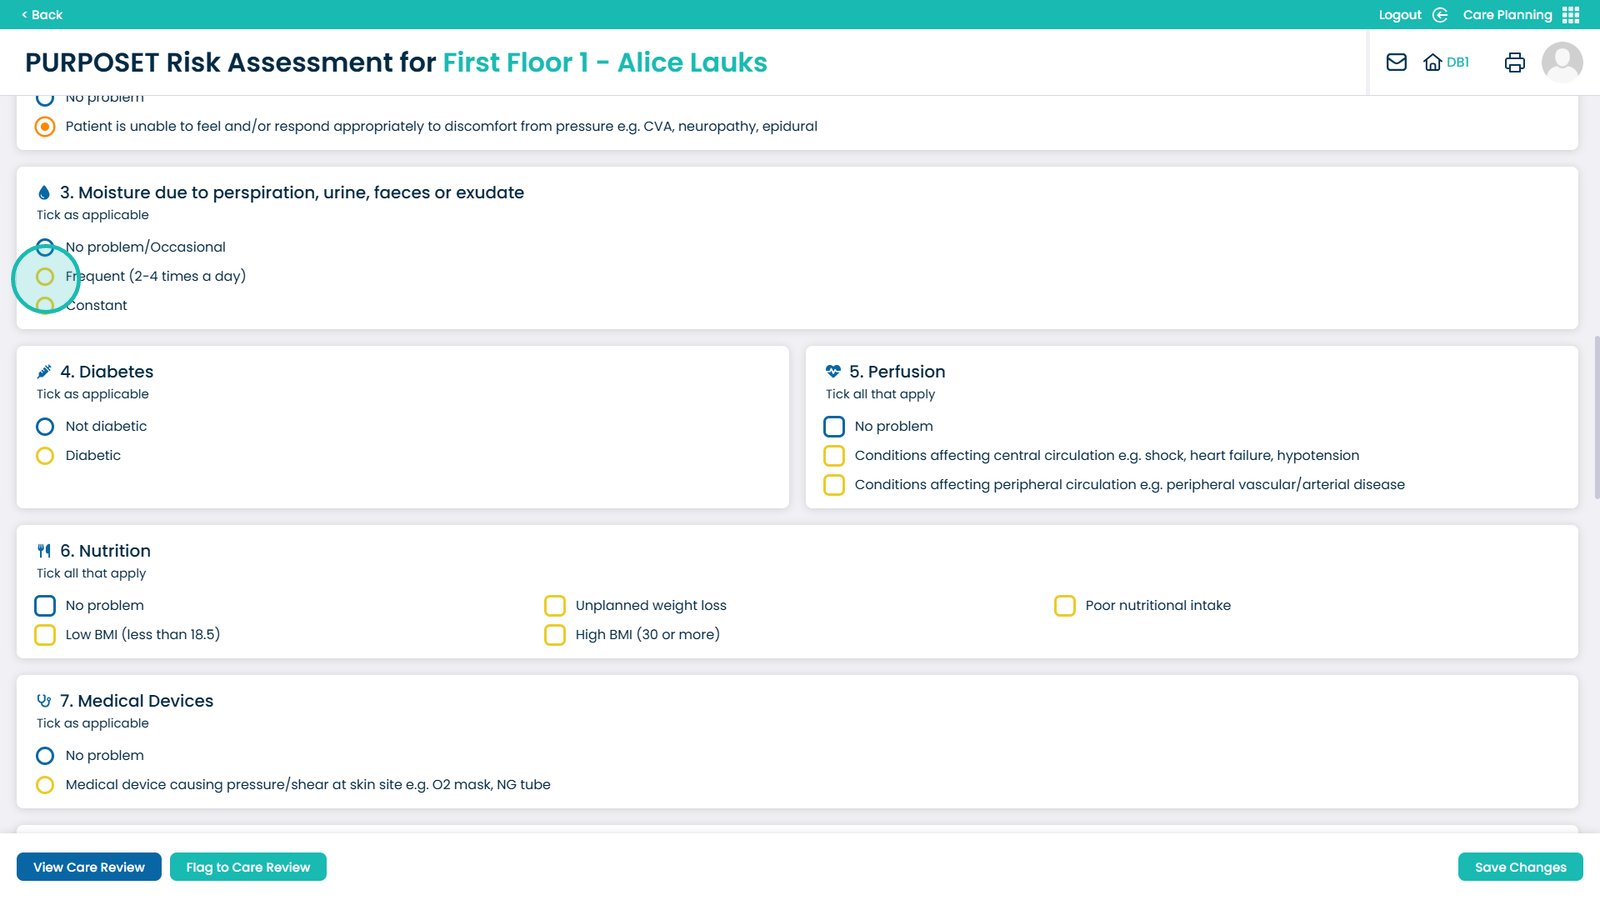
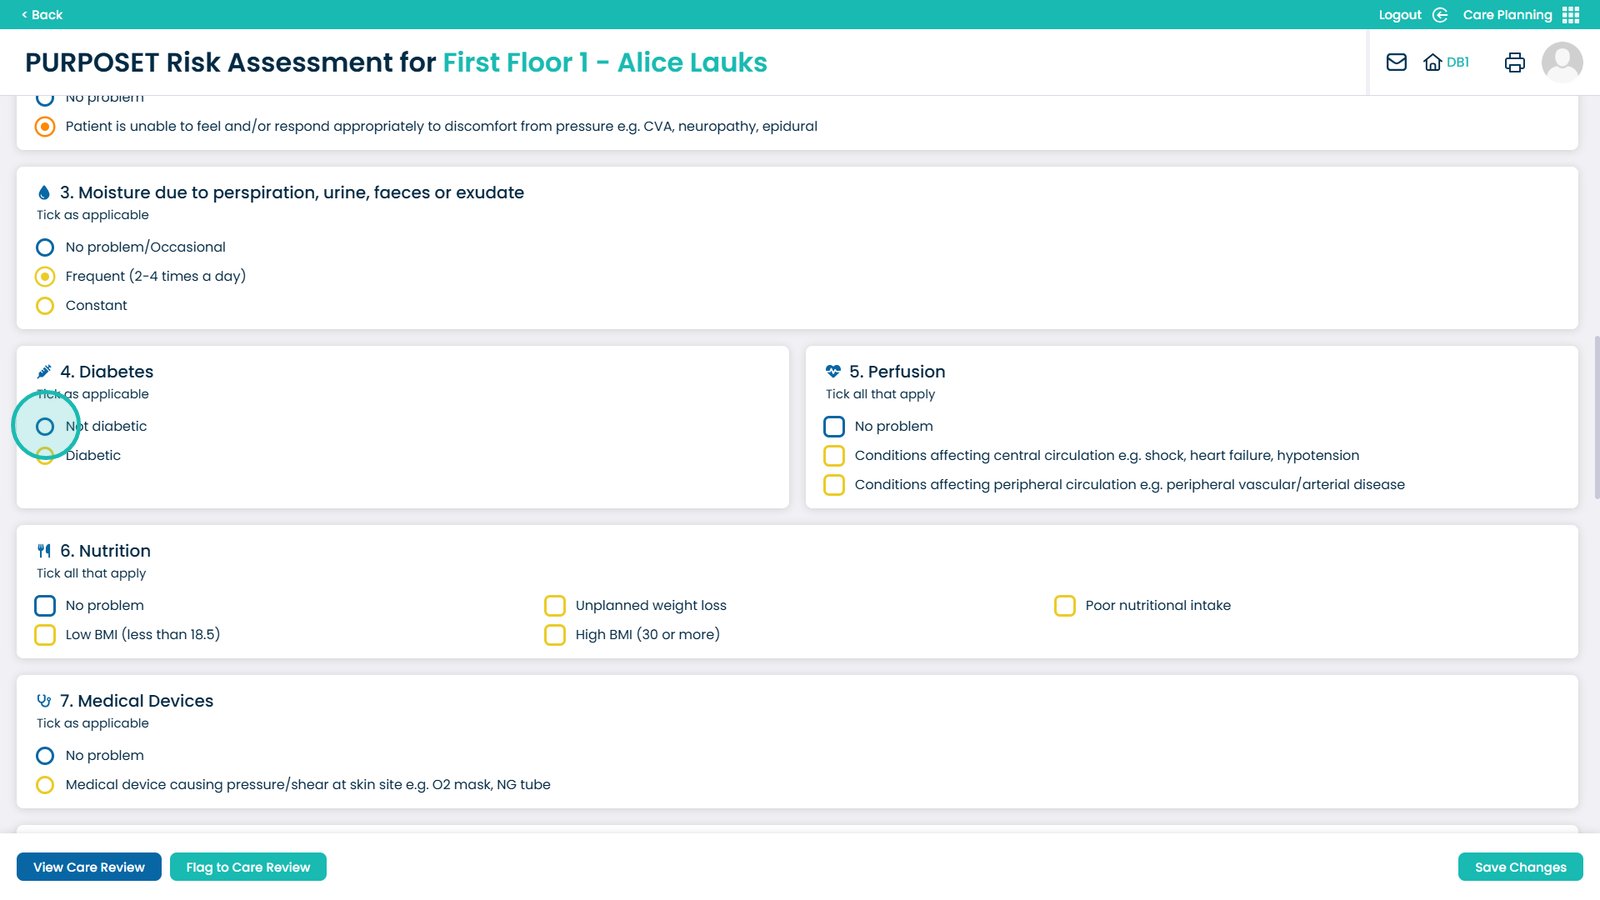
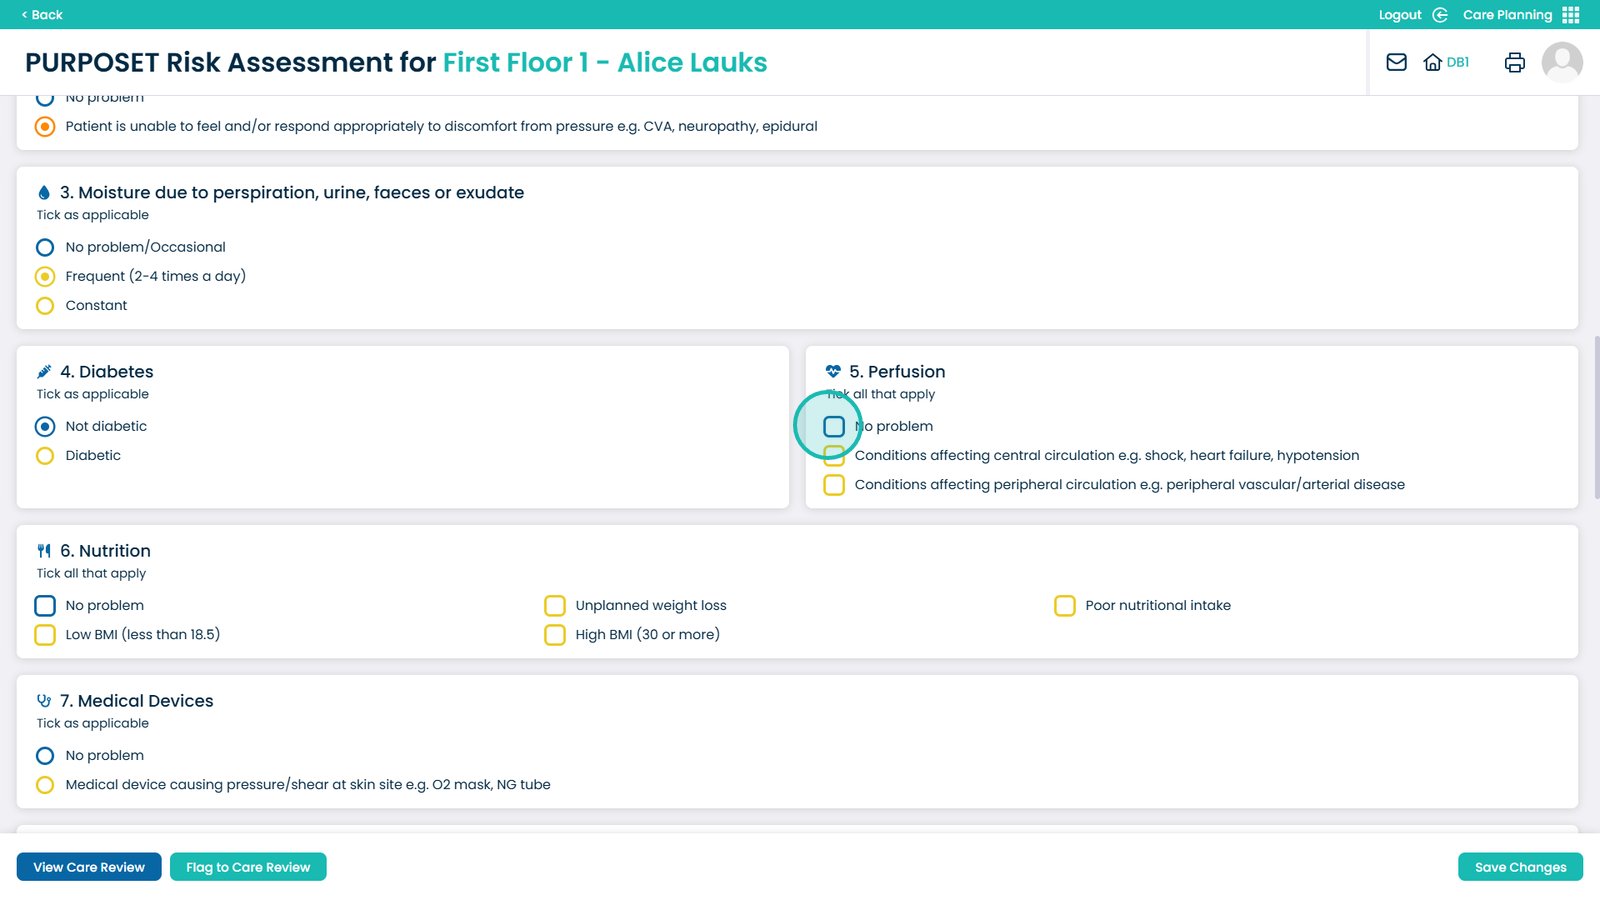
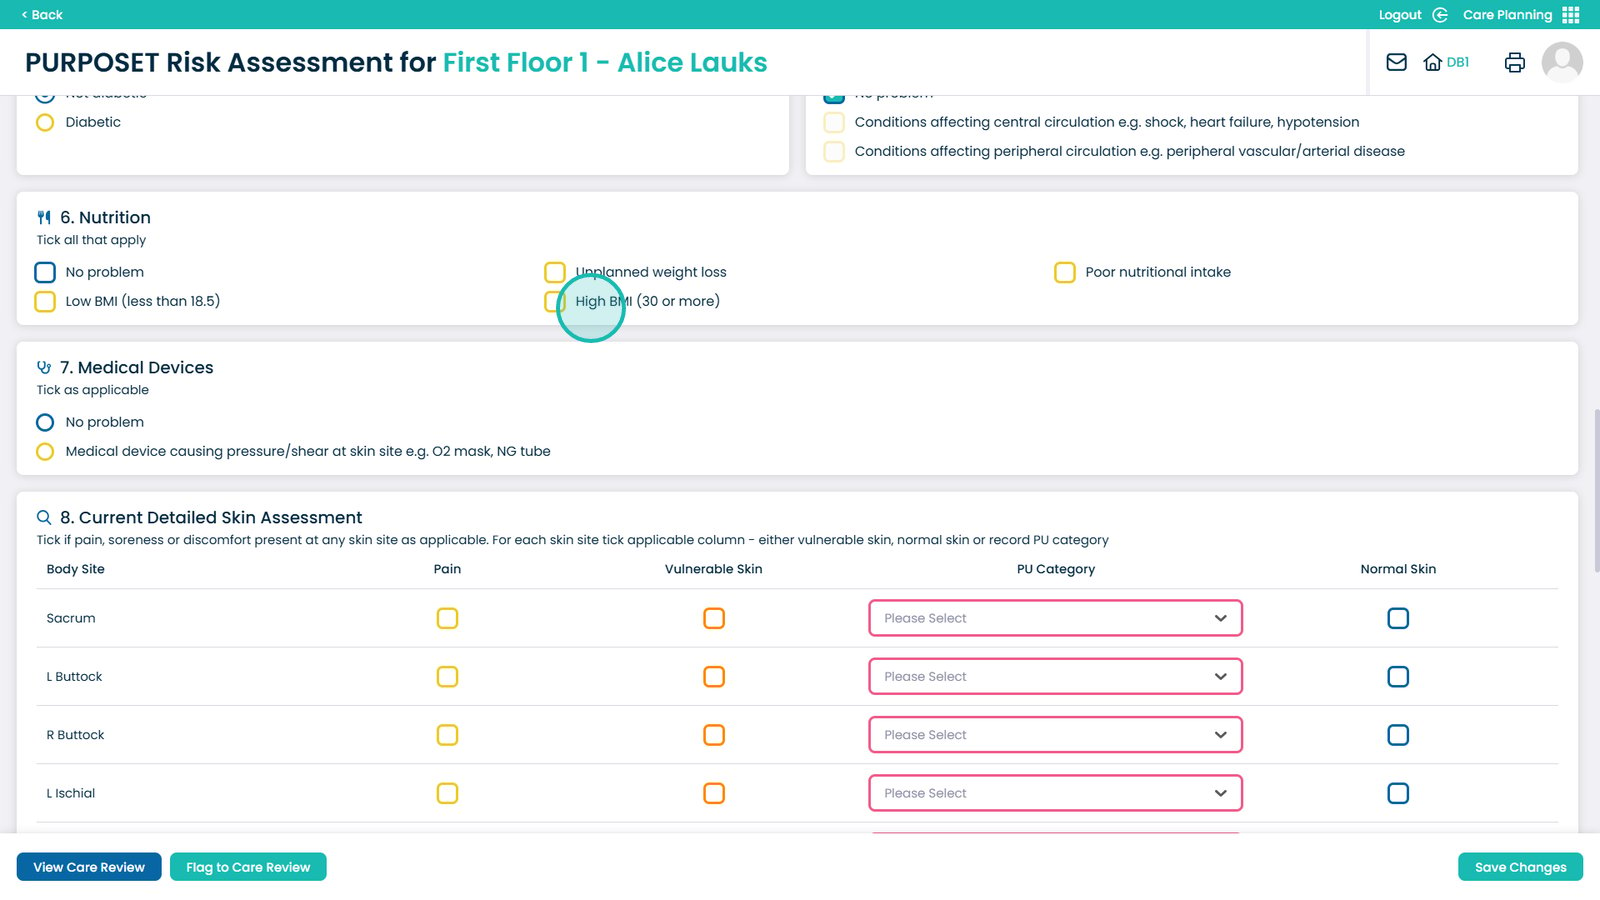
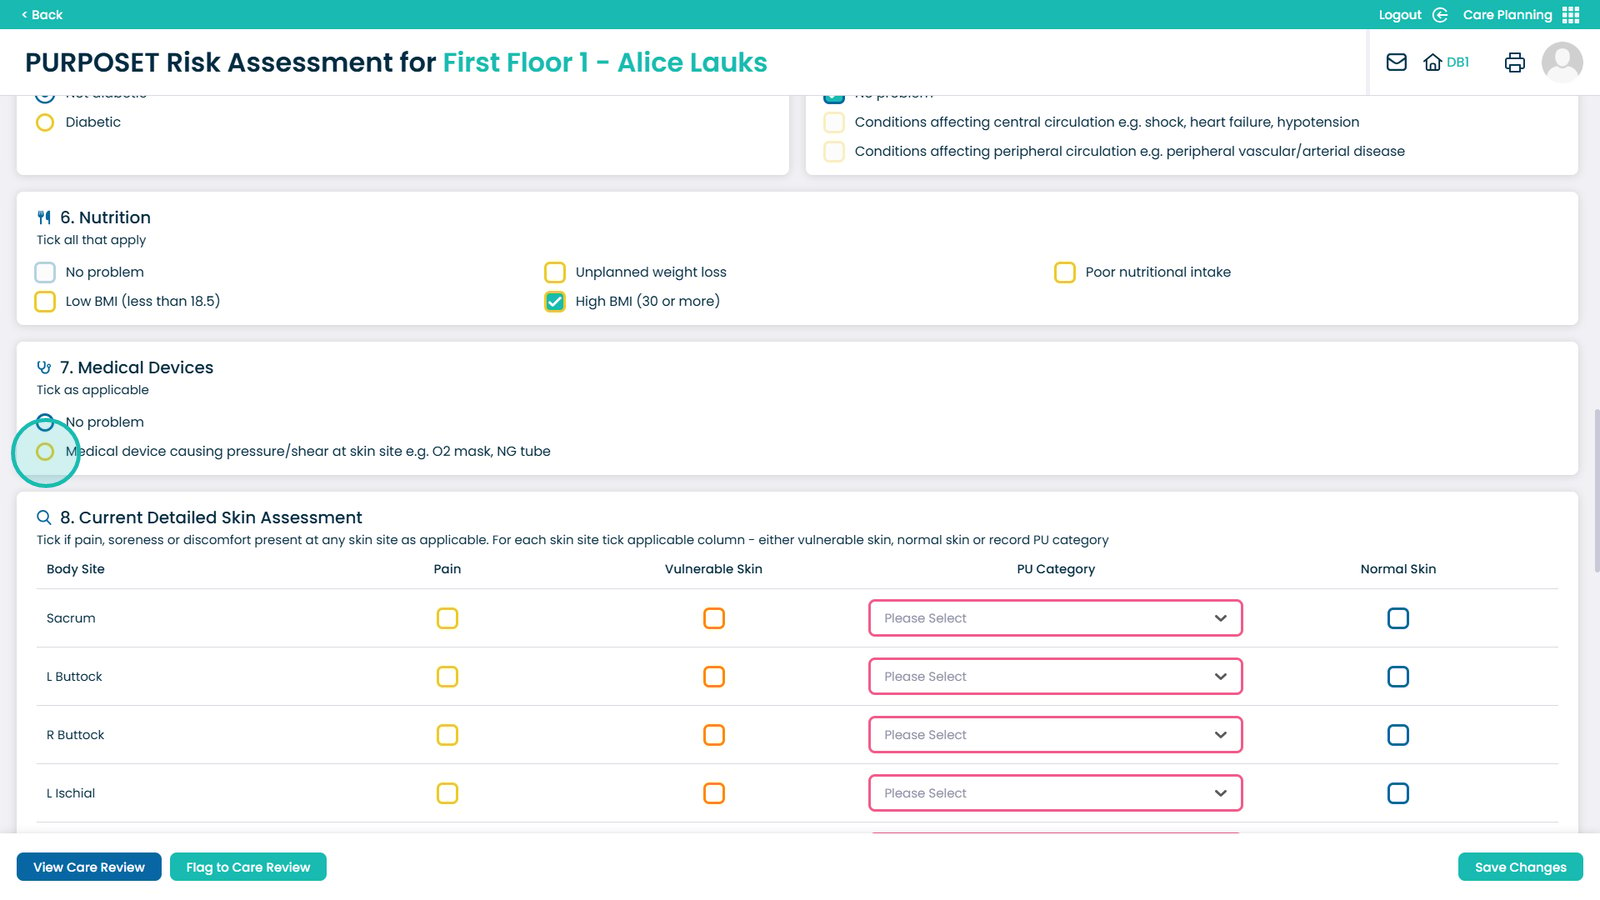
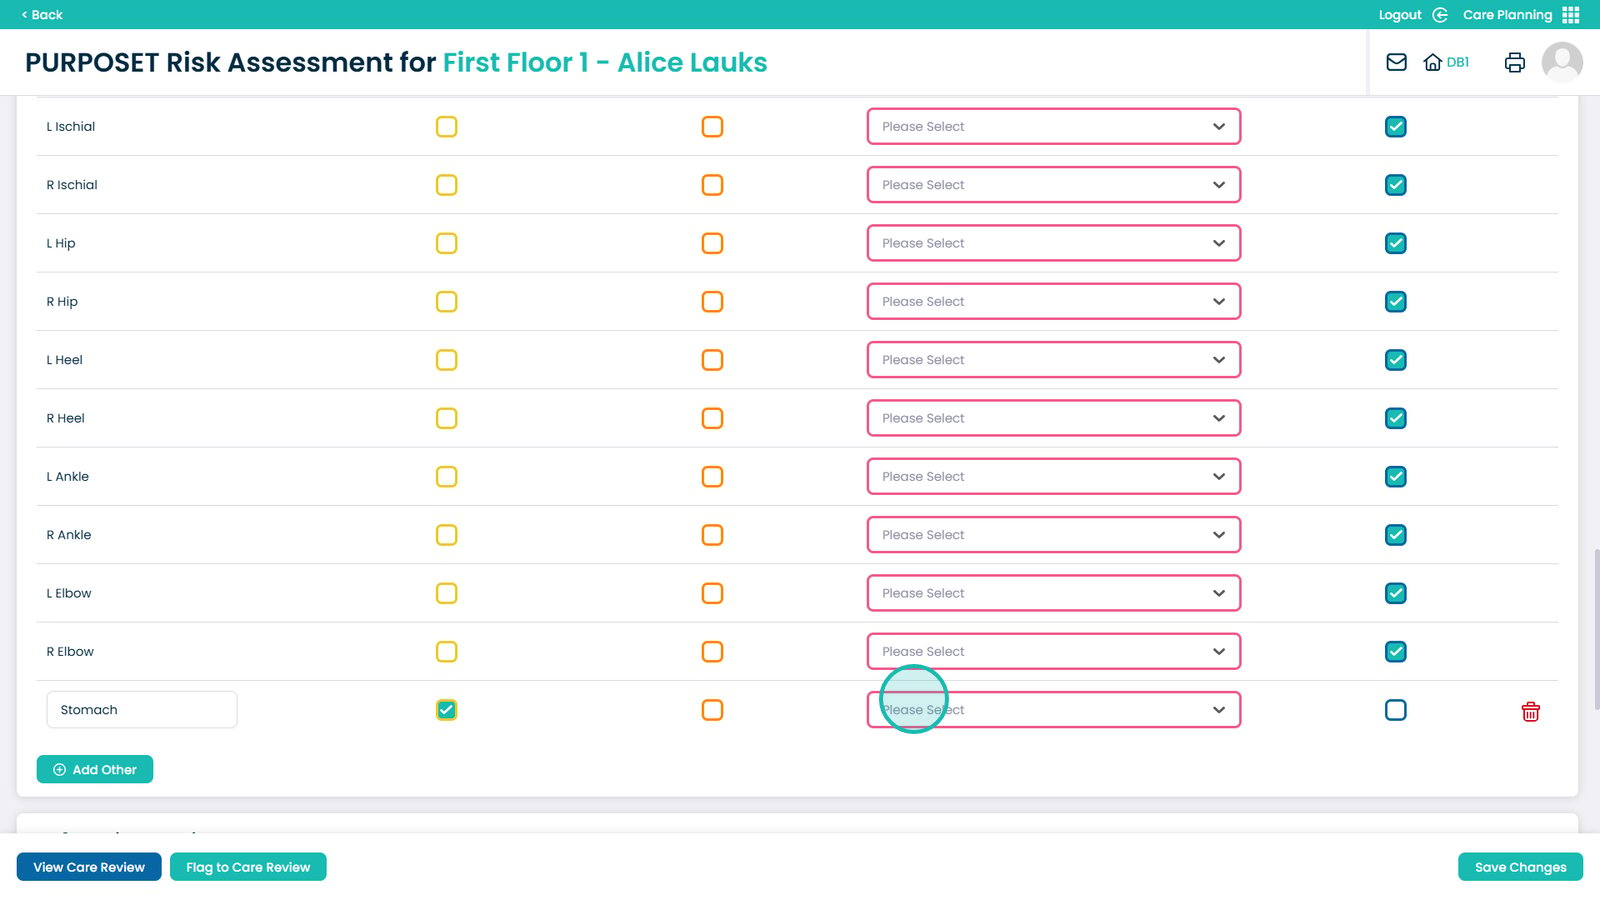
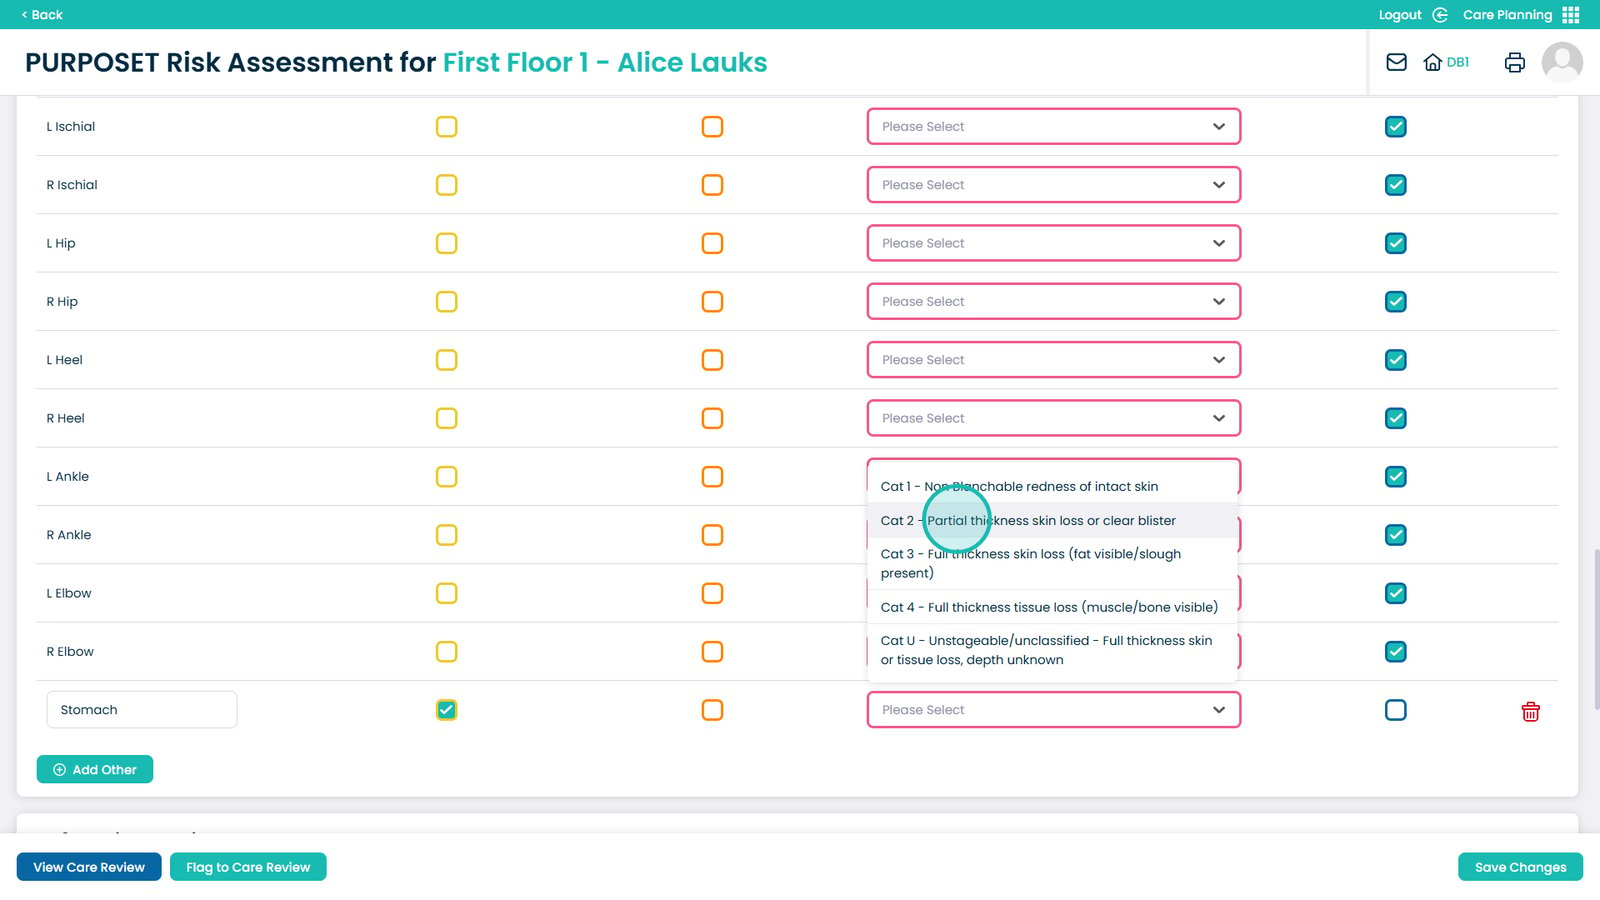
On the detailed skin assessment section, select the PU category first from the drop-down menu
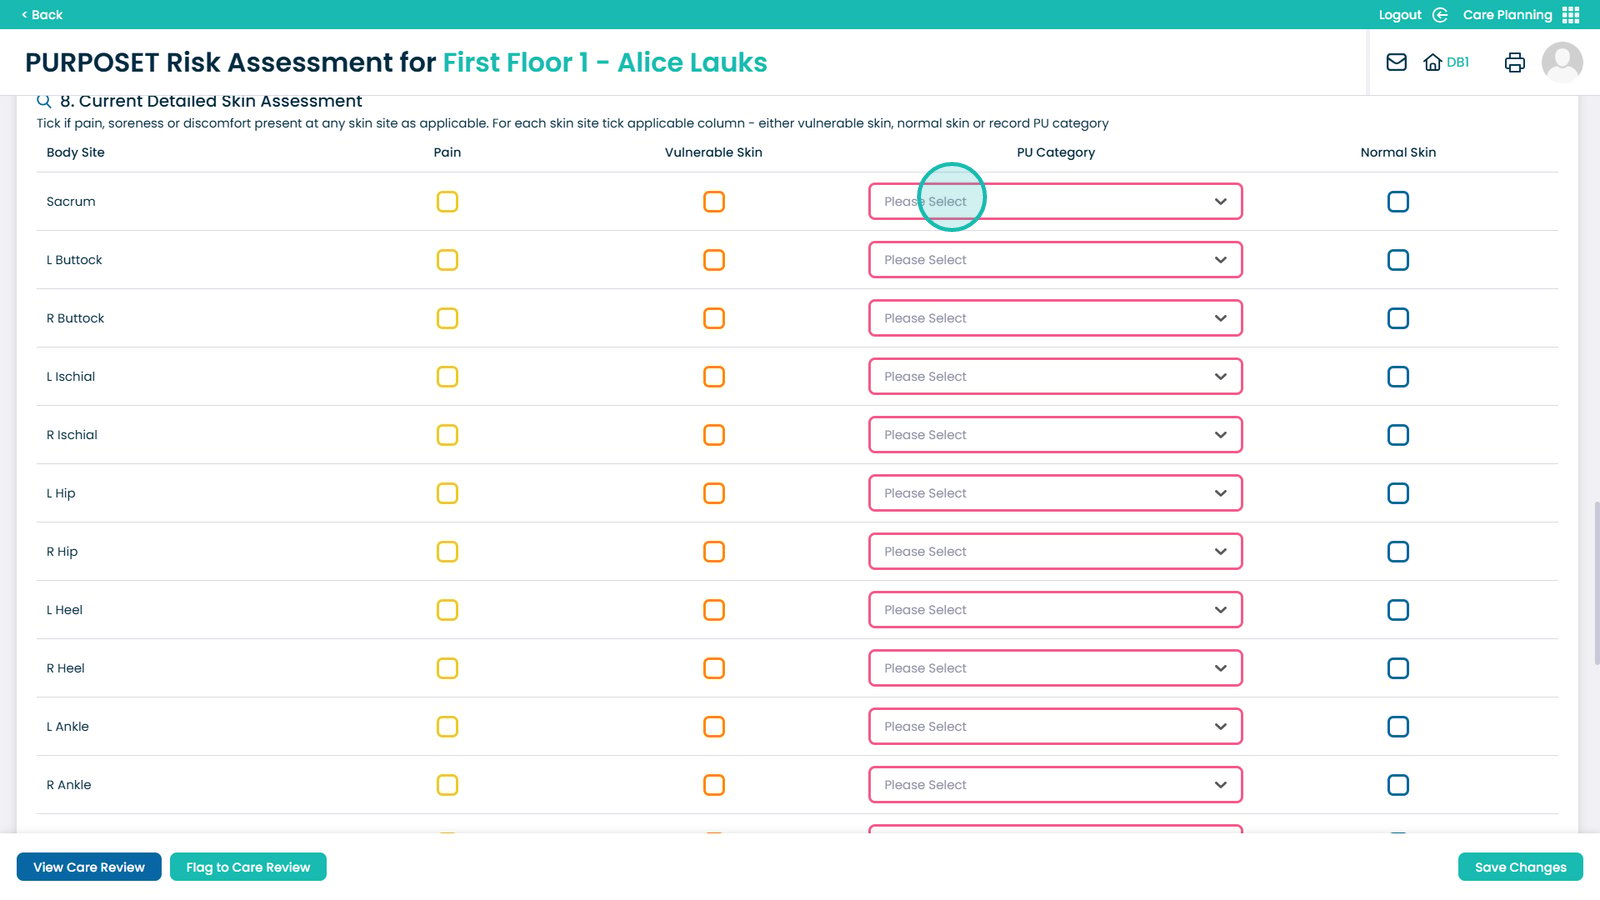
Each category of PU is explained next to the selection
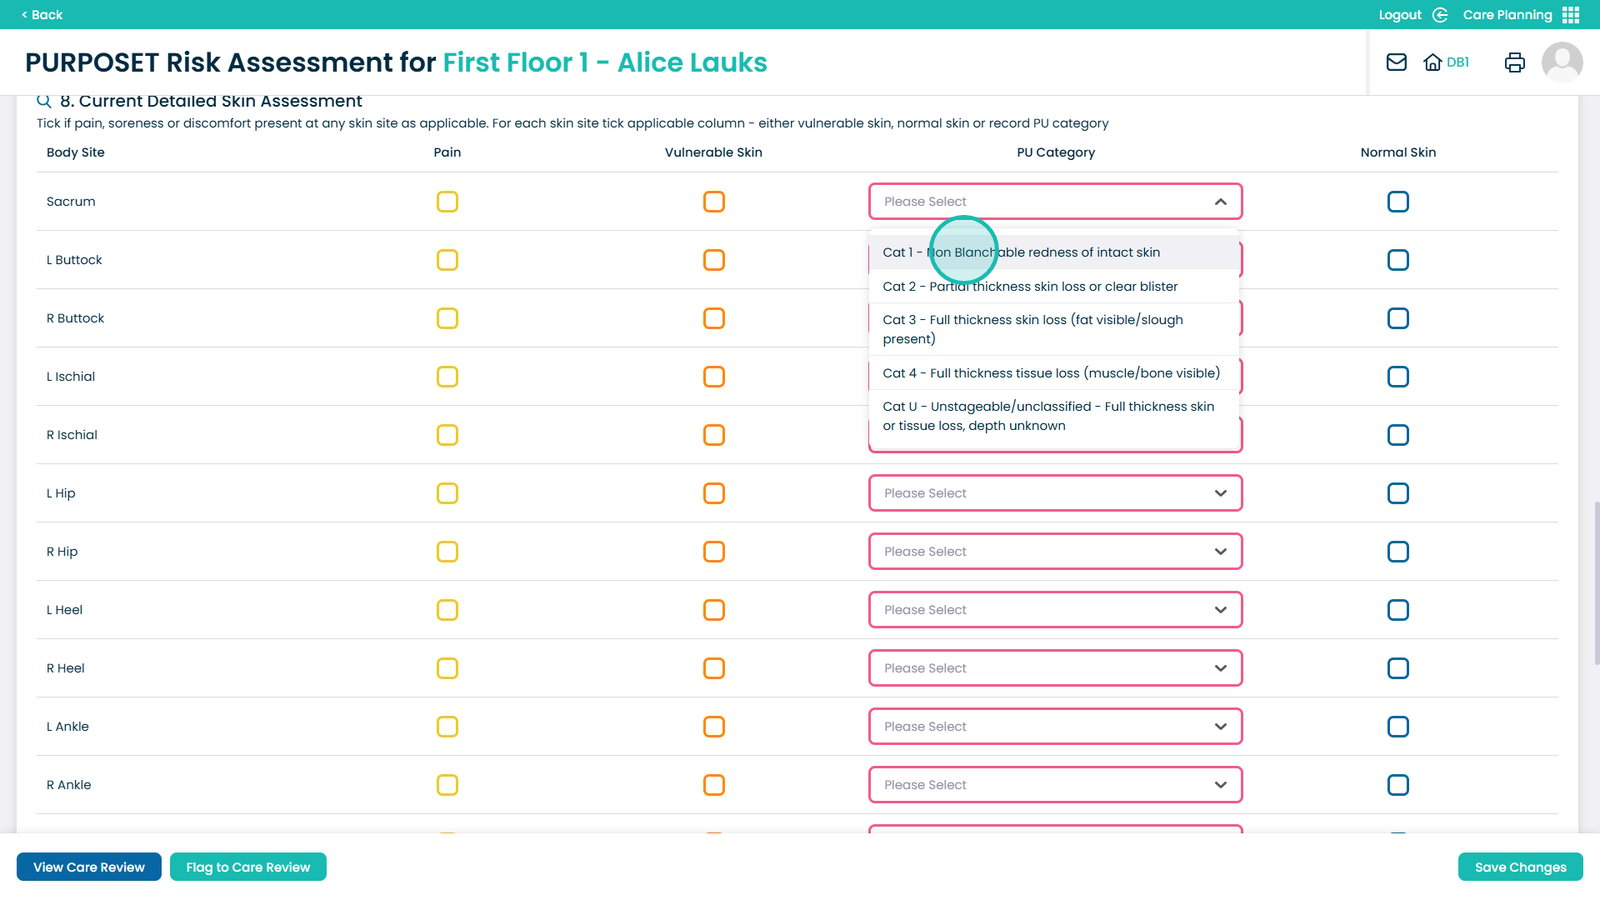
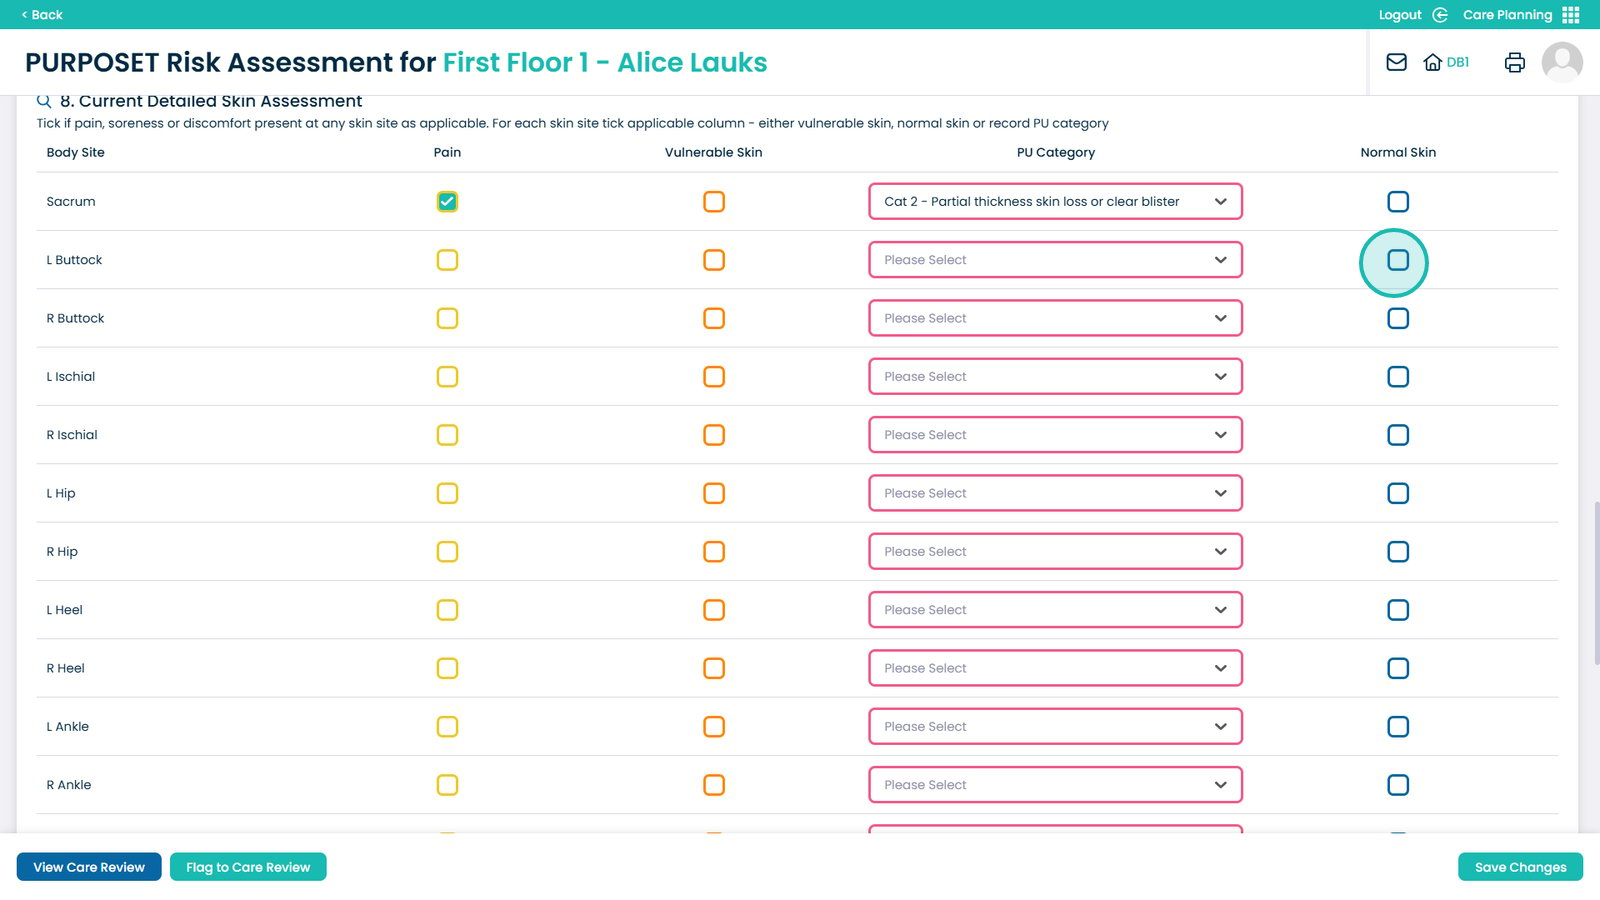
Then choose if the user has Pain, Vulnerable skin or Normal skin using the tickboxes
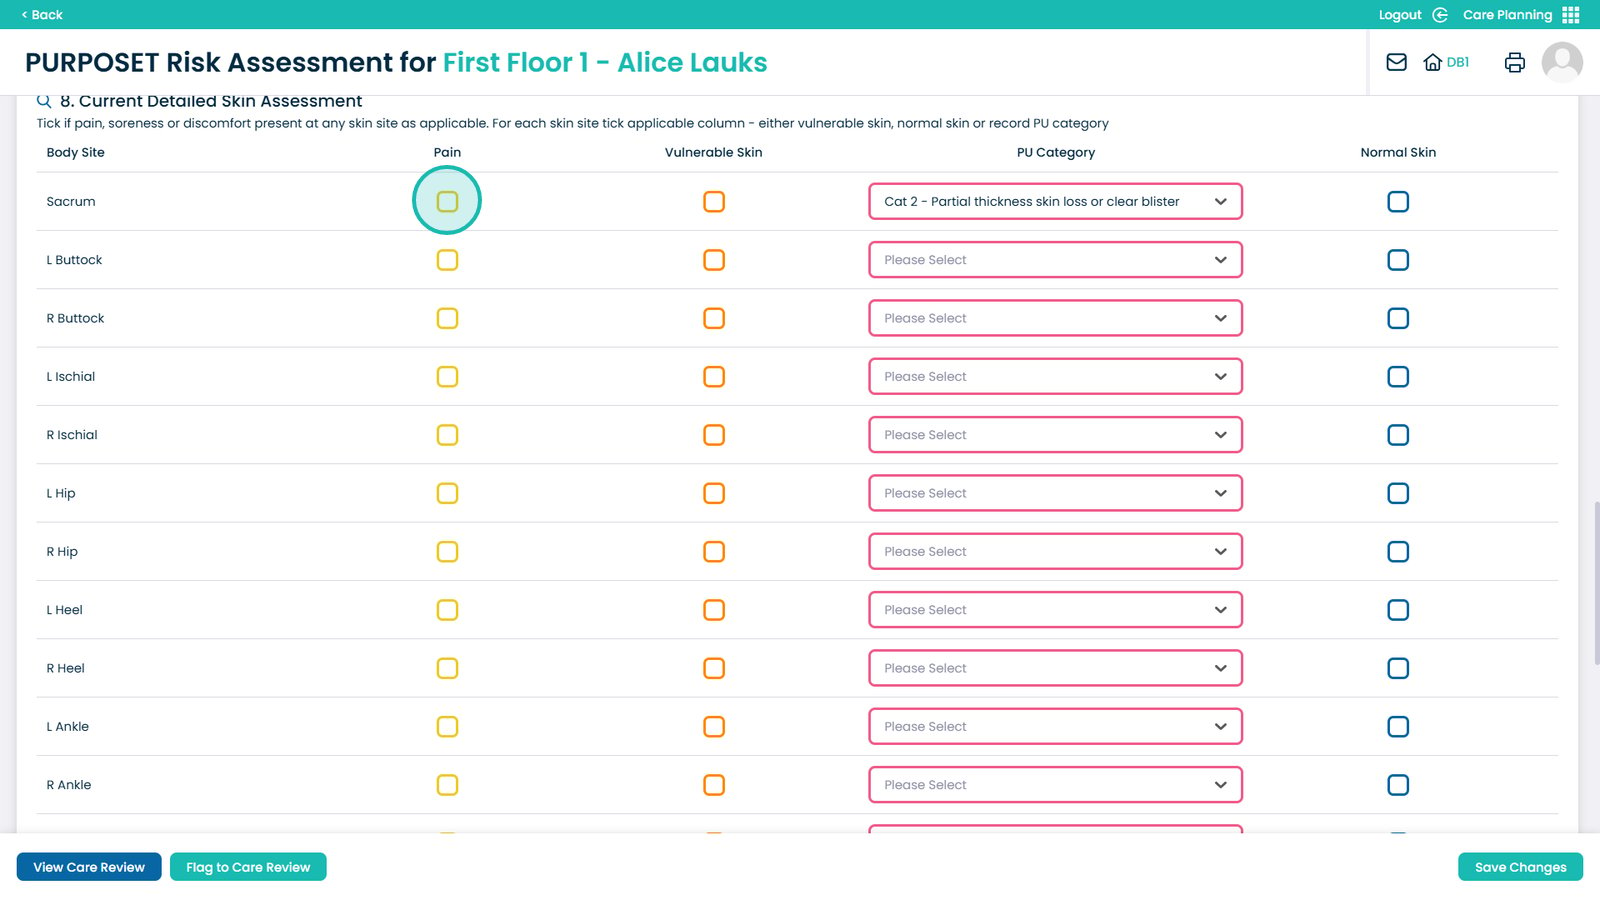
Make sure to confirm a tickbox or PU selection on each body site
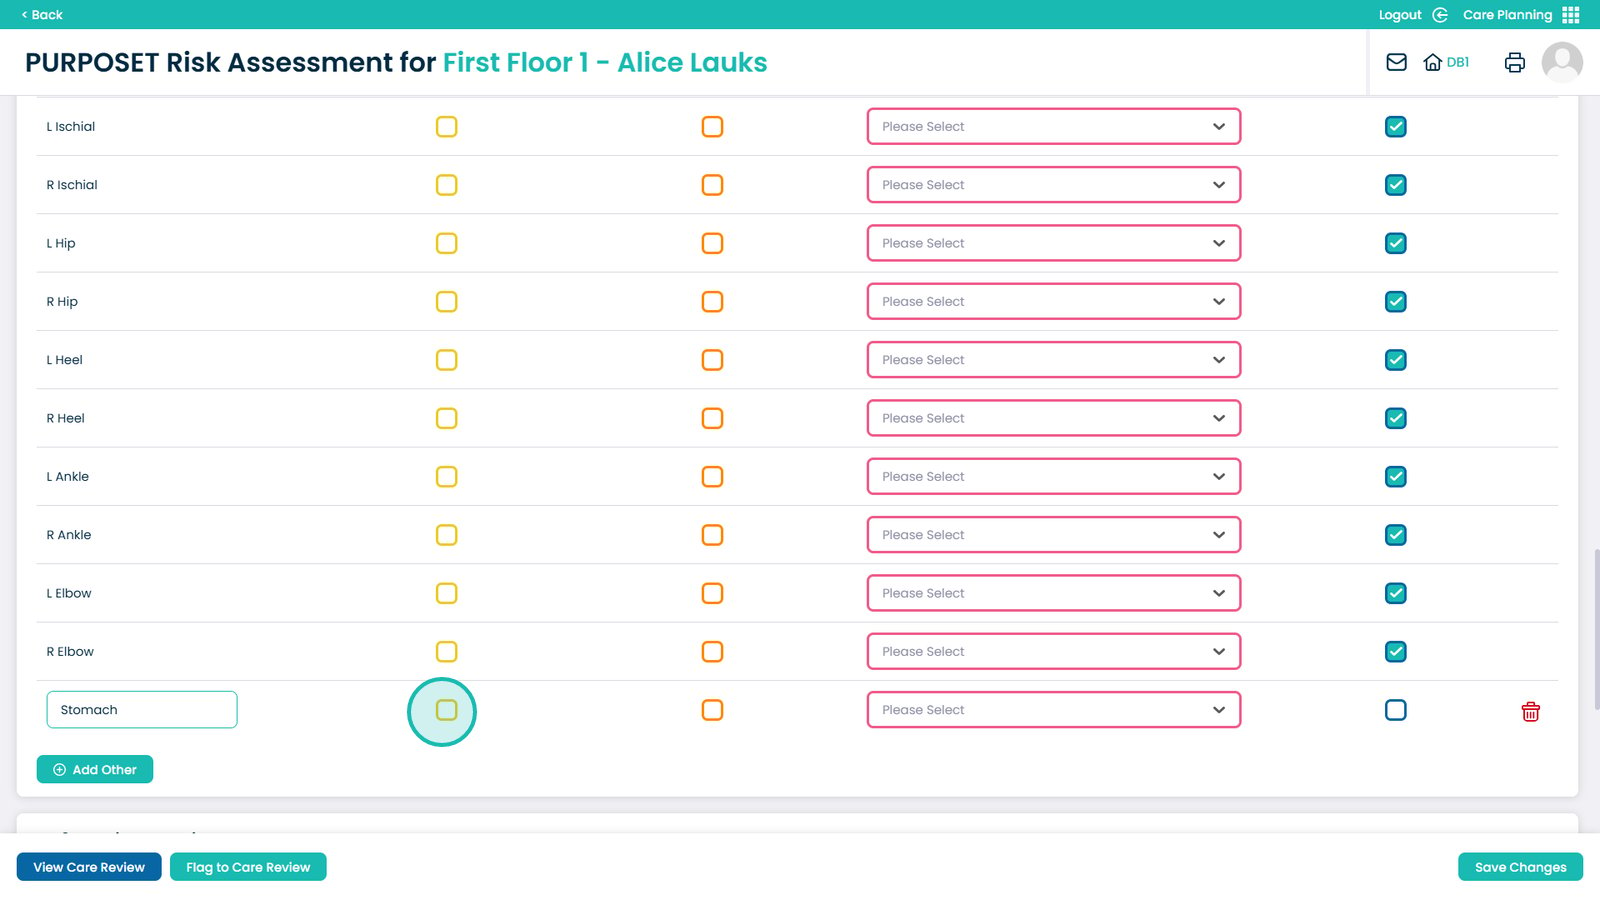
You can also Add Other areas of the body for further PU areas
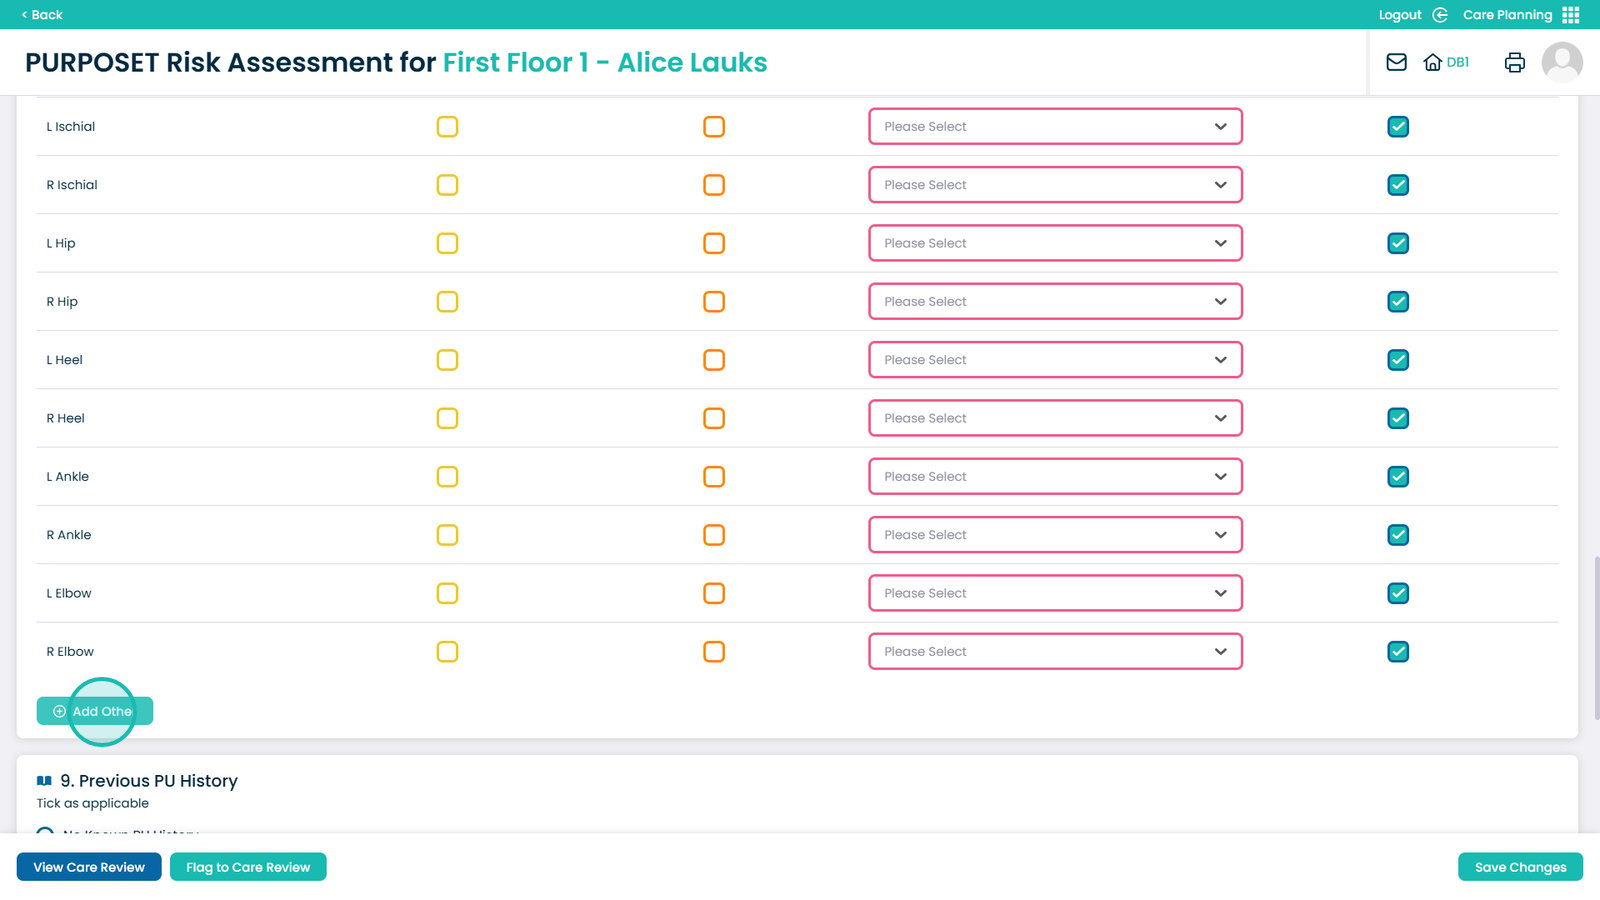
Enter the name of the area
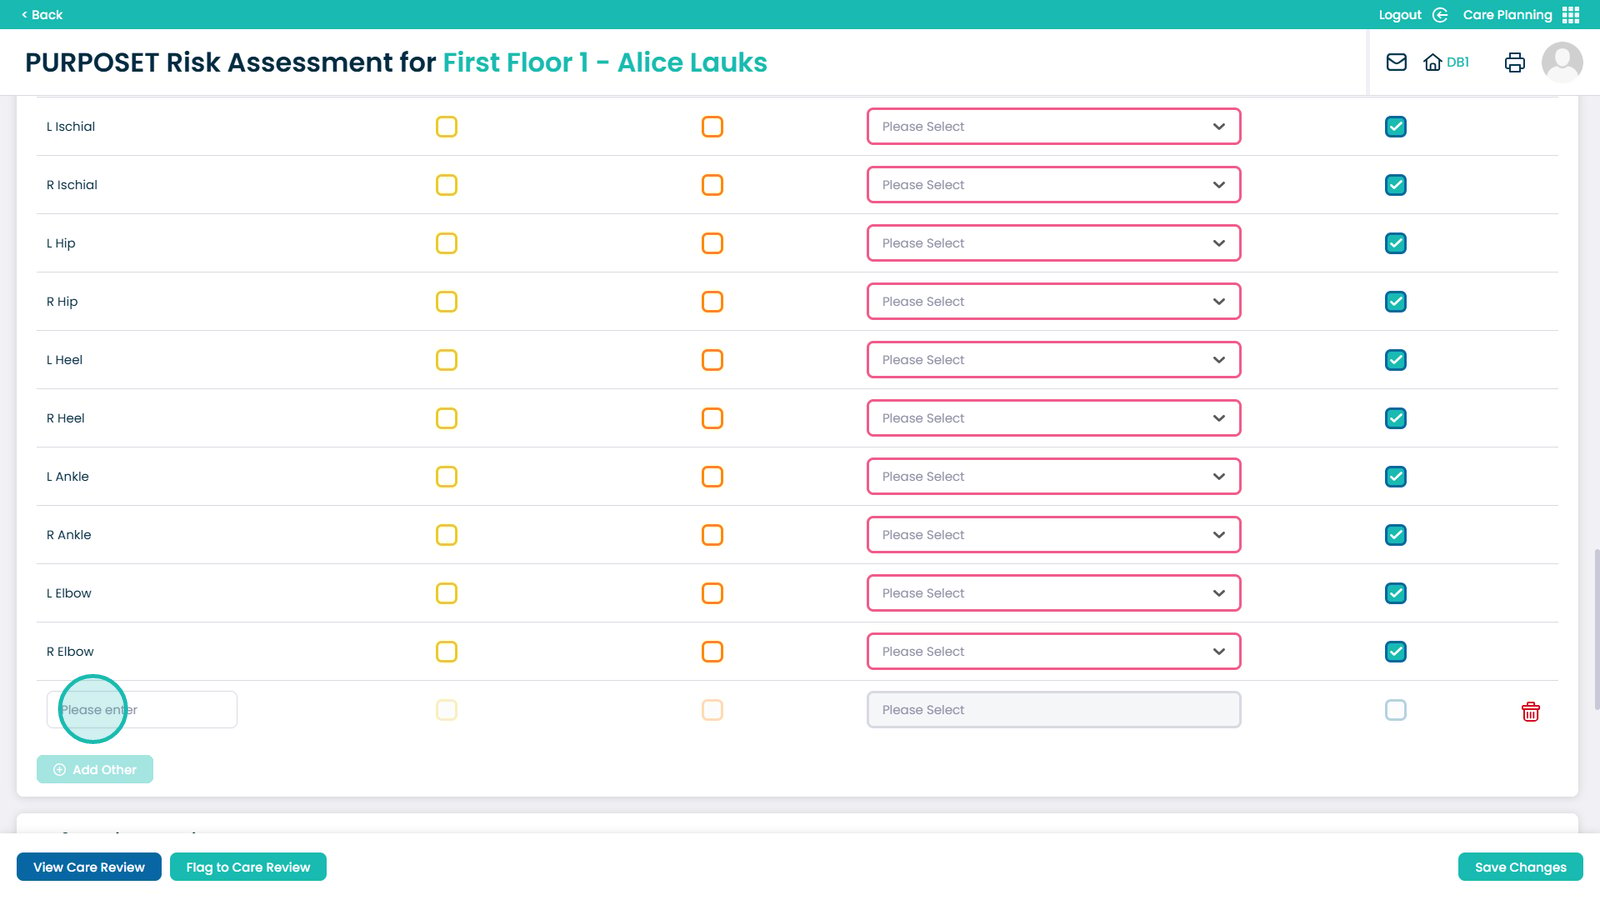
Then fill in the rest of the information as you did for the previous areas
Choose if the service user has had any other previous PU history
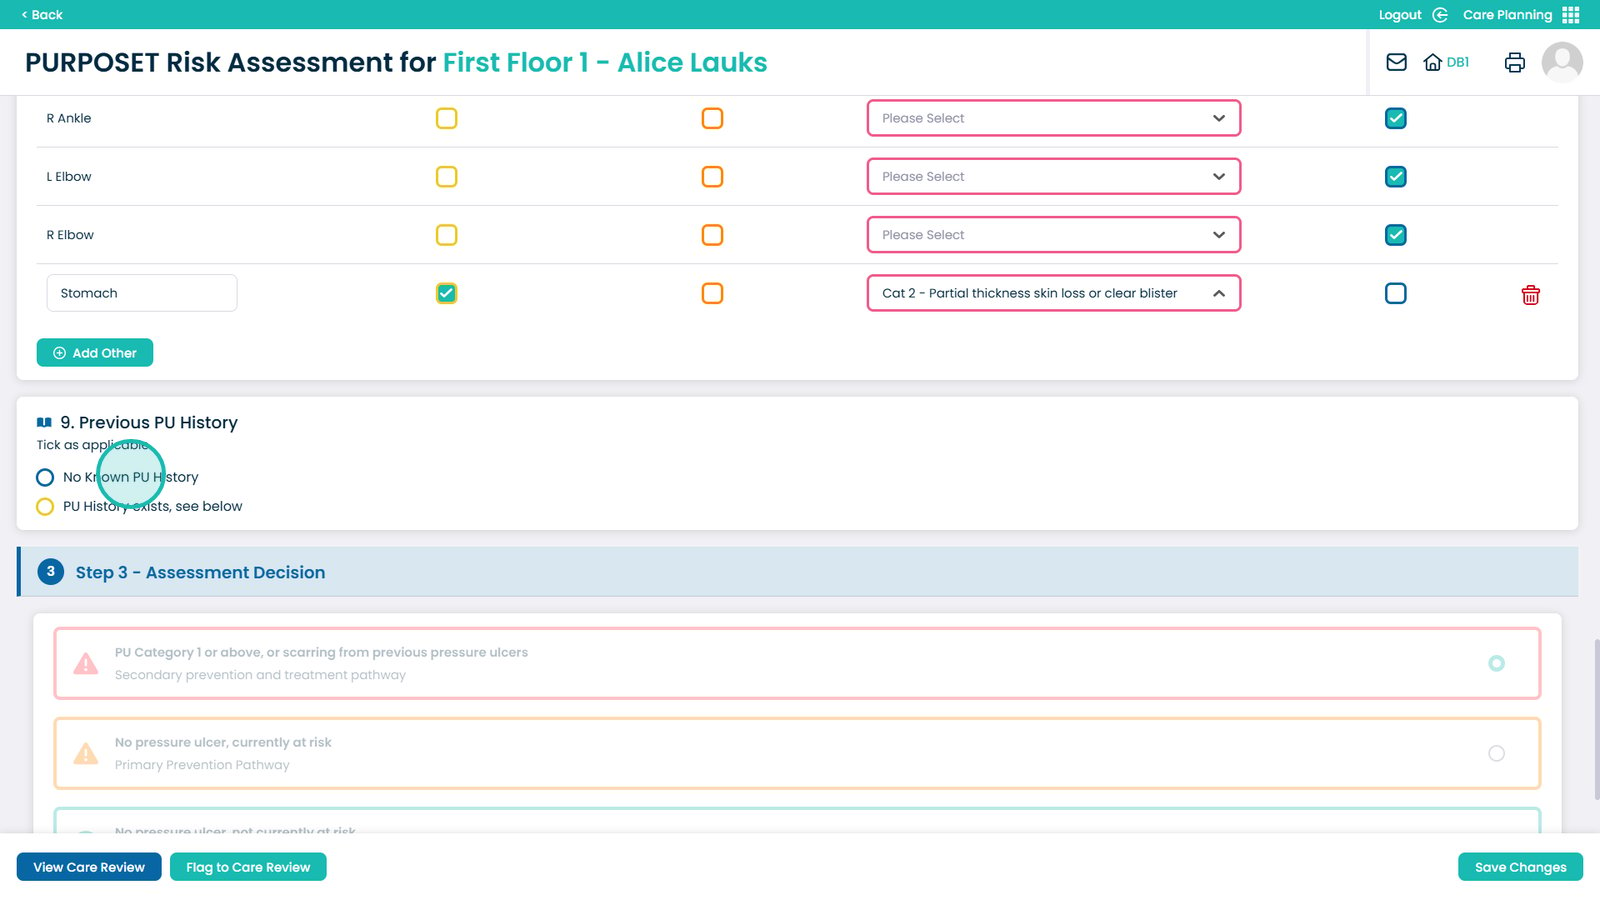
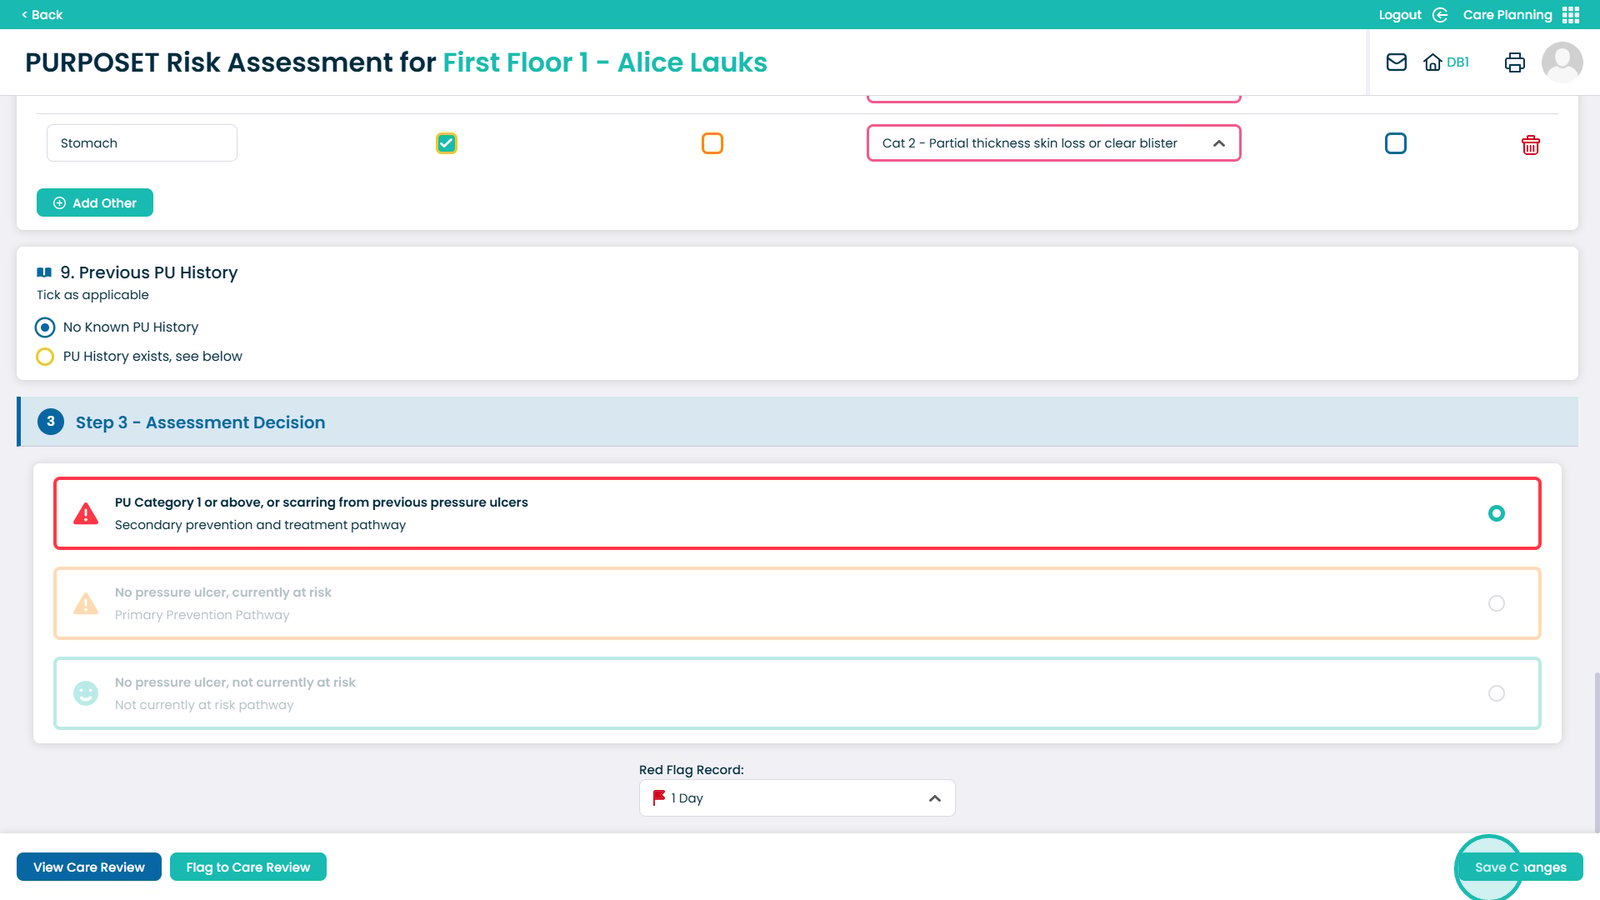
You can now see the PU category is above 1 and there is scarring, this will need secondary prevention and treatment
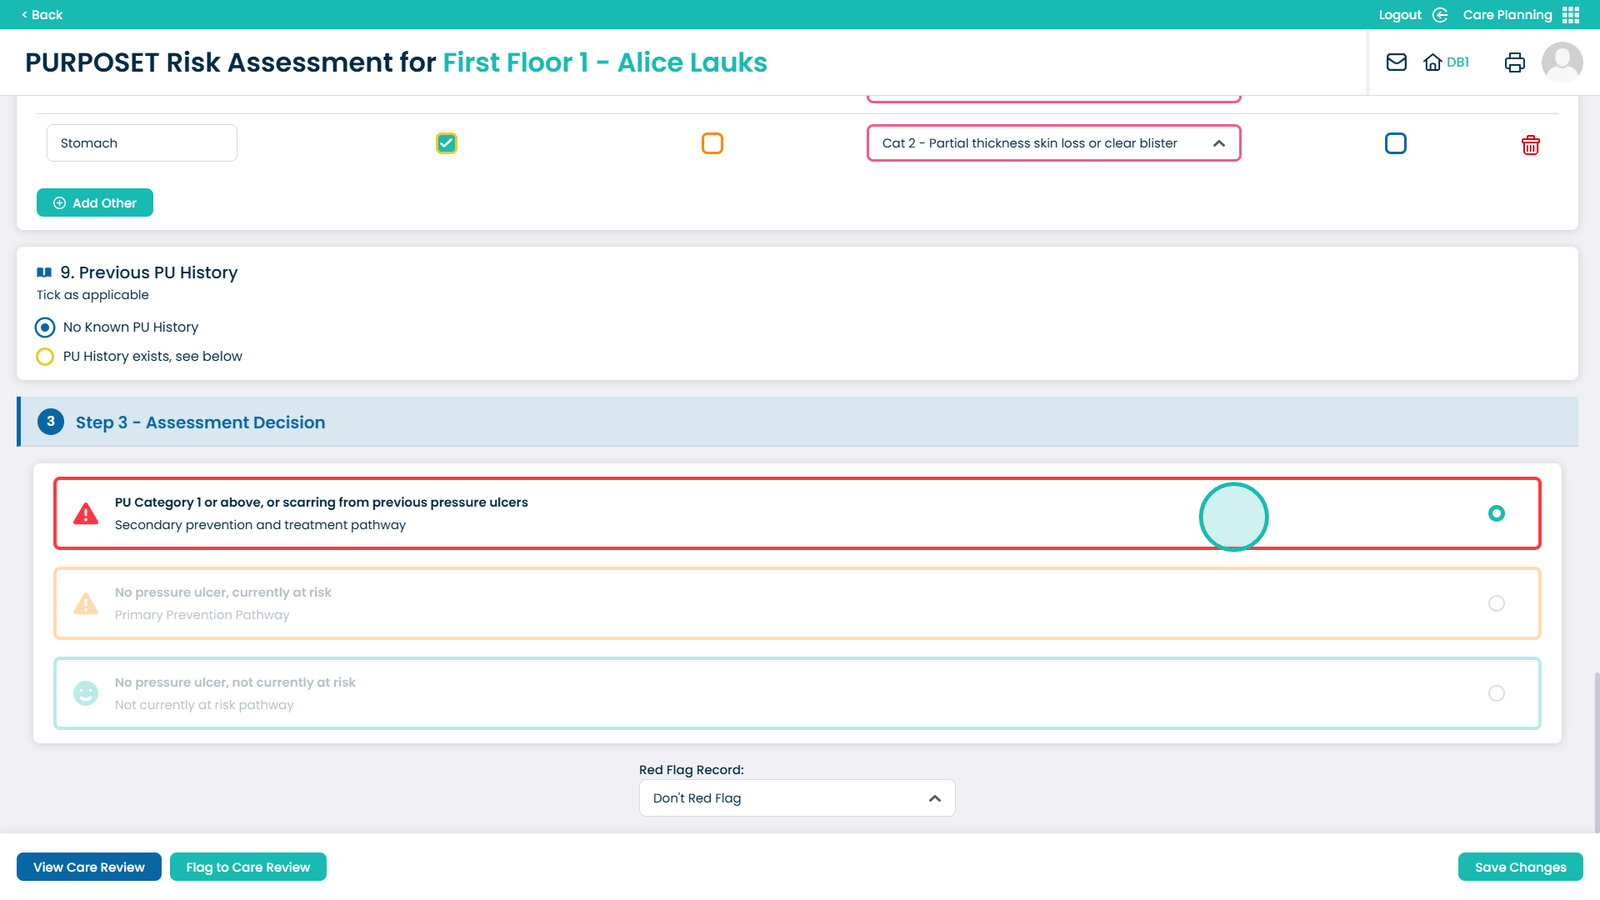
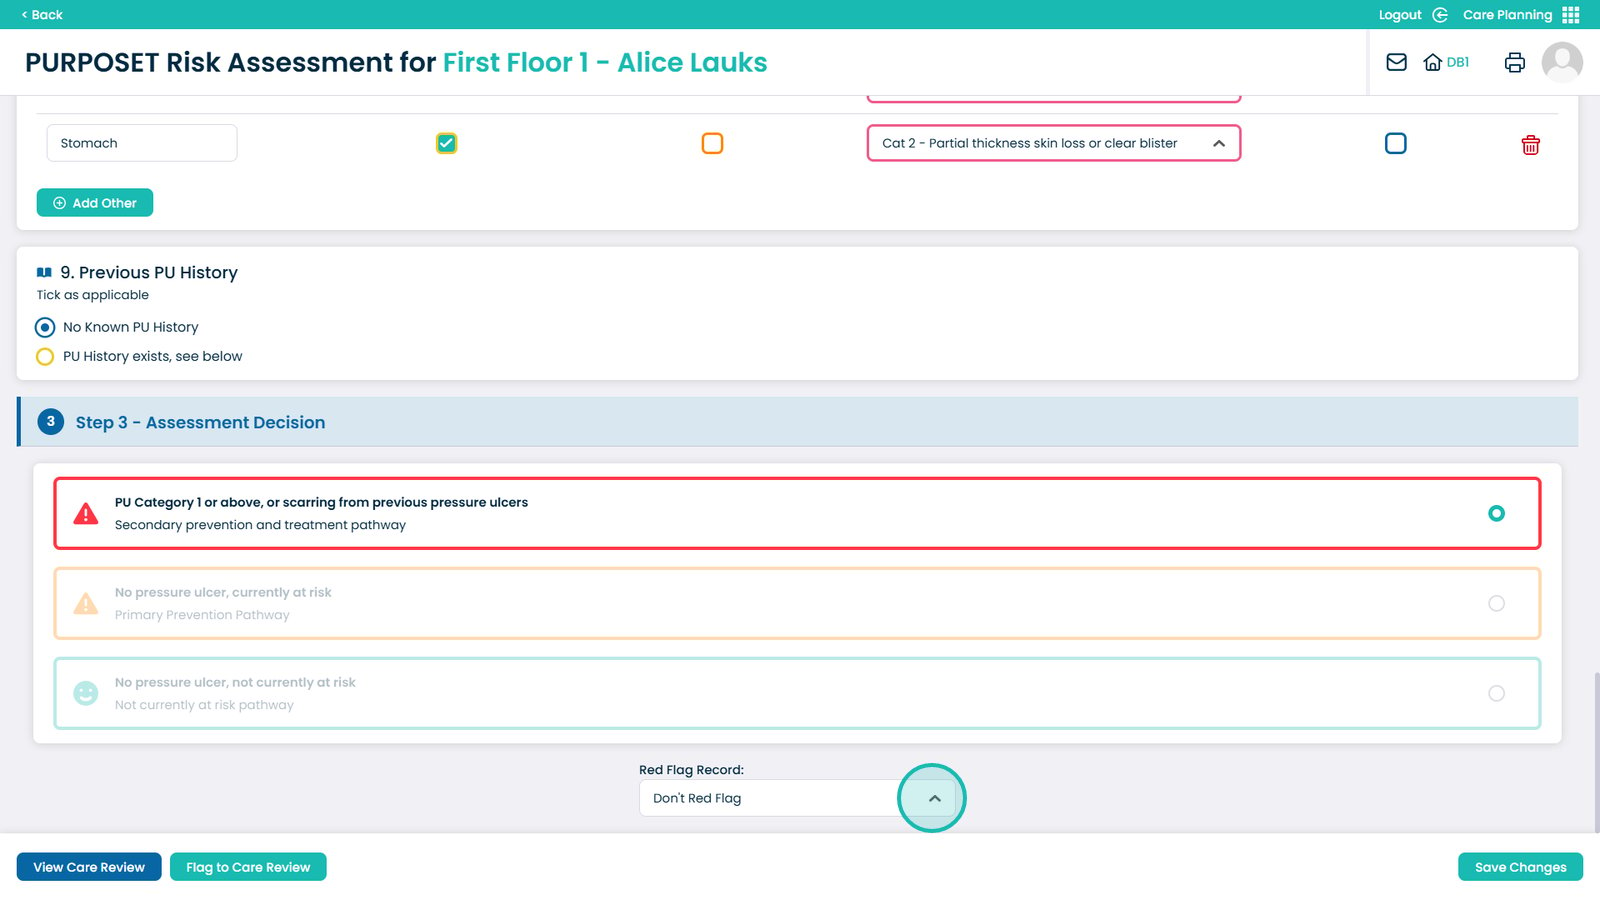
Select to Red Flag the record if necessary, this will flag it on the care plan
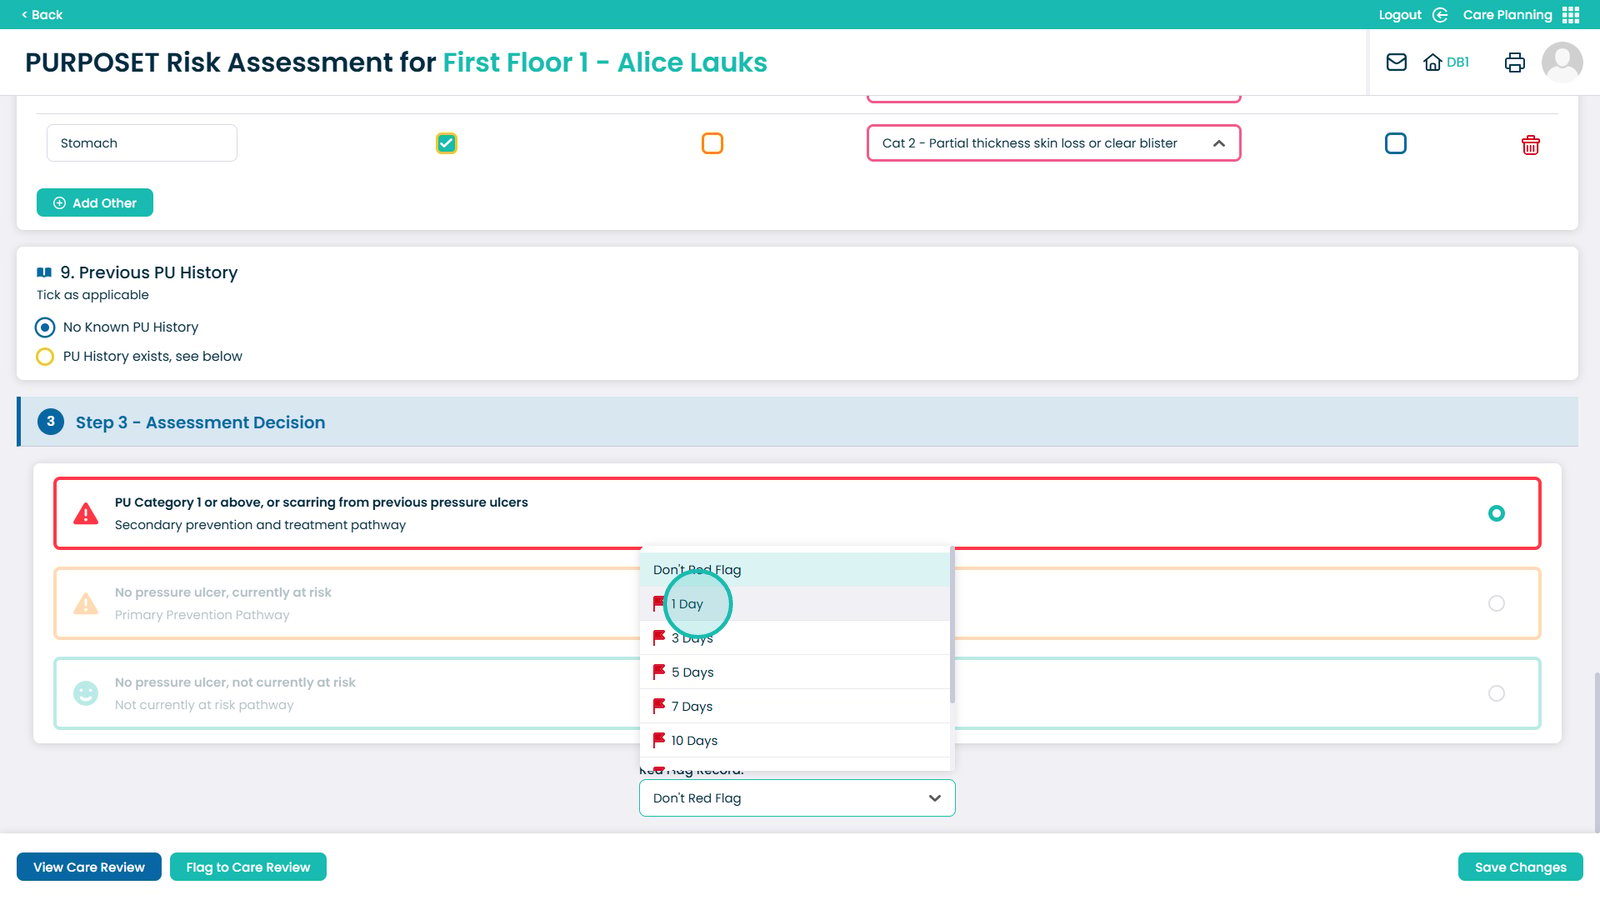
Choose when you would like the red flag to appear
Click save changes once done to complete the assessment
