In this guide we will cover how to import existing rotas into Cloud Roster.
Step 1:
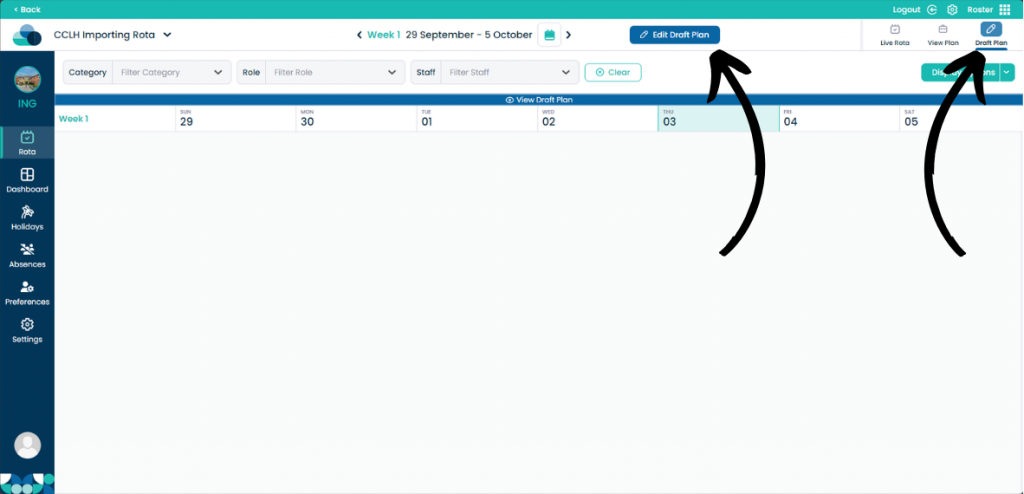
In order to import, you must be on a brand new rota. Select Draft Plan then Edit Draft Plan.
Step 2:
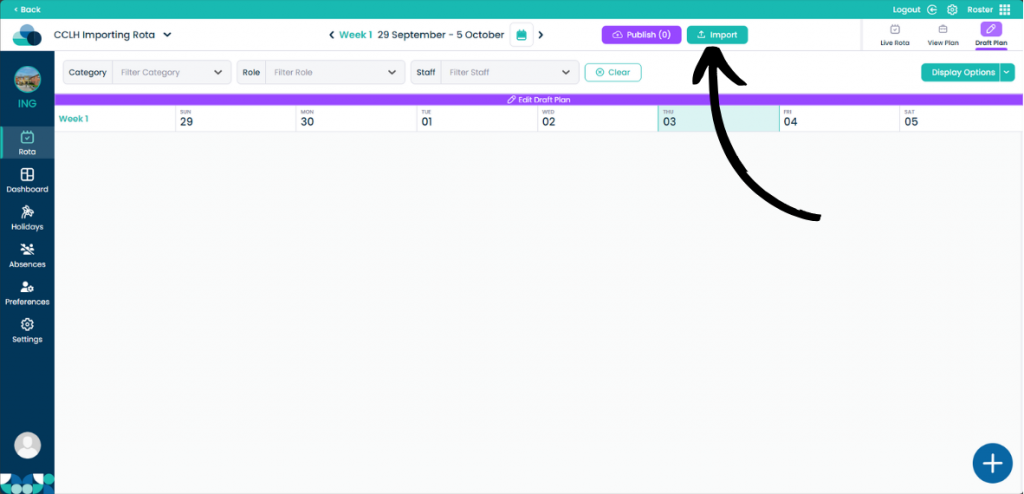
Then click Import.
In order for you to Import a legacy Care Control rota, the following must be true:
Your rota must have the same number of weeks.
Your rota must start on the same week day.
Your rota week cycle must match the week cycle in legacy template. Ensure that your start day matches the weekday selected in your Legacy settings, and use the most recent Week 1 date from your live rota as your new plan’s date.
You may need to remove this rota within your Settings Area to start this process again.
NB: Please be aware that once you have switched over to Cloud Roster you will no longer be able to see your previous rotas, templates will be available so please make a note of your start date before switching over.
Step 3:
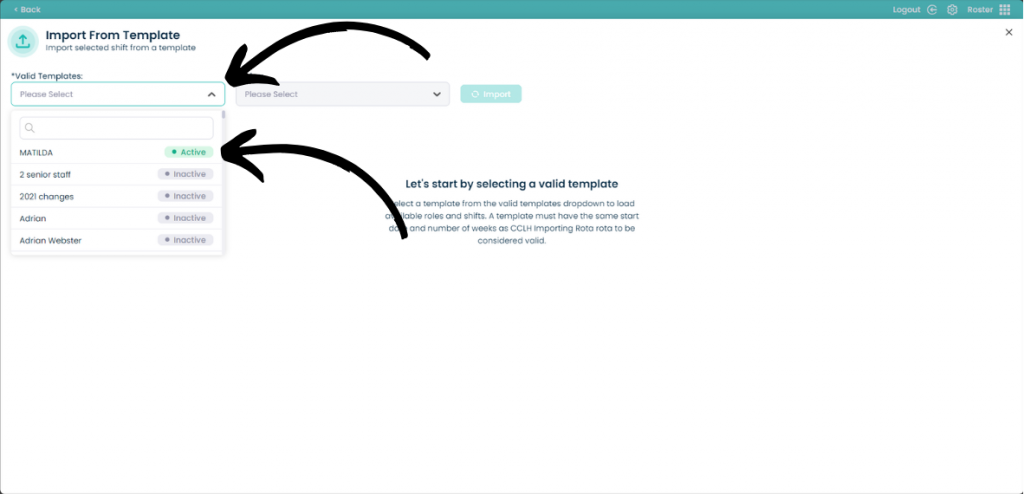
Select the Valid Templates drop down and then select the template you wish to use.
Step 4:
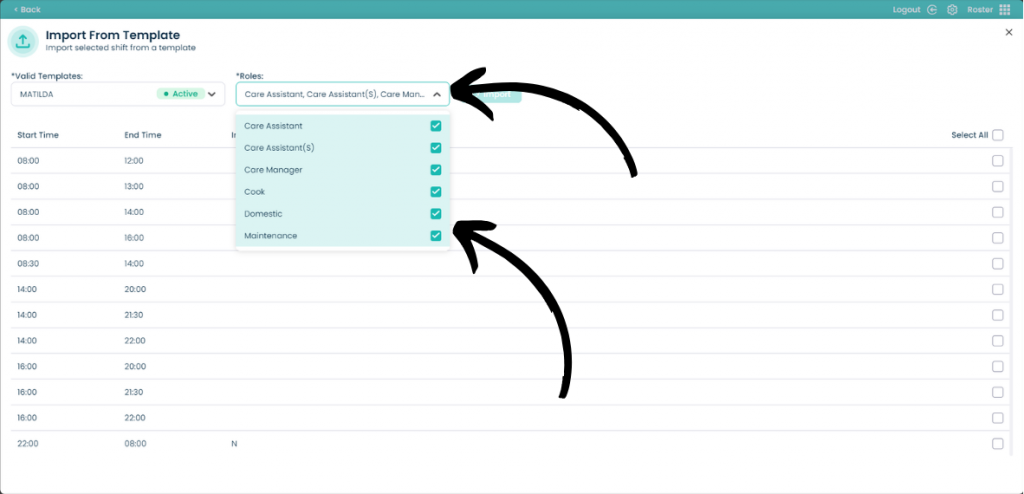
Then select which Roles you wish to import within the template.
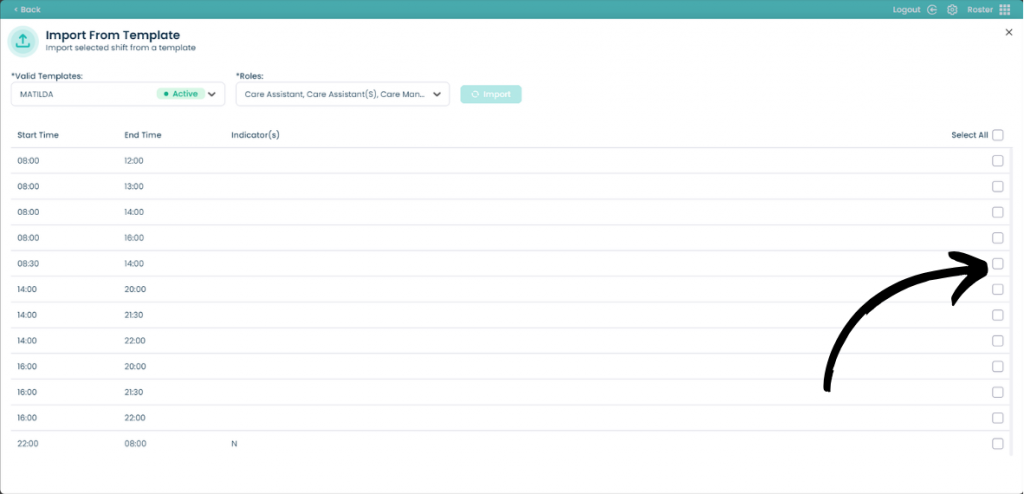
Step 5:
Now select which Shifts you would like to import within the template. You can Select All by using the tick box at the top, or select individual shifts.
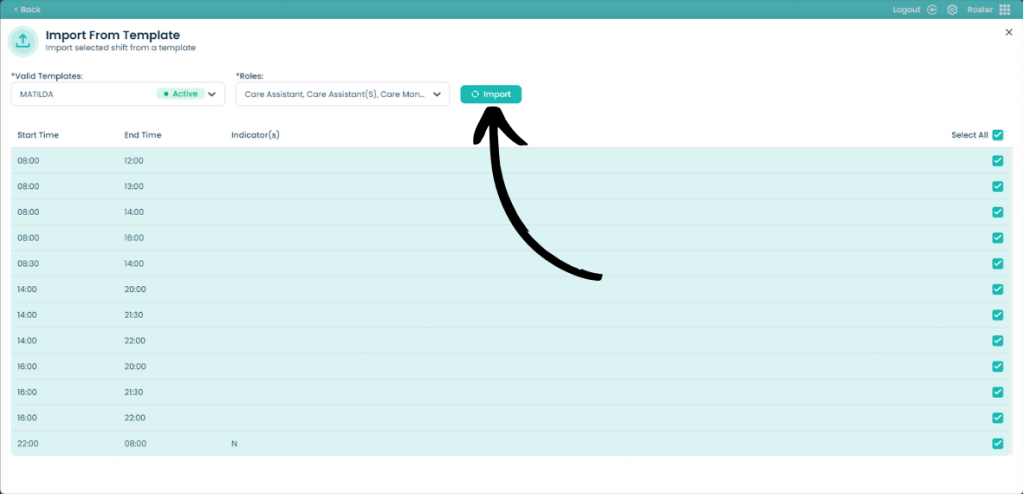
Step 6:
Now click Import.
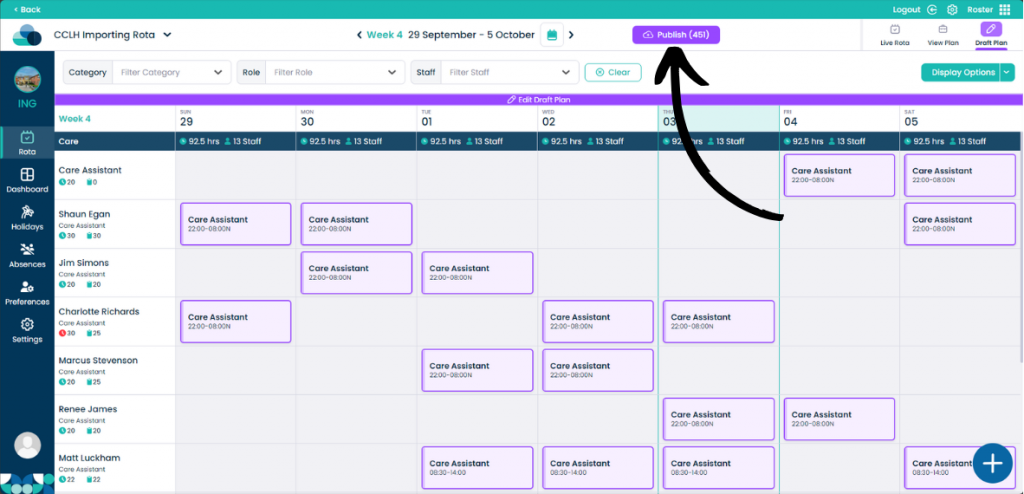
Step 7:
Your template will now import and populate the staff members with the shift. When you are ready, click Publish.