View Categories

How to Add or Edit an Administrative Allocation

Learn how to create and manage Administrative Allocations within the Rota. This guide covers adding an allocation, entering its name and location, and editing existing allocations when details change.

Takes 3 minutes
For: Managers
Updated: 6th Oct 2026

Introduction

Administrative Allocations can be used to create and manage allocations for meetings and other administrative activities within the Rota.

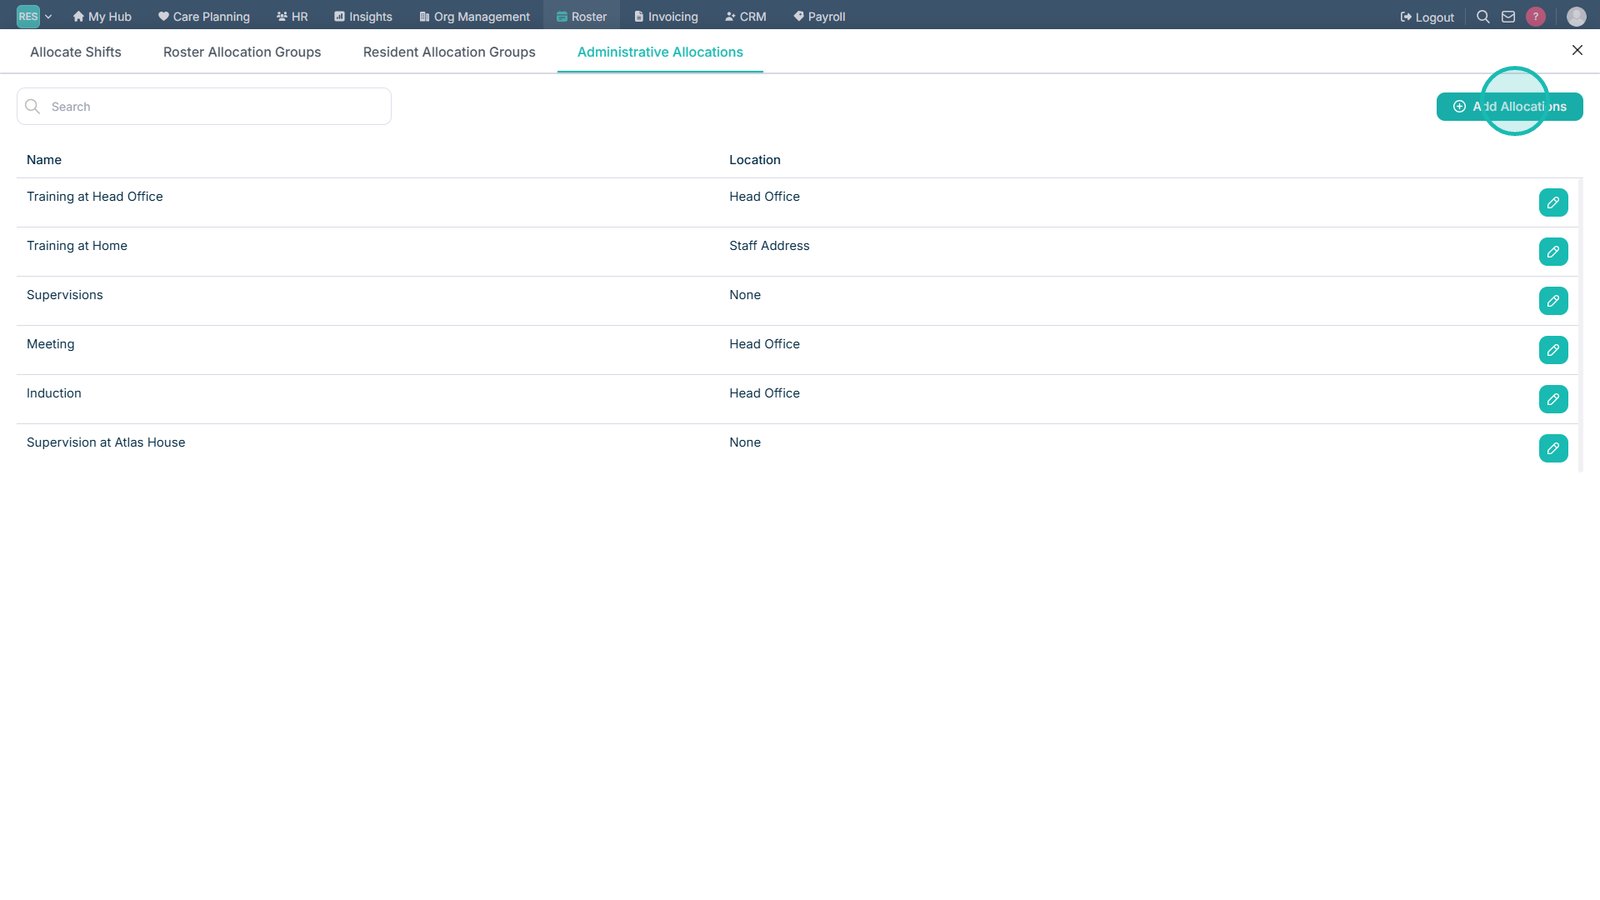
Each allocation can be given a name and location, helping staff understand what the allocation relates to and where it is taking place. Existing allocations can also be edited when these details change.

In this guide you'll learn how to:

  • Access Administrative Allocations
  • Create a new allocation
  • Add a name and location
  • Edit an existing allocation
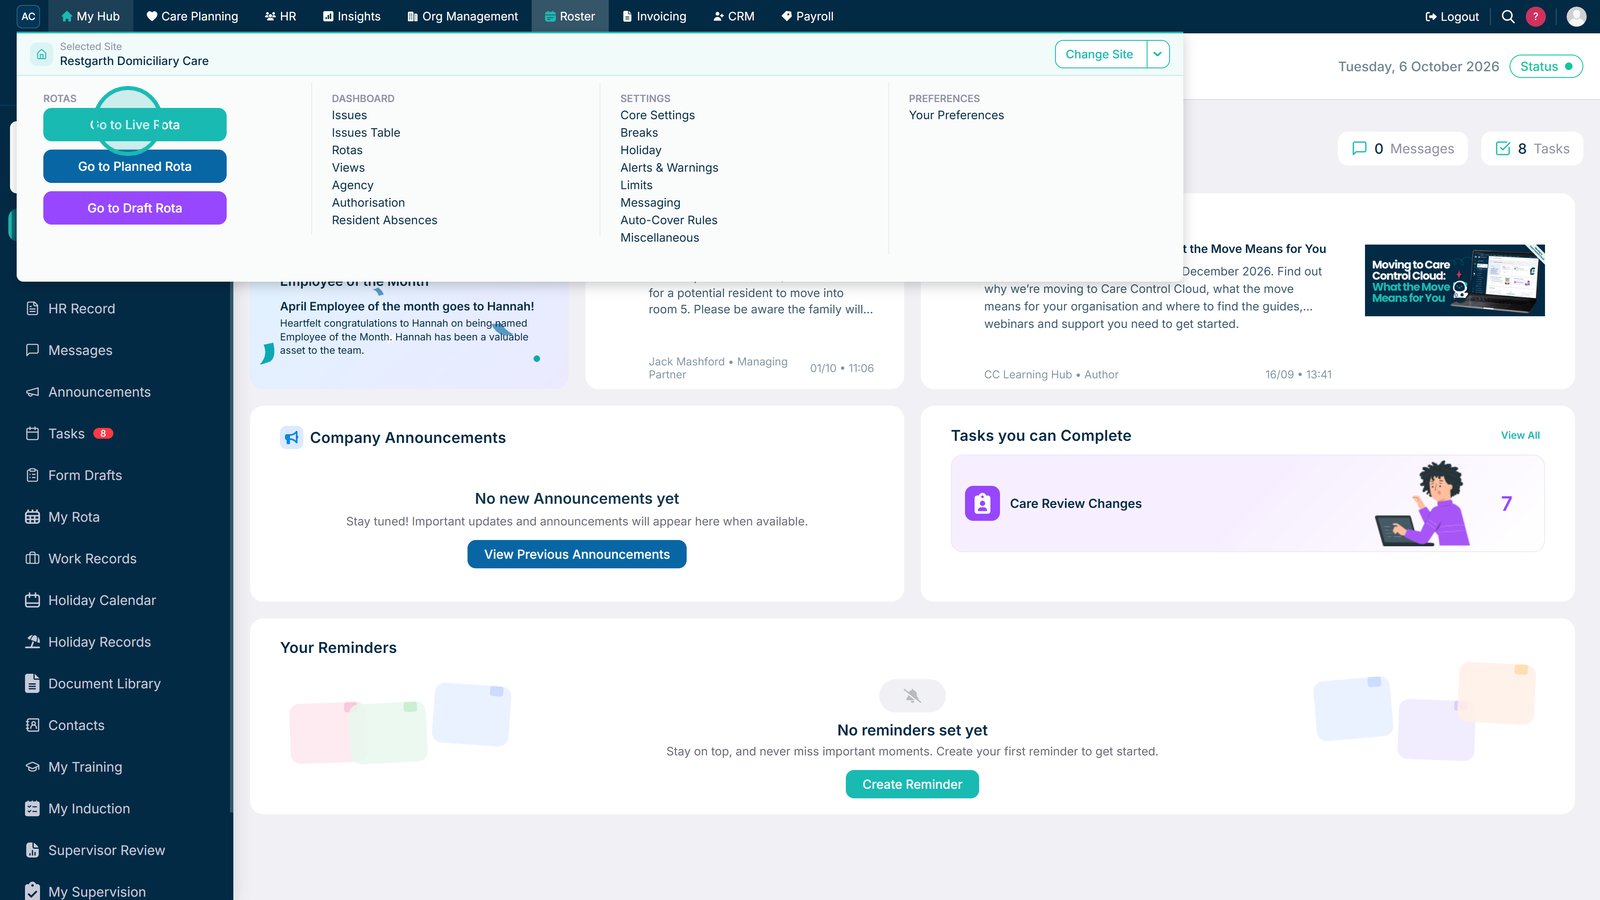
Open either the Live Rota or Draft Rota.

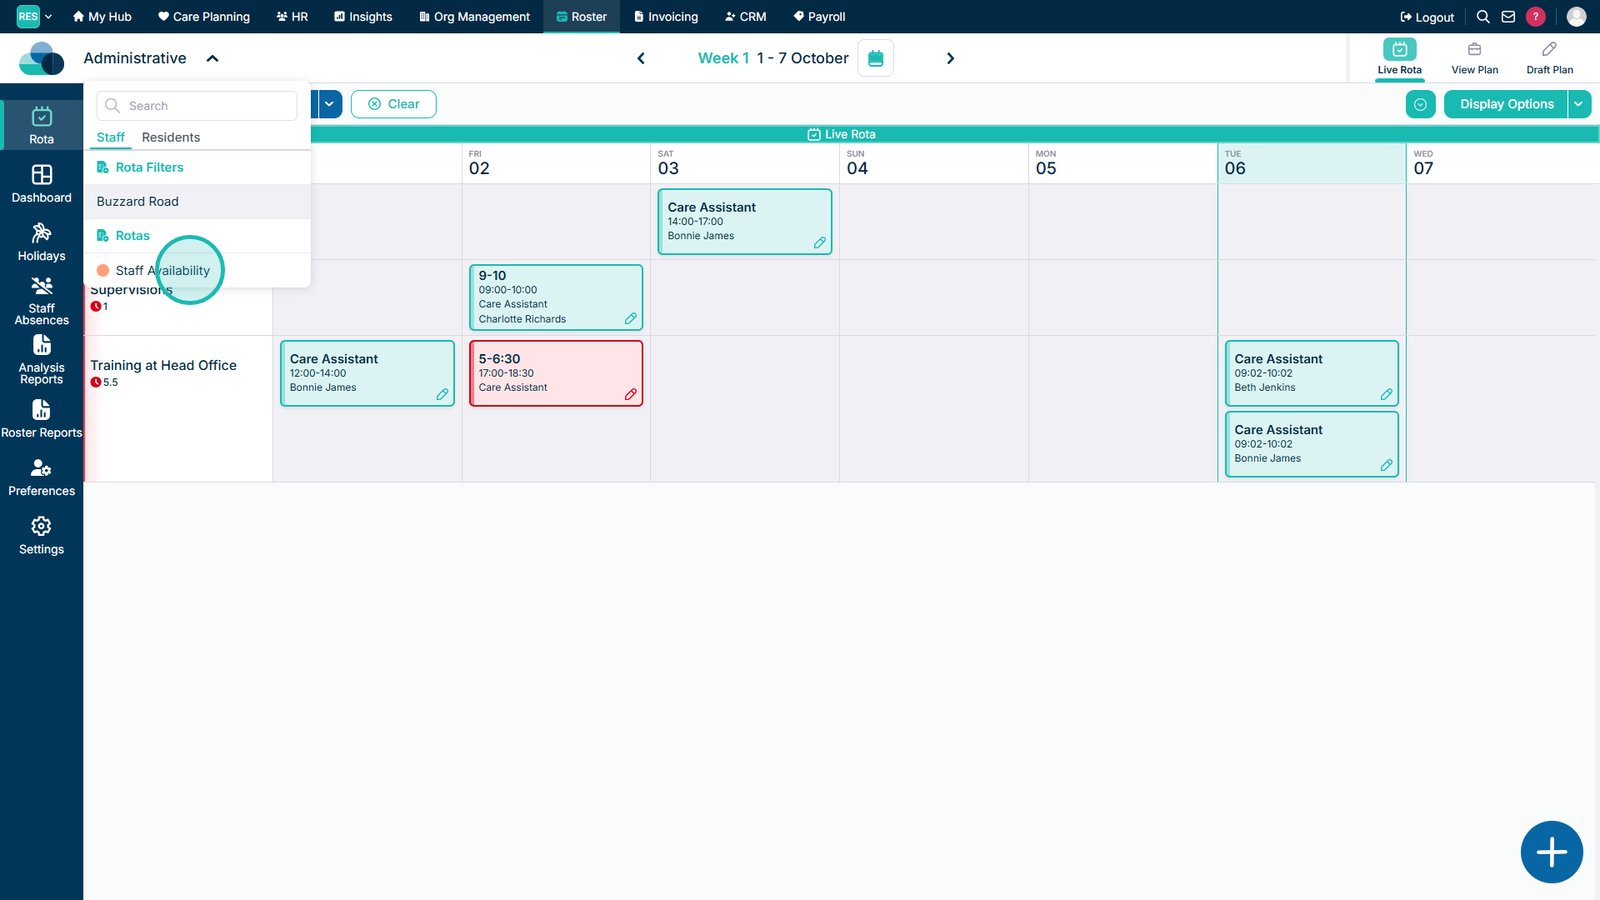
Select a Staff Availability Rota.

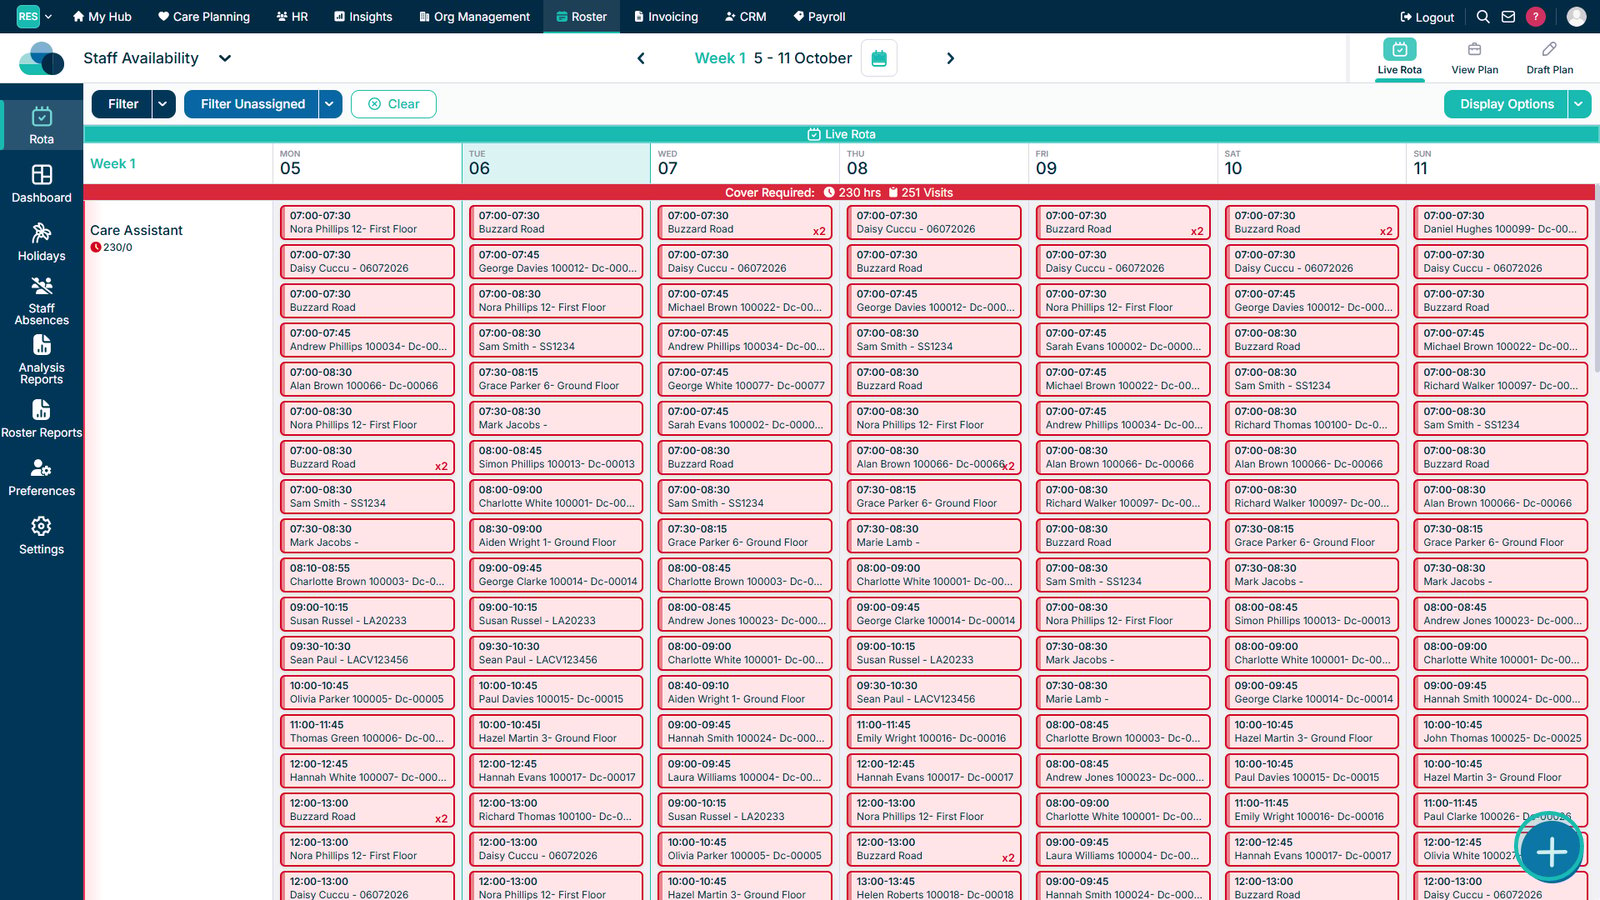
Select the plus button.

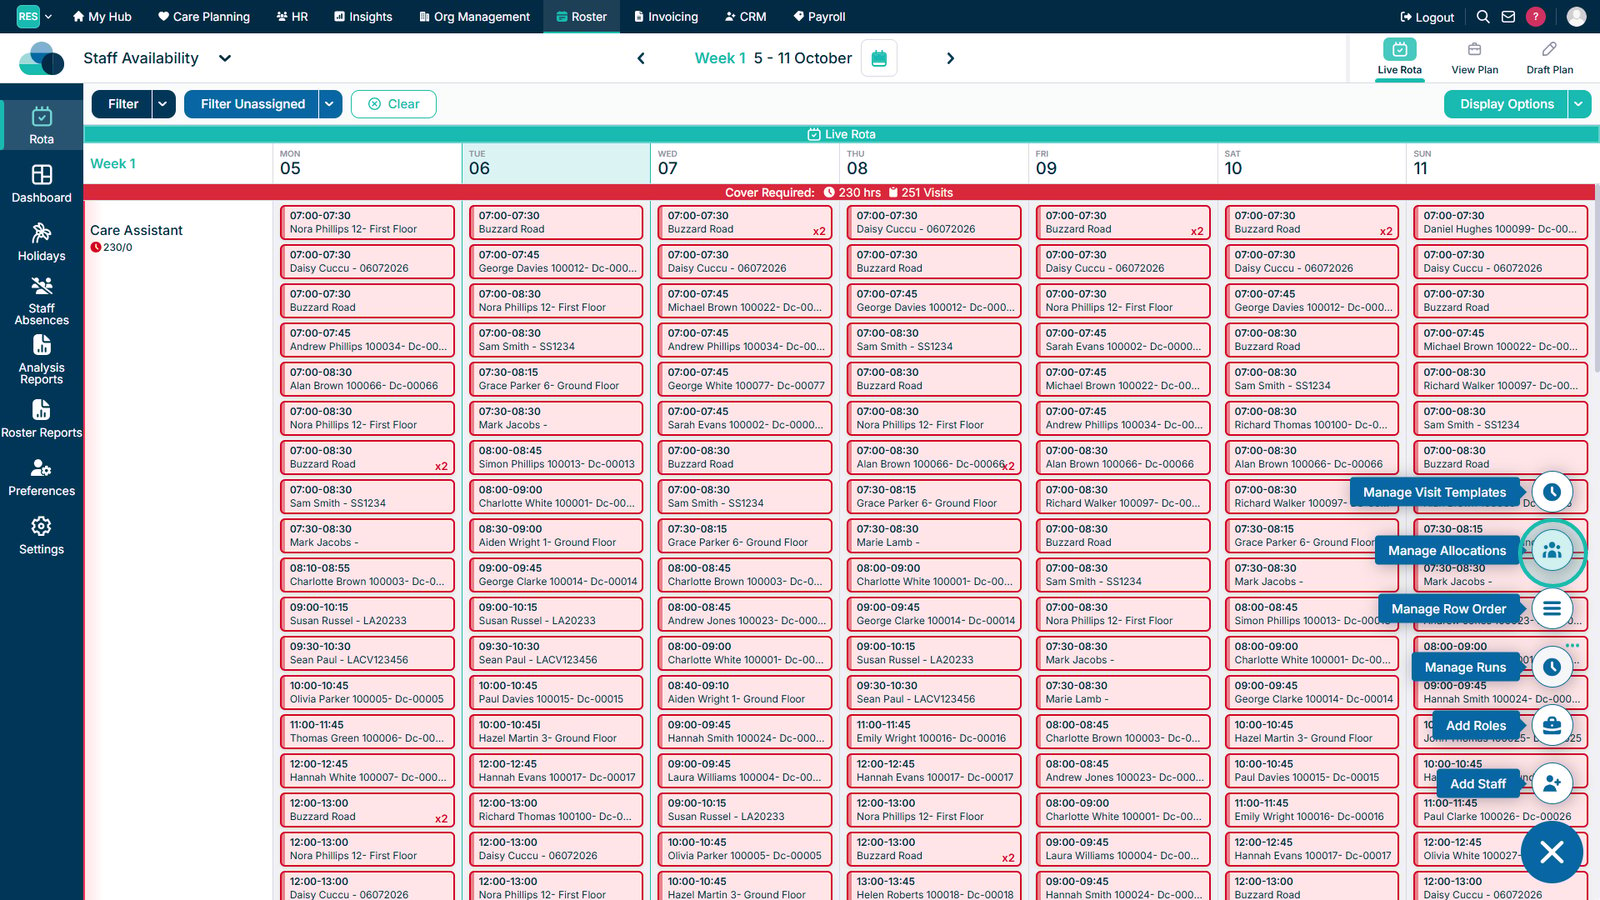
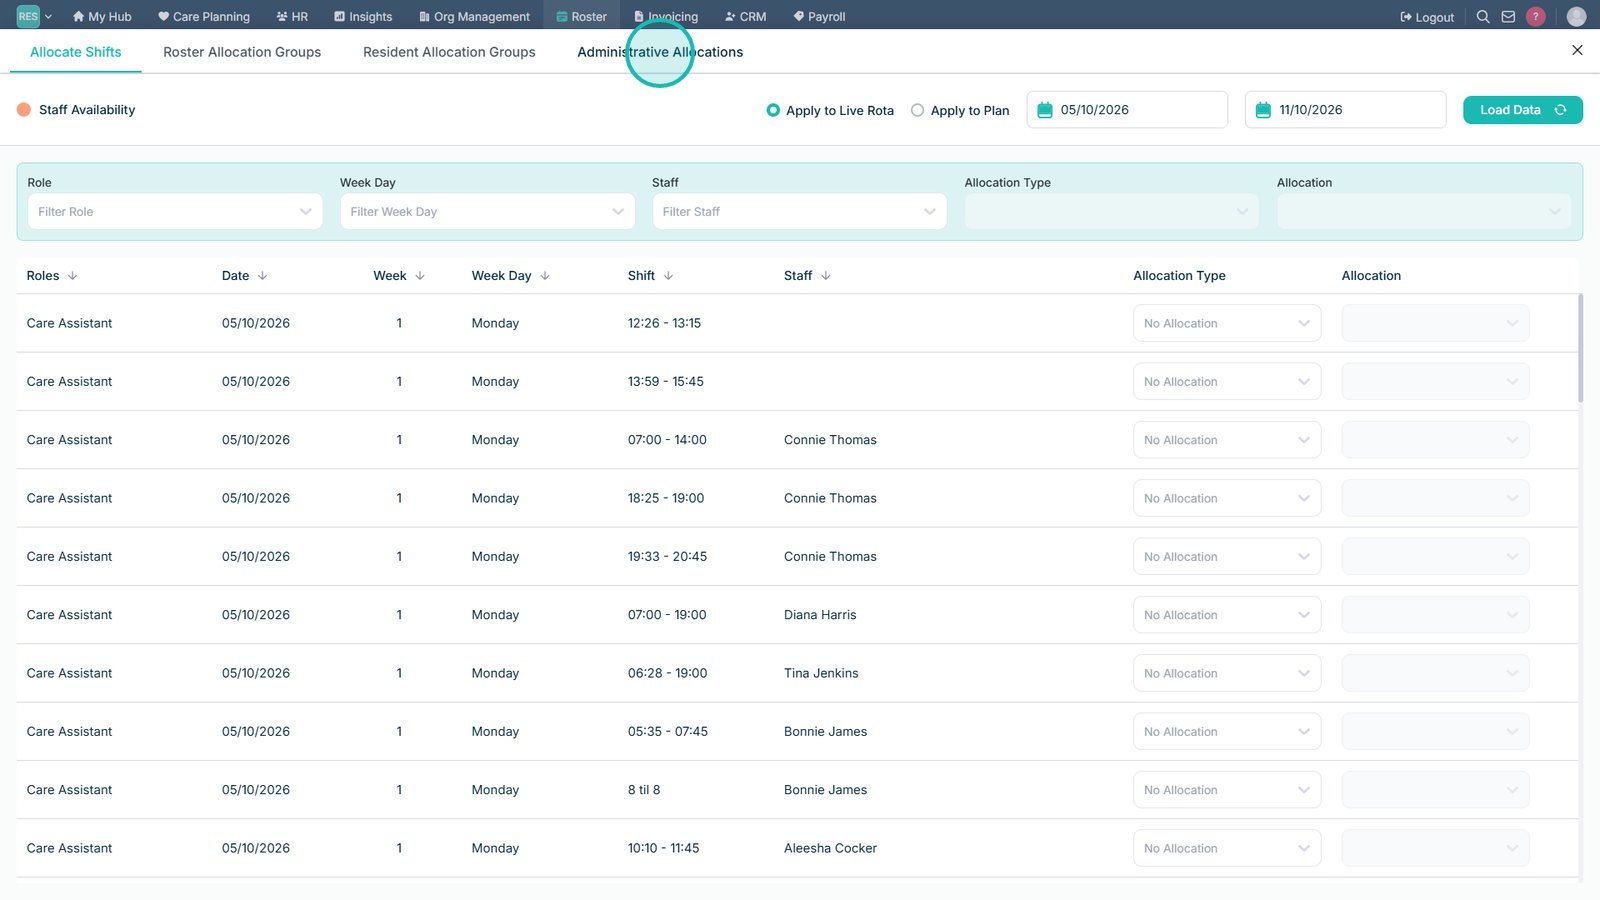
Select Manage Allocations.

Open the Administrative Allocations tab.

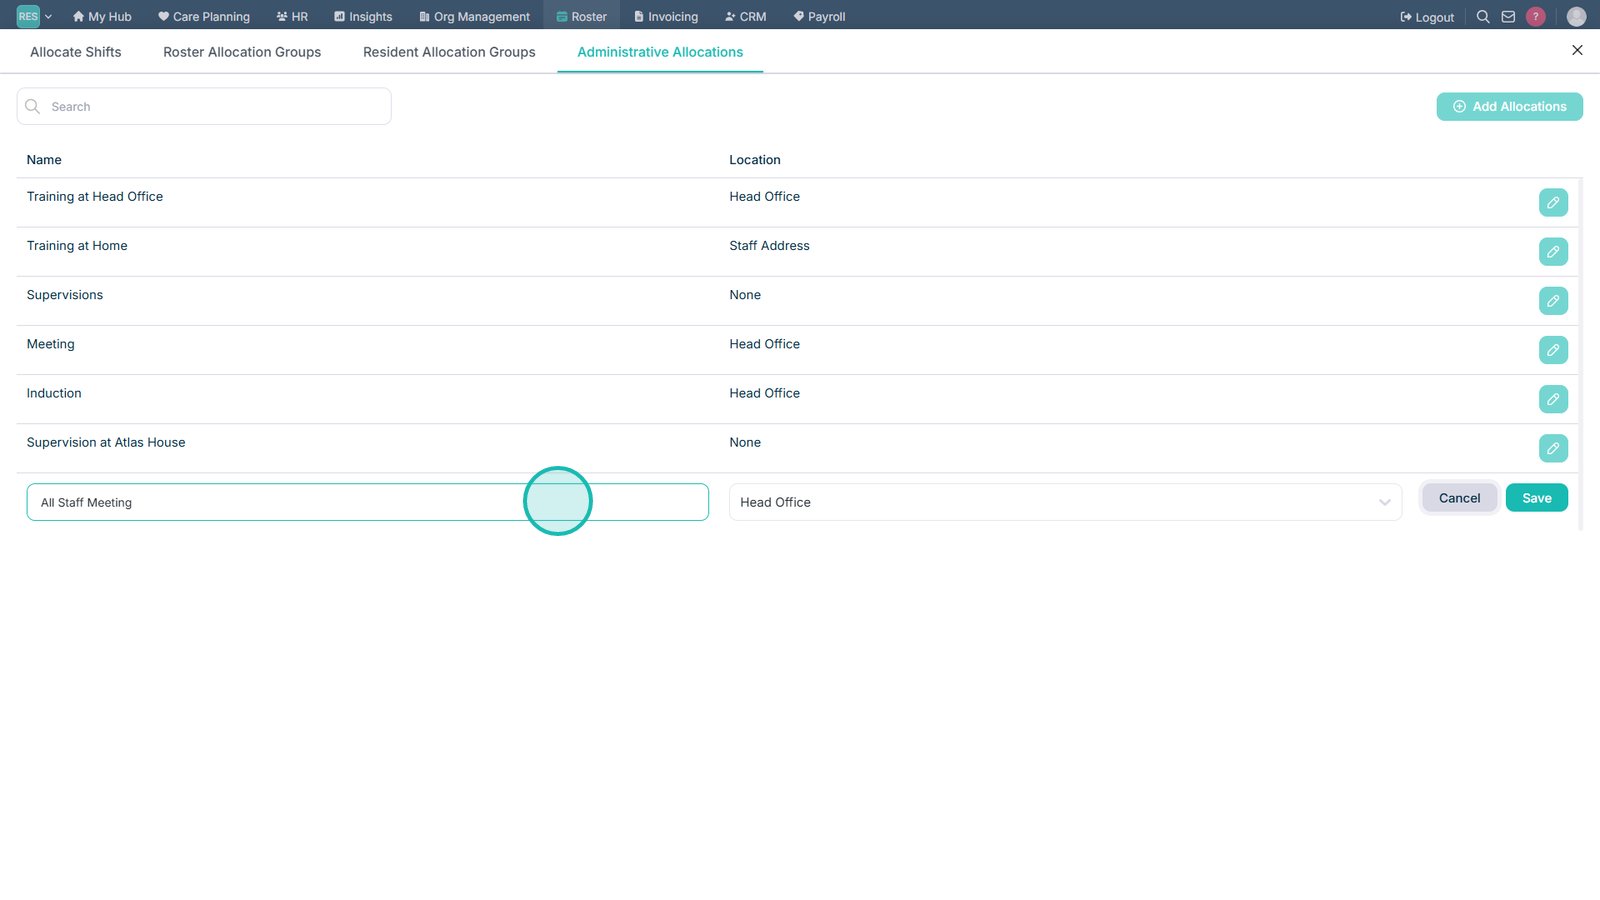
Select the option to create a new Administrative Allocation.

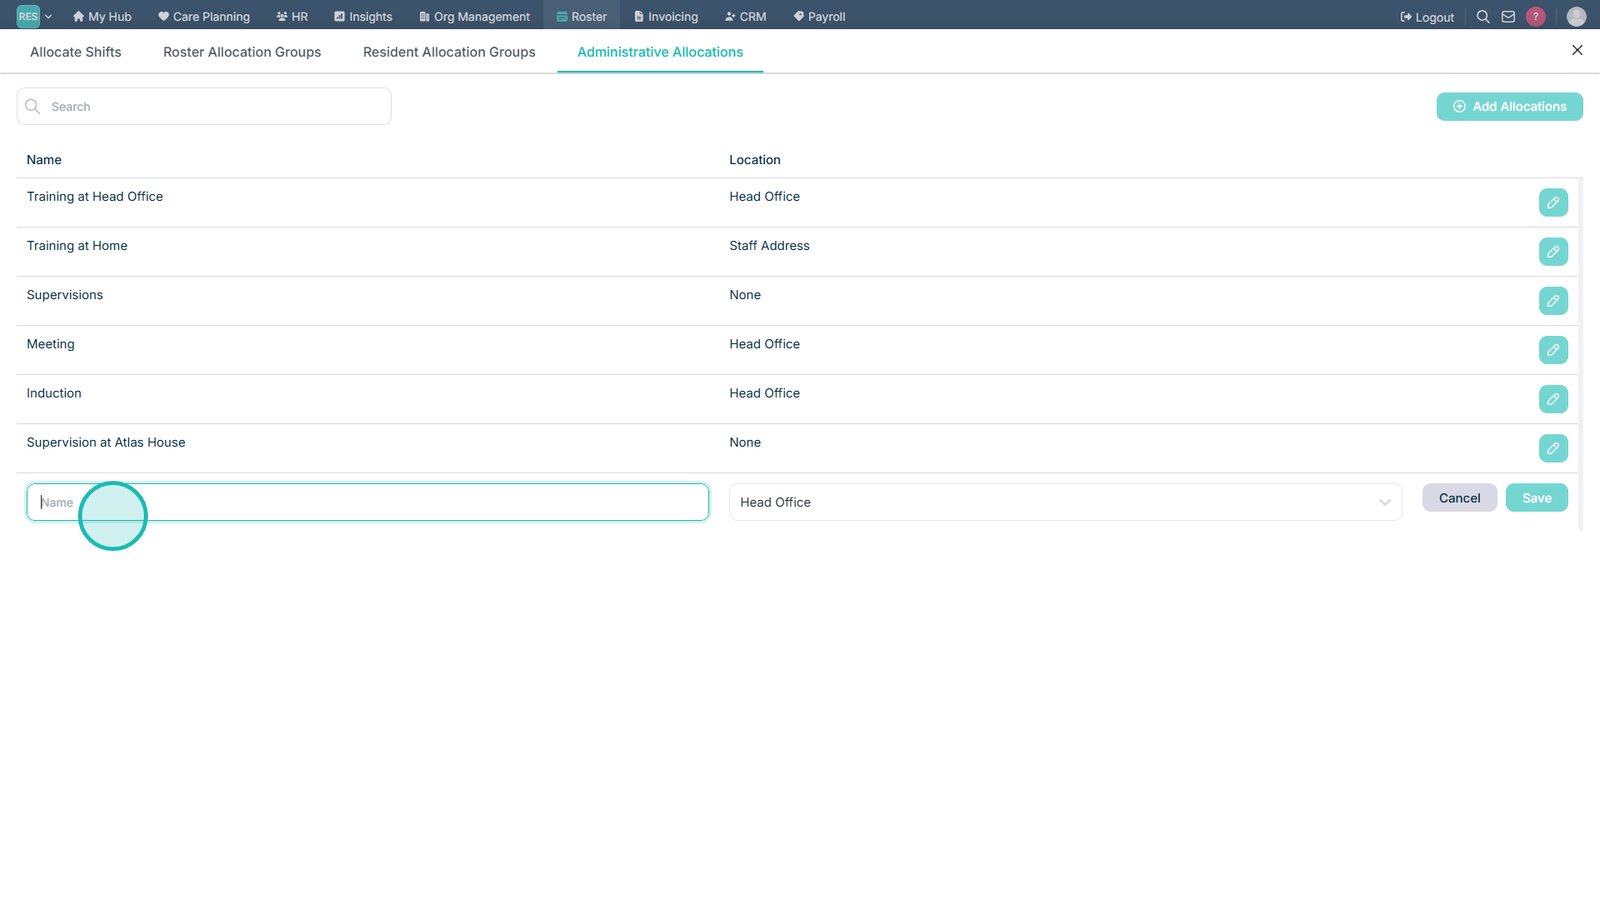
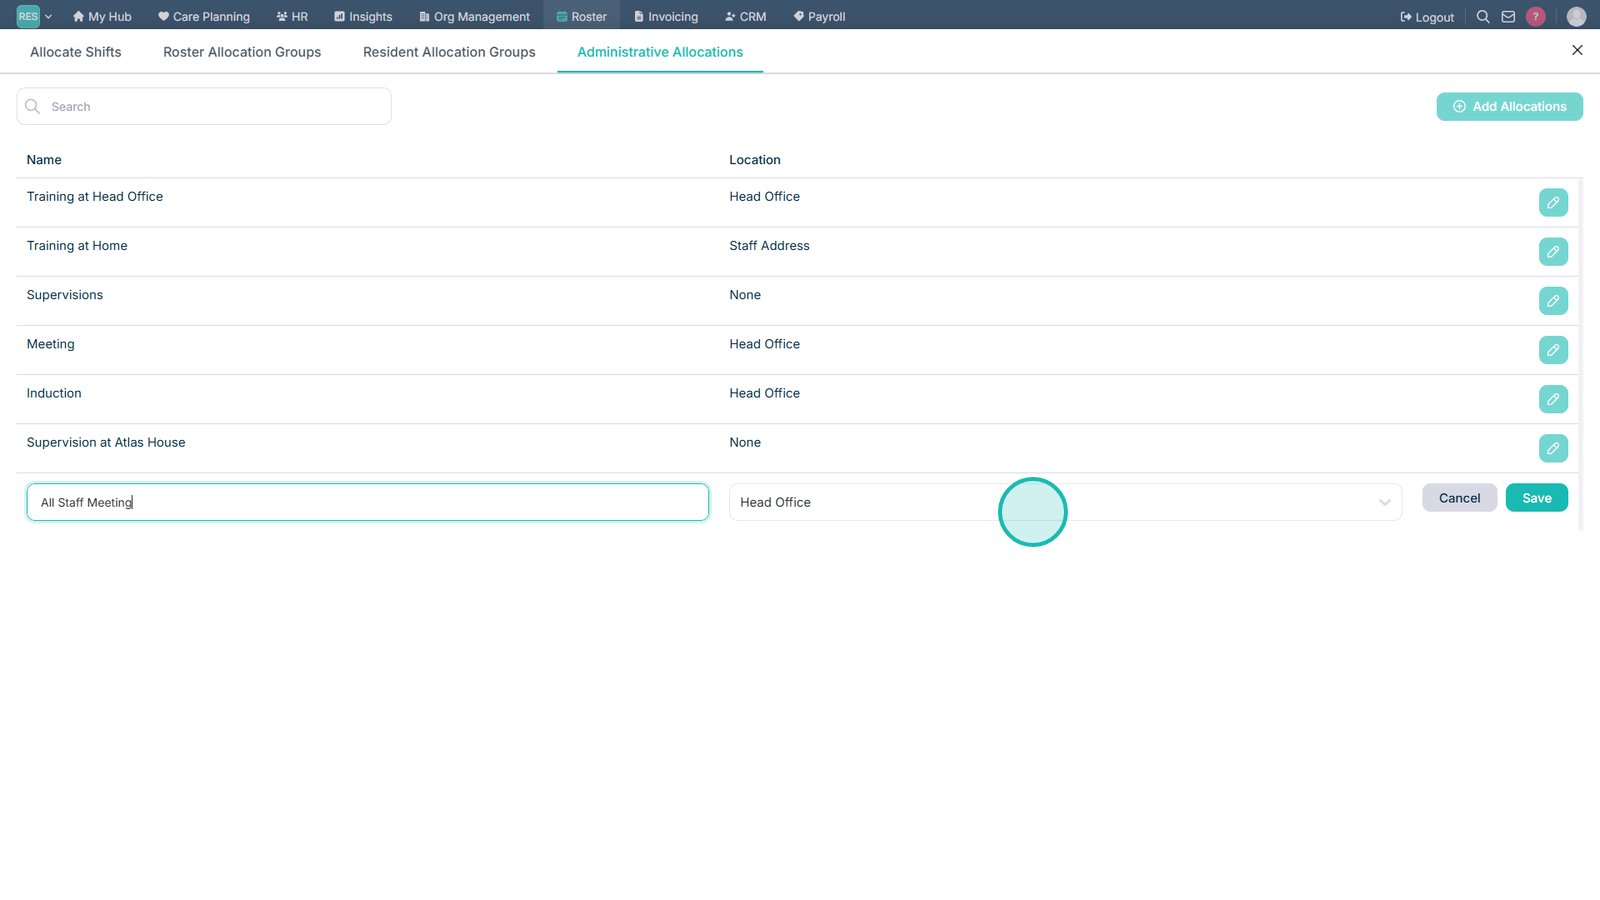
Enter a name for the allocation.

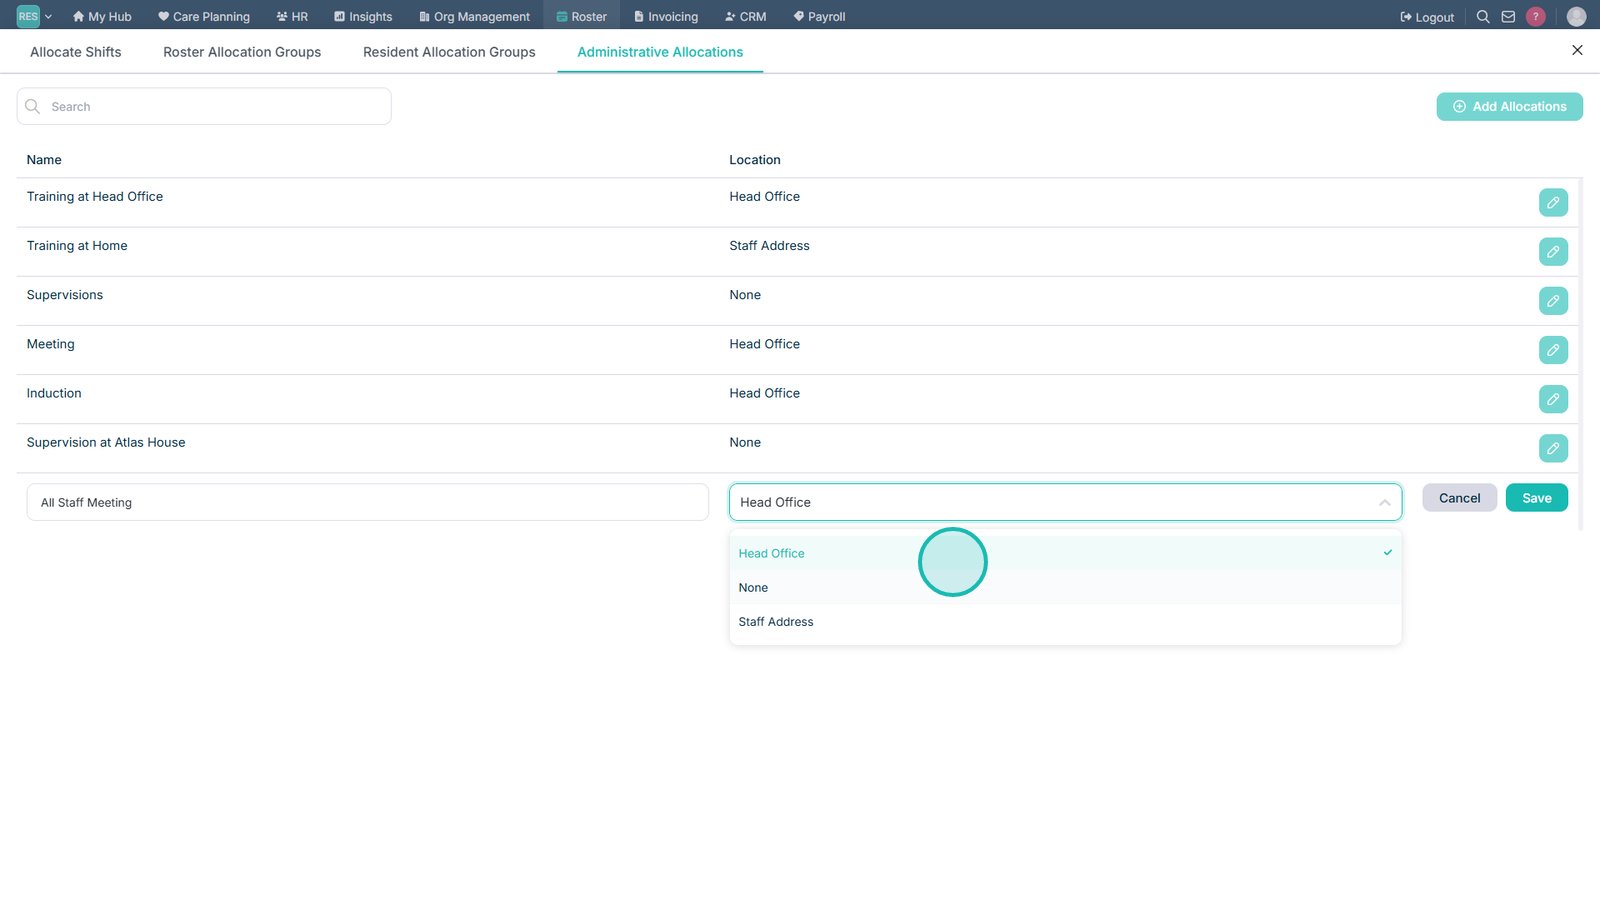
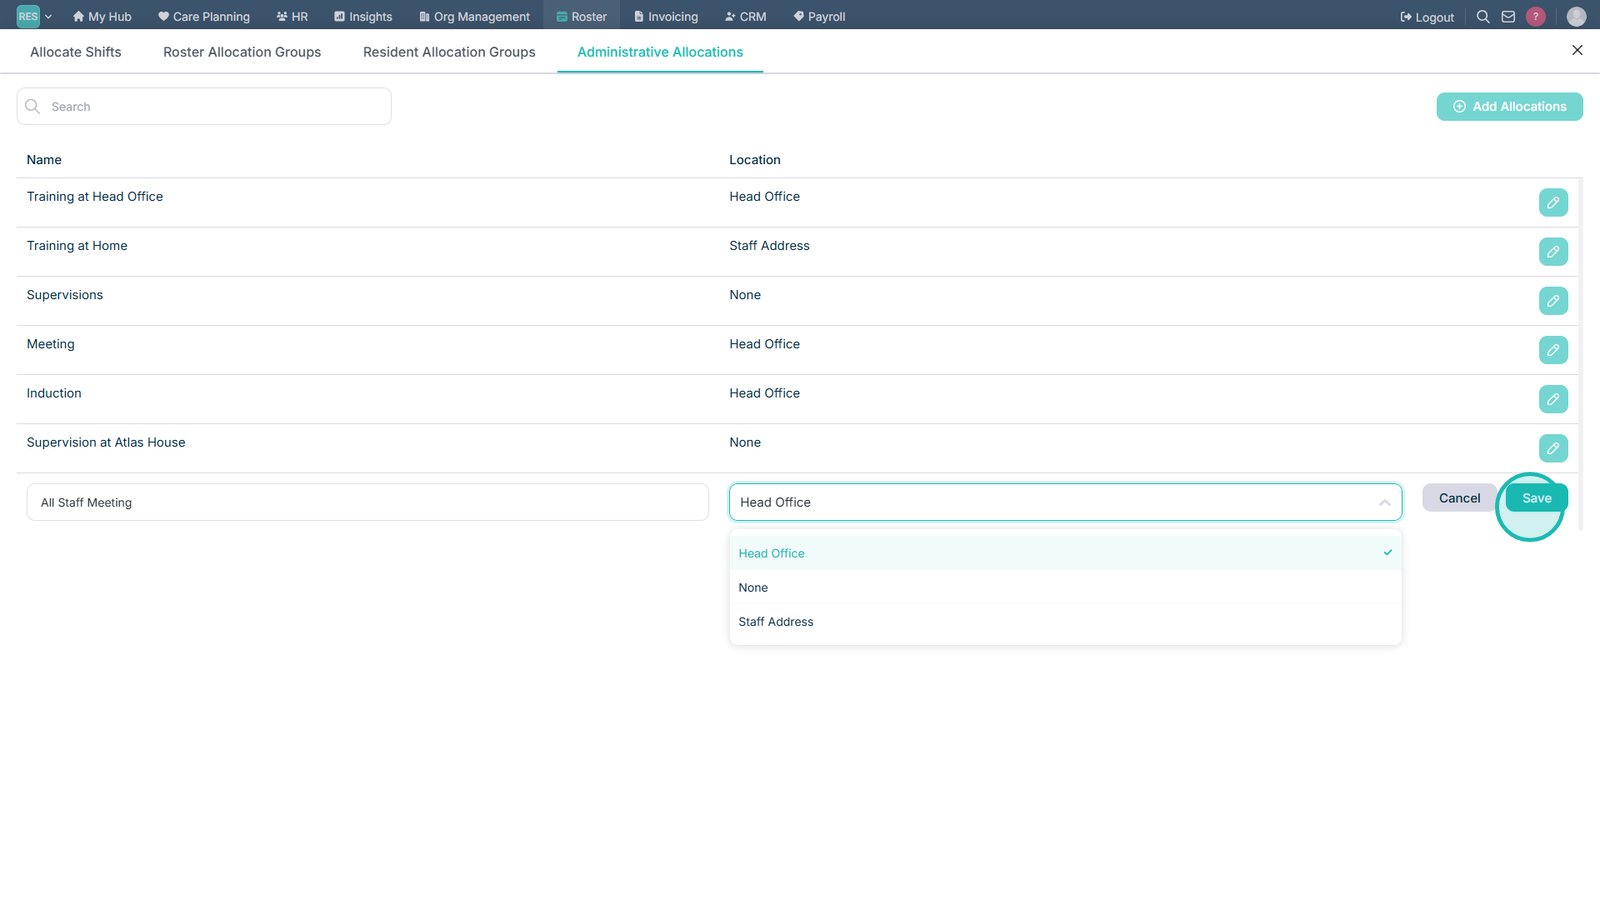
Open the location drop-down list.

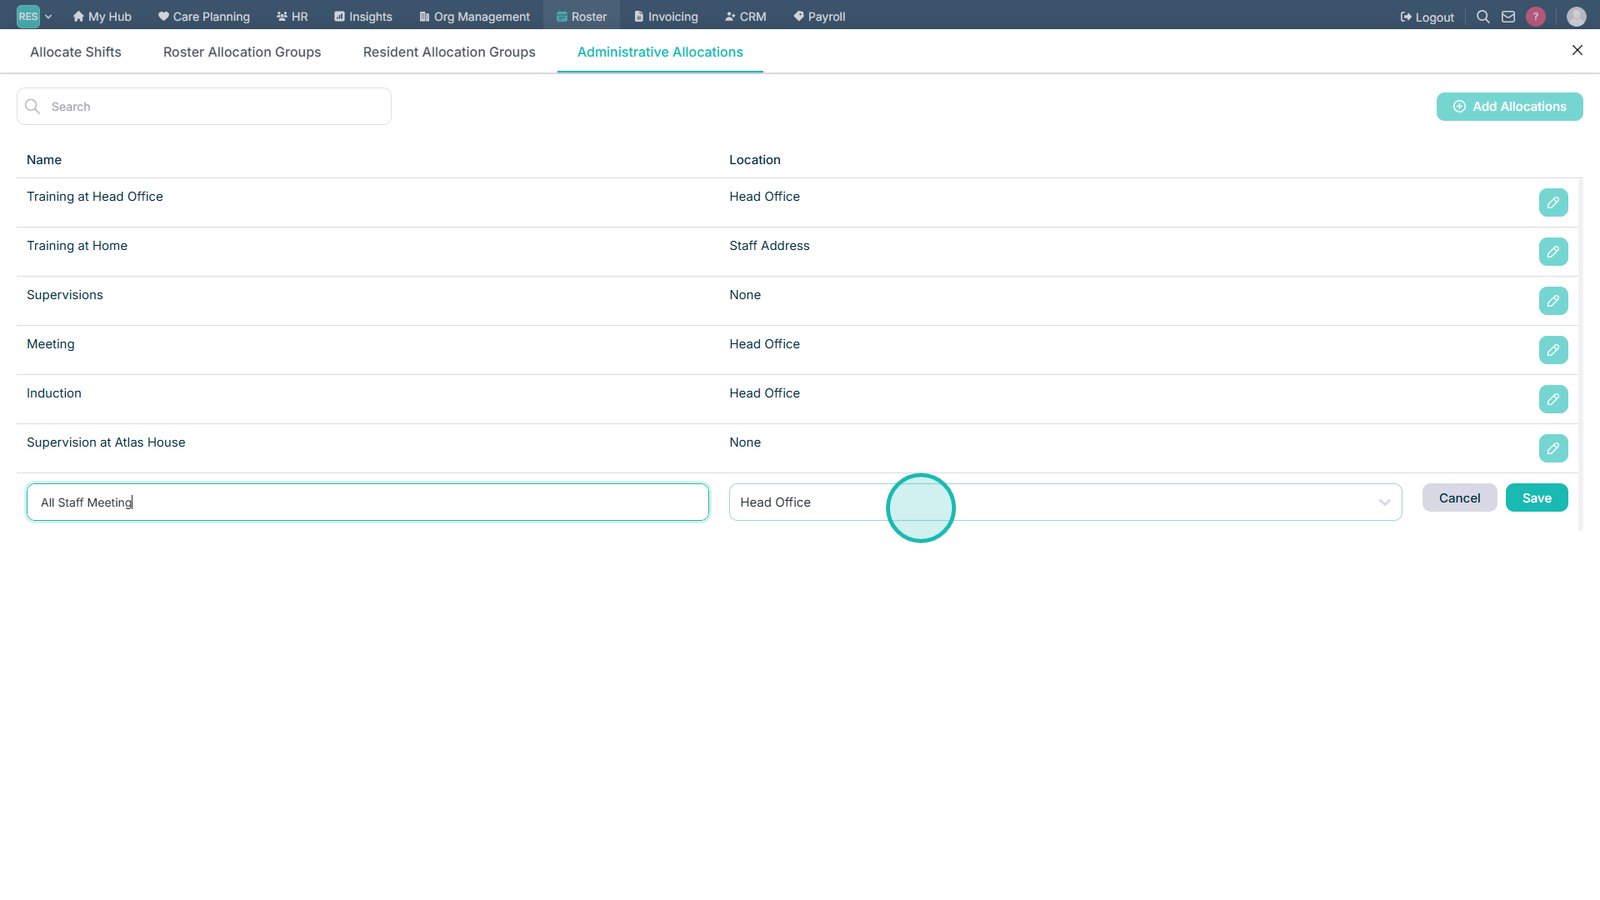
Select the location for the allocation.

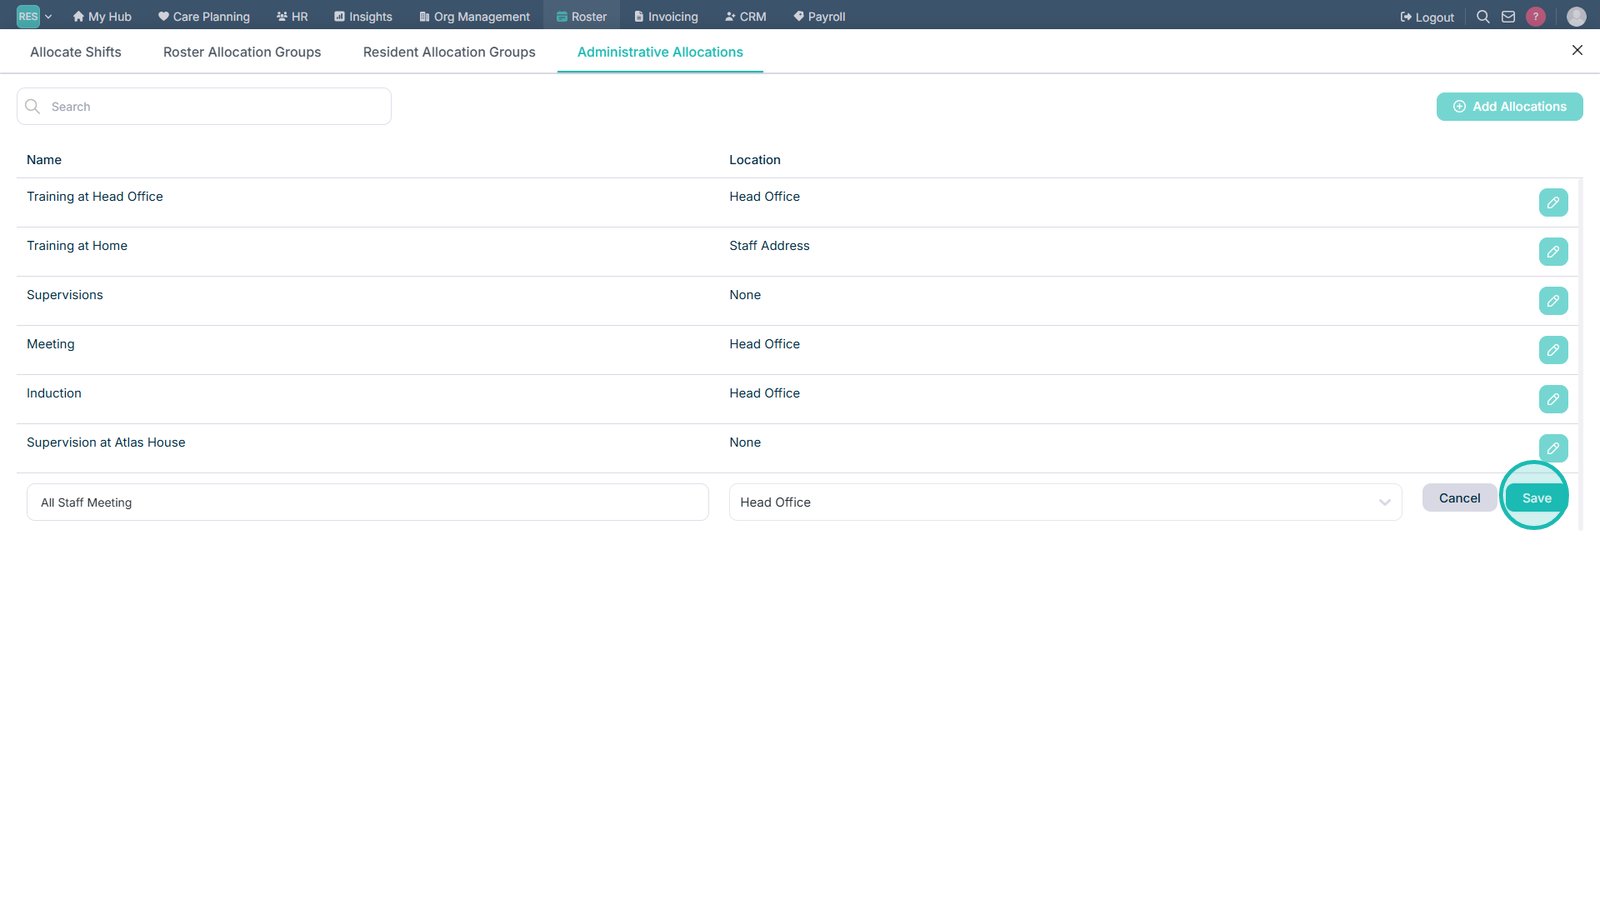
Select Save to create the Administrative Allocation.

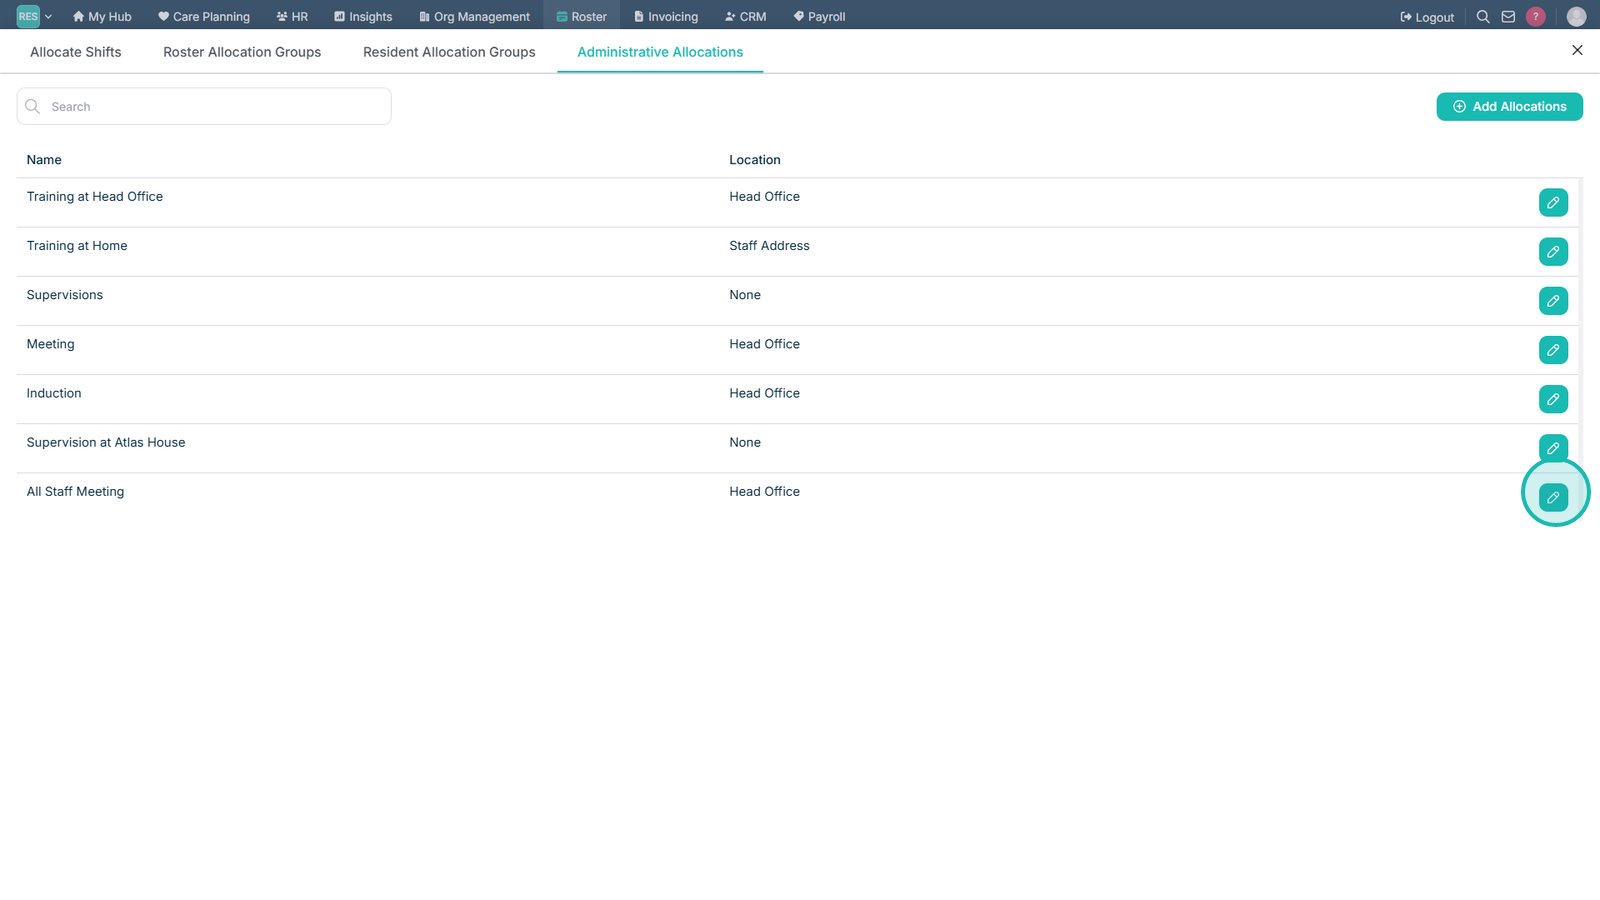
Select an existing Administrative Allocation to edit it.

Update the allocation name if required.

Update the location if required.

Select Save to confirm your changes.

Top tip

Use clear allocation names and locations so staff can easily identify what each administrative allocation is for when it appears within the Rota.

Was this guide helpful?

Need more help?

Can't find what you're looking for? Our support team is here to help.

Contact Support

Or call us on

On this page