How to Create a New Menu in Cloud
Keeping your residents’ menus accurate and up to date is an important part of delivering excellent care. This step-by-step guide will walk you through the entire process of creating a new menu in Care Control, from setting start dates and adding meal descriptions to copying items across weeks. Clear screenshots are included at every step so you can easily follow along and feel confident that you are making the right selections.
With this guide, you can quickly train new staff, refresh your own knowledge, or double-check a setting whenever you need. By following these steps, you’ll ensure that residents receive the correct meals on the correct days, supporting dietary preferences, improving communication with kitchen staff, and enhancing the overall dining experience.
Interactive Guide
Text based guide
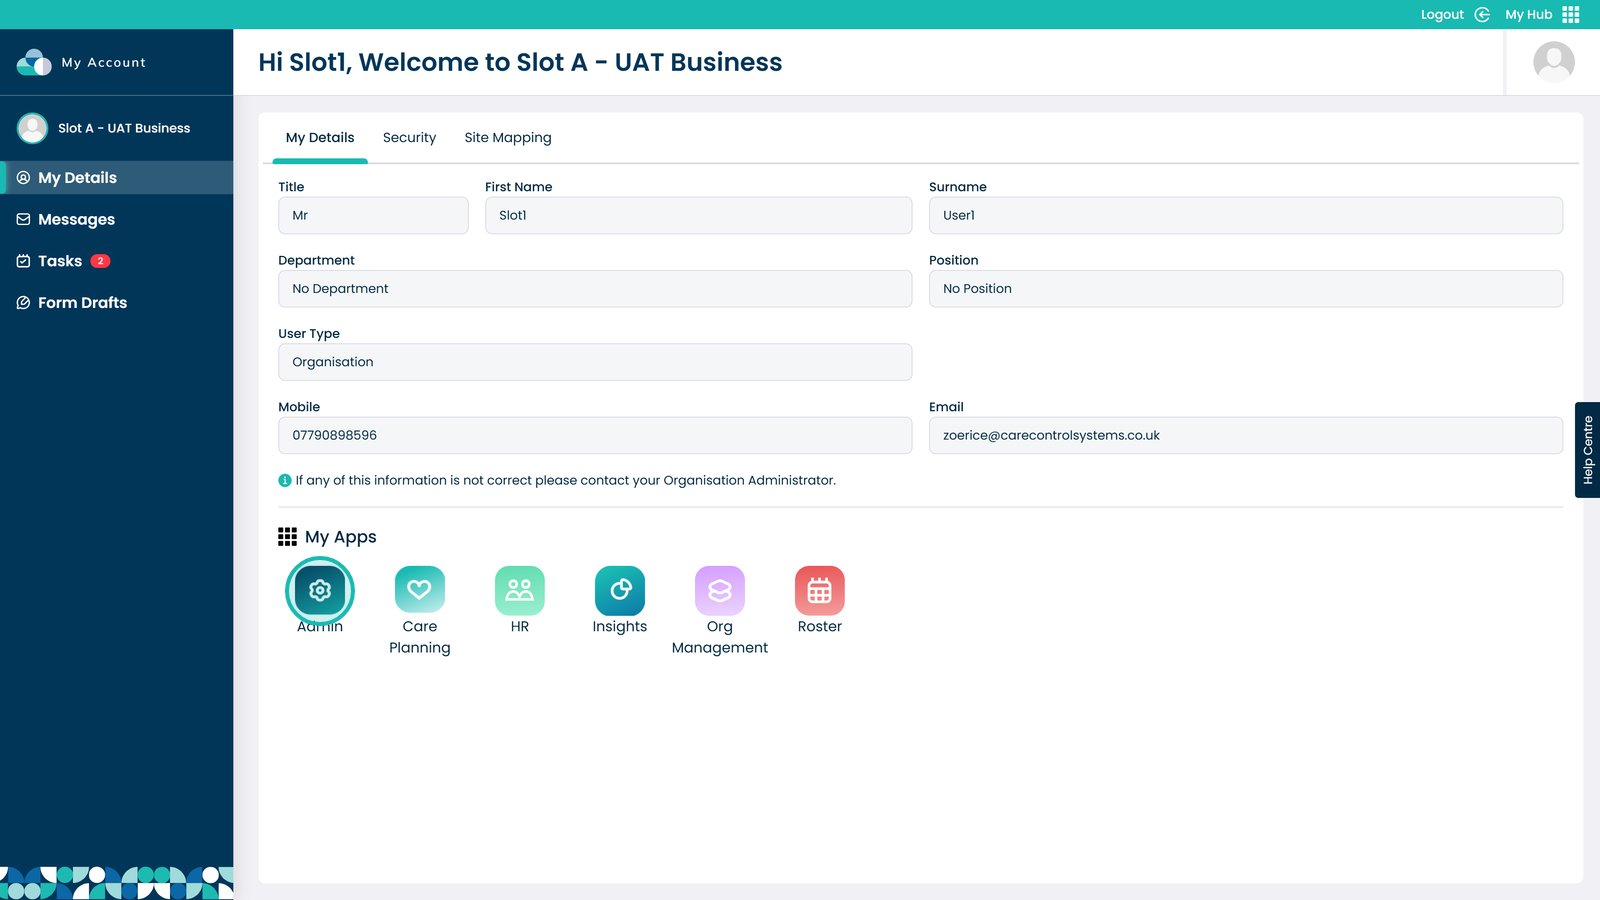
Enter the Admin App
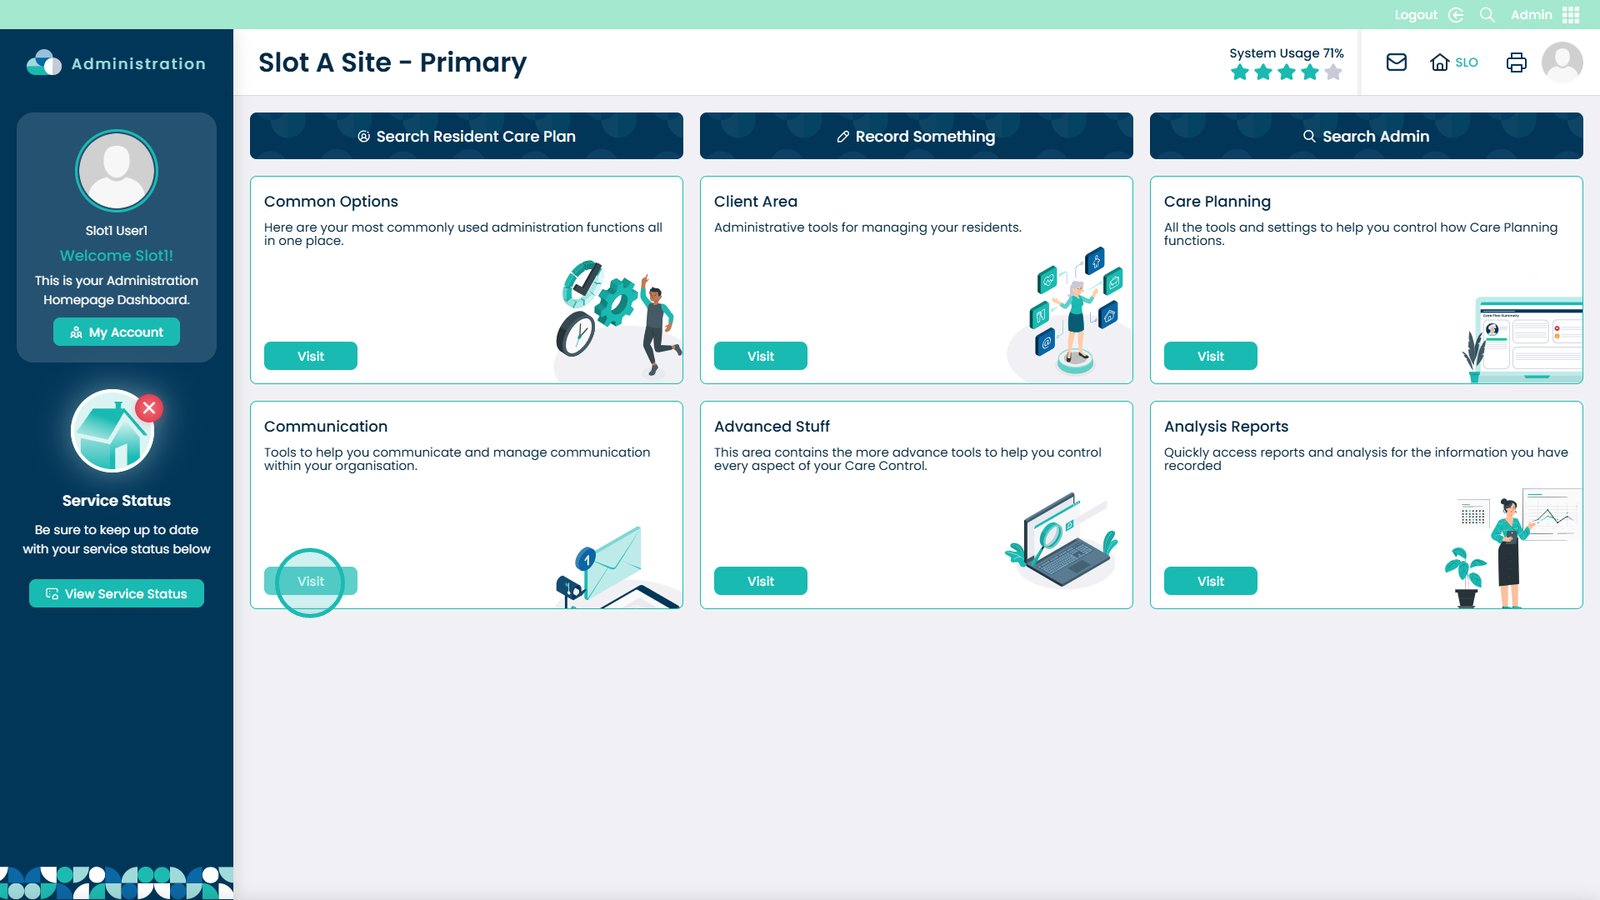
Click Visit on the Communication box
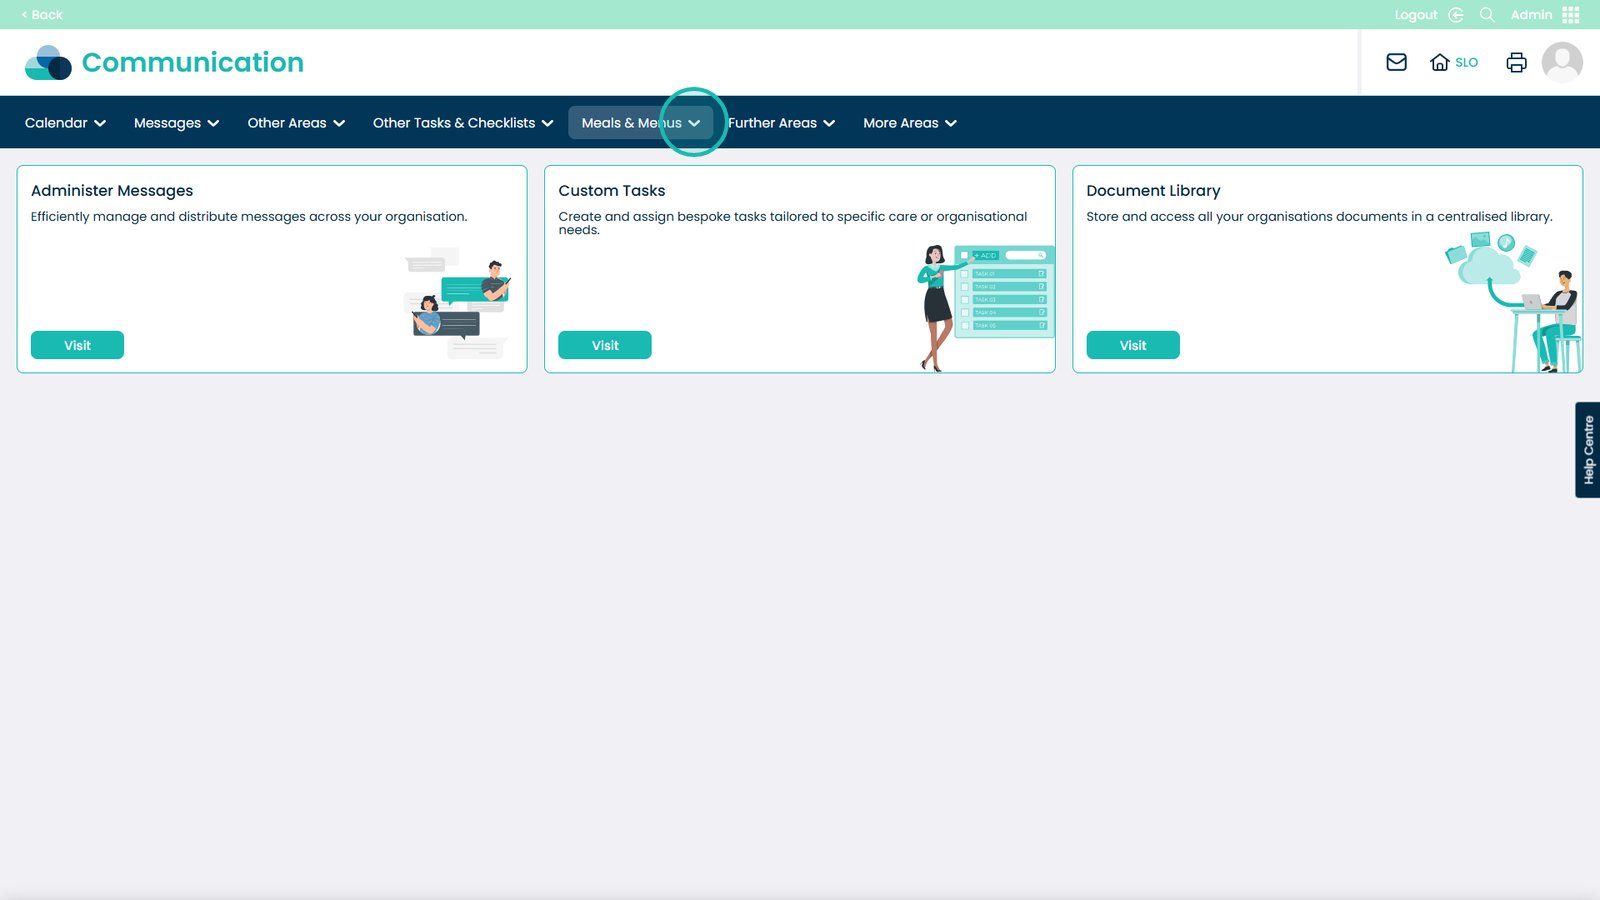
Open the Meals & Menus drop-down
Pick Manage Menus
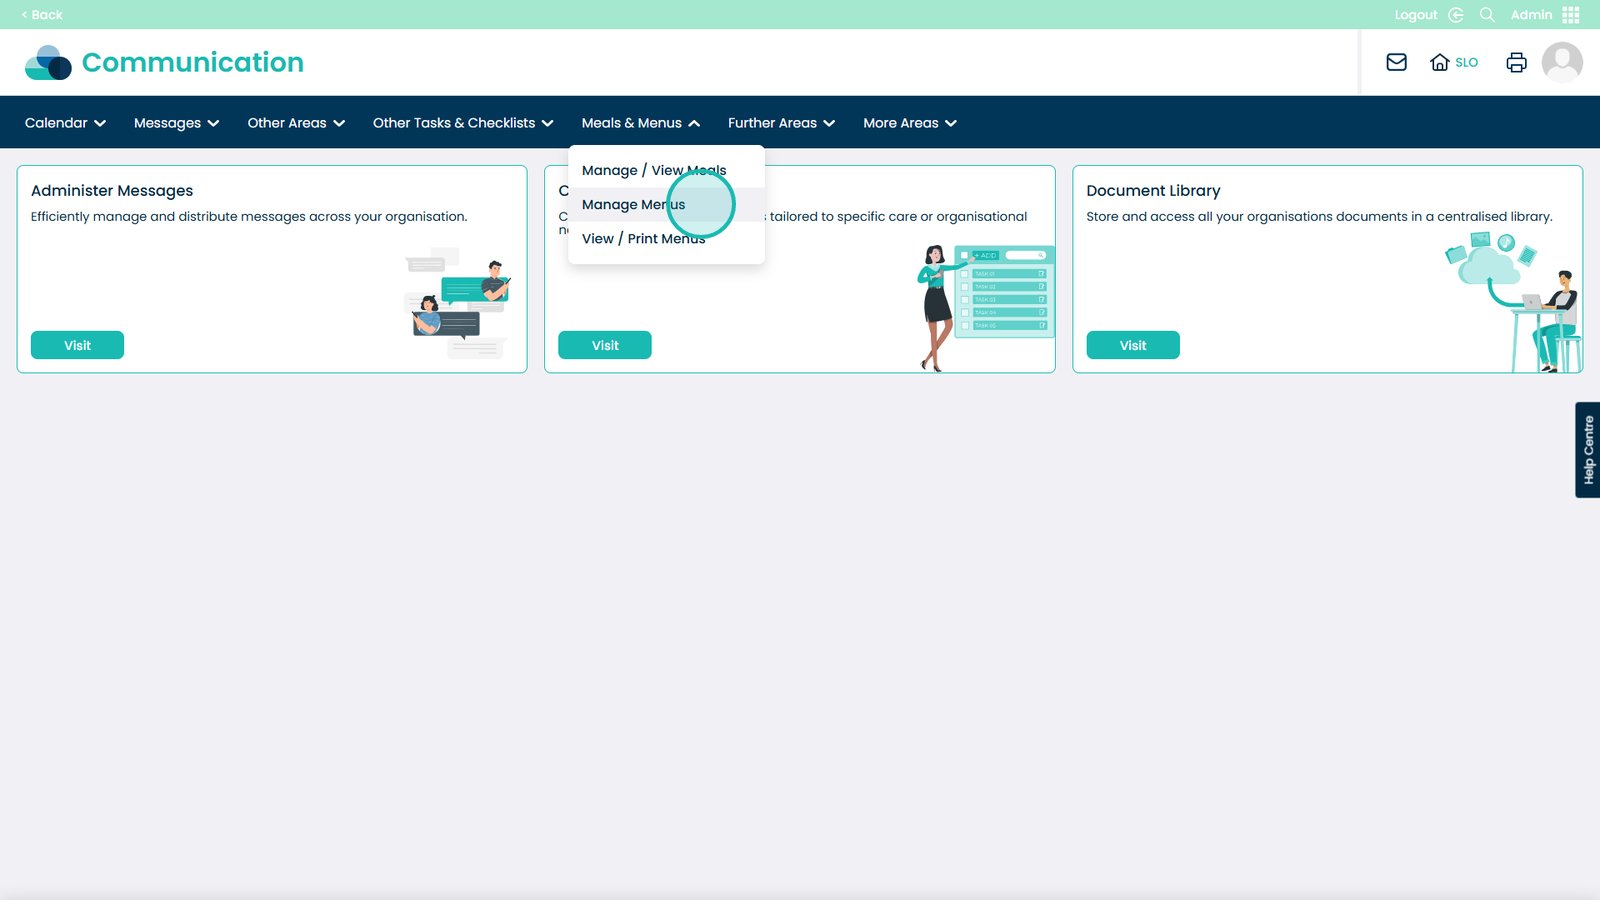
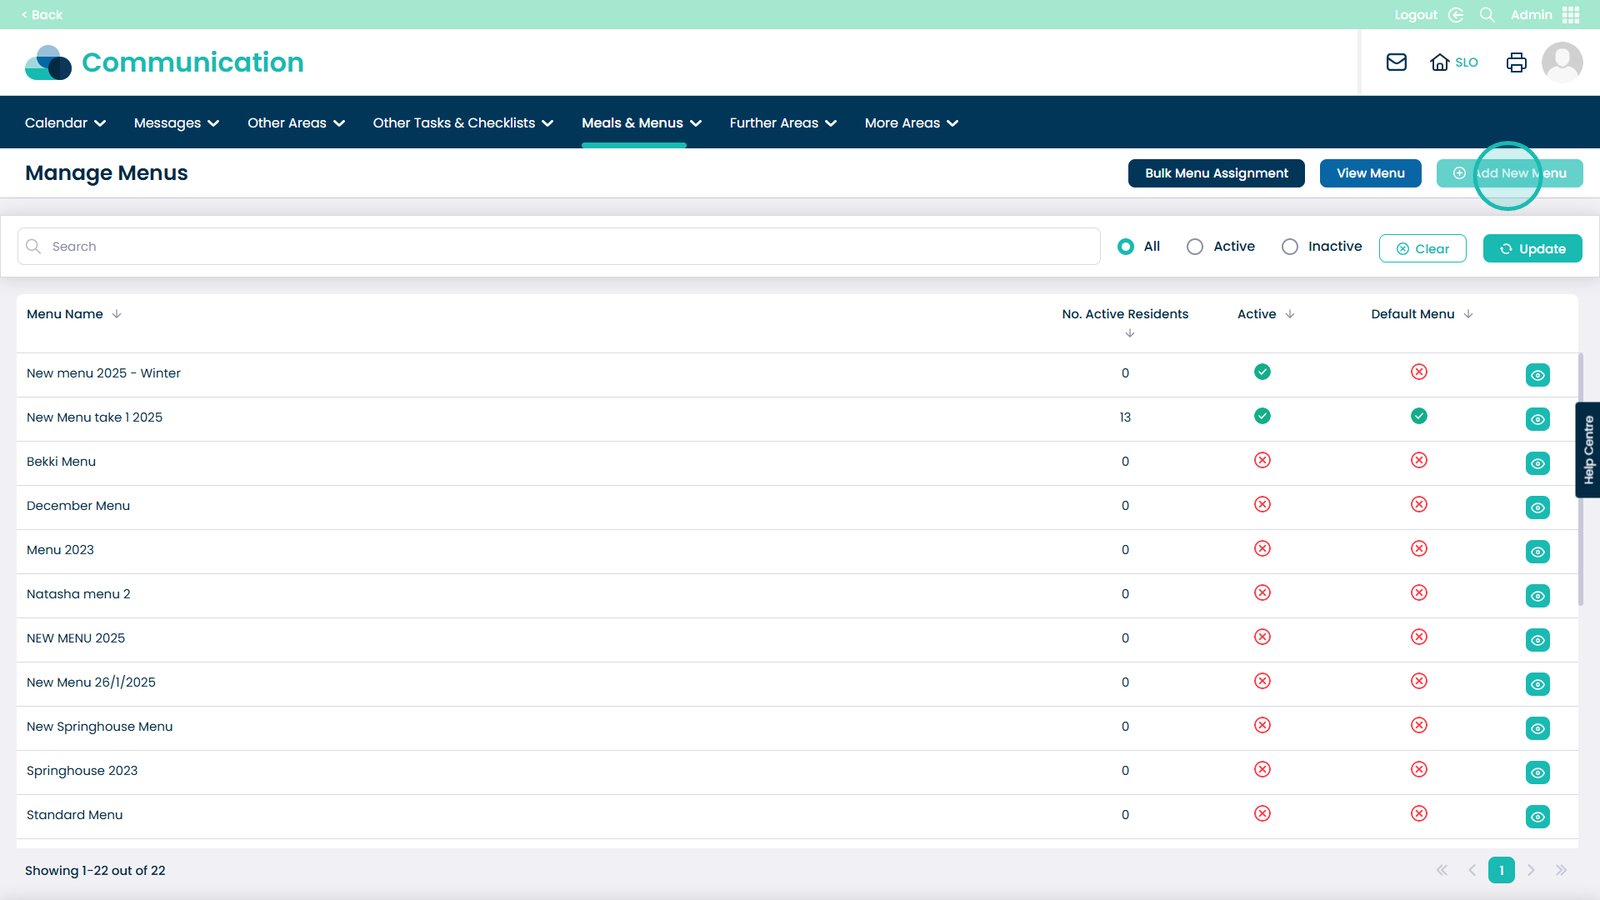
Click Add New Menu
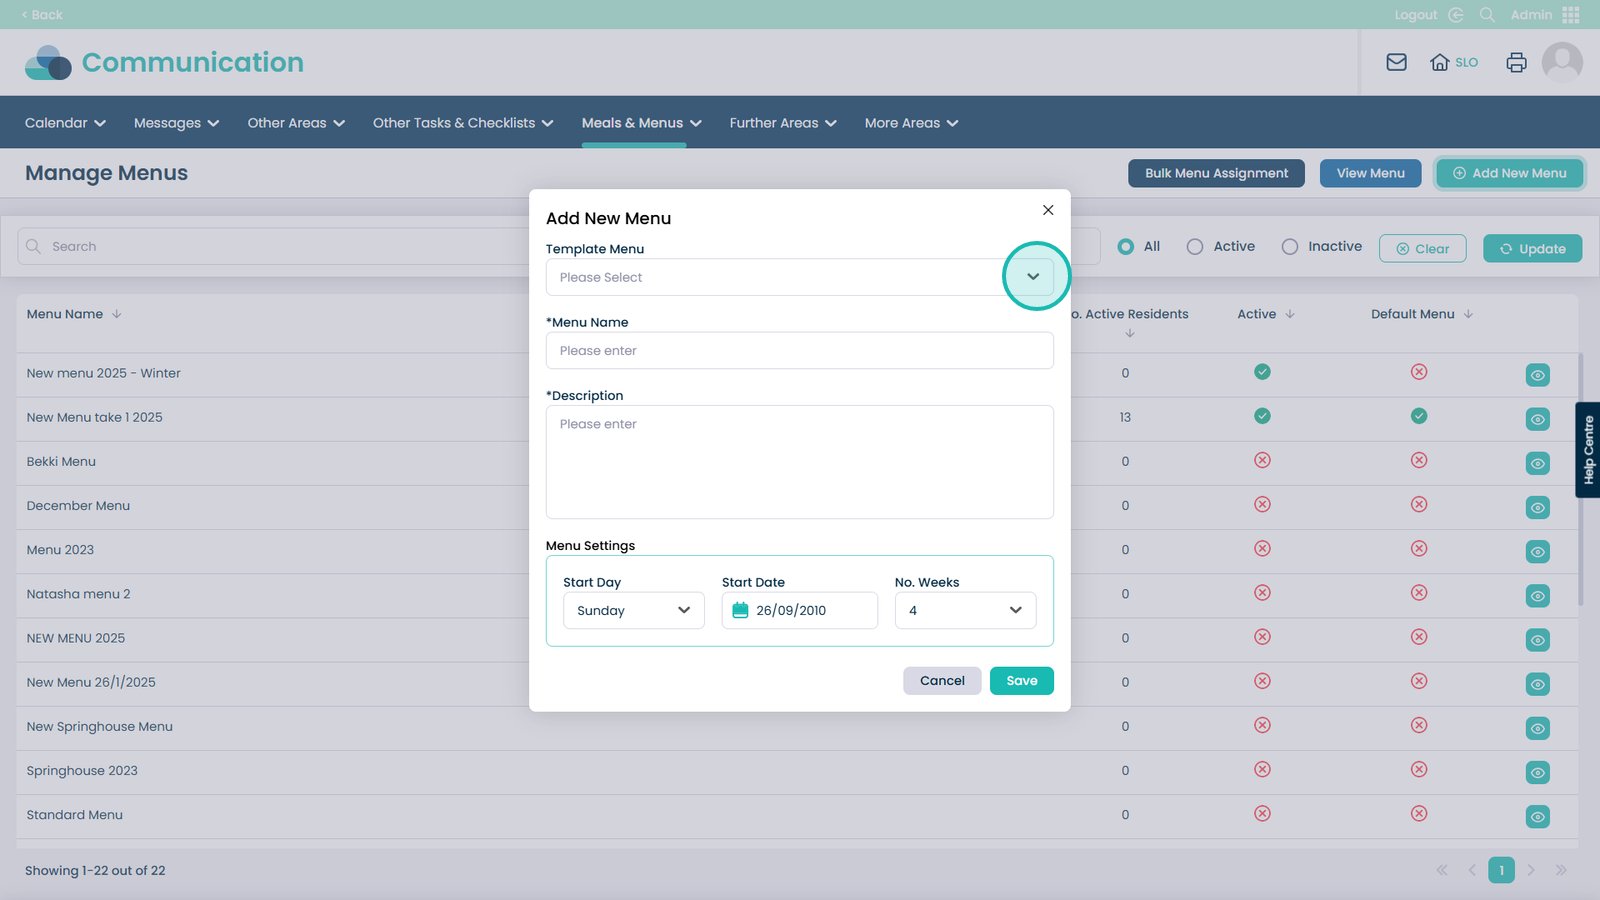
You can choose to use an existing menu as a template. For this guide, we will be making one from scratch
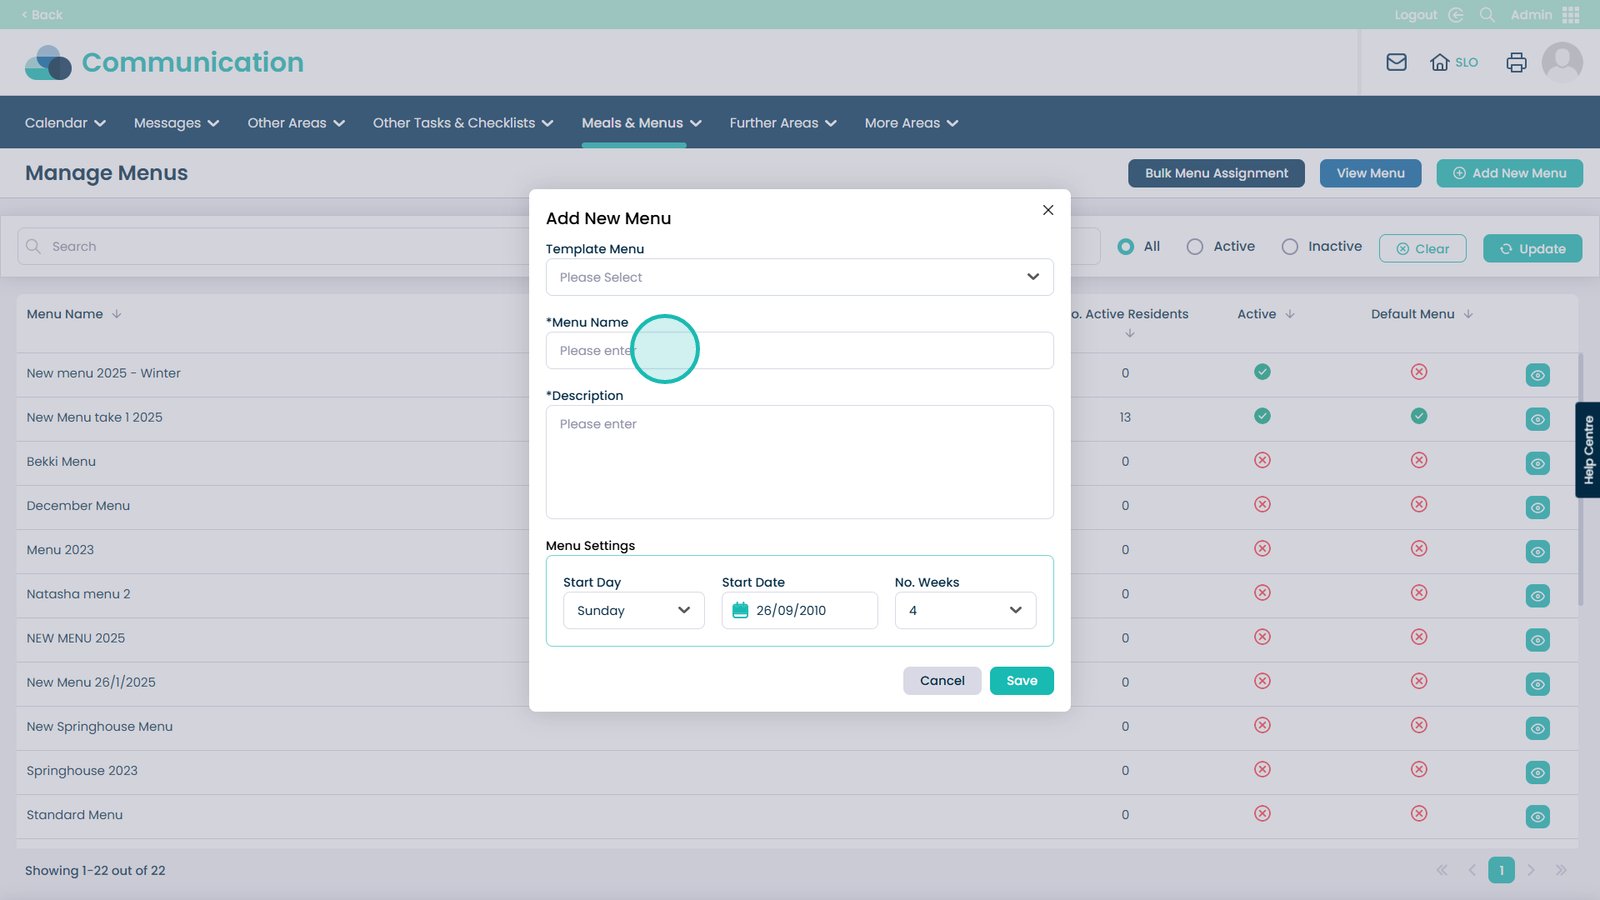
Enter the name of the menu
Add a description to this box, this will help others understand the menu
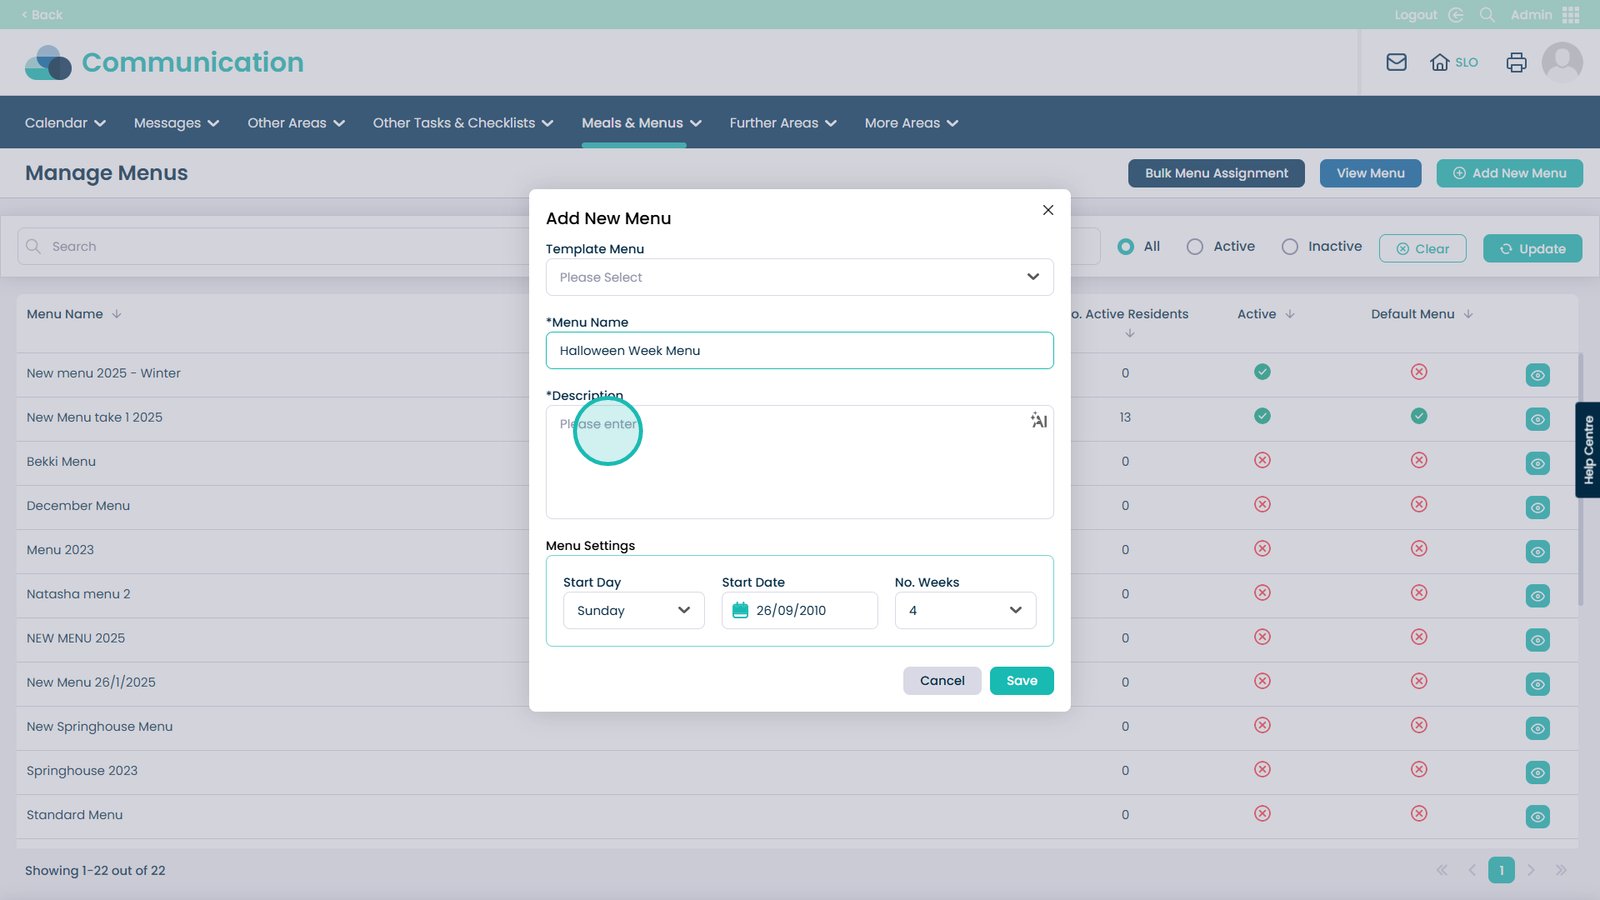
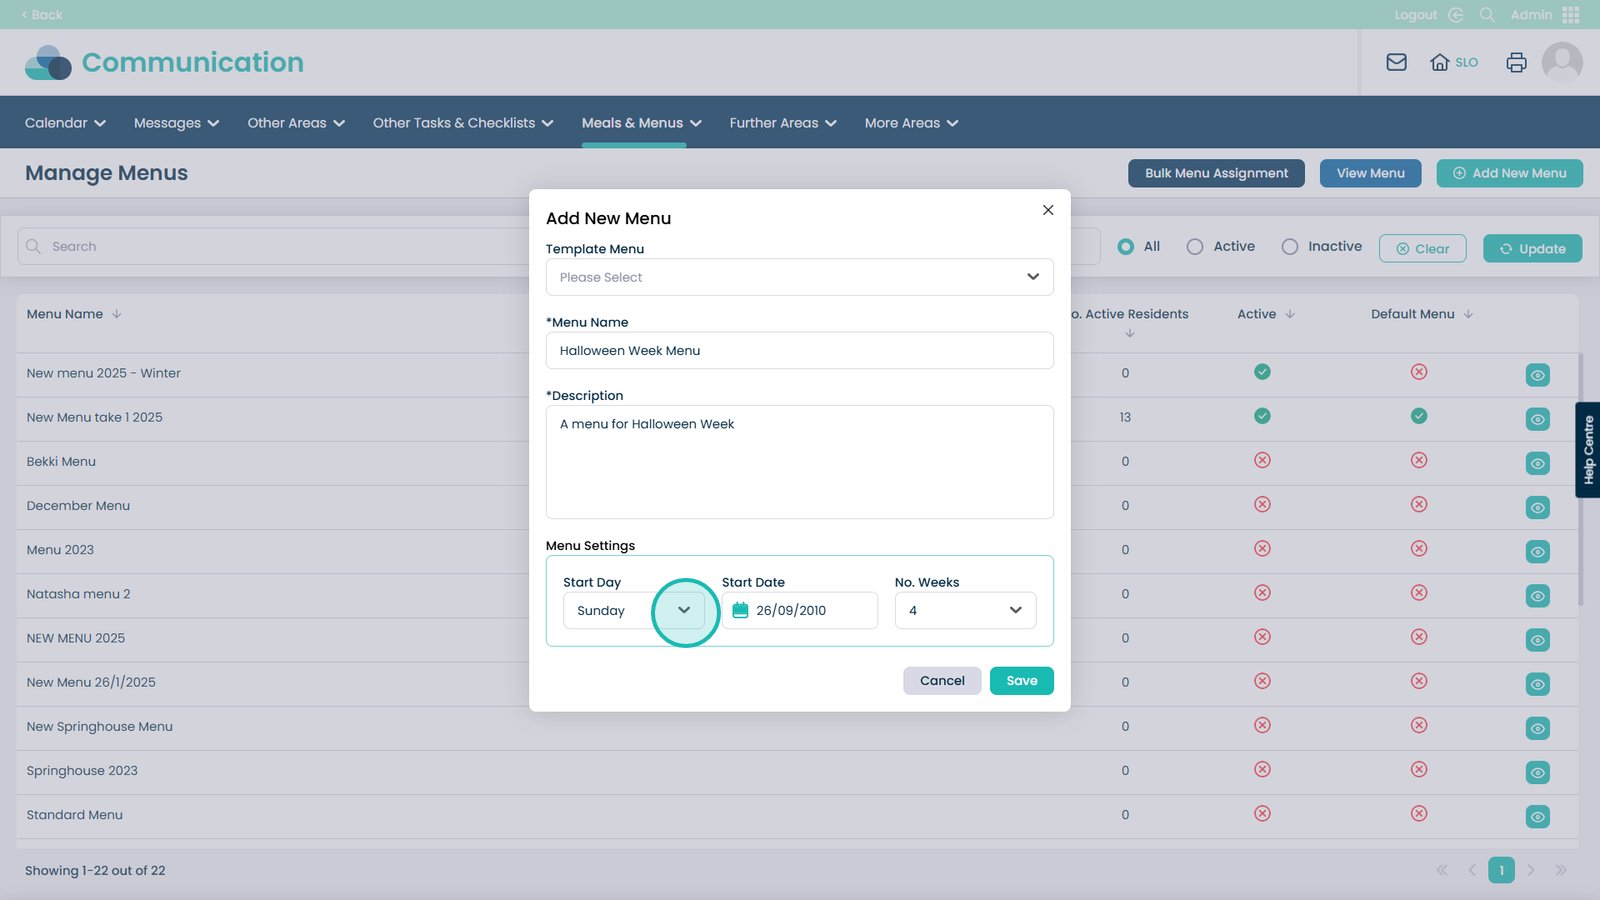
Choose what day the menu will start
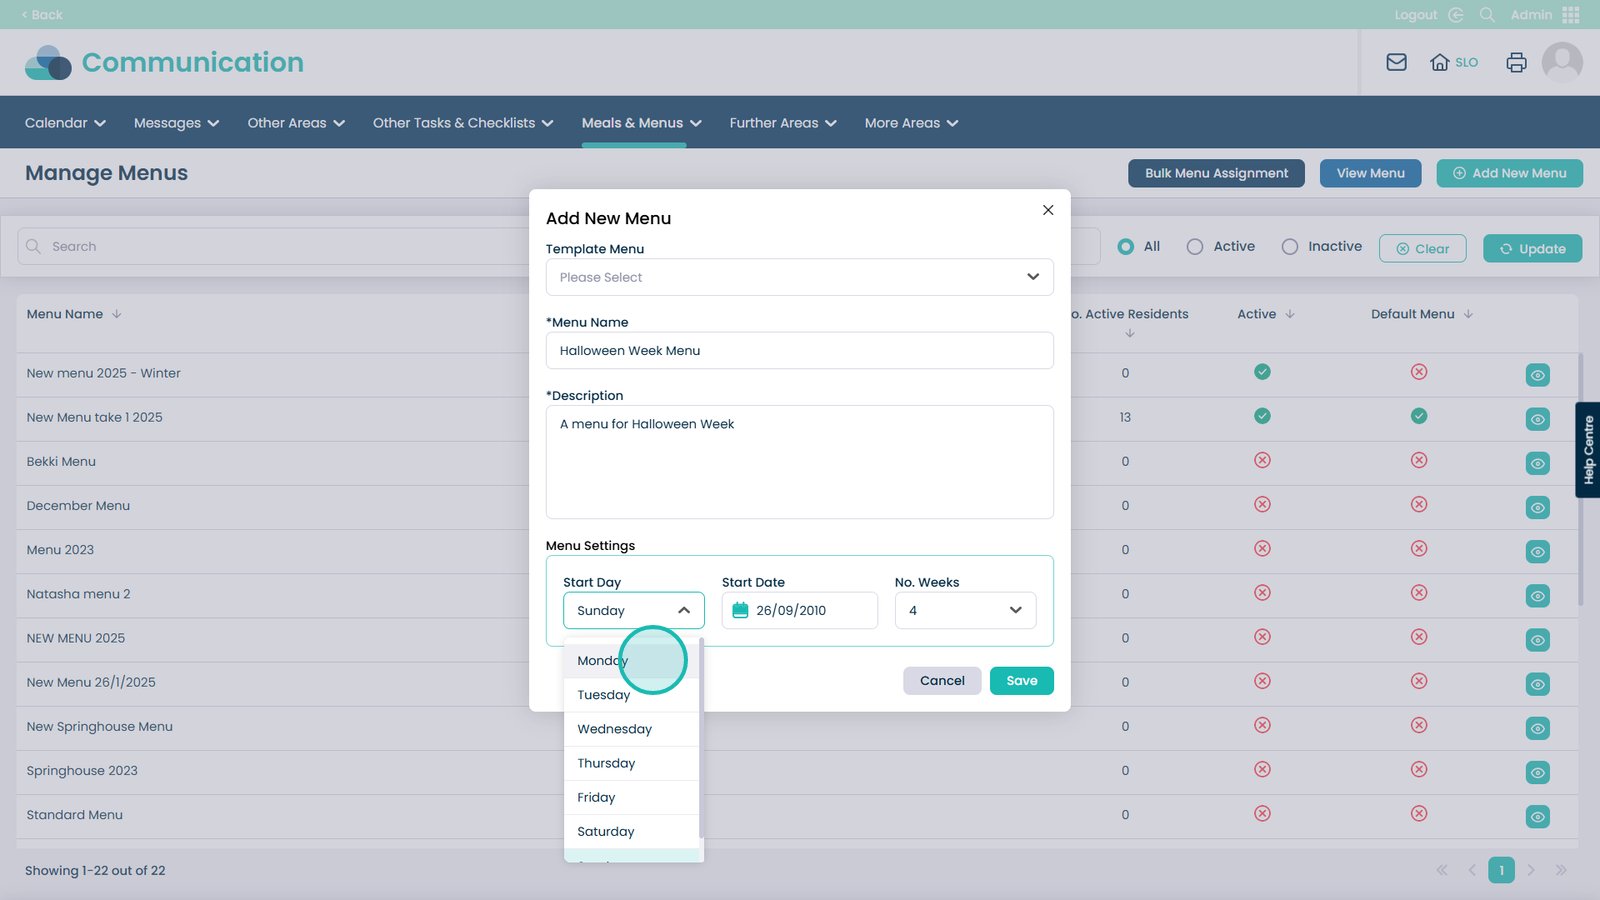
You can choose any day of the week
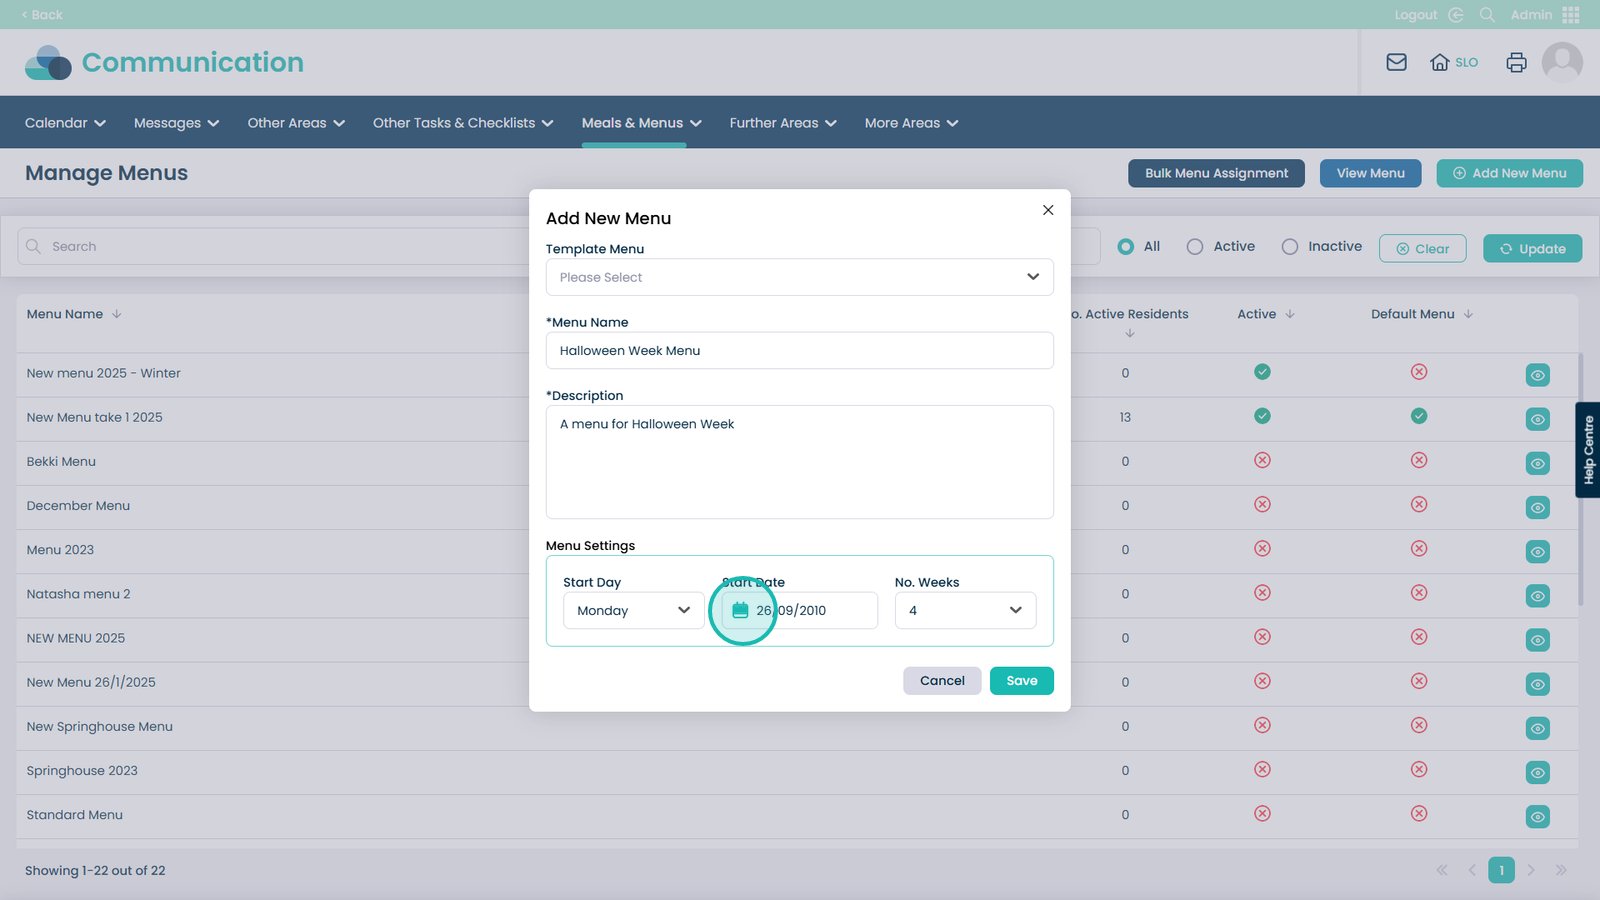
Select the start date that the menu will begin
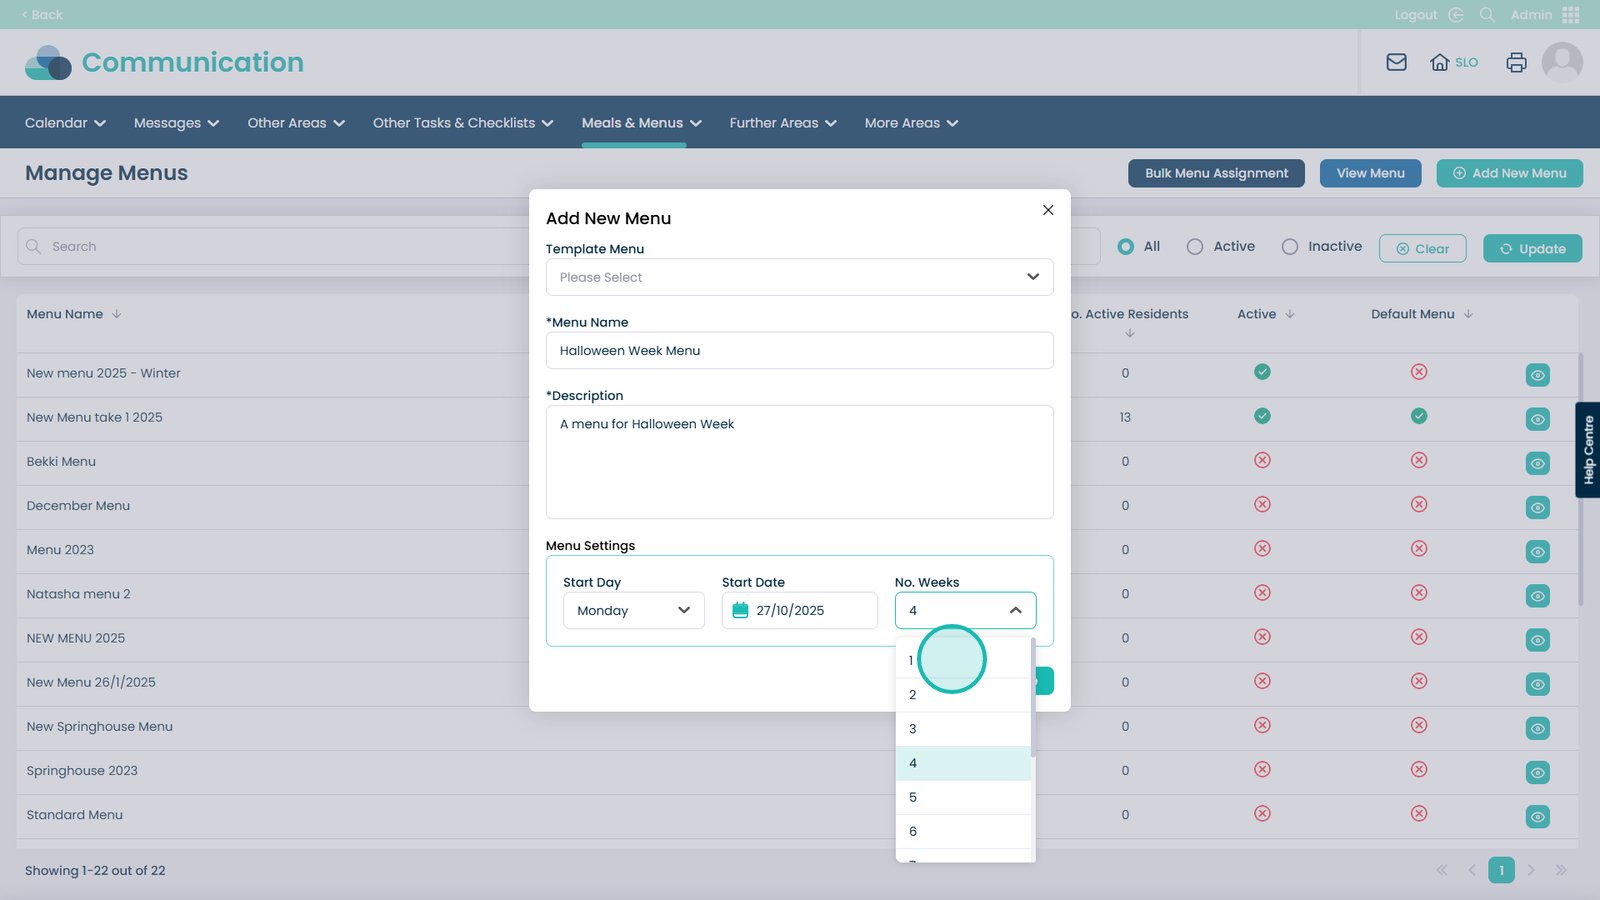
You can select how many weeks the menu rolls for
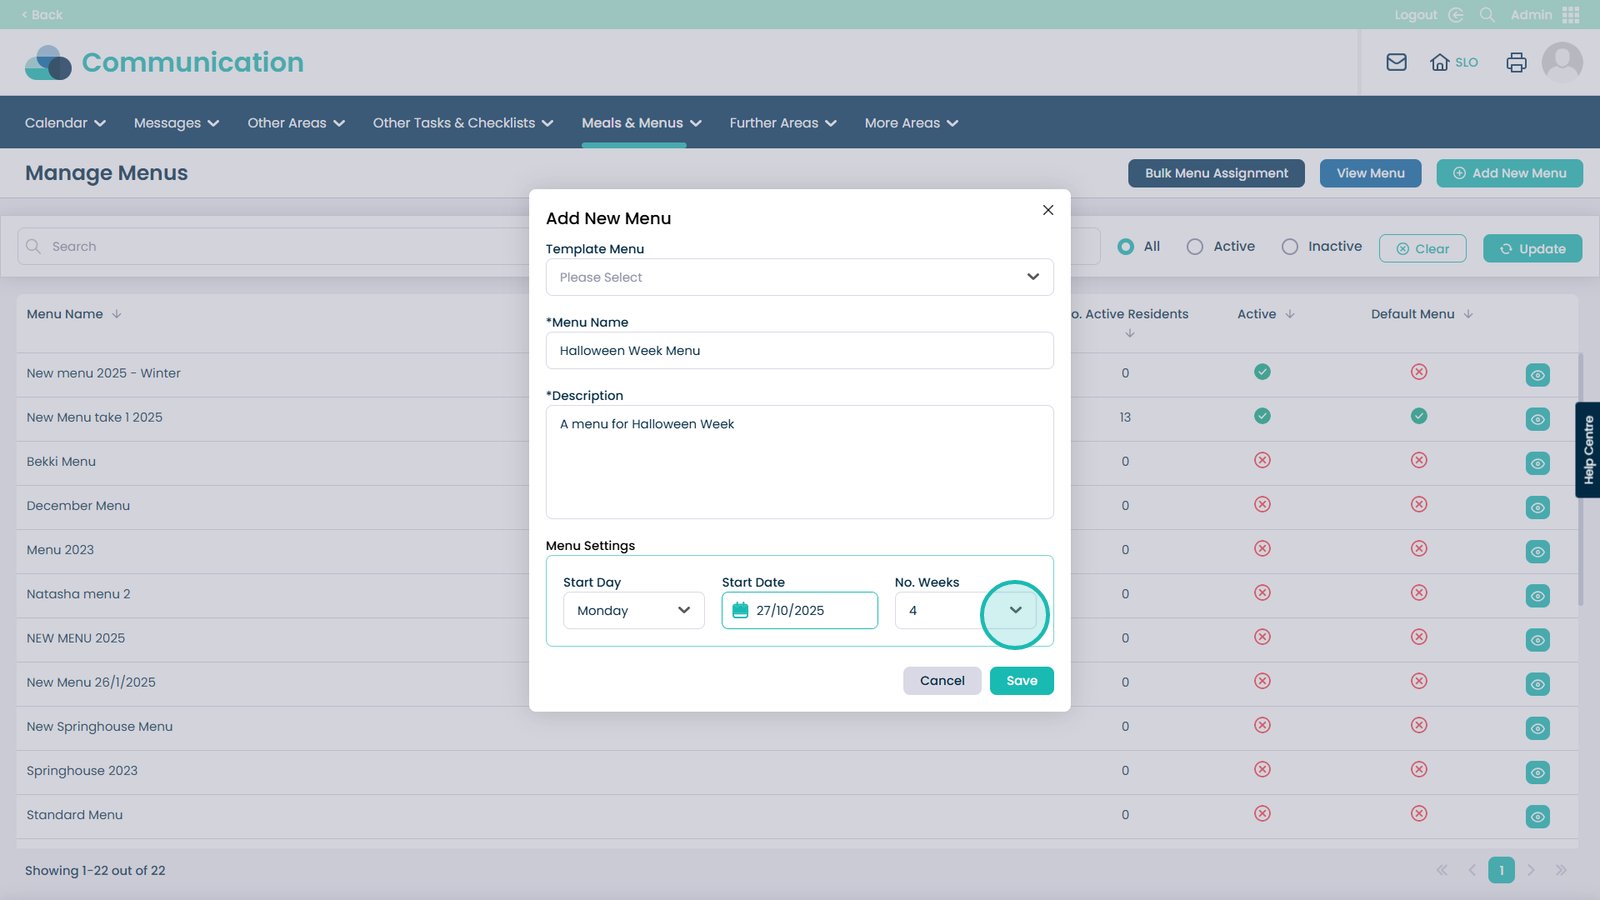
For the example we have picked 1
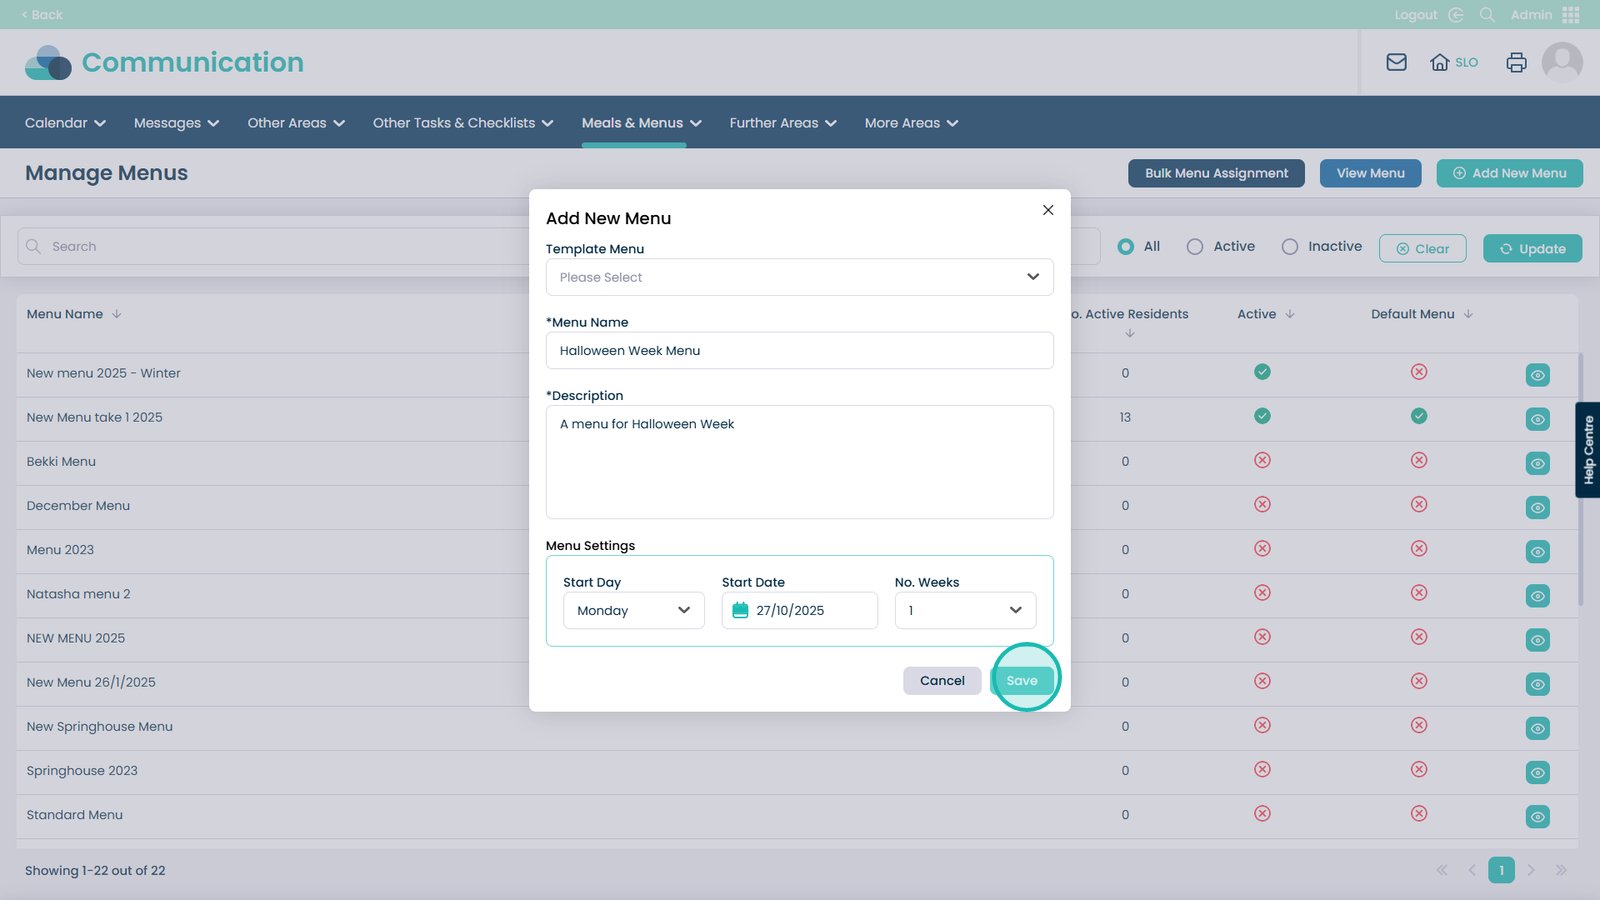
When happy with your set up click Save to create the new menu
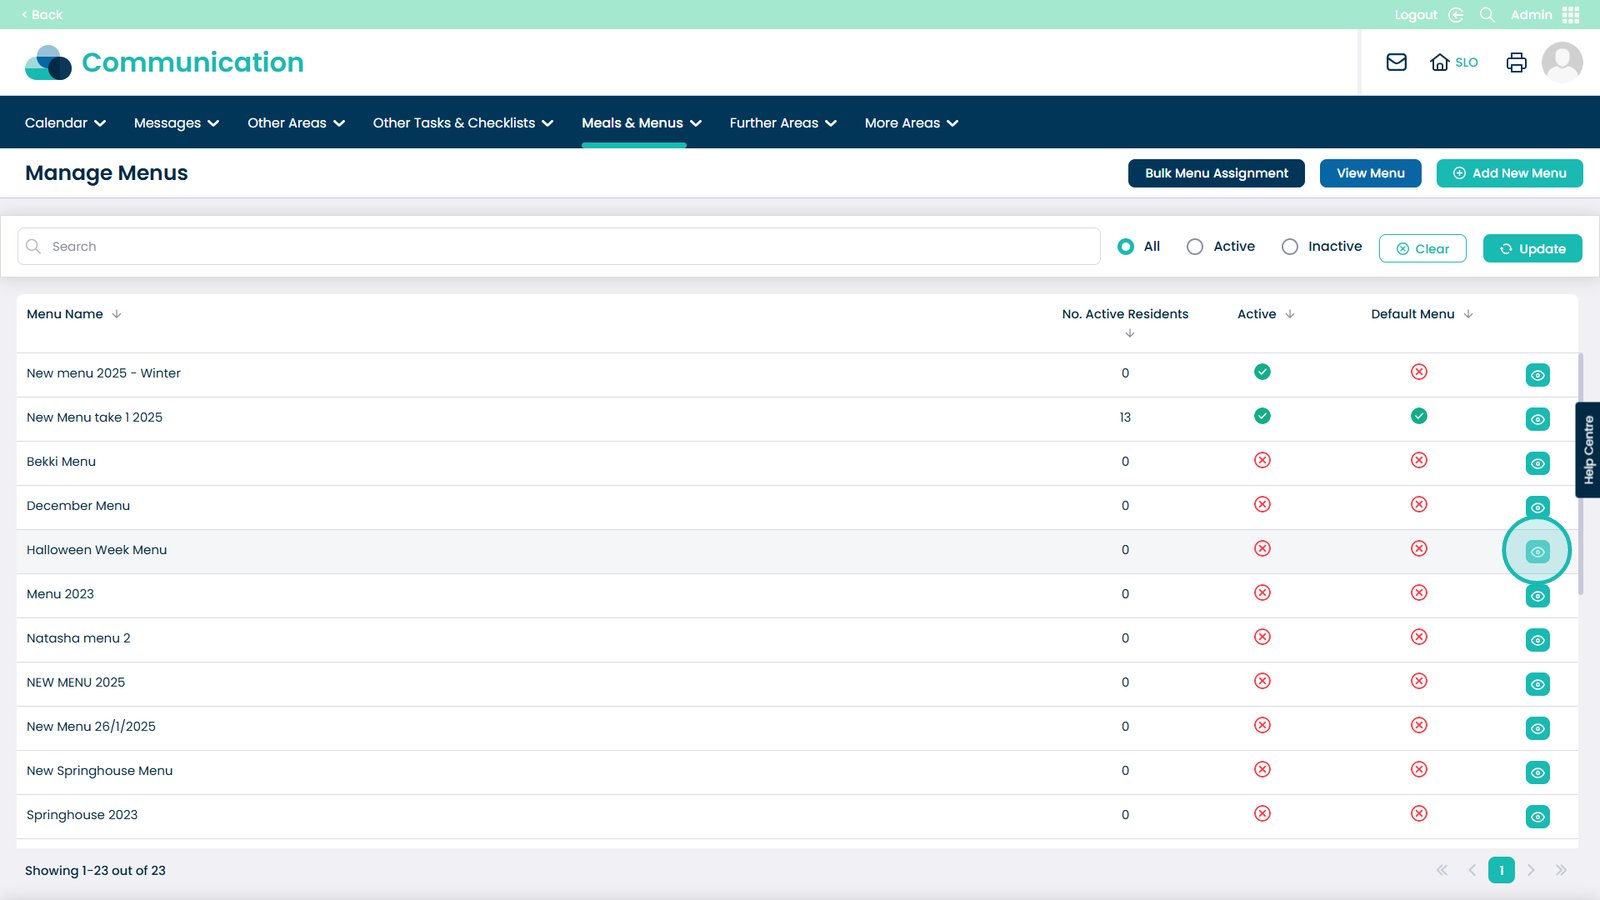
Find the menu you just created in the list and click the eye icon next to it
We want to start off by entering the Rolling Menu
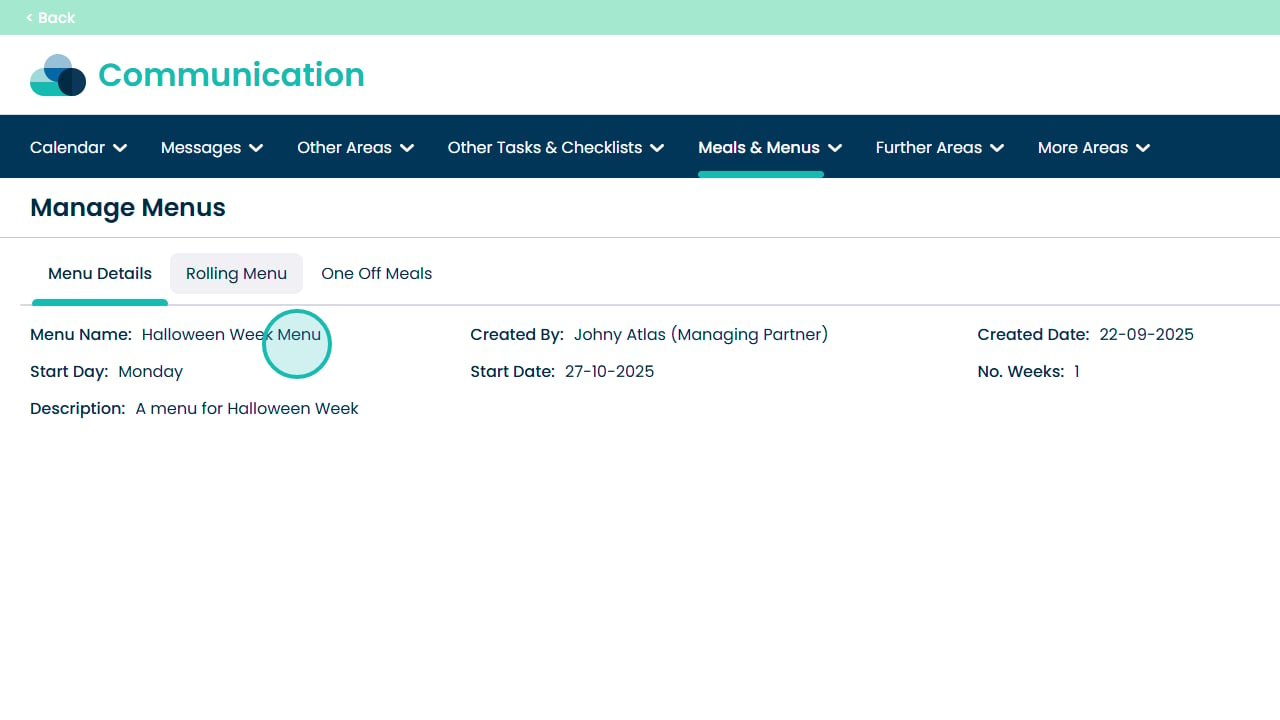
In here we can Add Menu Lines to begin creating our Menu
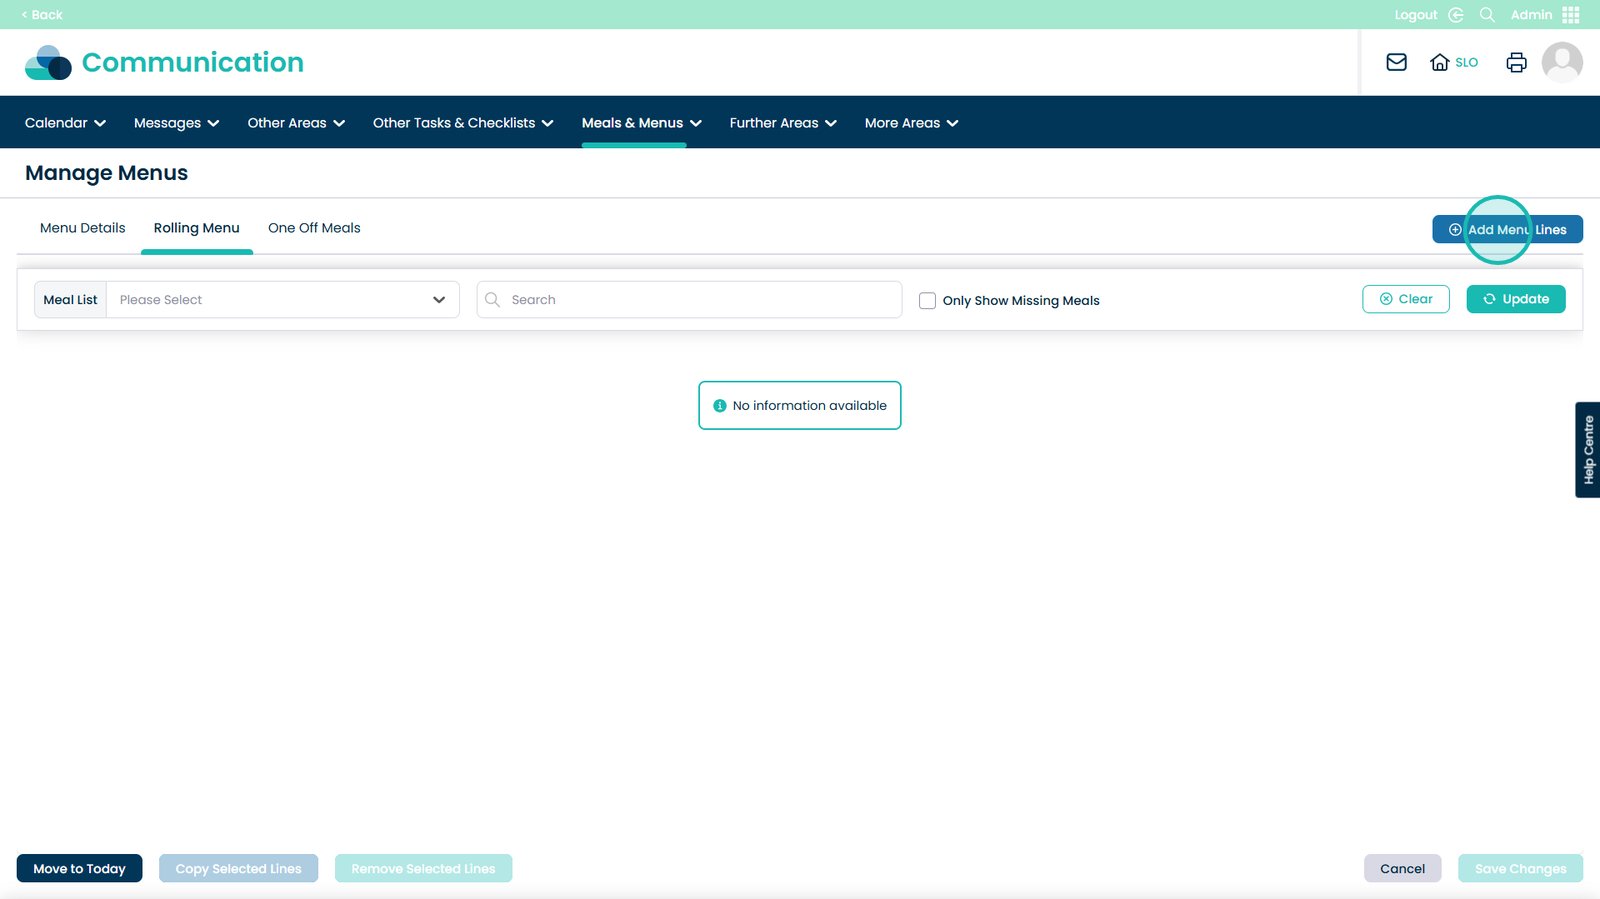
Choose the number of lines that will be created, this can be from 1 up to 16
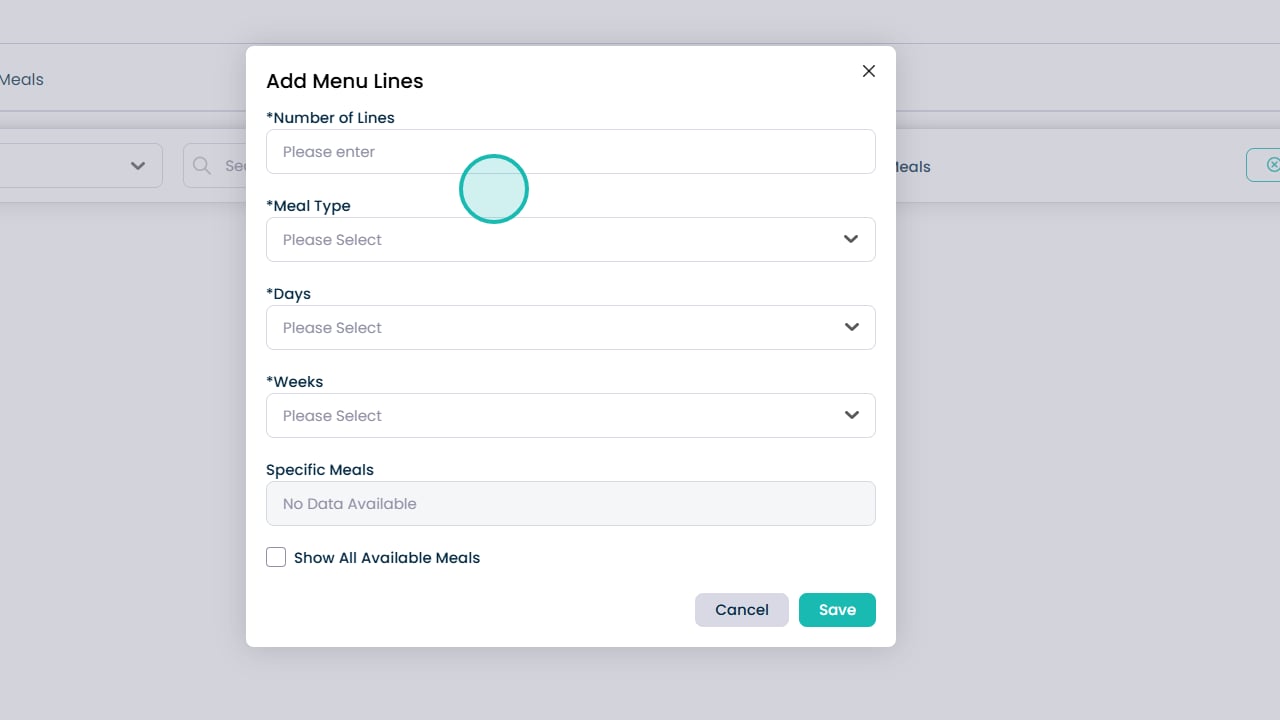
Choose the Meal Type from this drop-down, this will determine the menu items we can add
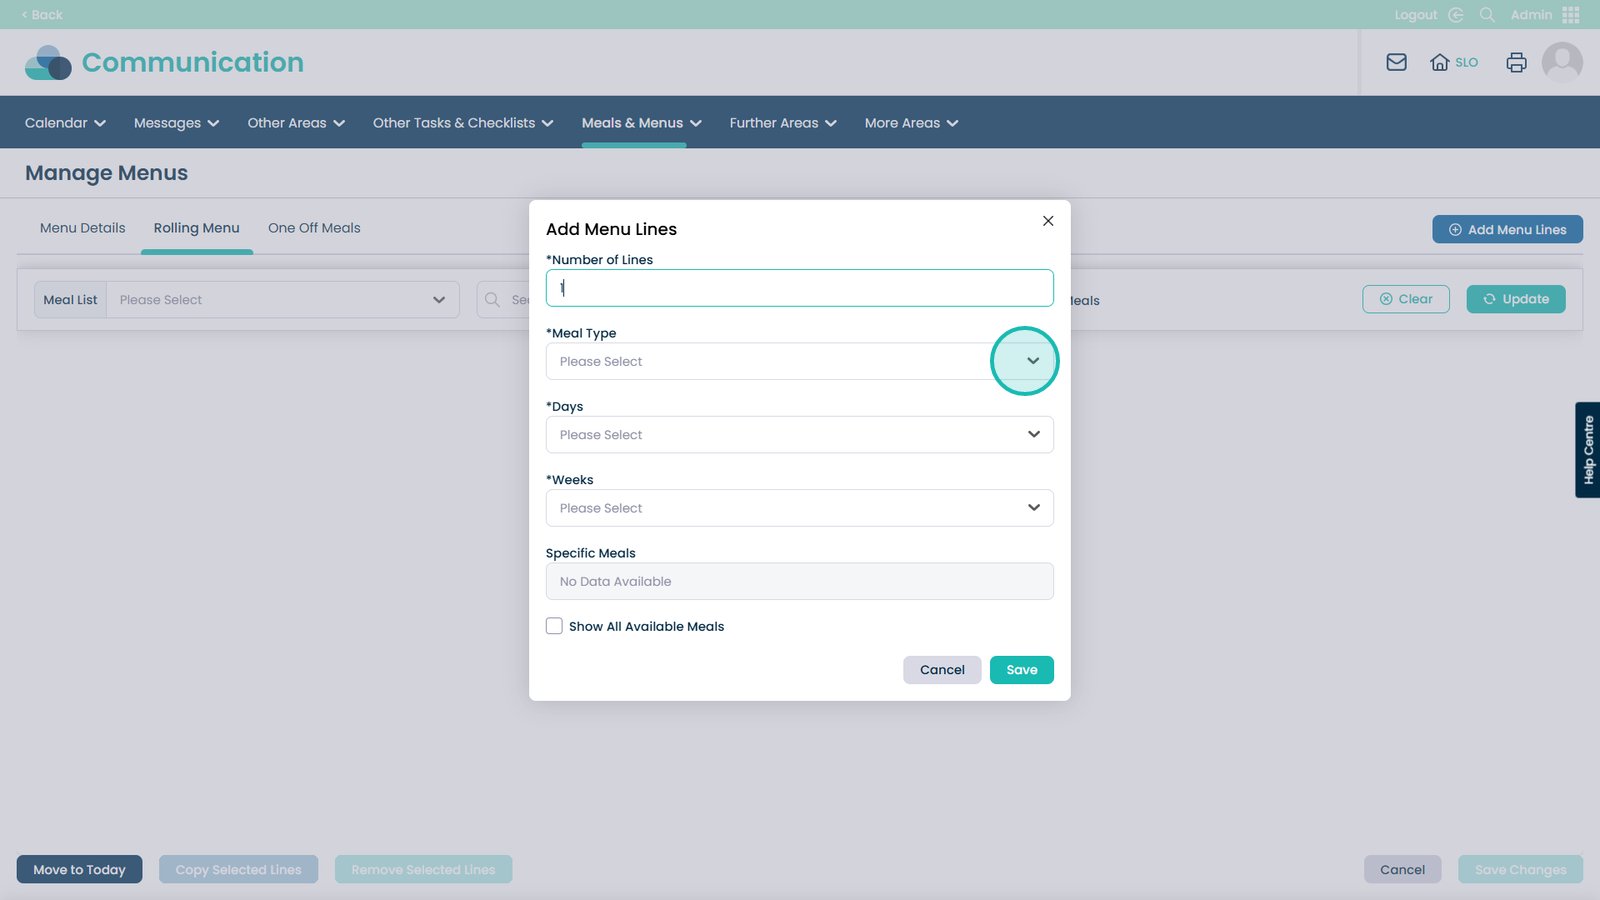
We have picked Breakfast for this example
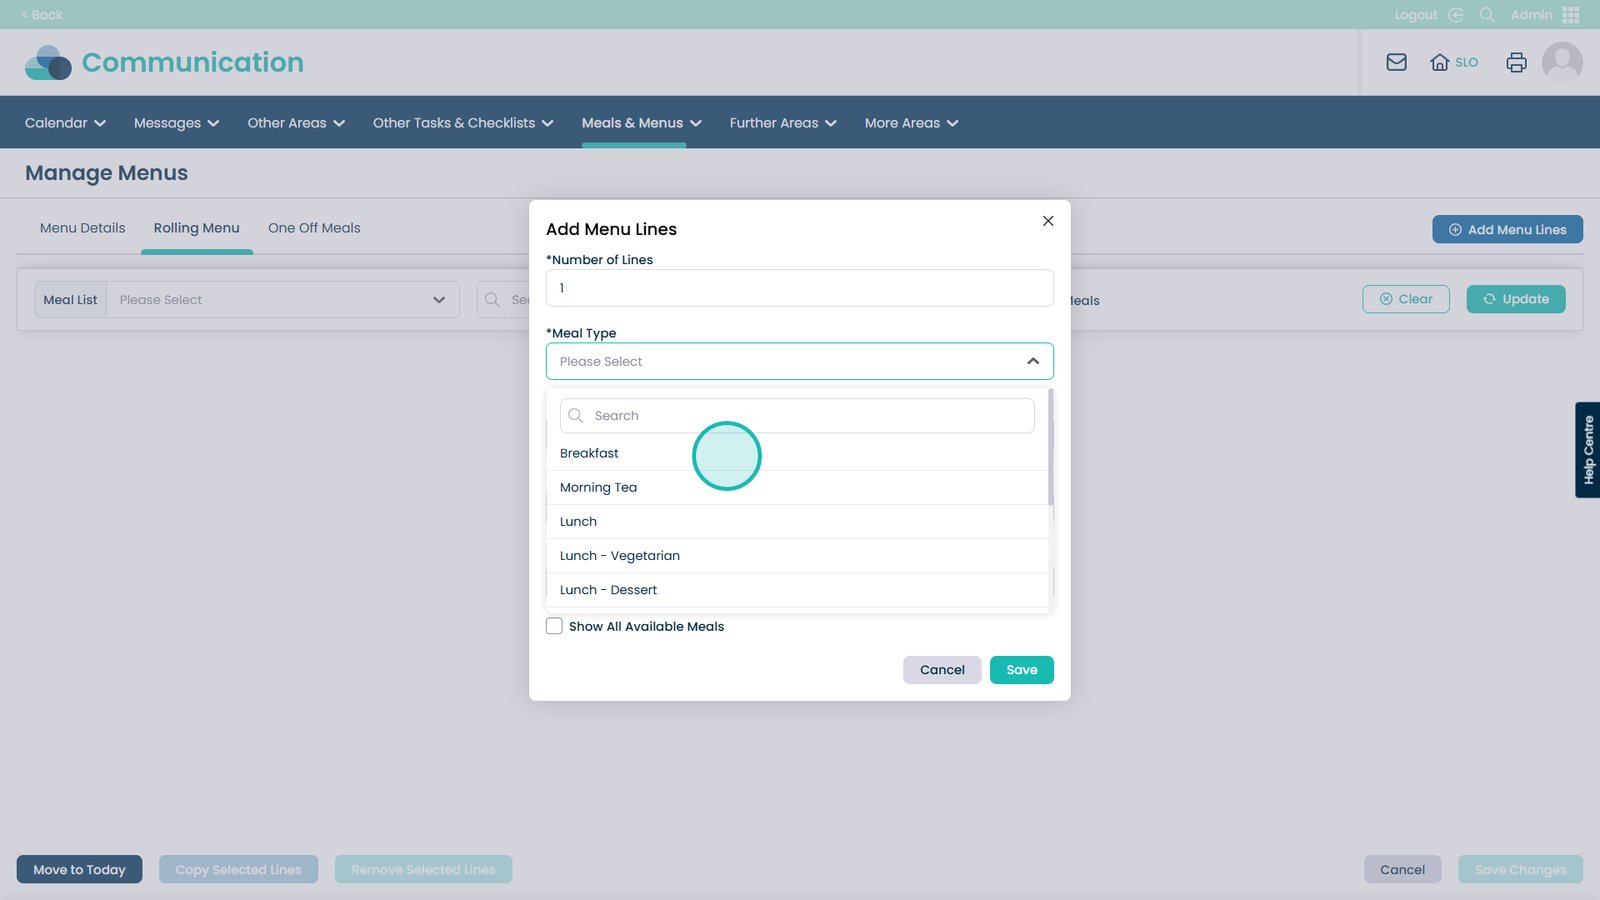
Choose what days you would like this menu item to be available on
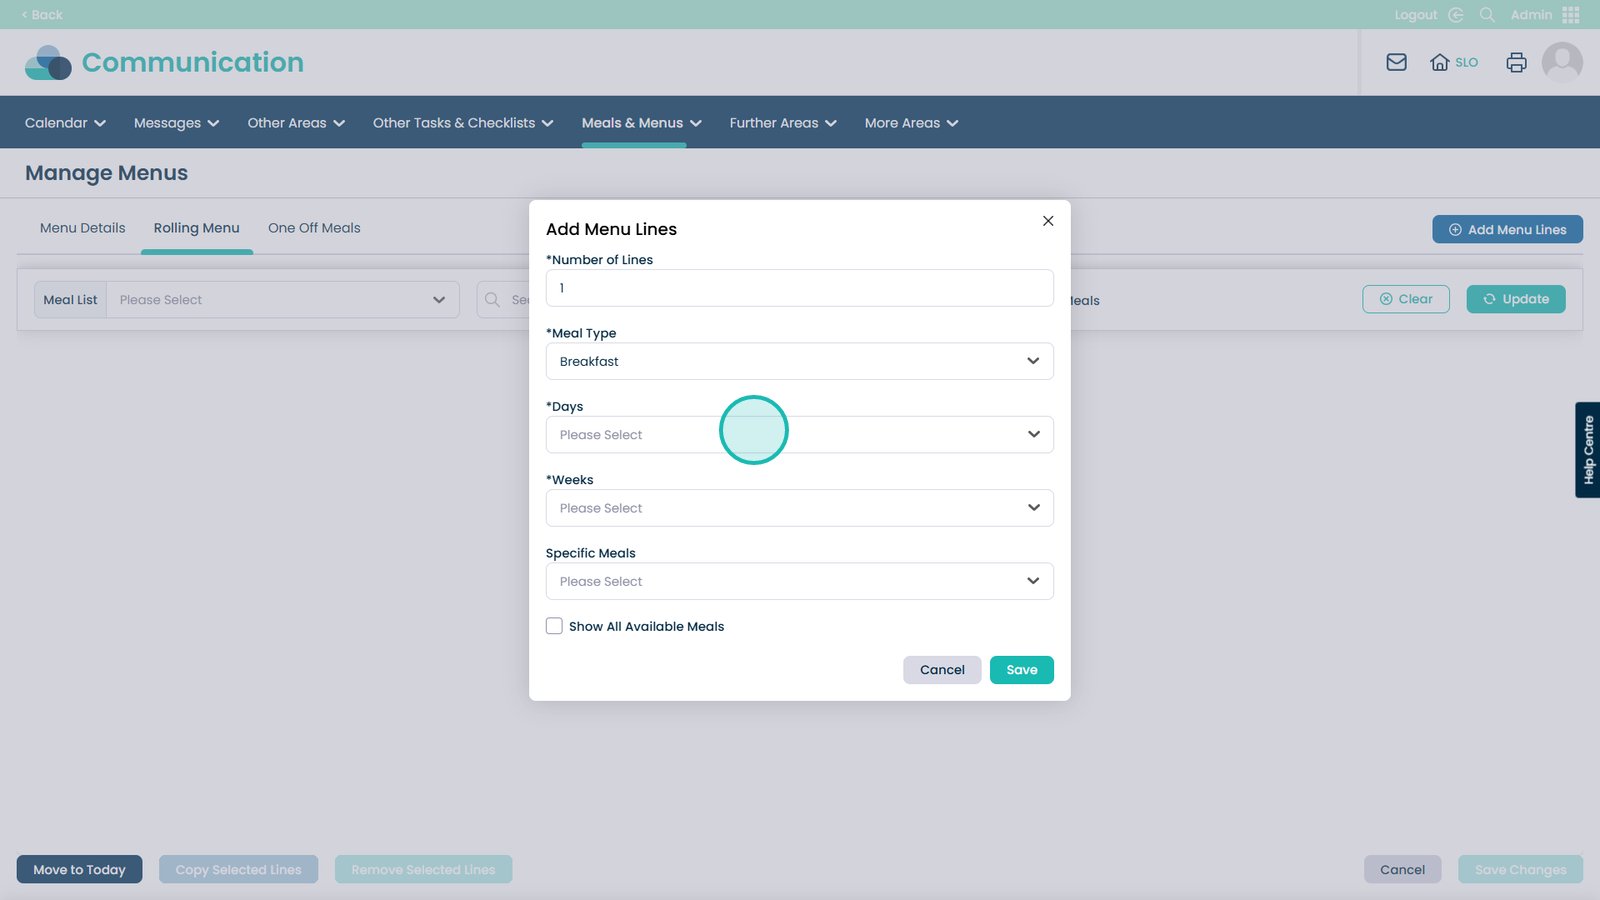
You can select individual days, multiple days or Select All days
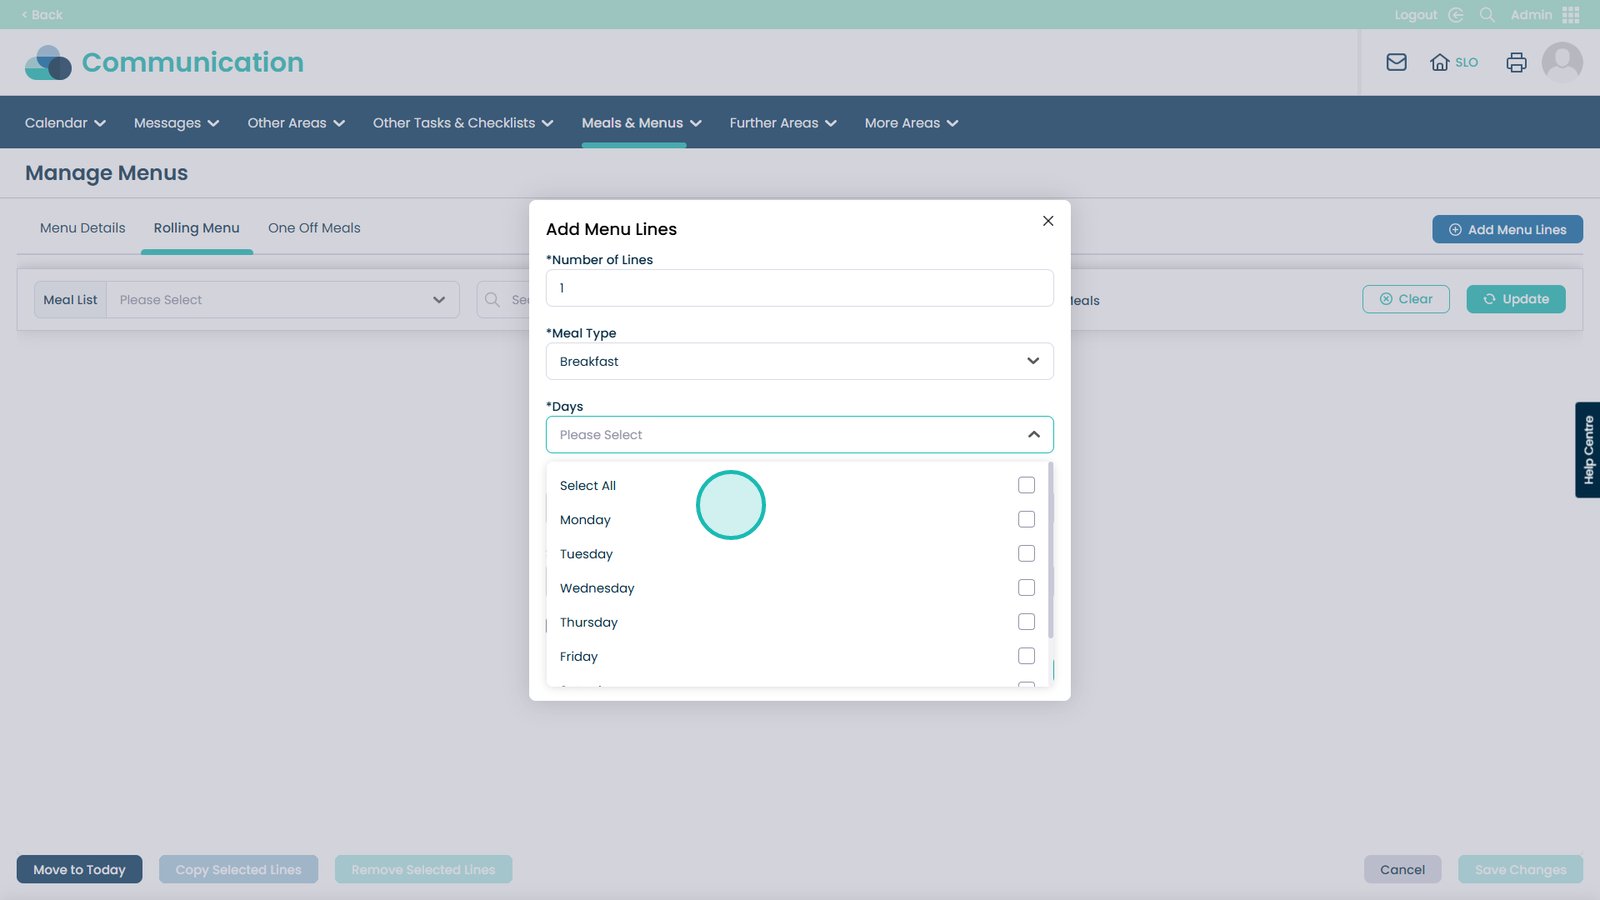
You can choose how many weeks this item will be available on the menu
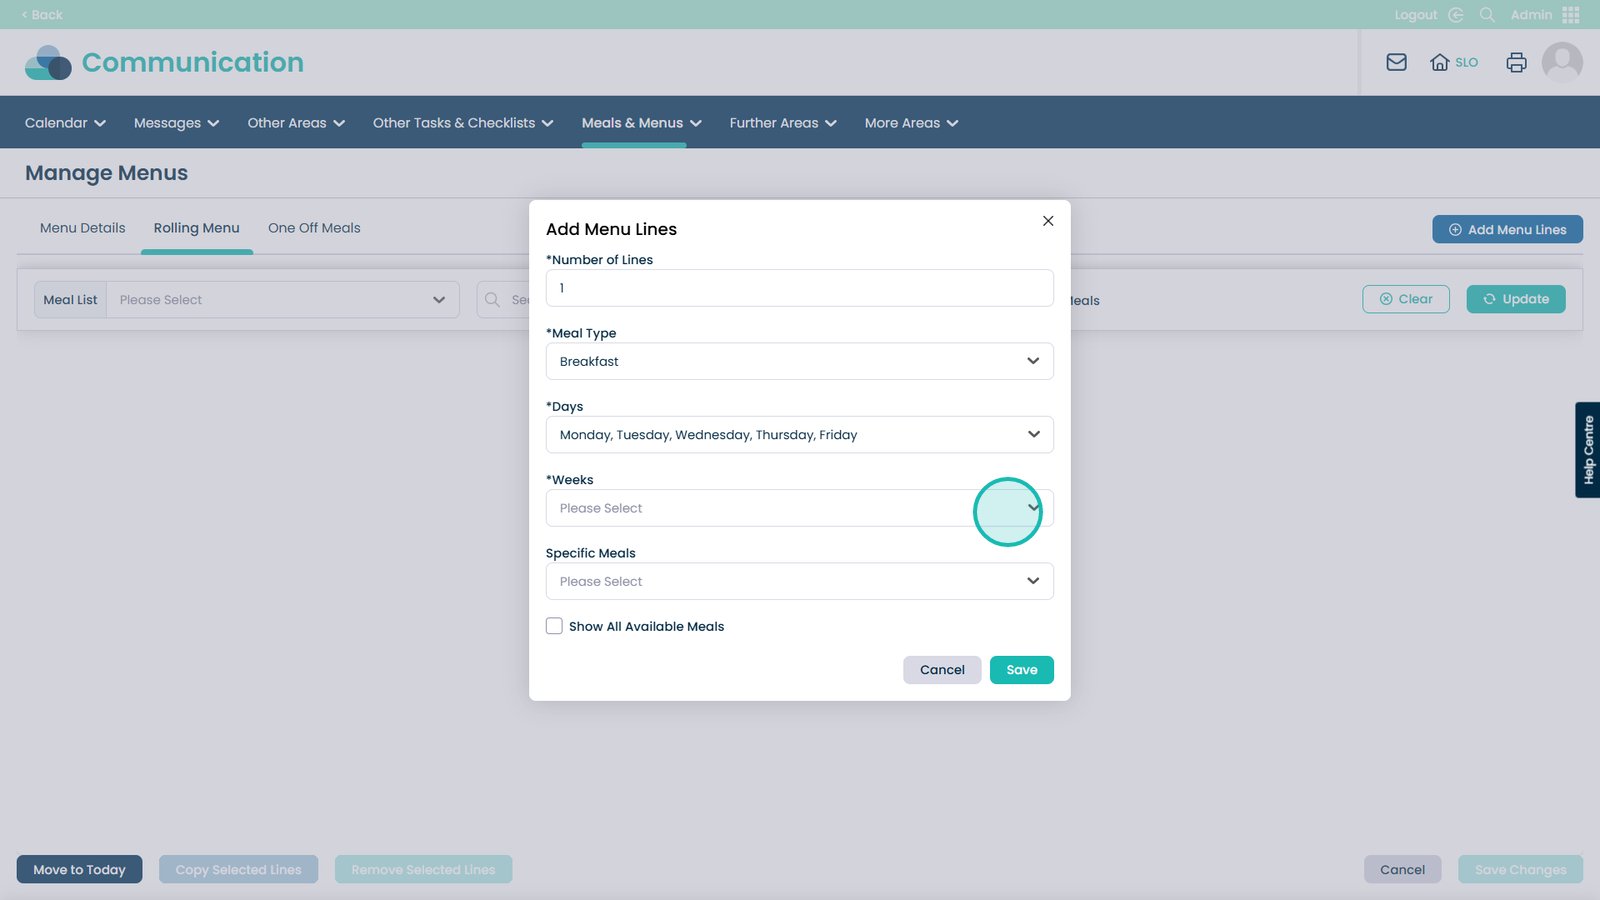
You can select individual weeks, multiple weeks or Select All weeks
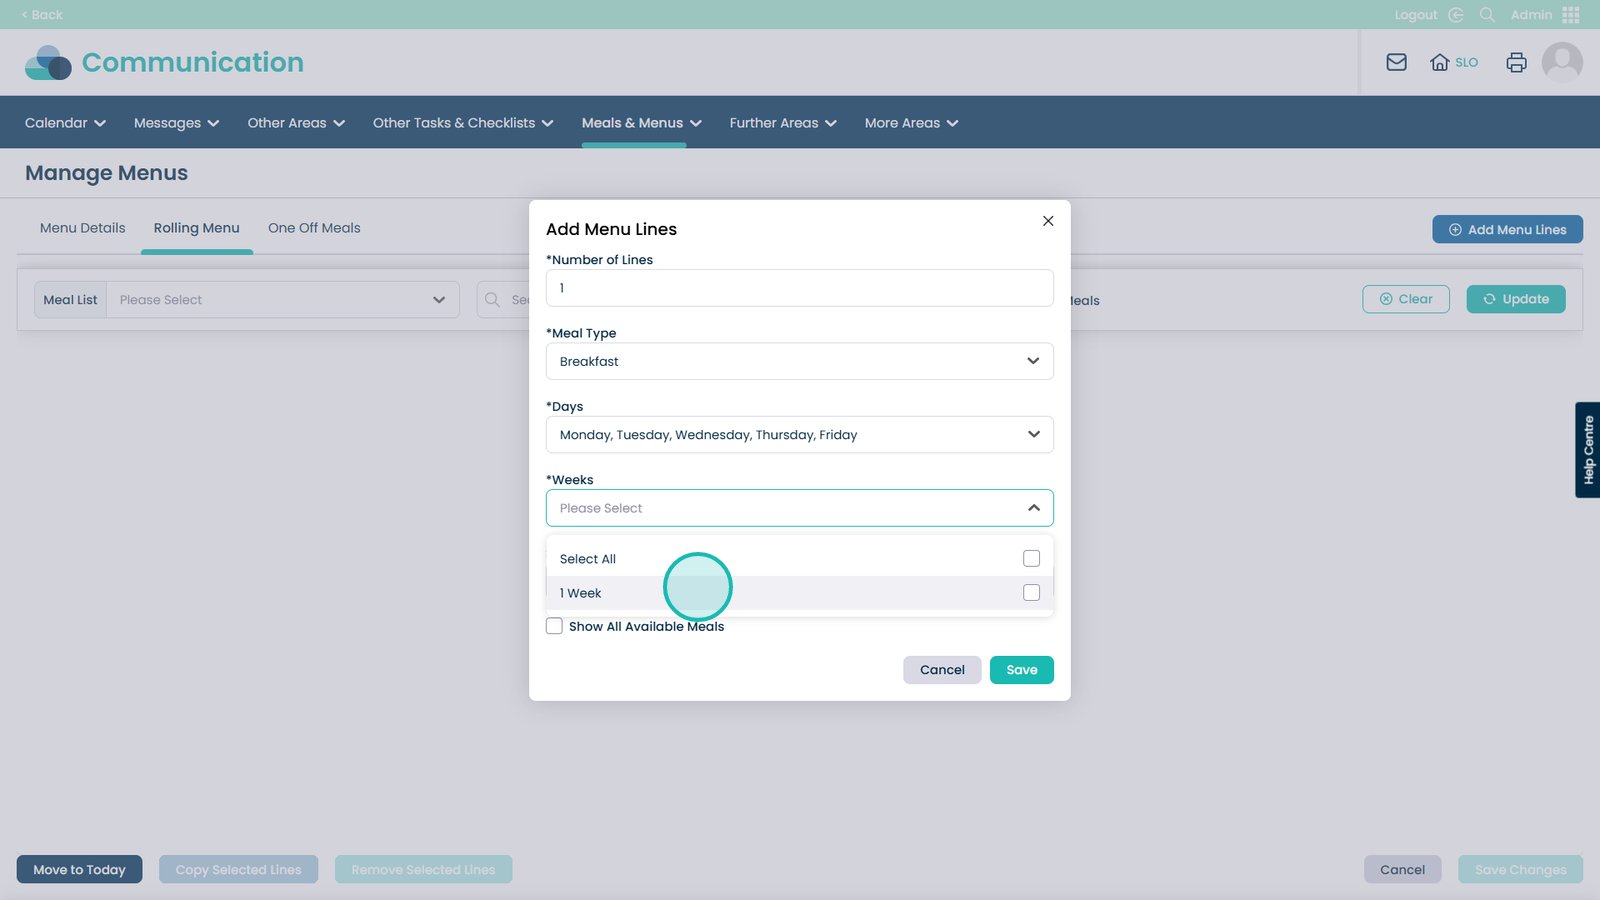
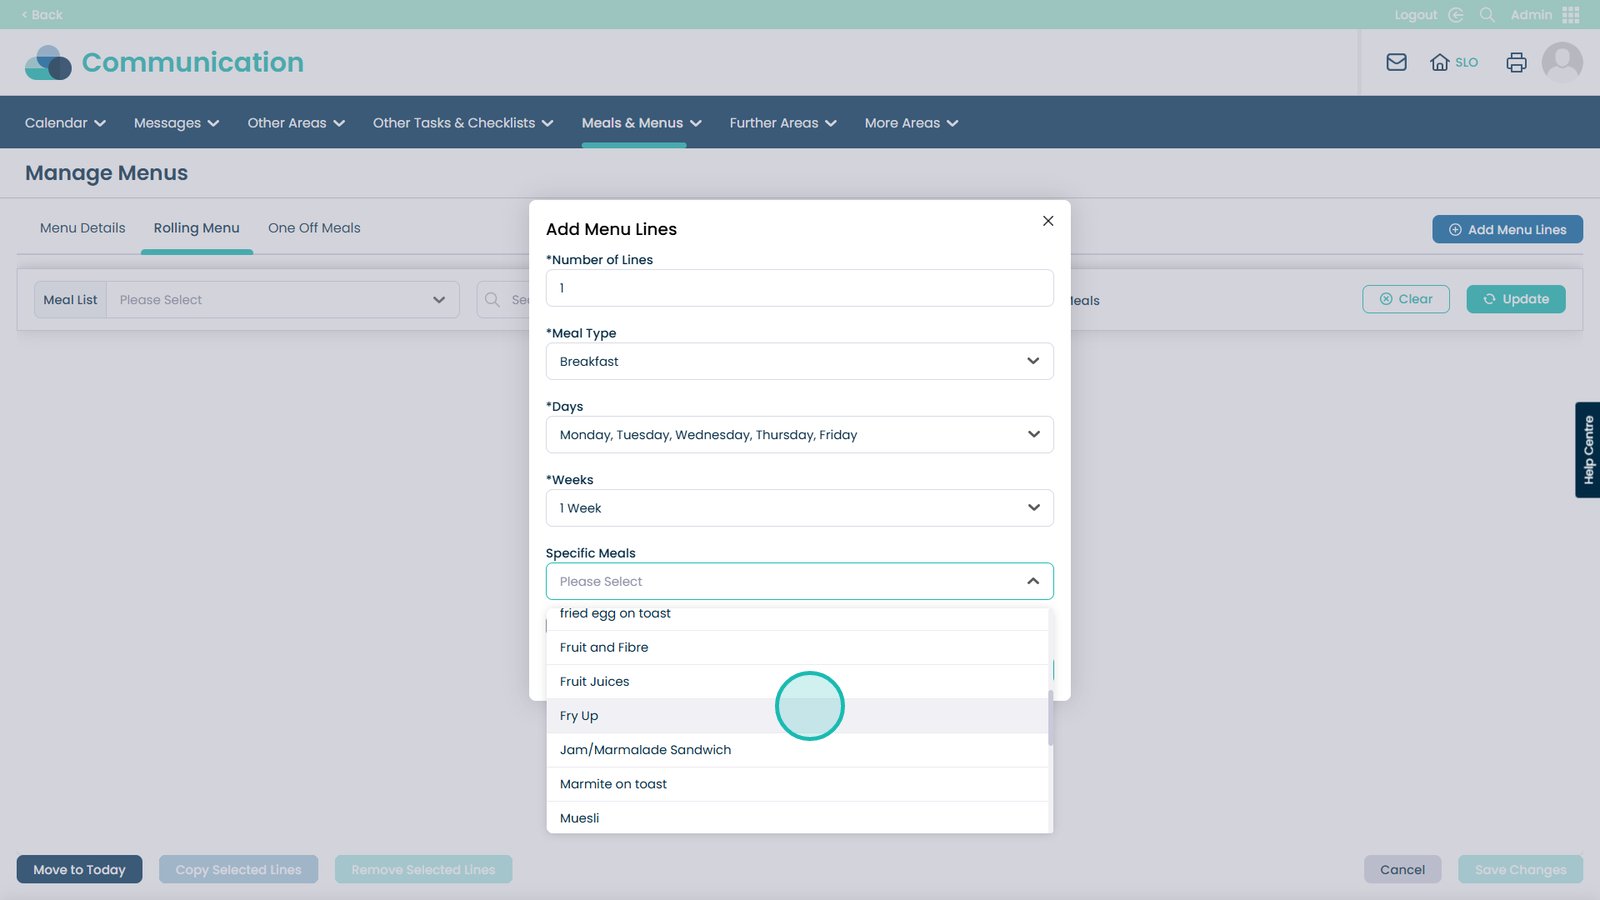
In the Specific Meals tab is where you select if you want a specific meal to be present on the menu
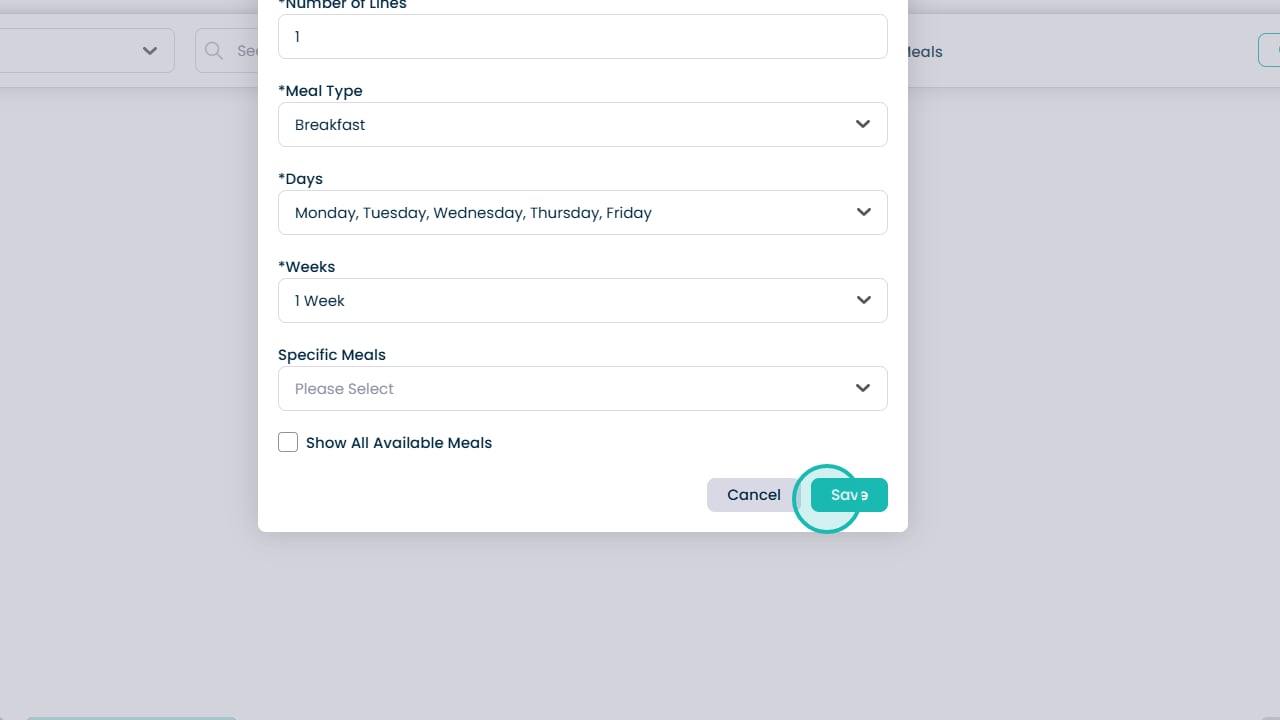
You can search through the meals or scroll through to select them
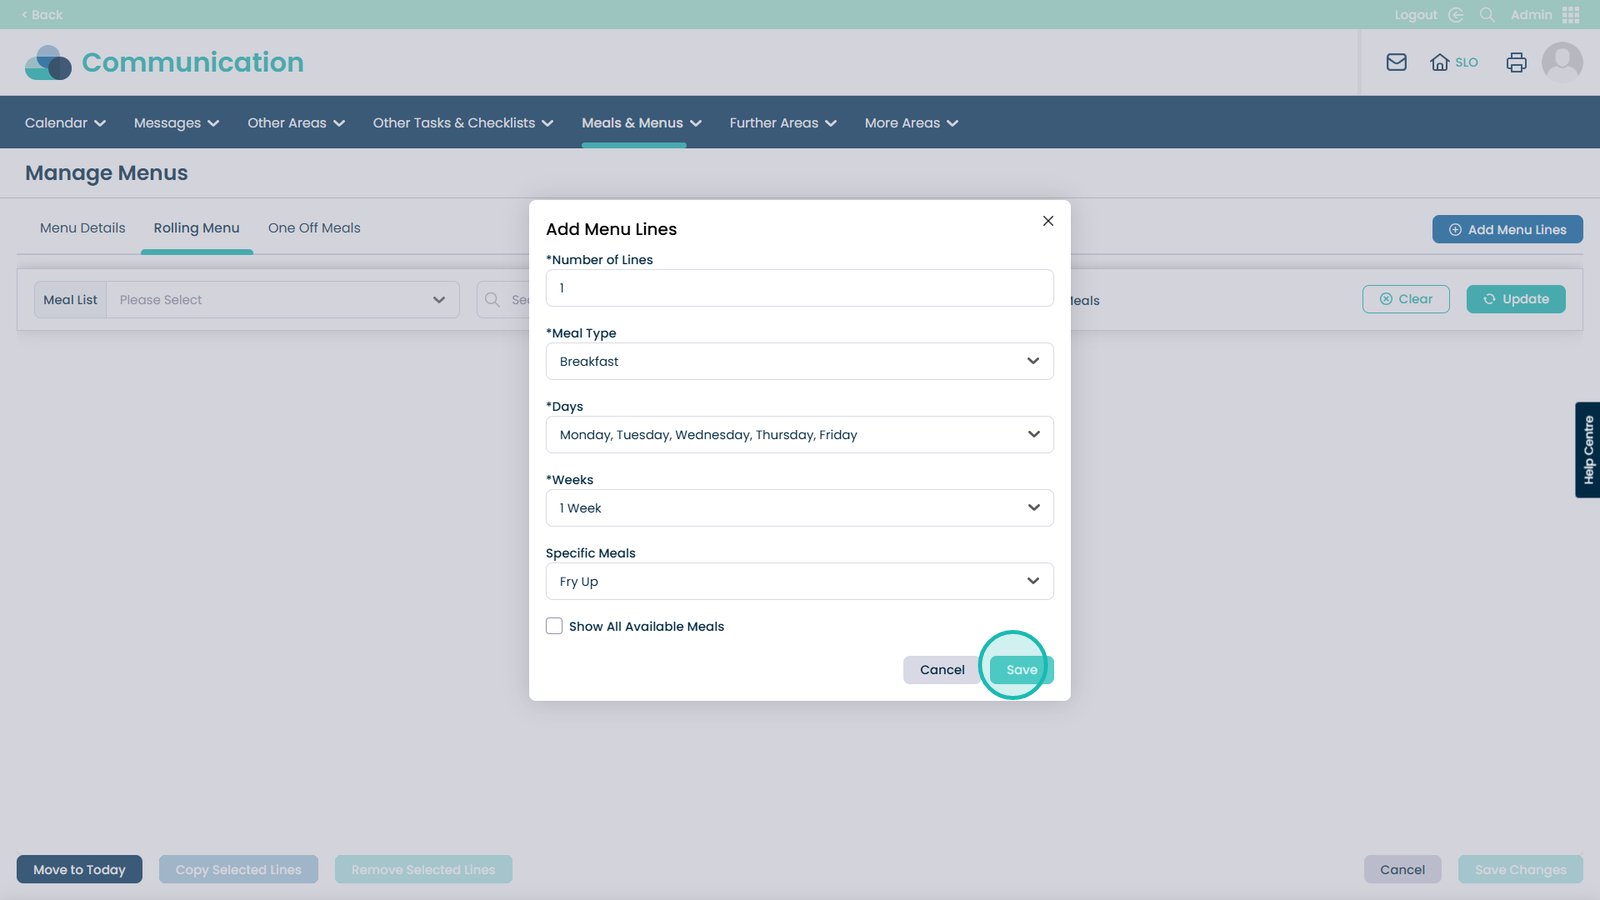
When happy, click Save
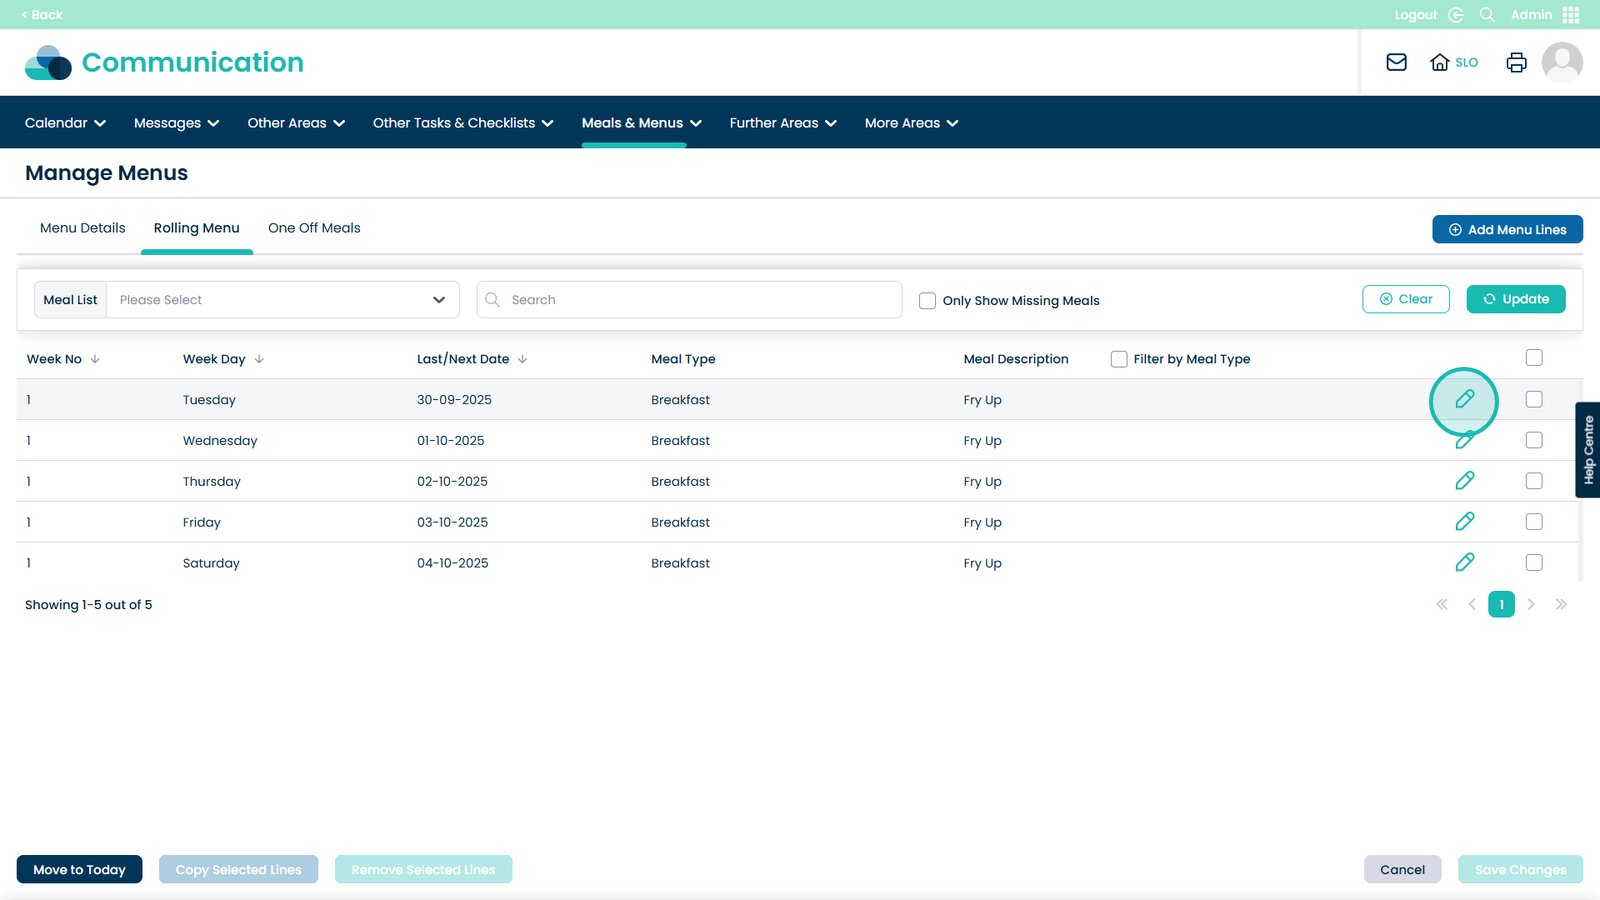
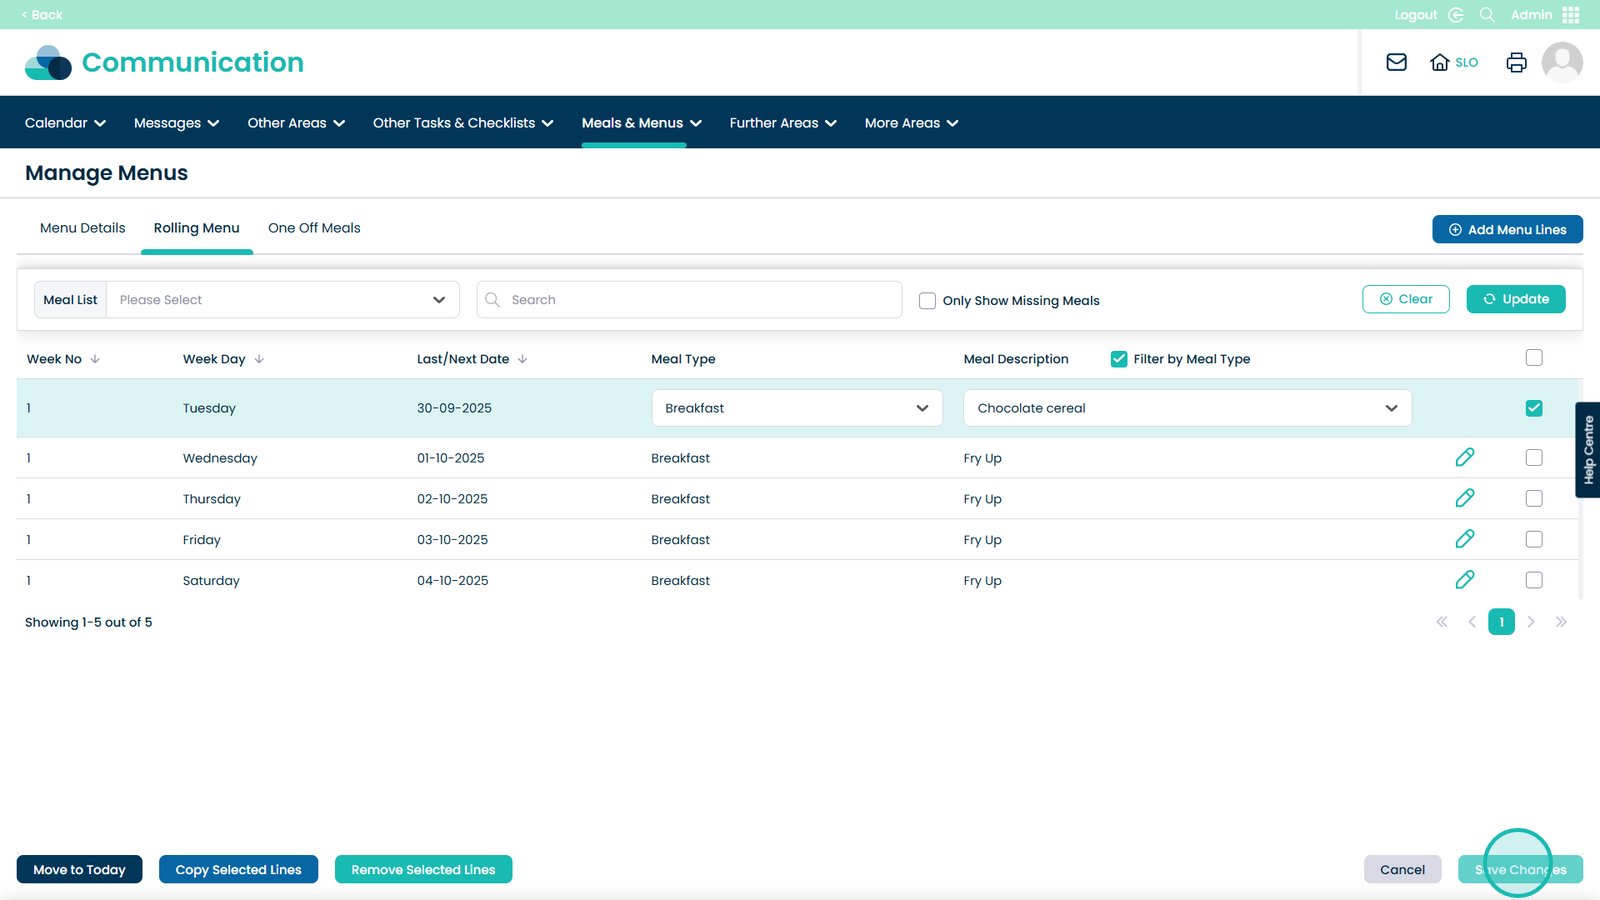
Now the meals have been added you can modify them using the pen icon next to the day
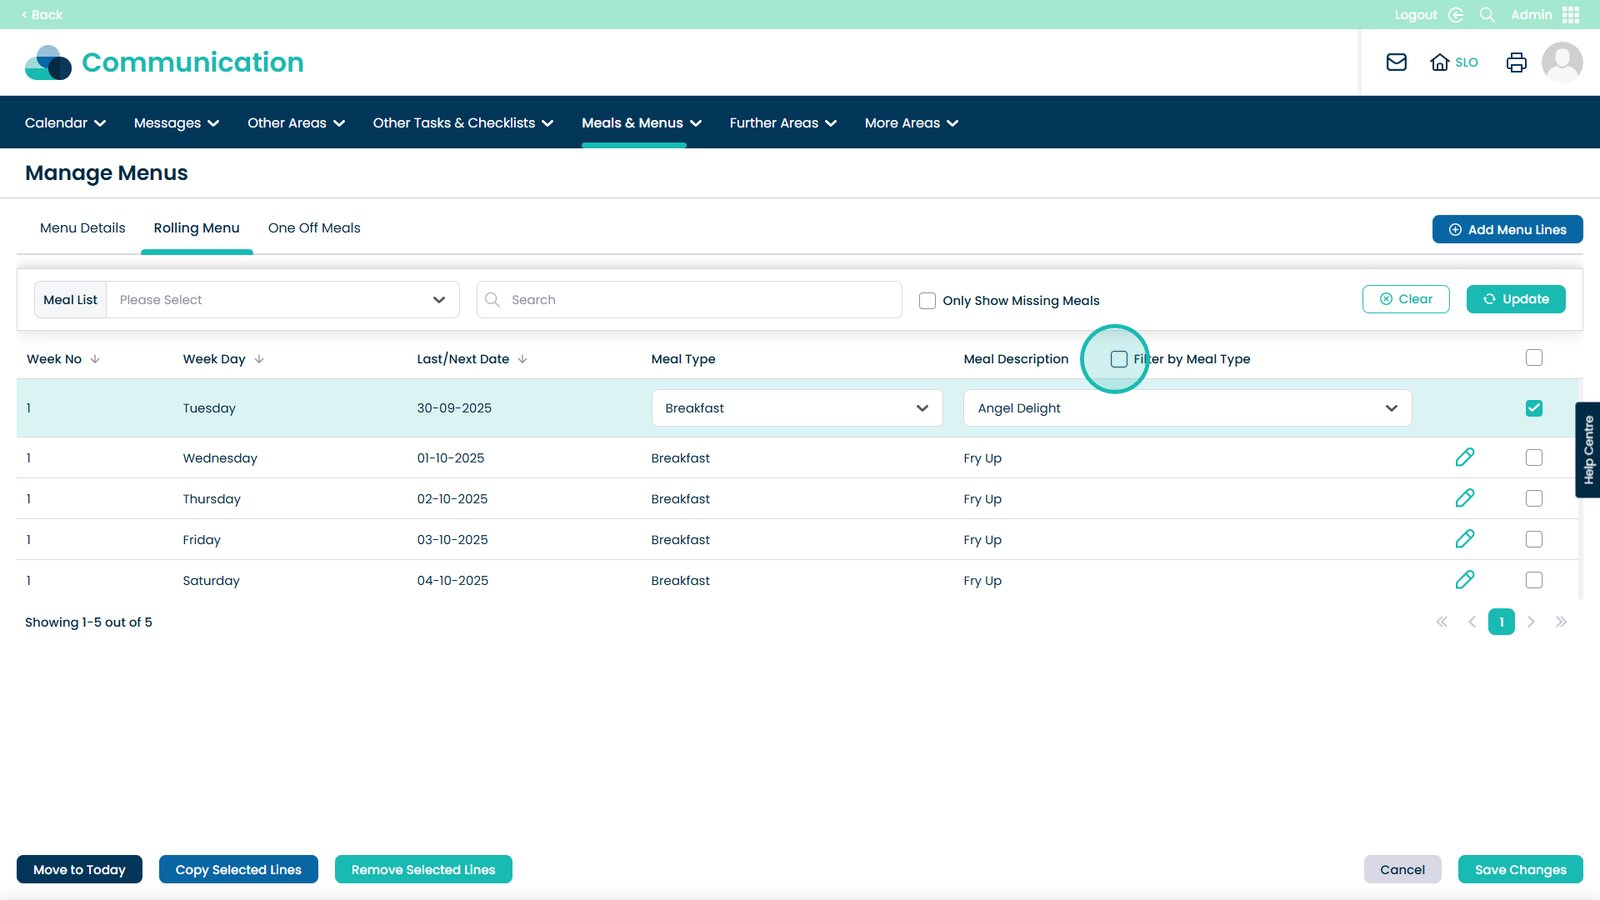
Select this to filter by the current meal type, in this case it’s Breakfast
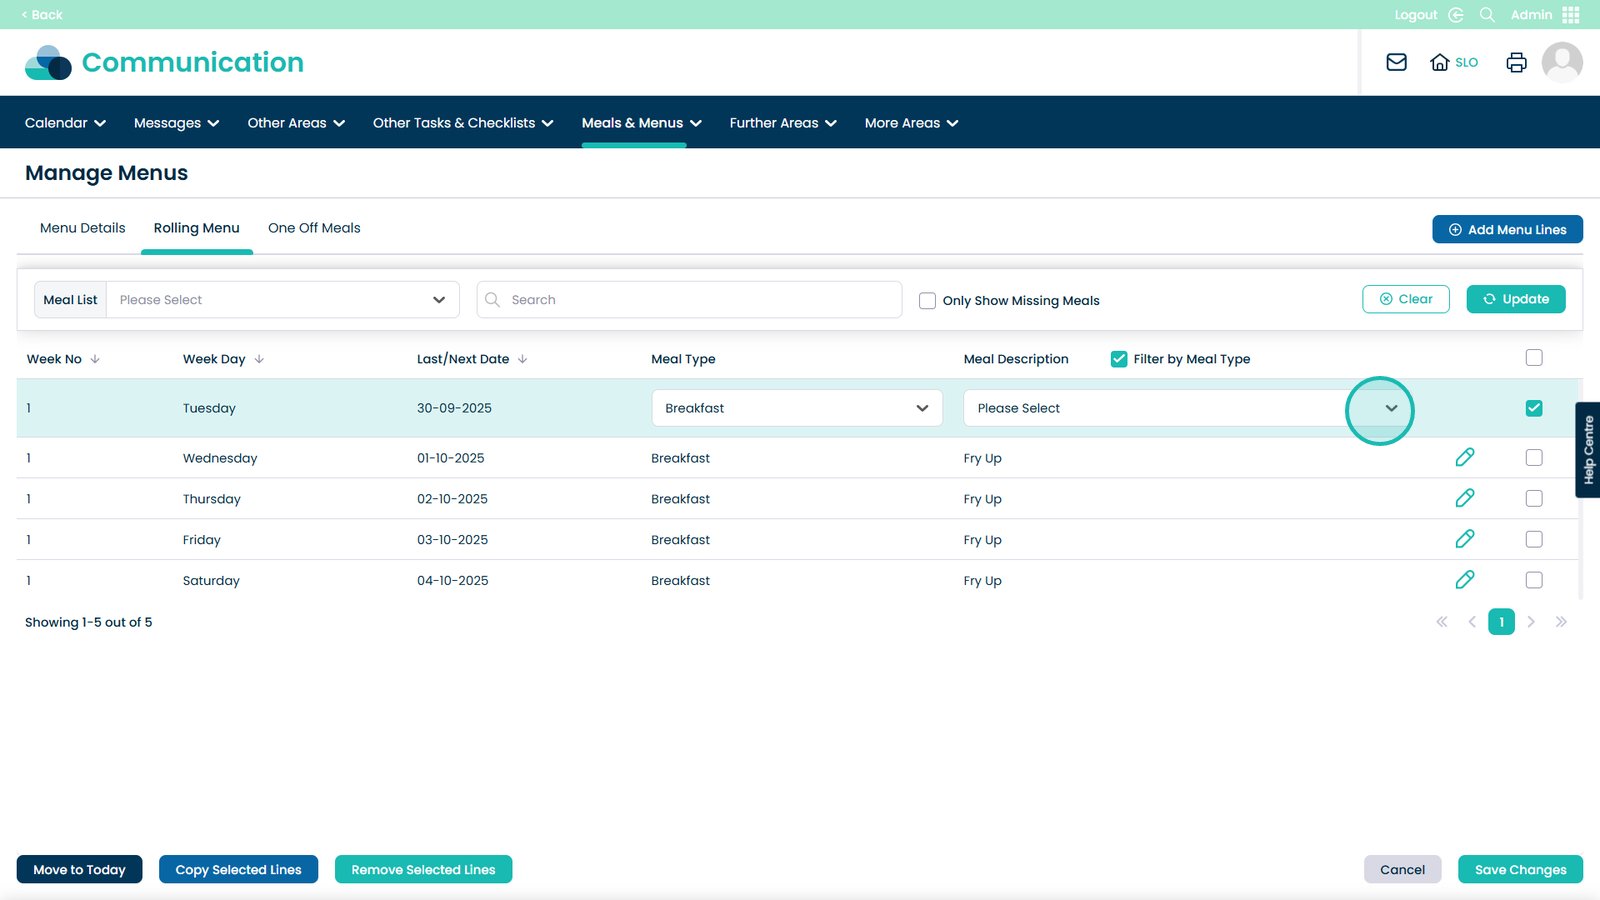
You can then open this drop-down and select a different meal
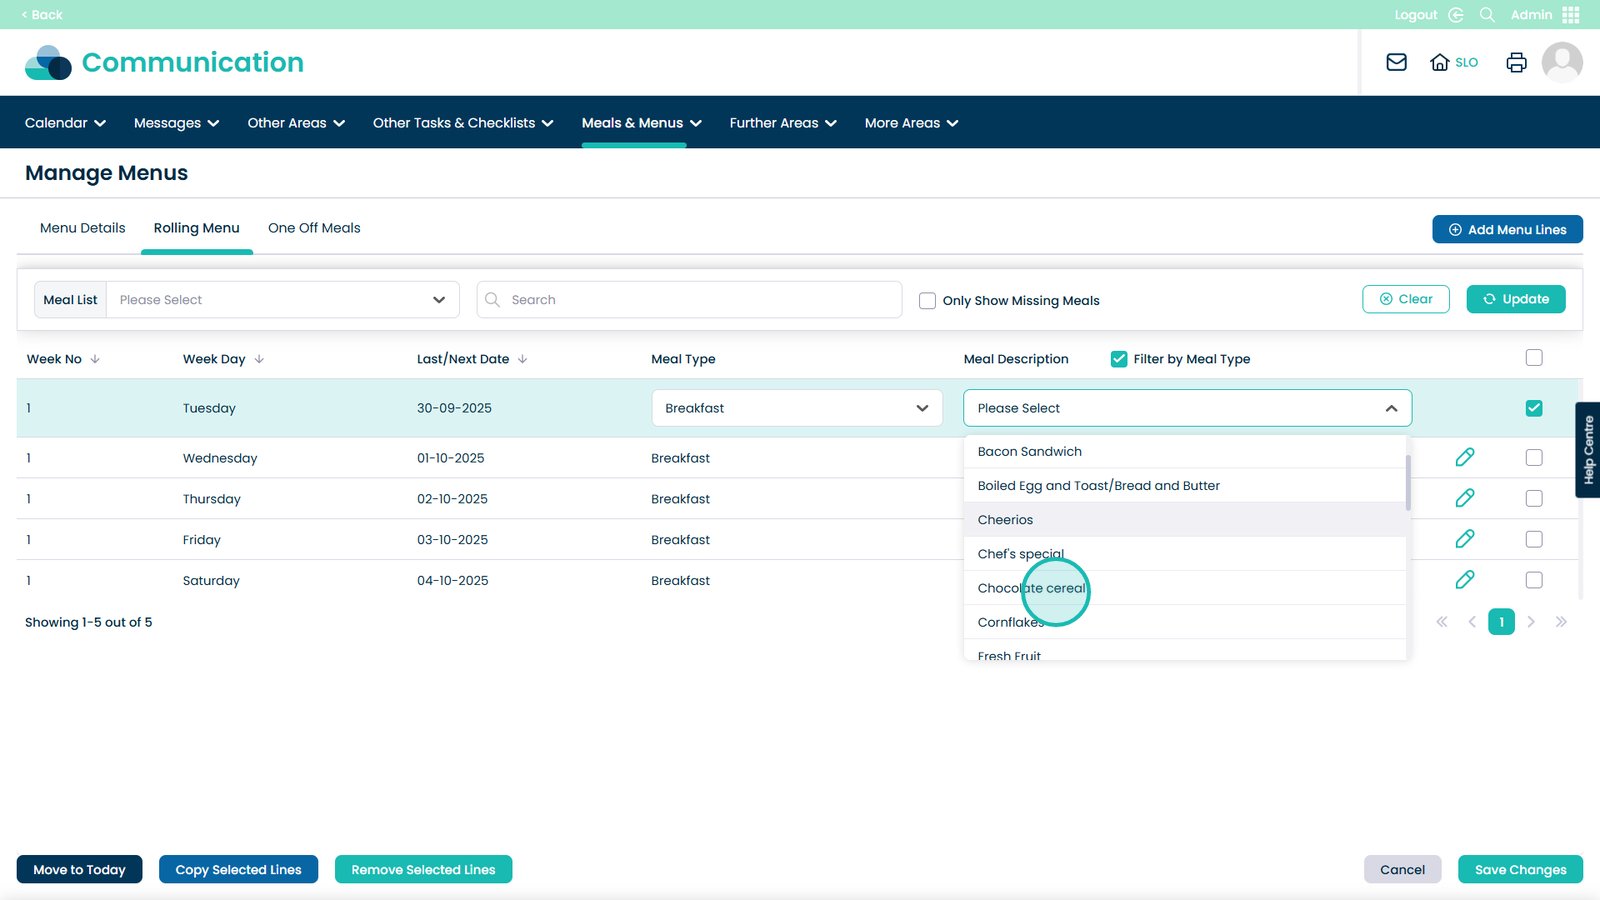
When happy with your changes, select Save Changes
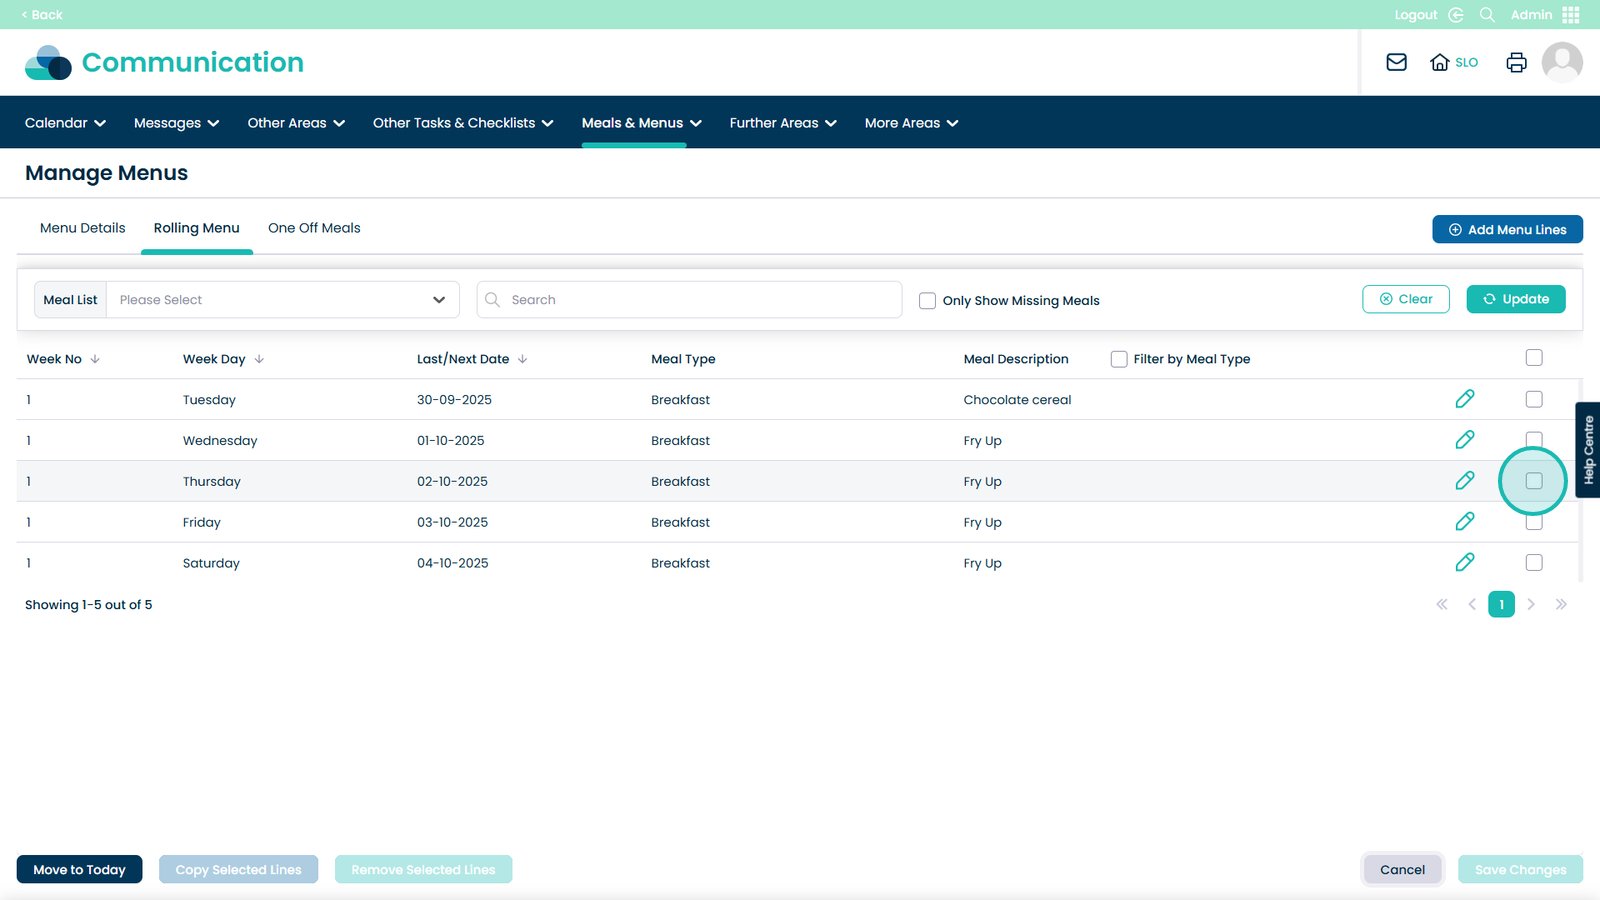
Choose a menu item using this tick box
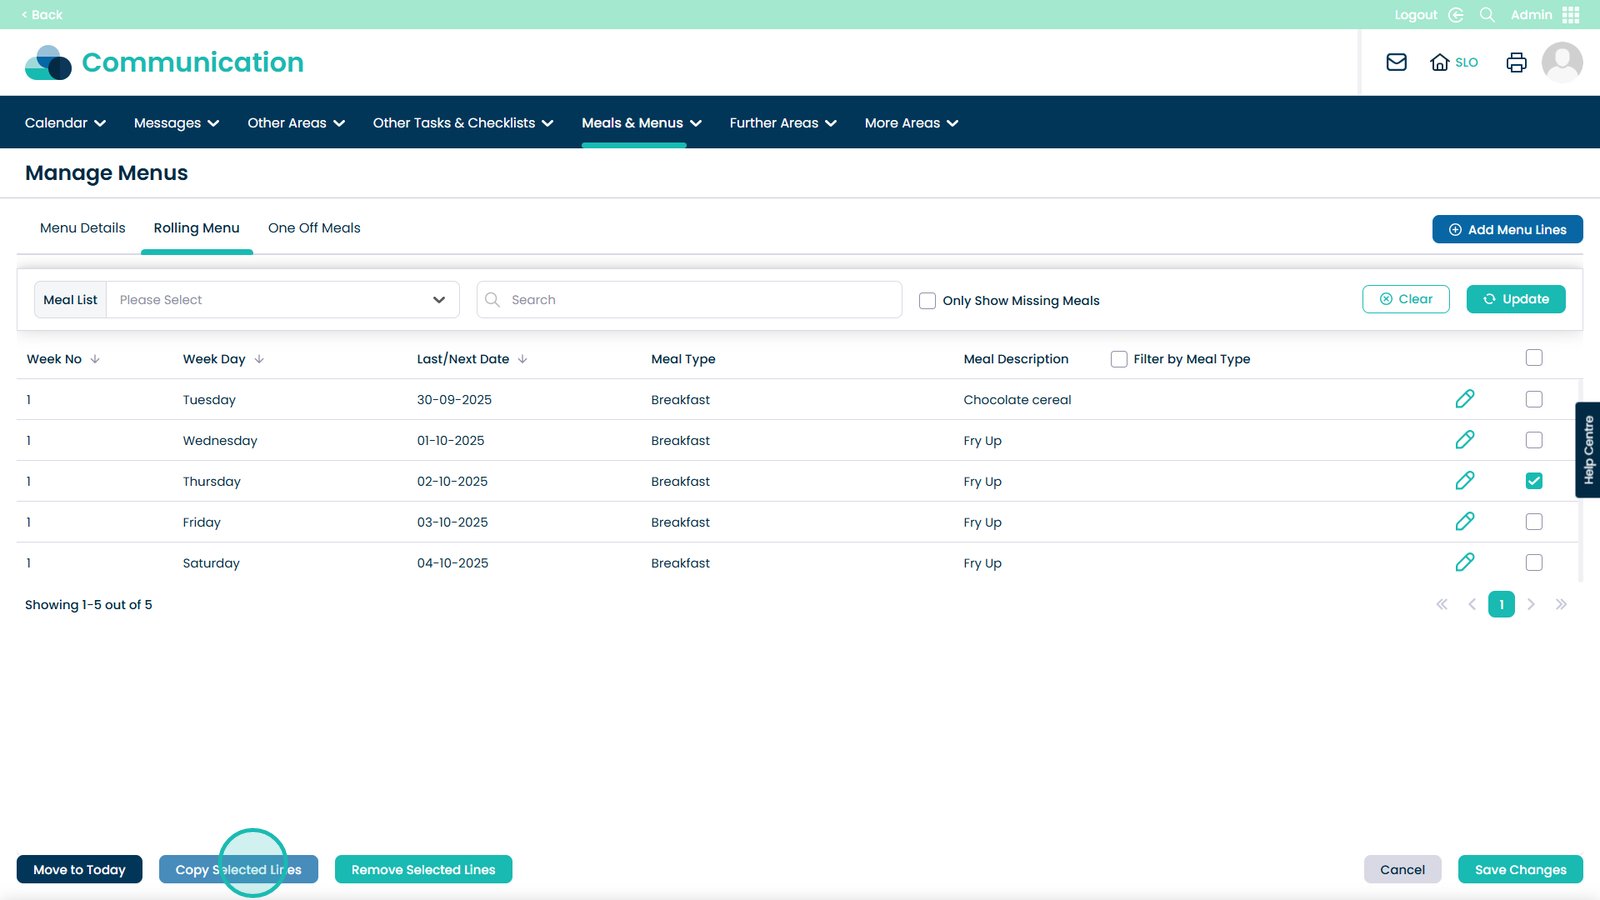
You can then choose to Copy Selected Lines to duplicate them
Choose which week you’d like to copy it to
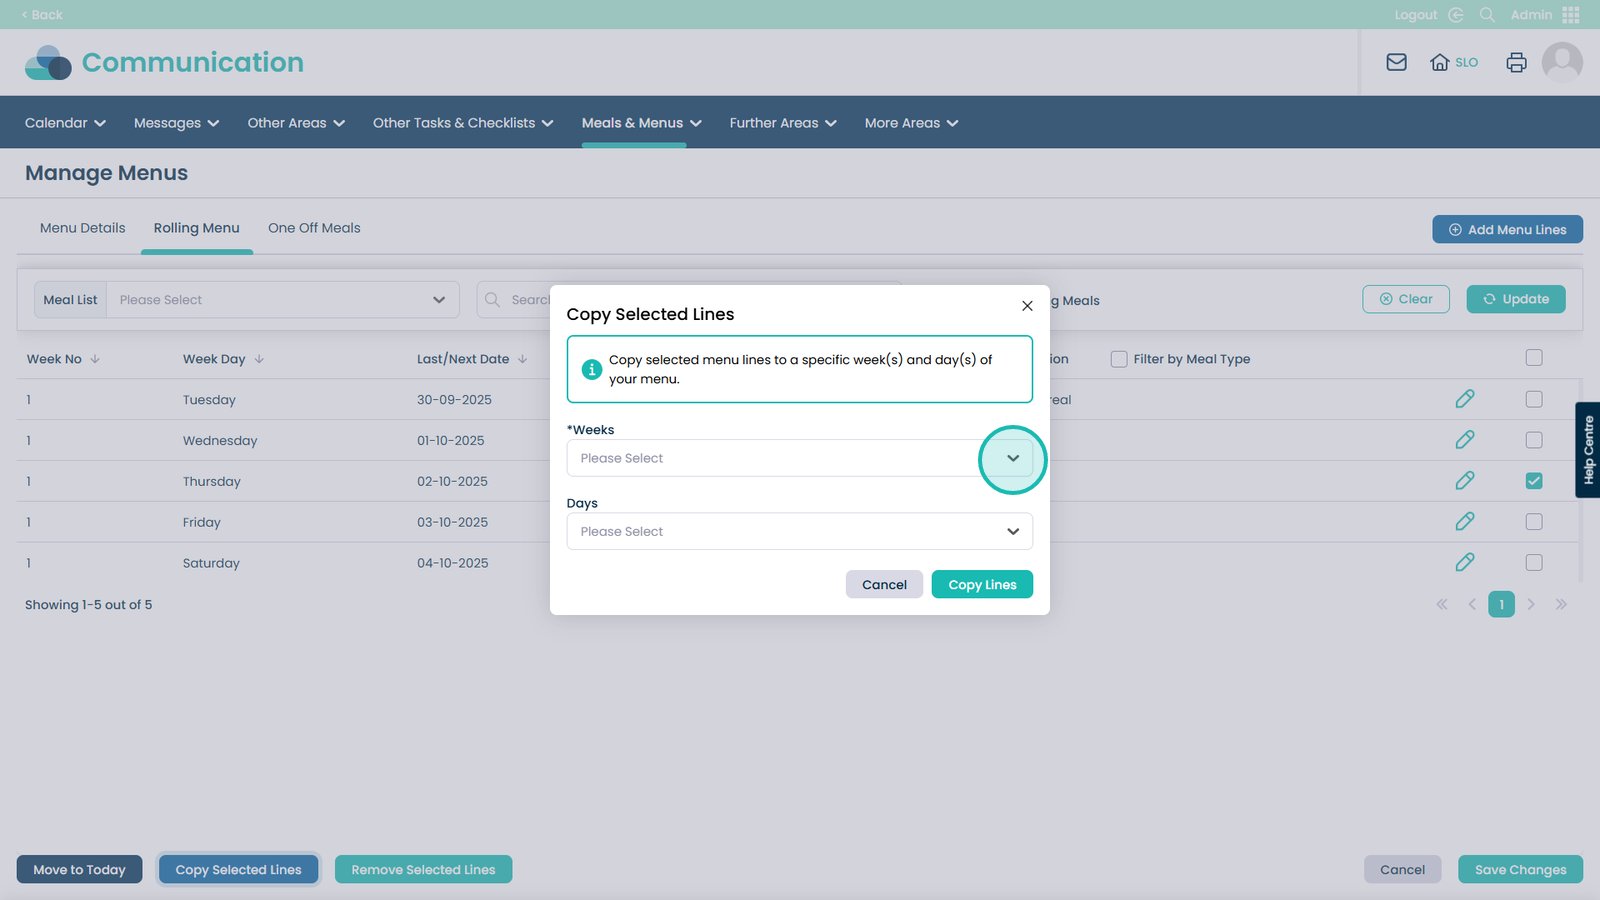
You can Select All or Select individual or multiple weeks
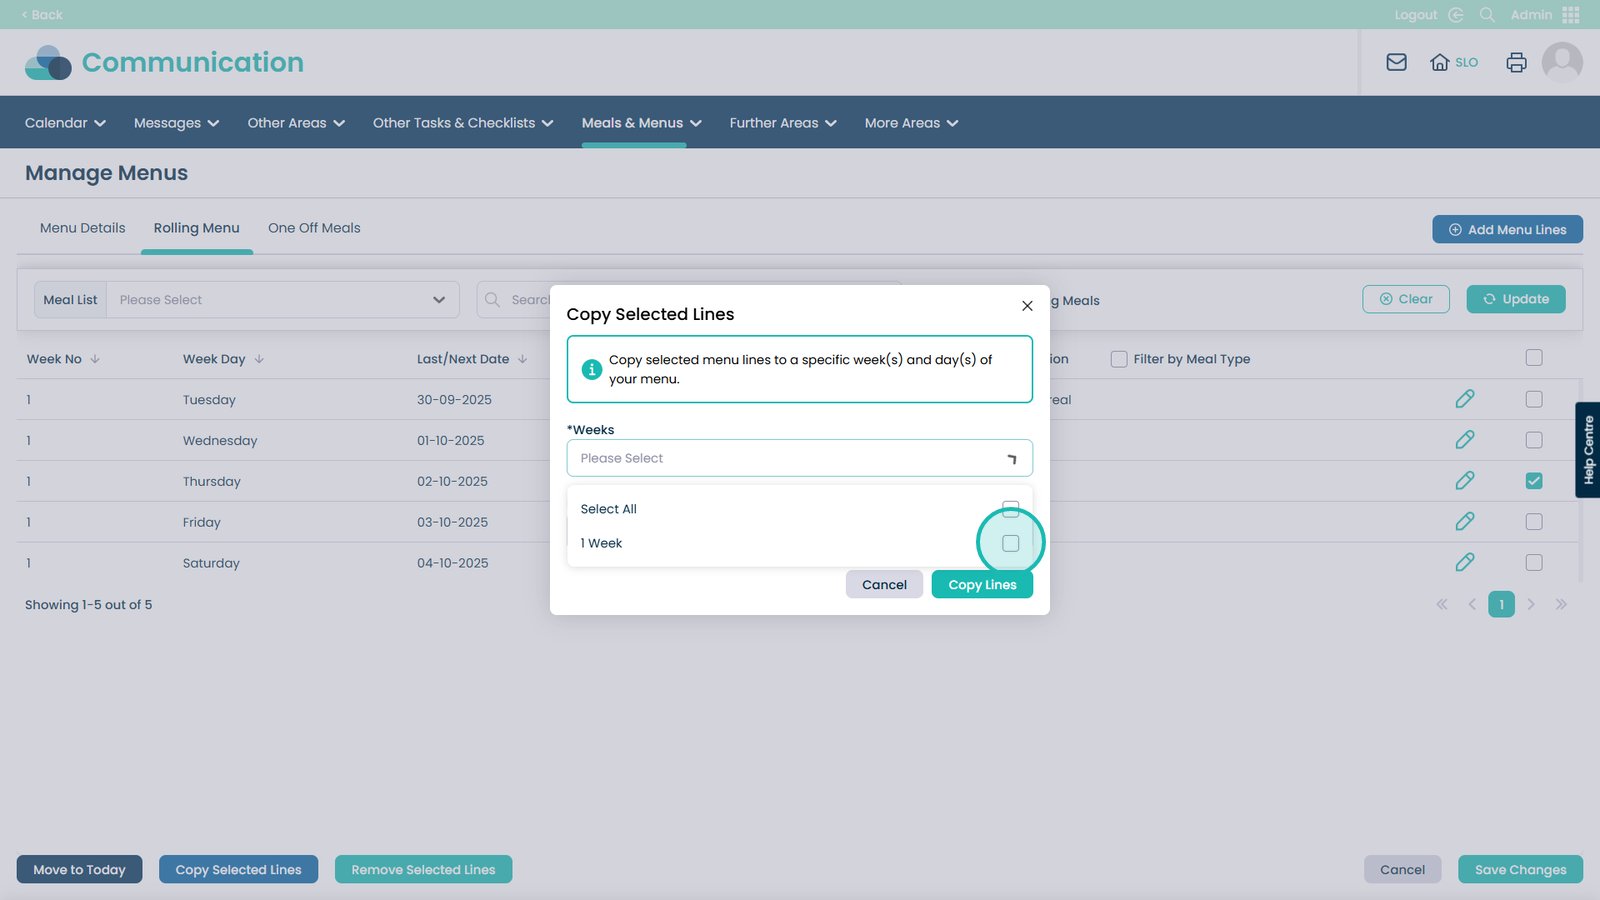
You can then select the days you wish to copy the menu item to
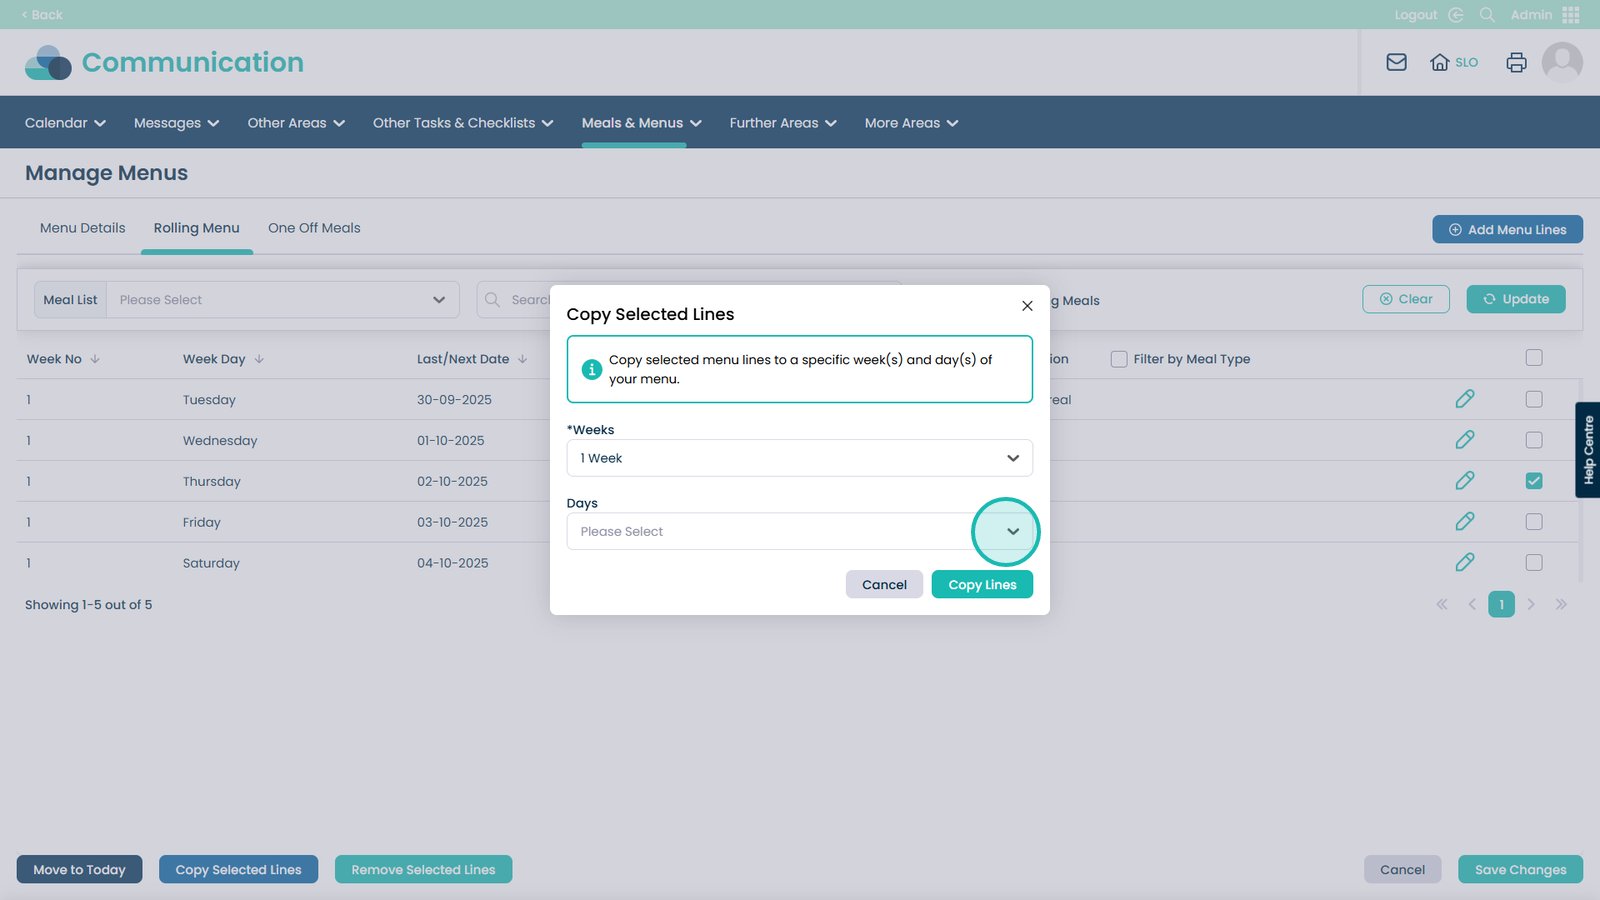
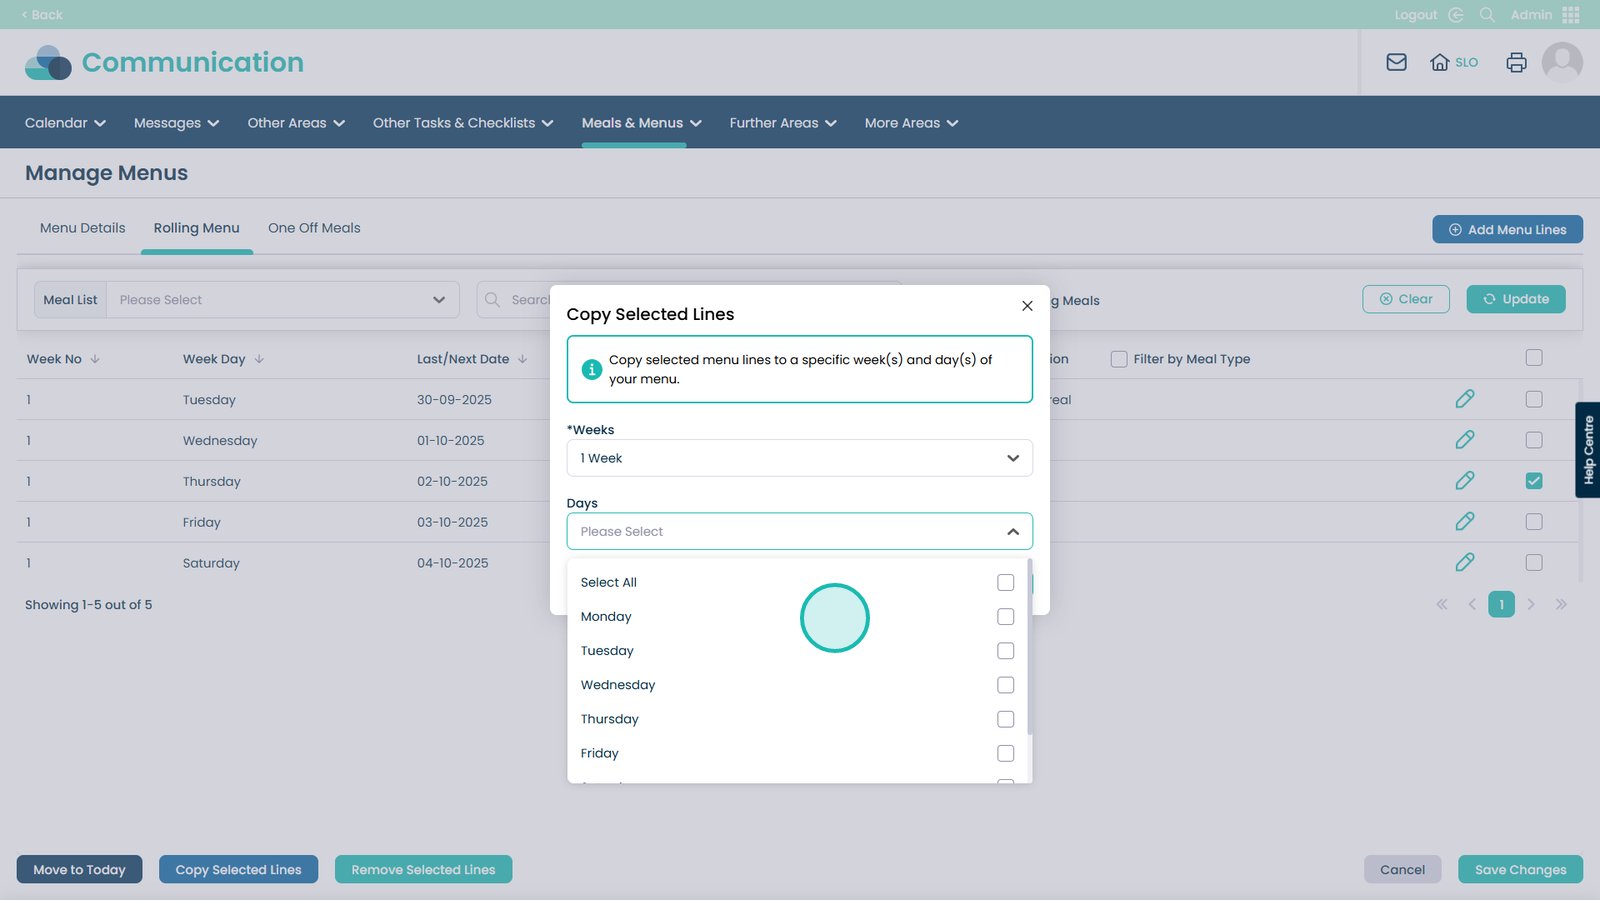
You can pick All days, select multiple or individual days
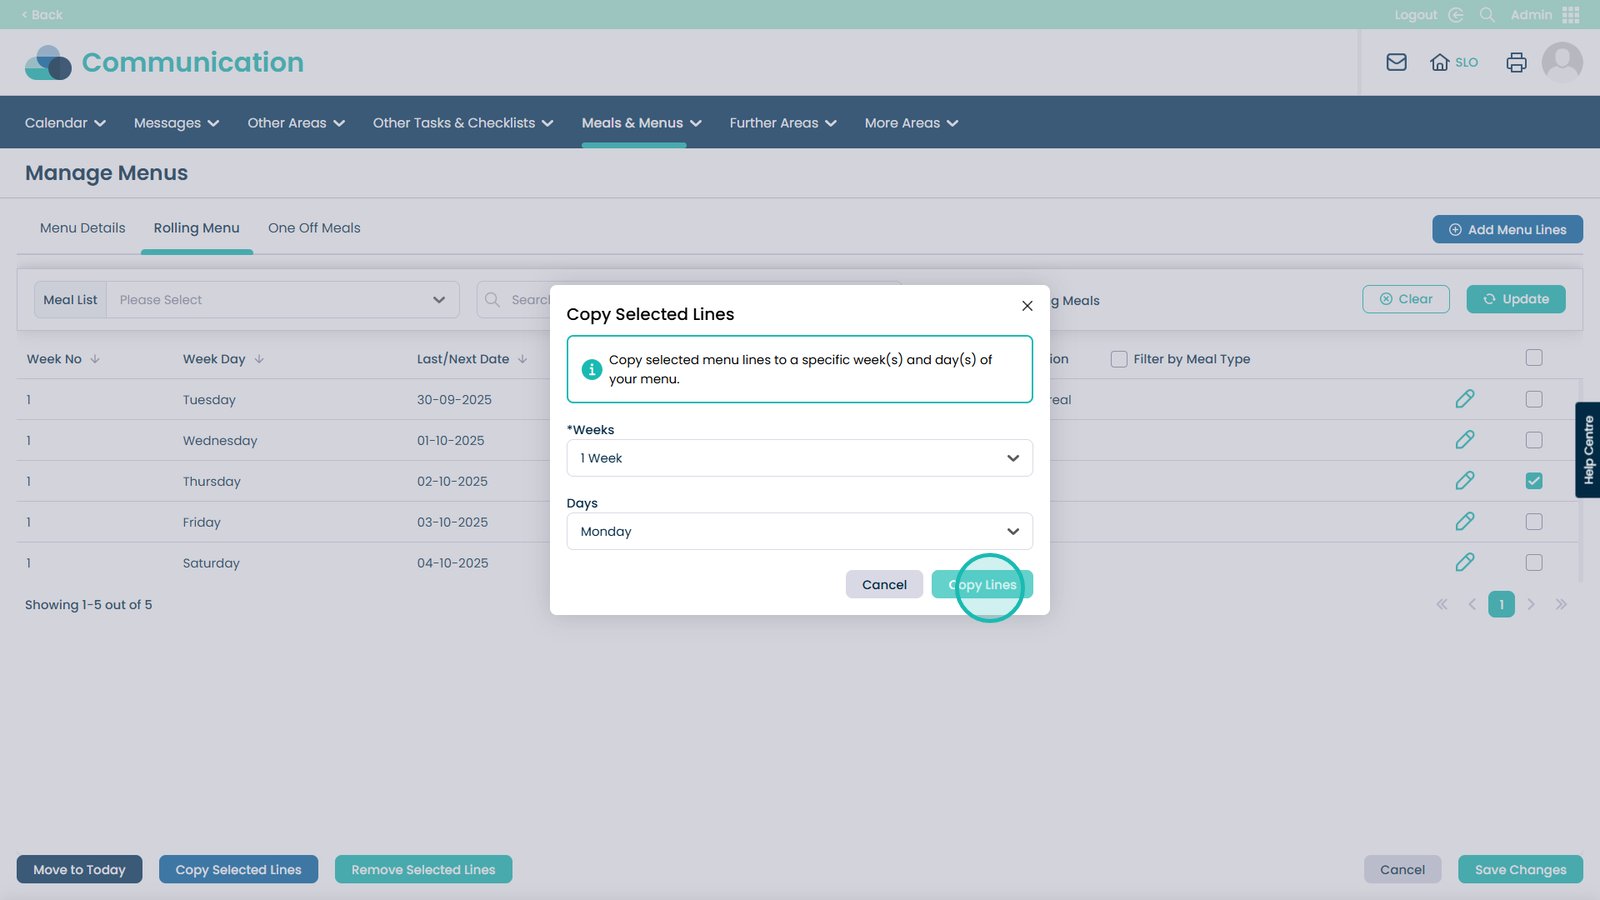
Click Copy Lines to duplicate the lines you’ve selected
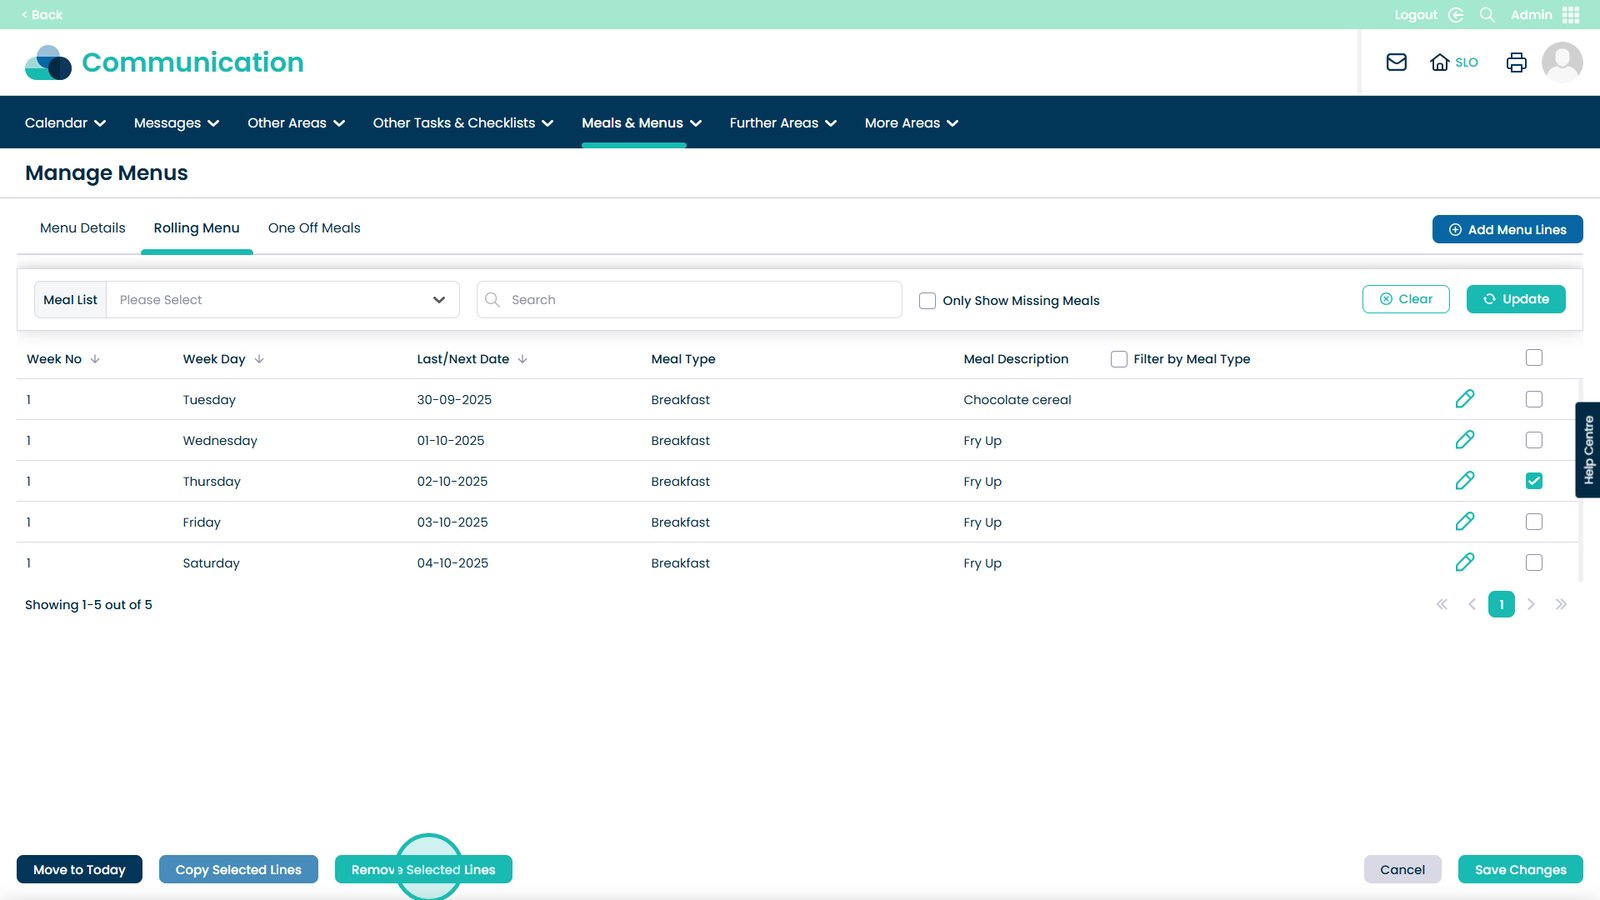
When a line is selected you can also Remove them from the list
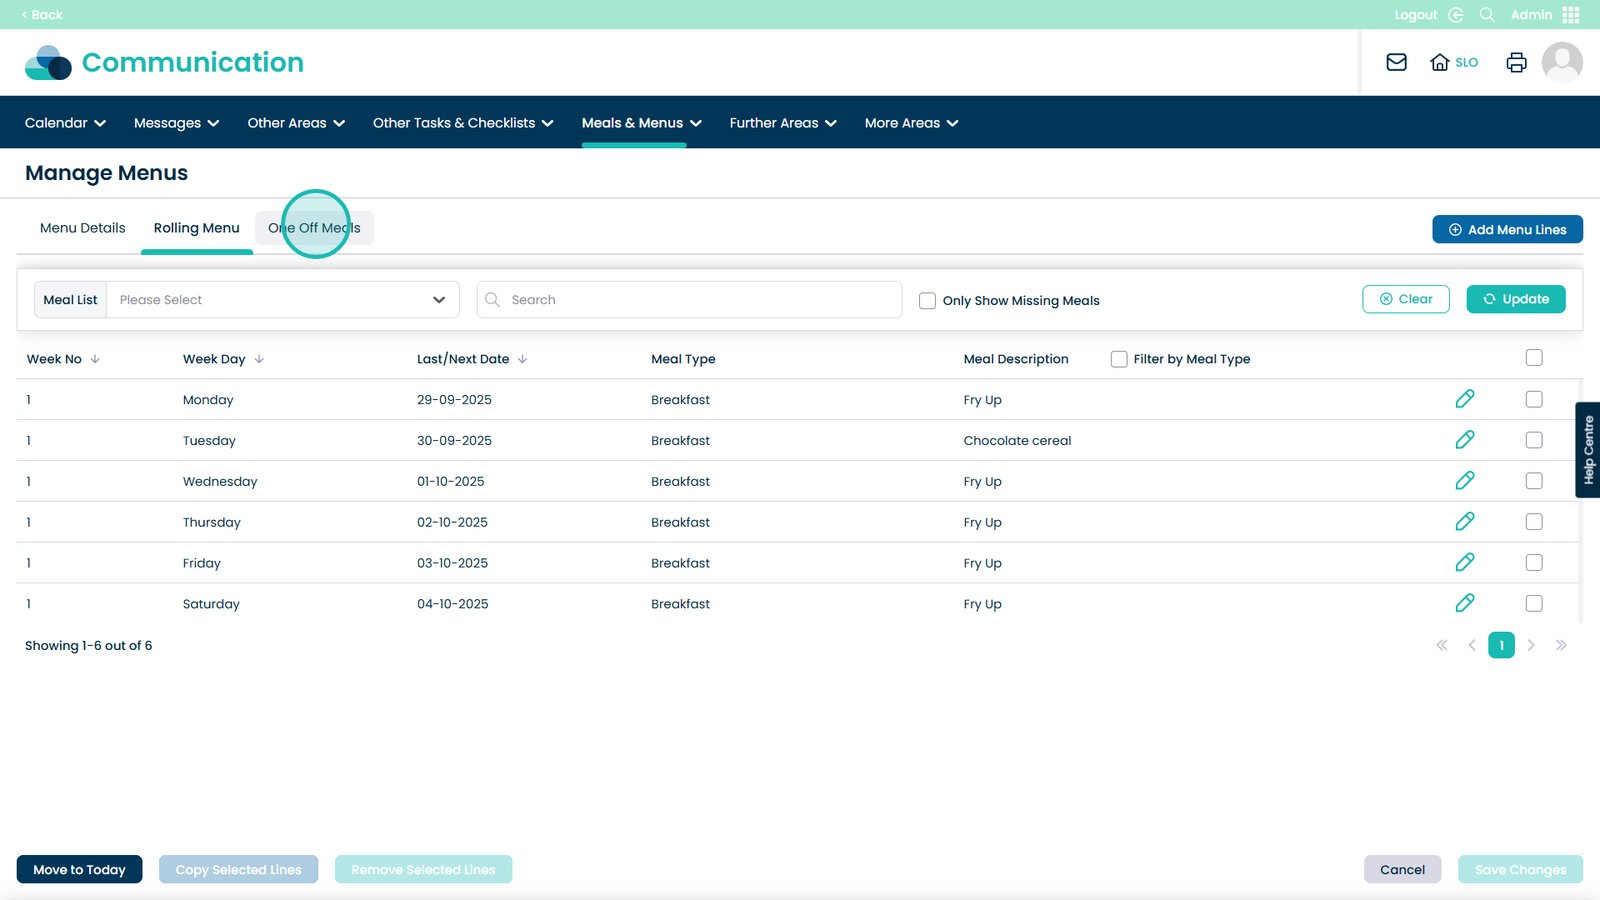
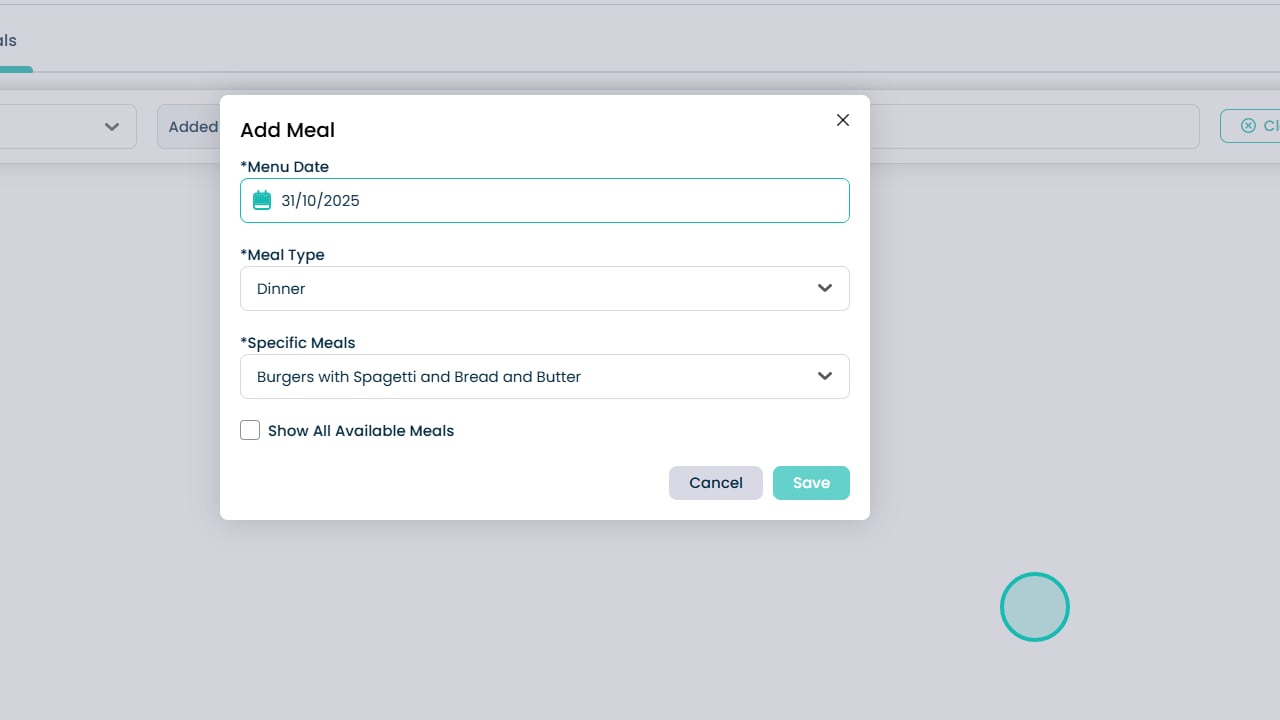
You can also have One Off Meals
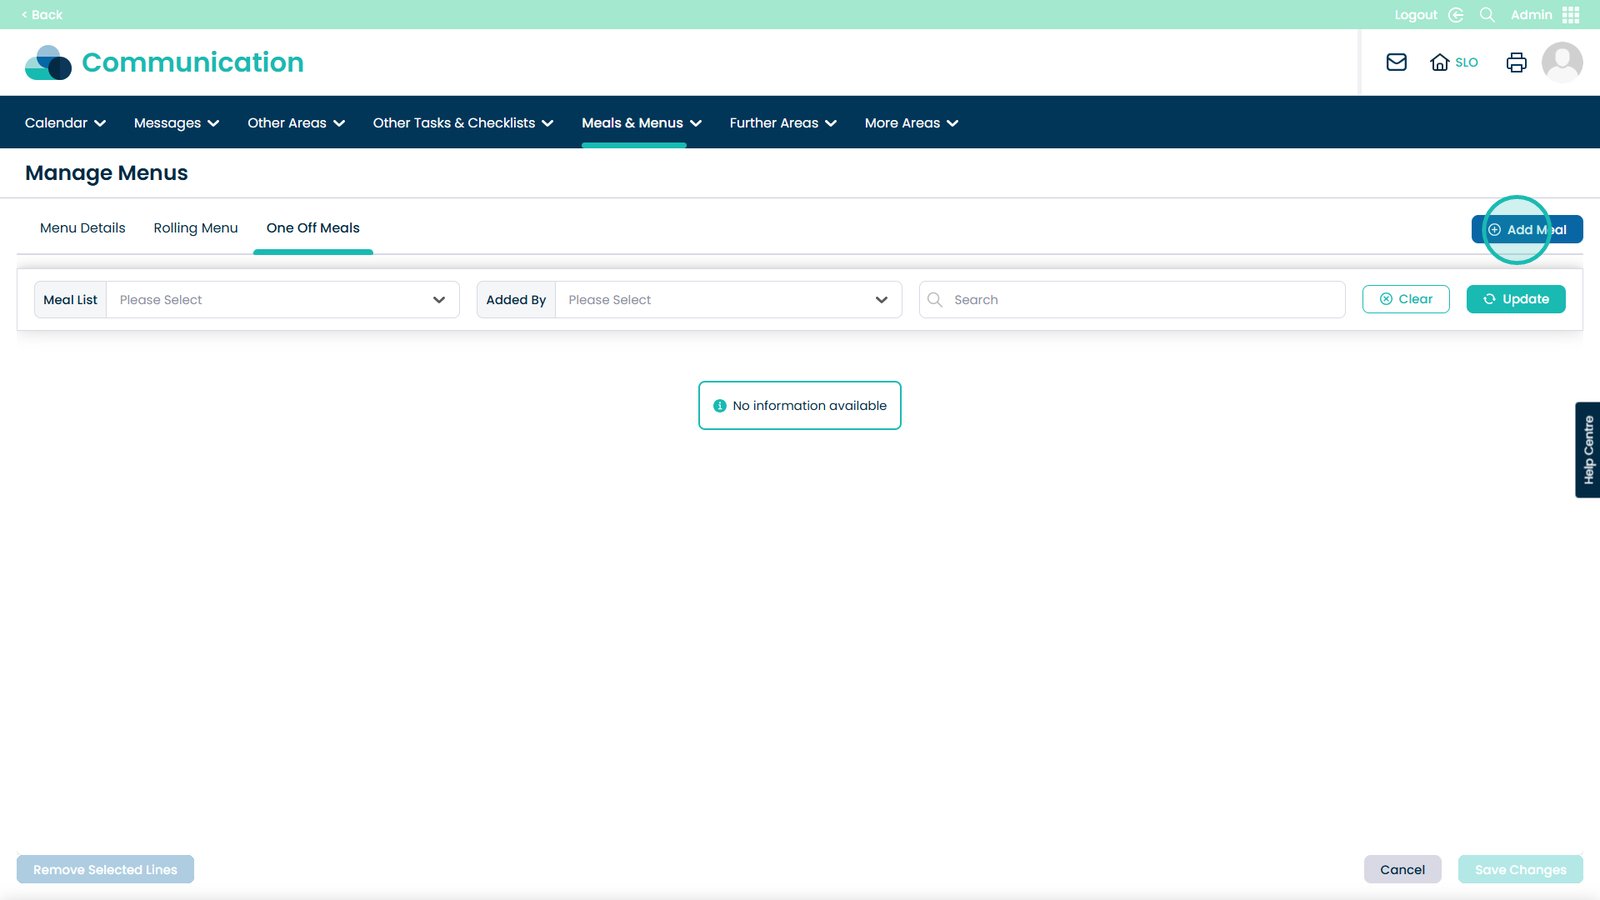
Click Add Meal
Choose the Meal Type from the drop-down list
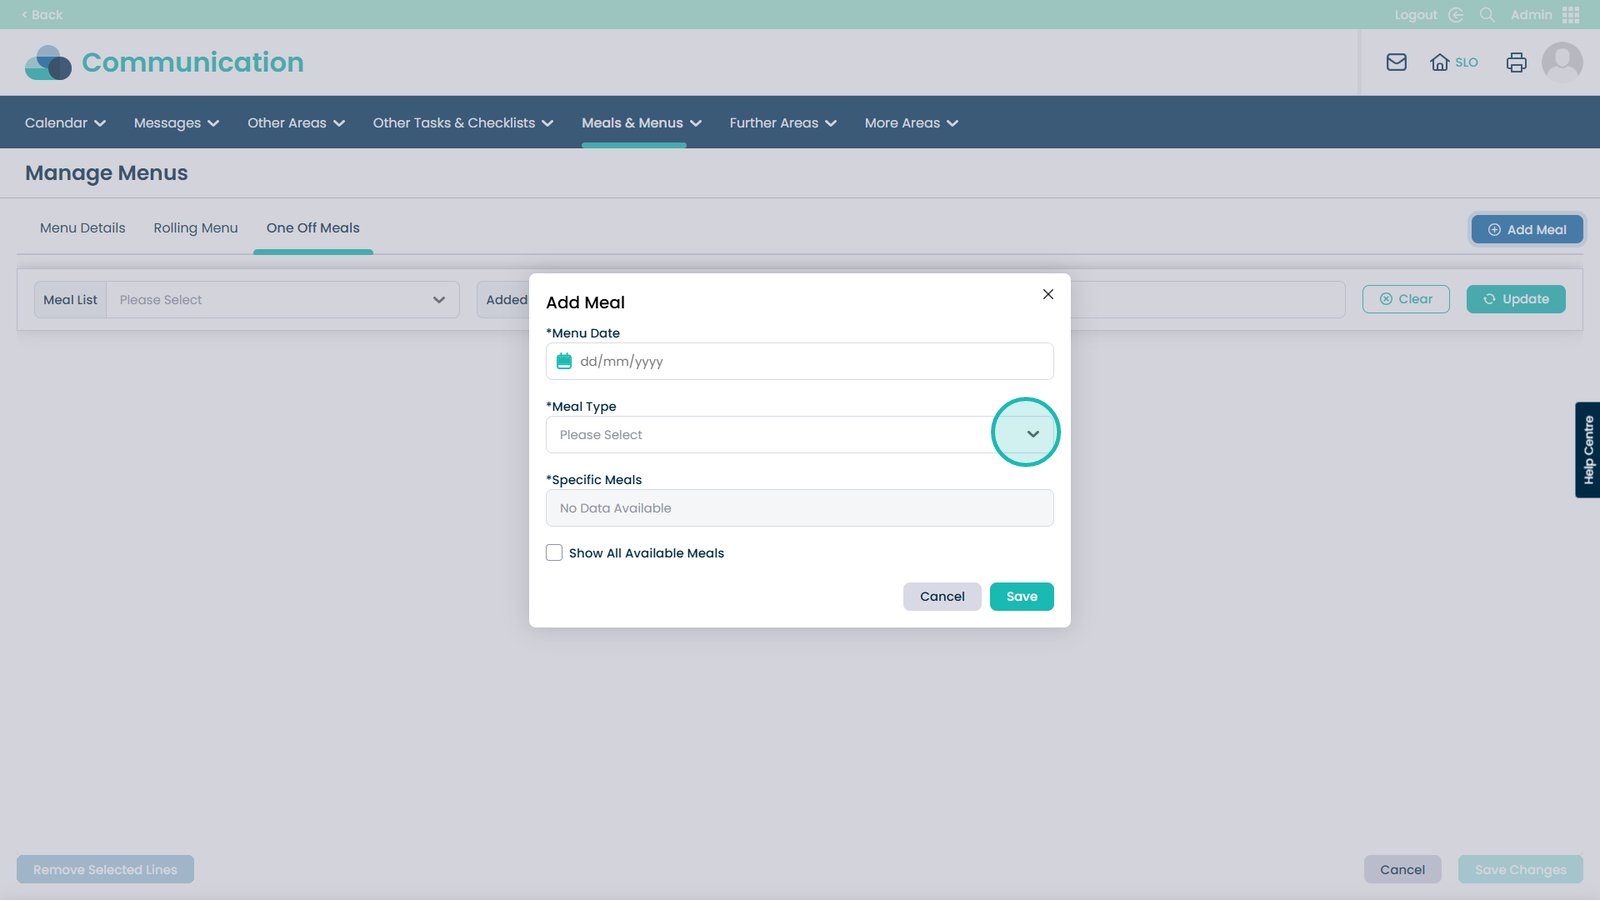
Select which Meal Type you want
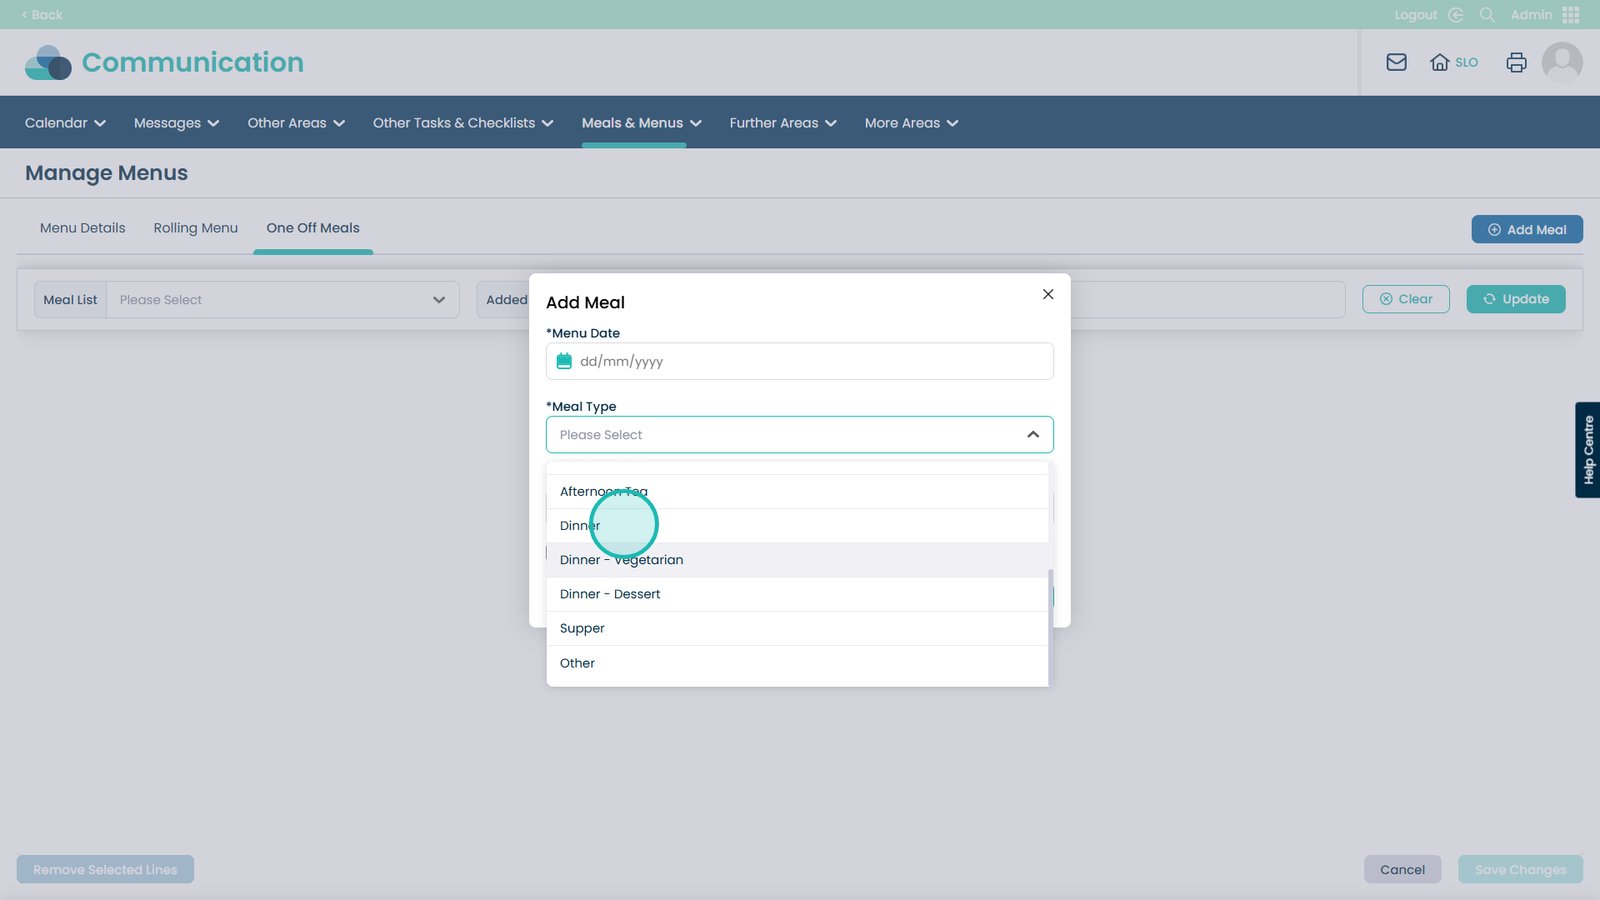
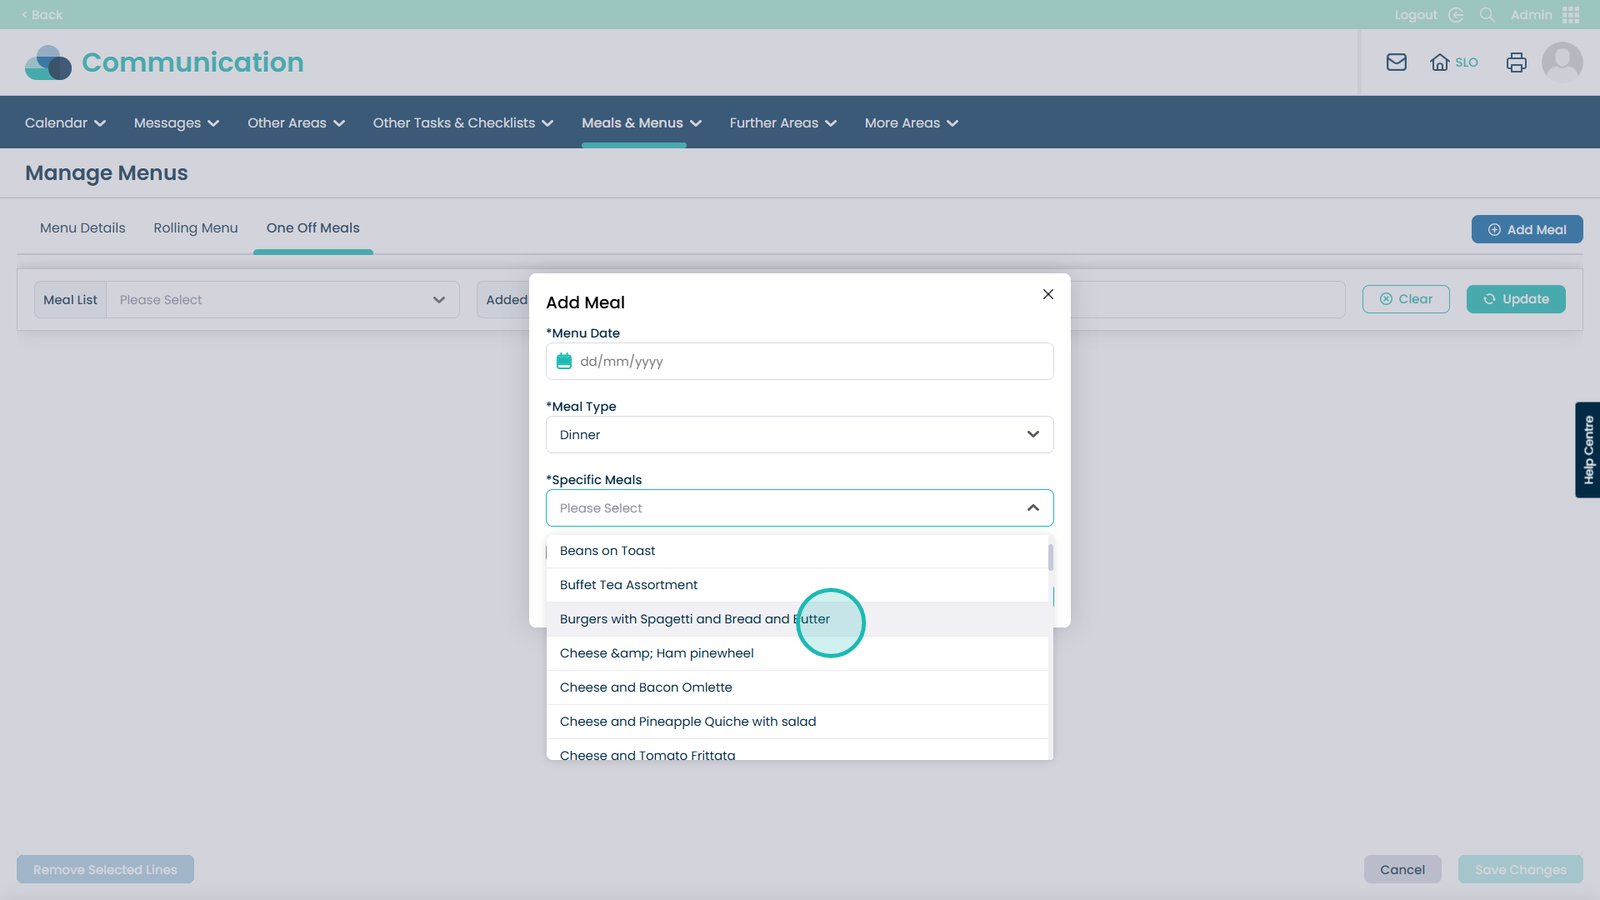
Then choose the Specific Meal from the list
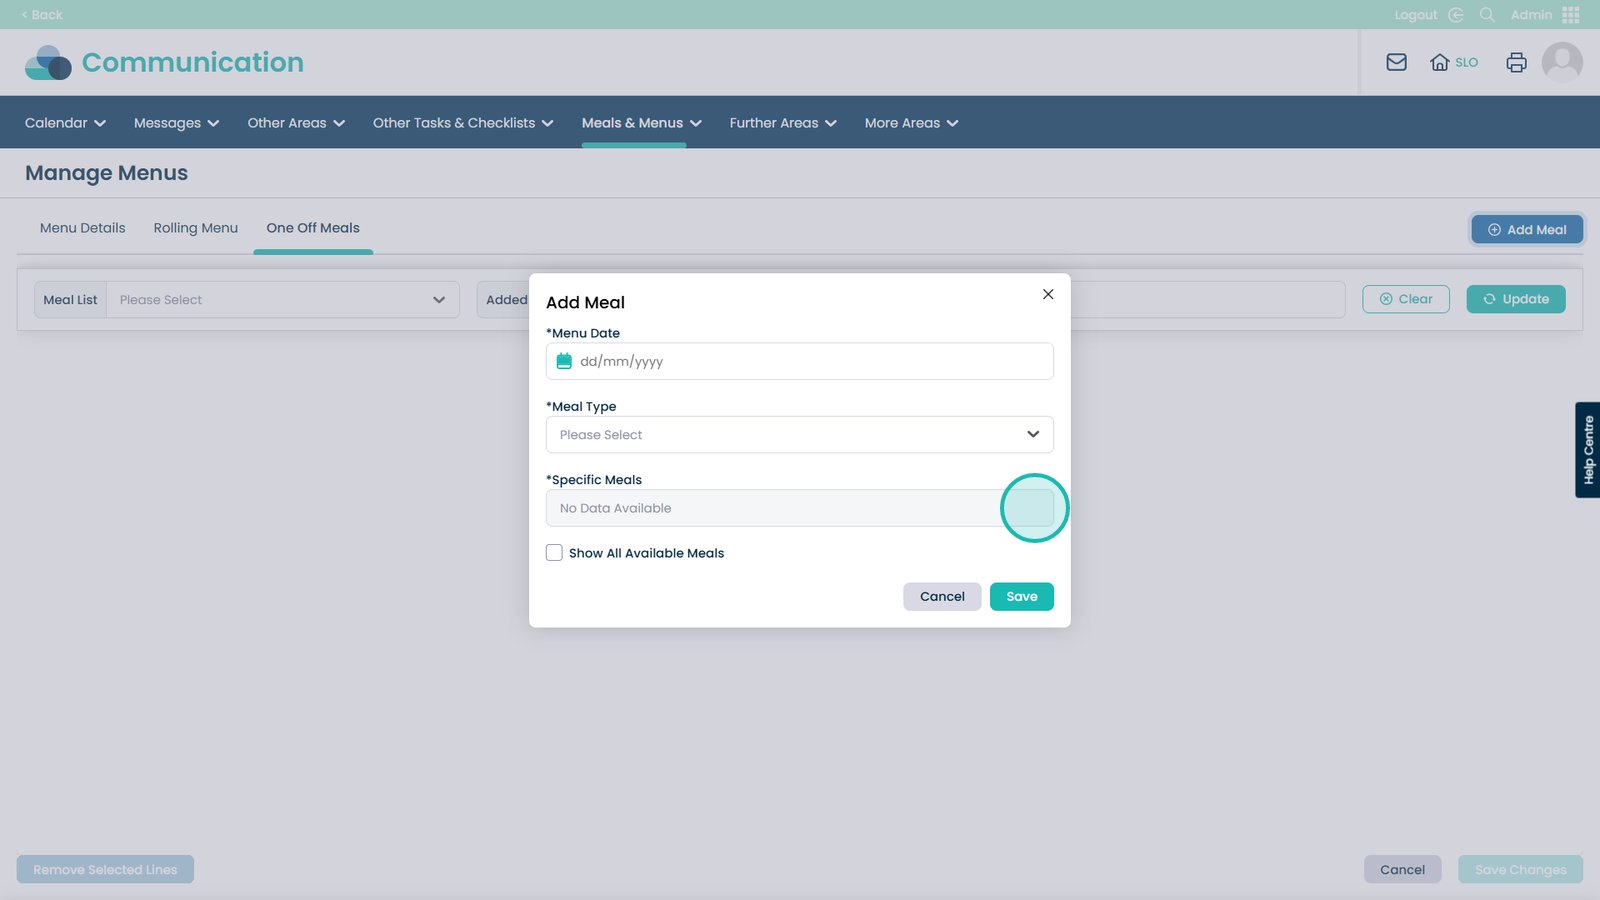
You can search through this list or click one of the meals you like
Choose the date the meal will appear on the menu
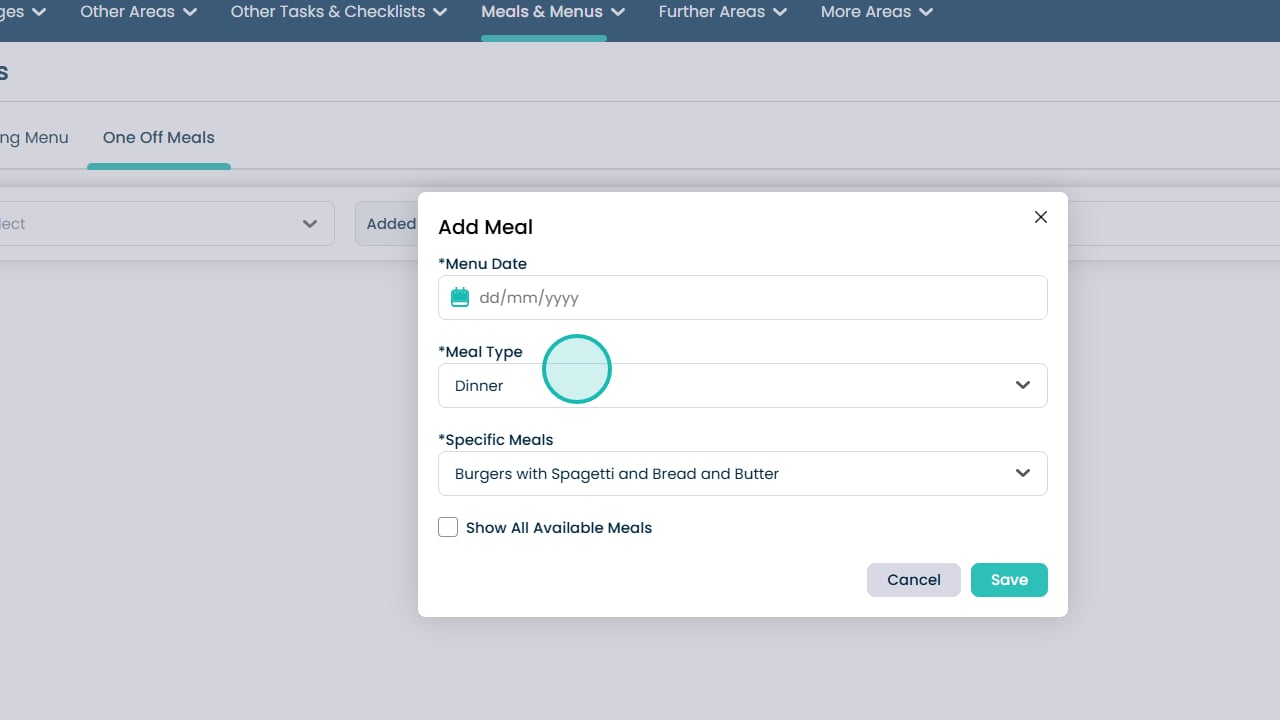
Click Save when done
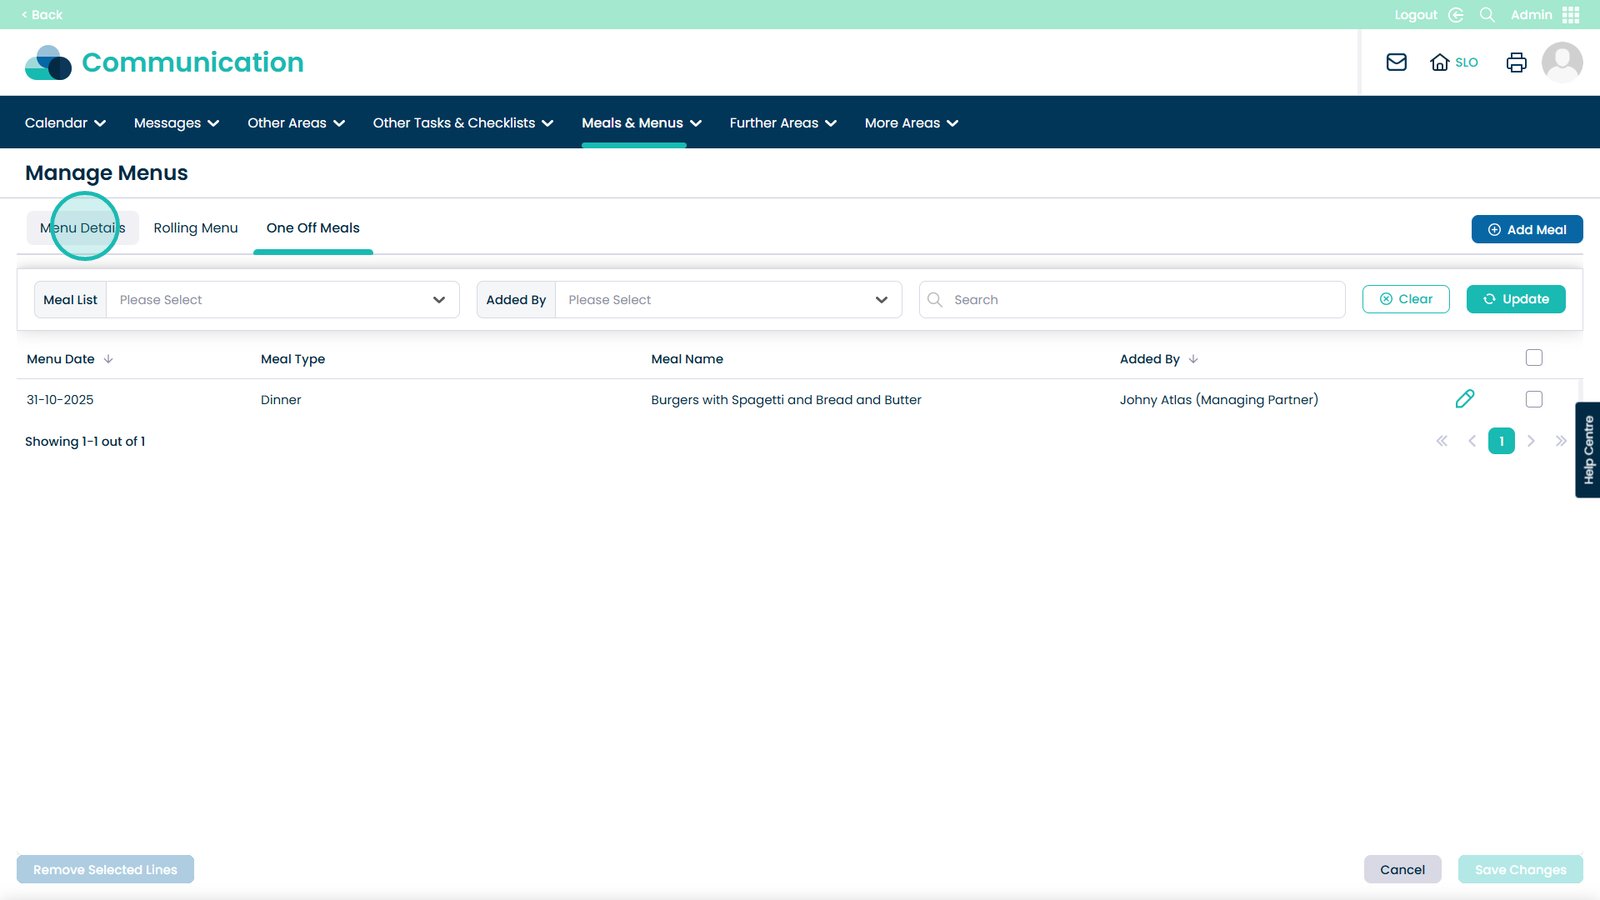
Now we have items on the menu, head back to Menu Details
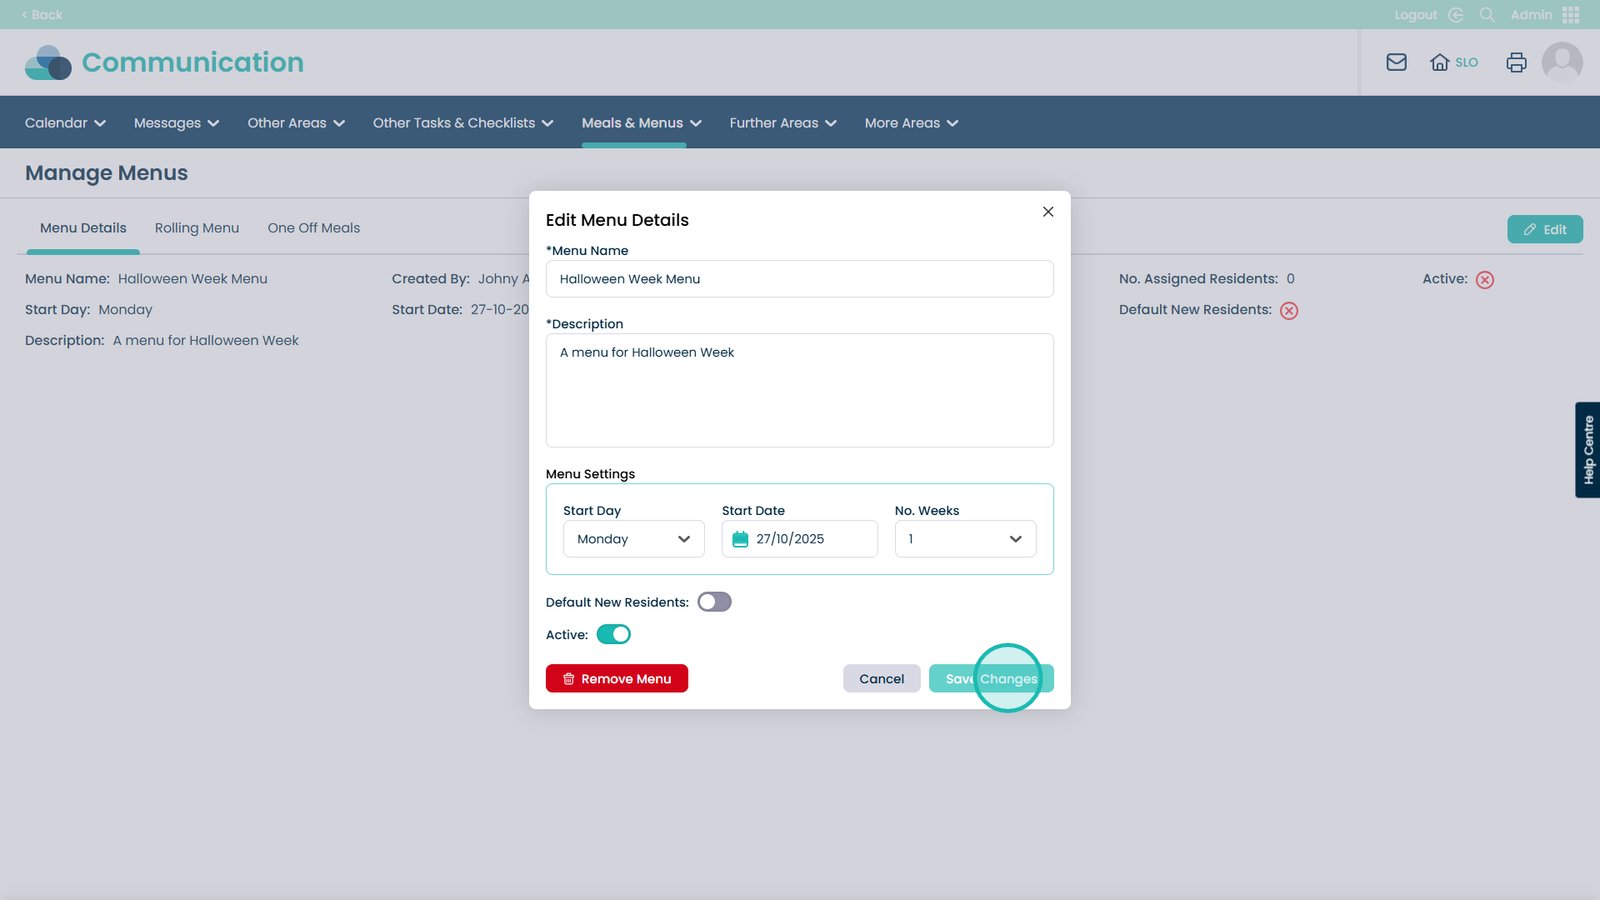
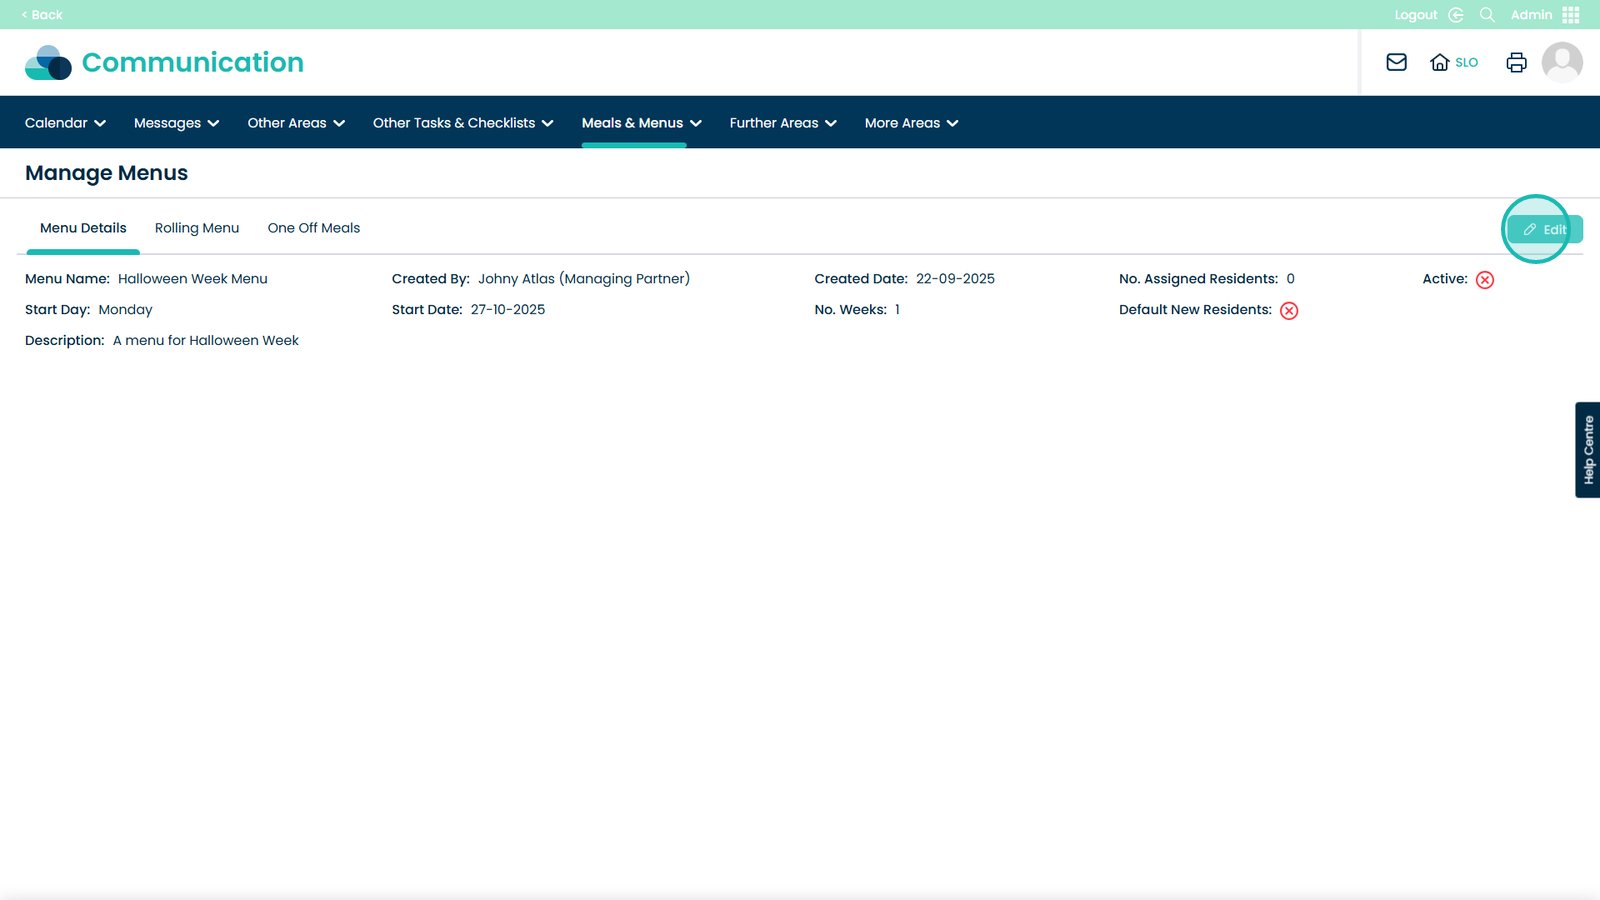
Click the Edit button
We can now set the menu to be active
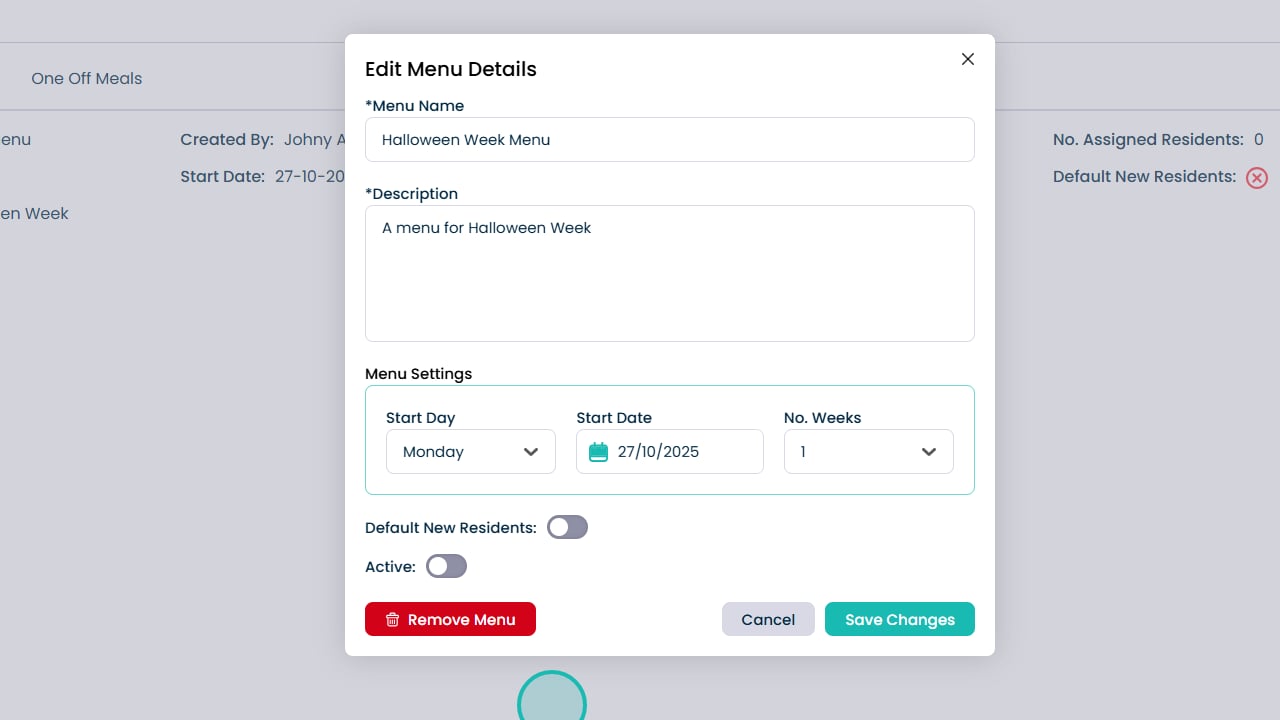
On this page you can also modify the Menu Name, Description, Menu Settings and if you would like to set it as a default menu for residents
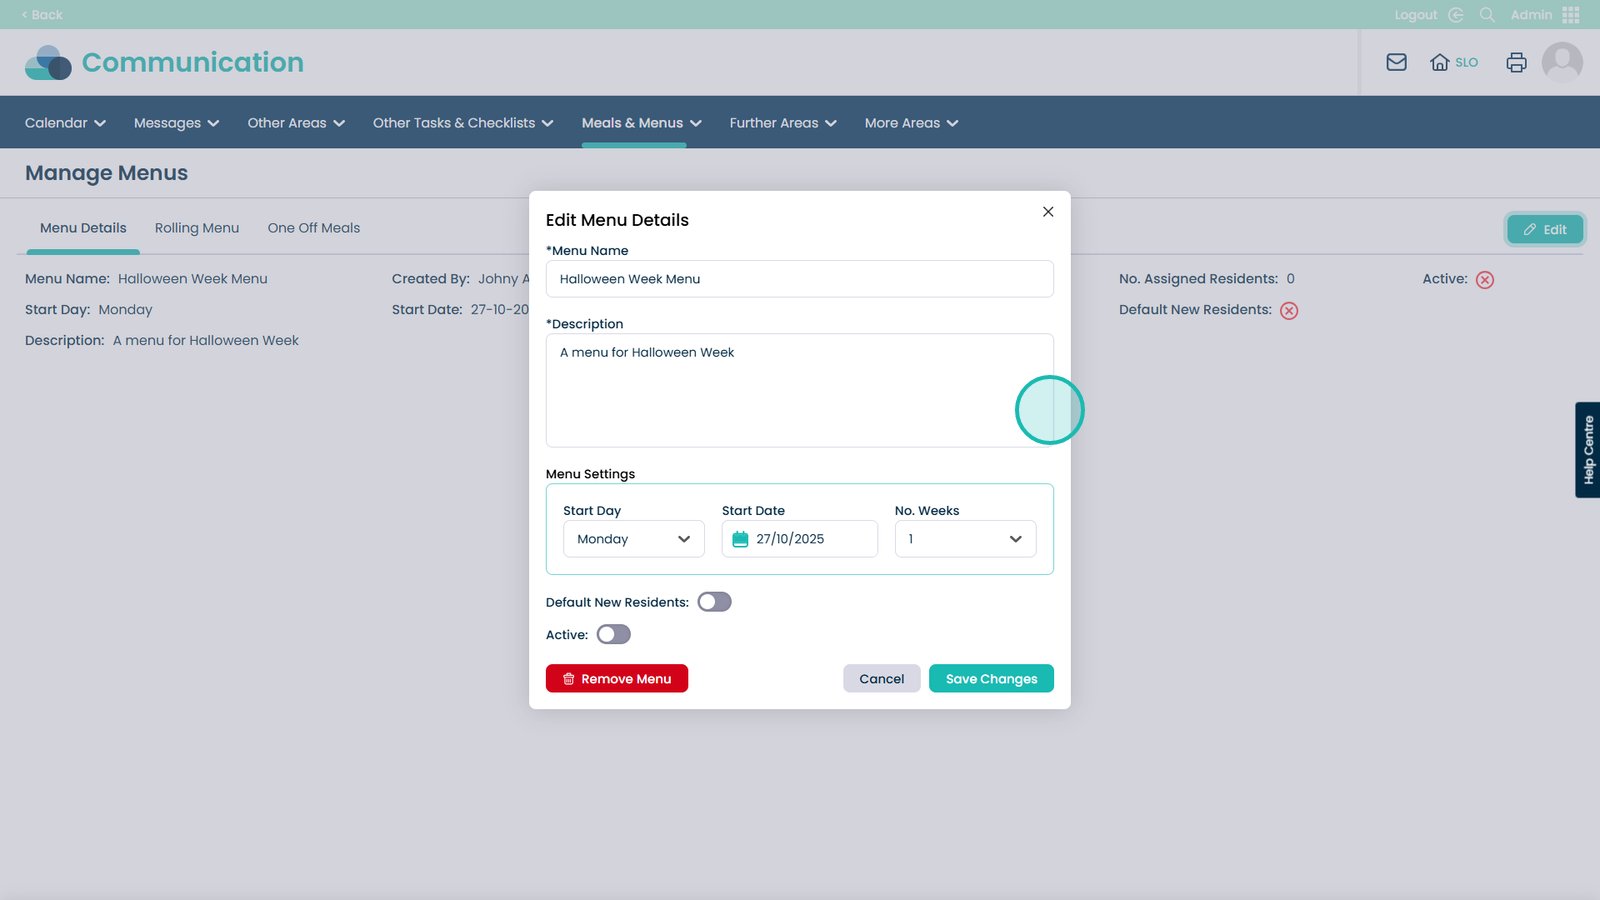
When happy, click Save Changes and the menu will now be active
