How to create a new Multi Select Monitoring on Cloud
The new multi-select monitoring feature in Care Control Cloud makes it quicker and easier to record the same monitoring information for multiple residents at once. This is especially useful during routine checks—such as recording fluids, mood, or mobility—where staff are often supporting several residents at the same time.
By streamlining this process, multi-select monitoring not only saves time but also helps carers stay focused on care, not admin. It’s a smarter, more efficient way to work that supports real-time updates and mobile flexibility.
Interactive Guide
Text based guide
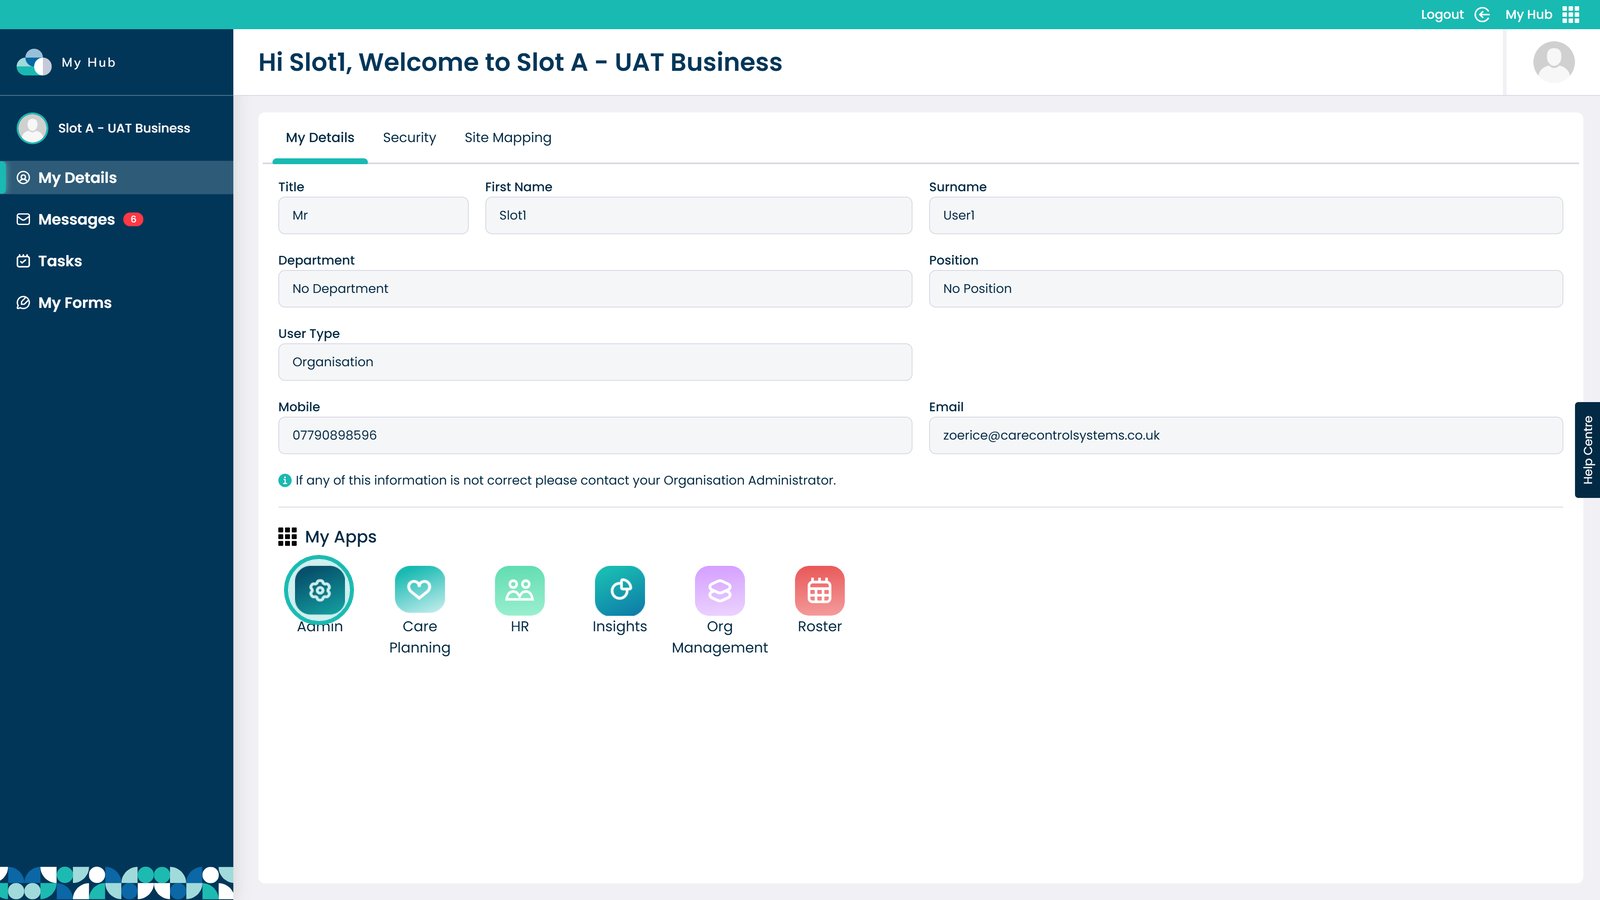
Enter the Admin App
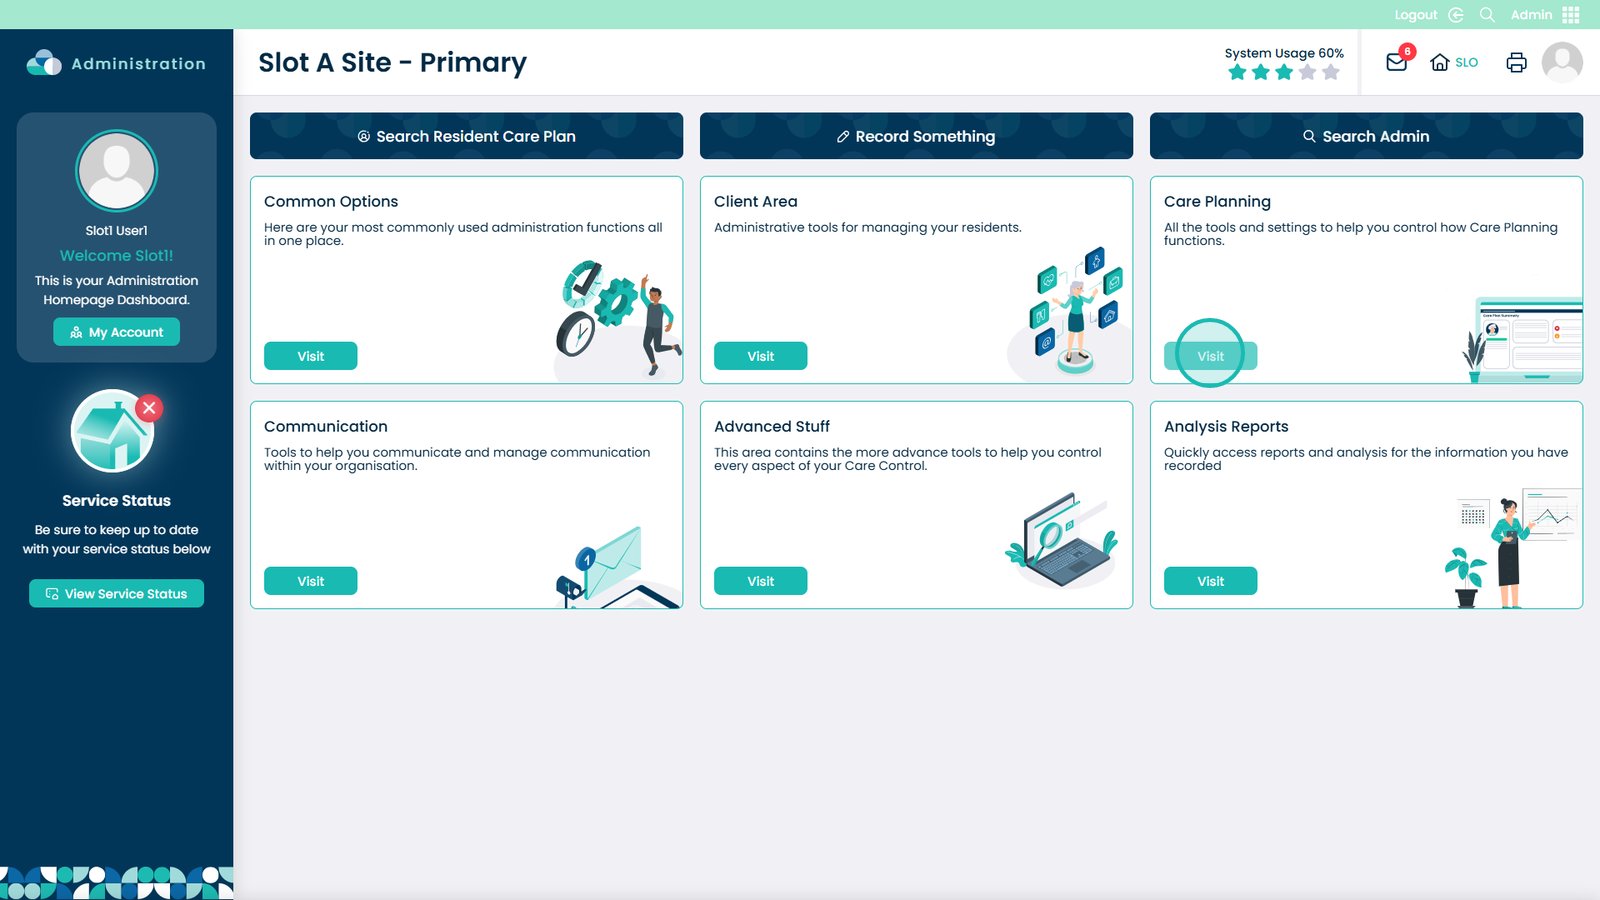
Select to Visit the Care Planning section
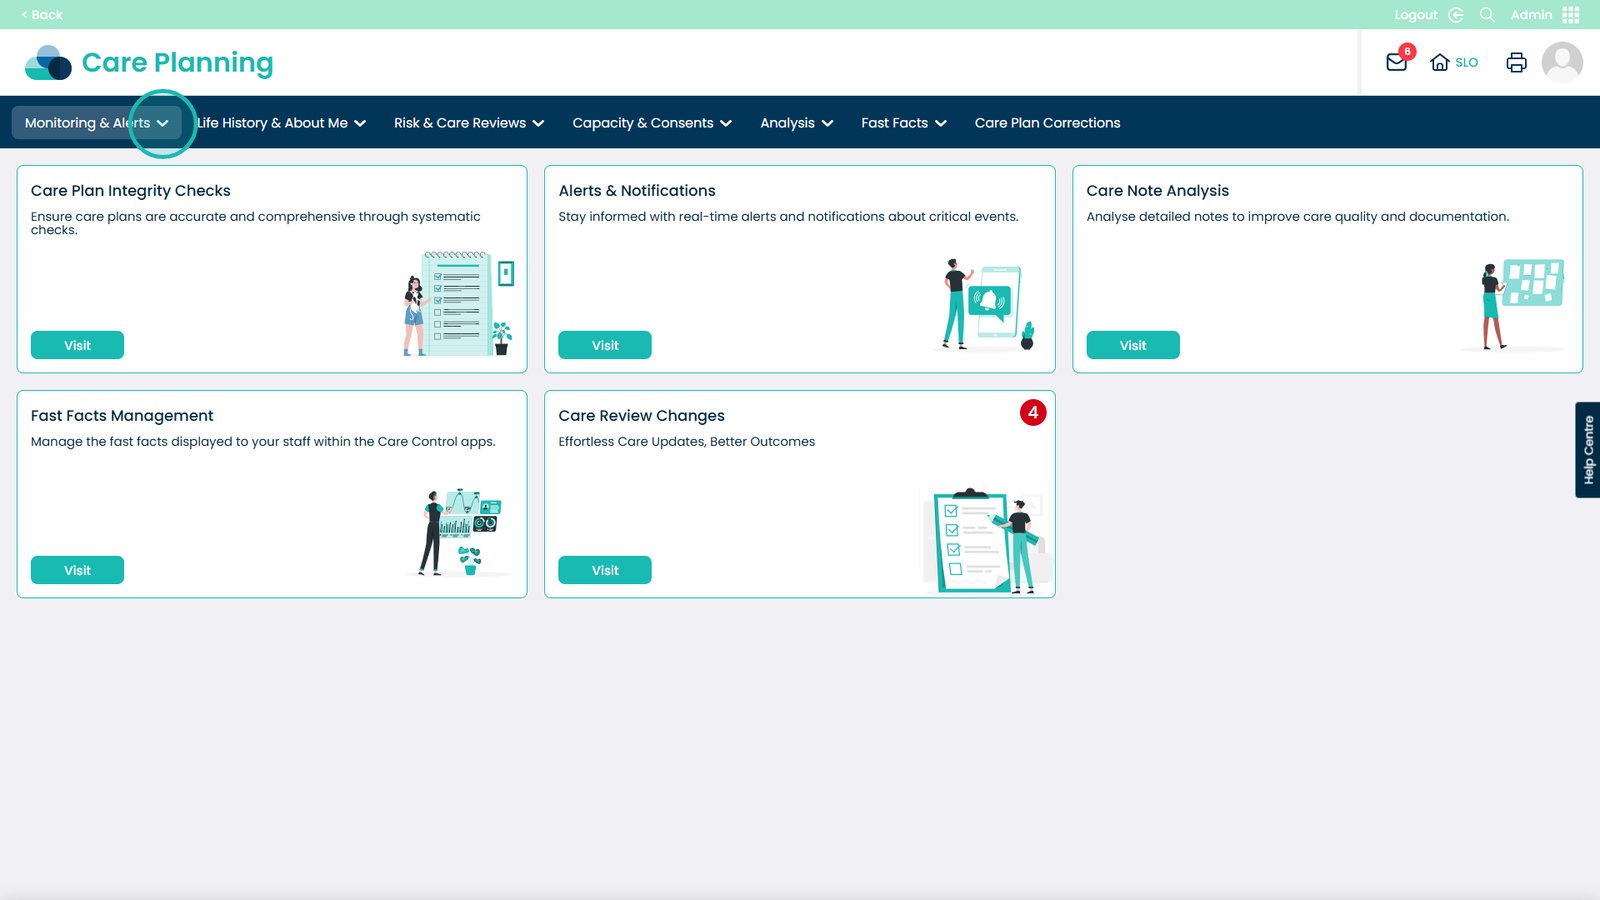
Open the Monitoring & Alerts drop-down menu
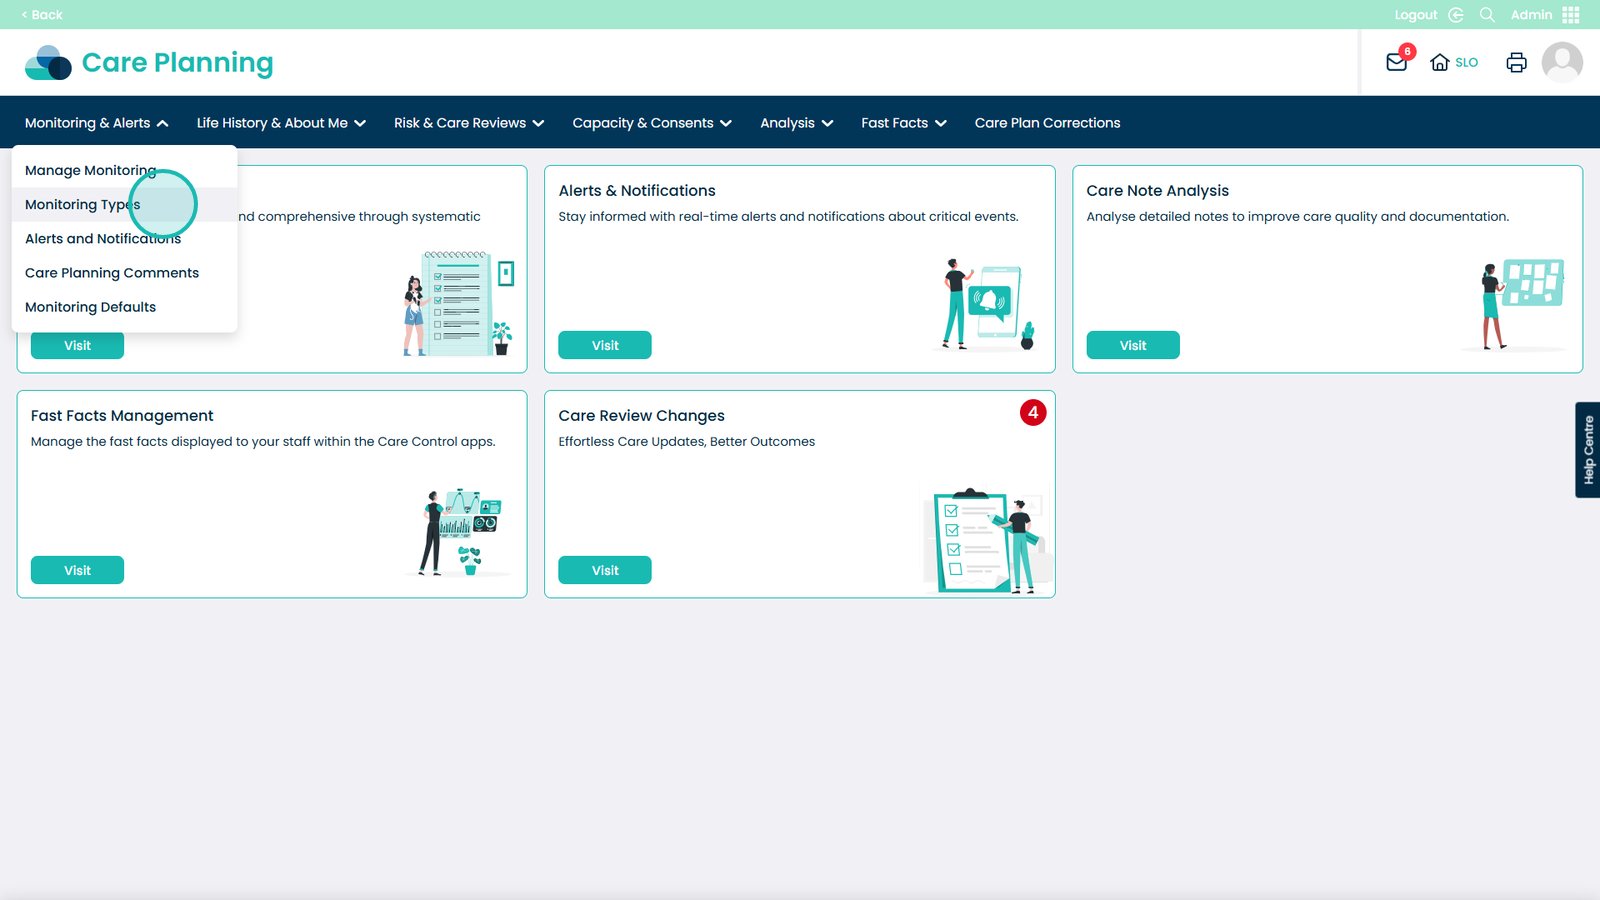
Open Monitoring Types
Click to Create a new Monitoring Type
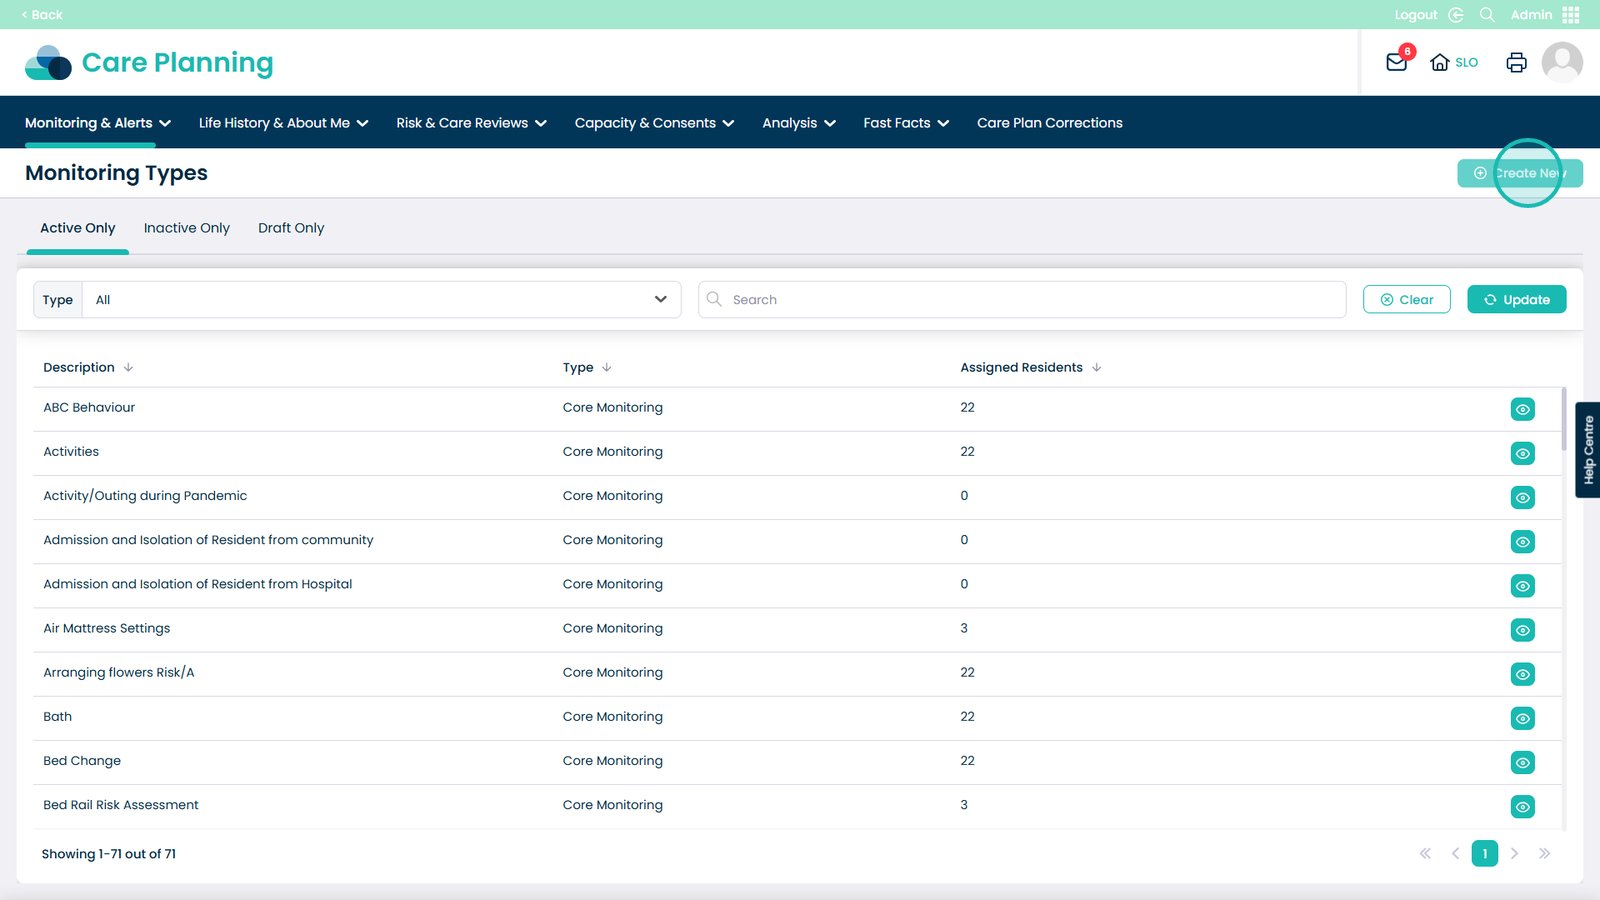
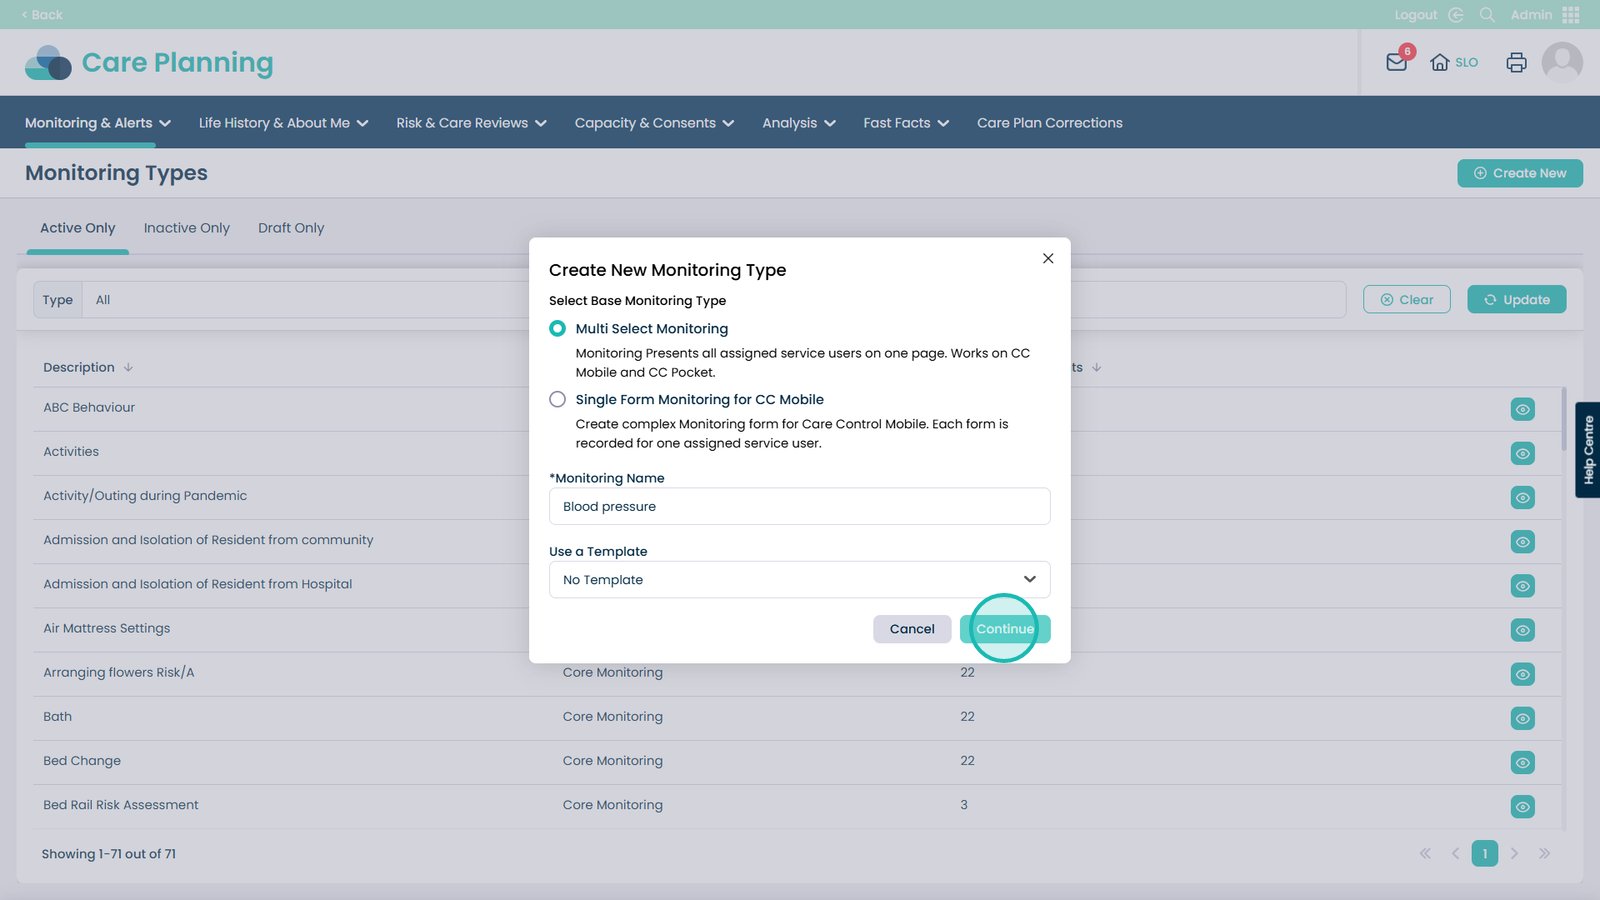
Click the Multi-Select monitoring box
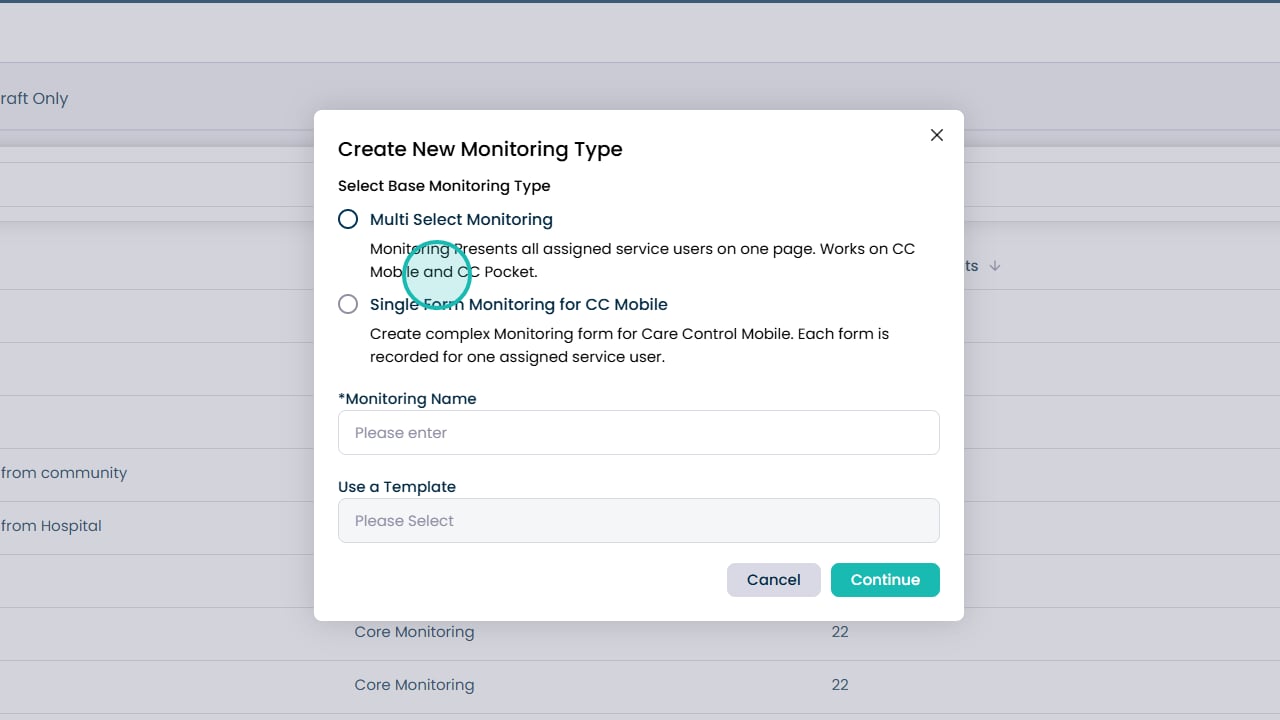
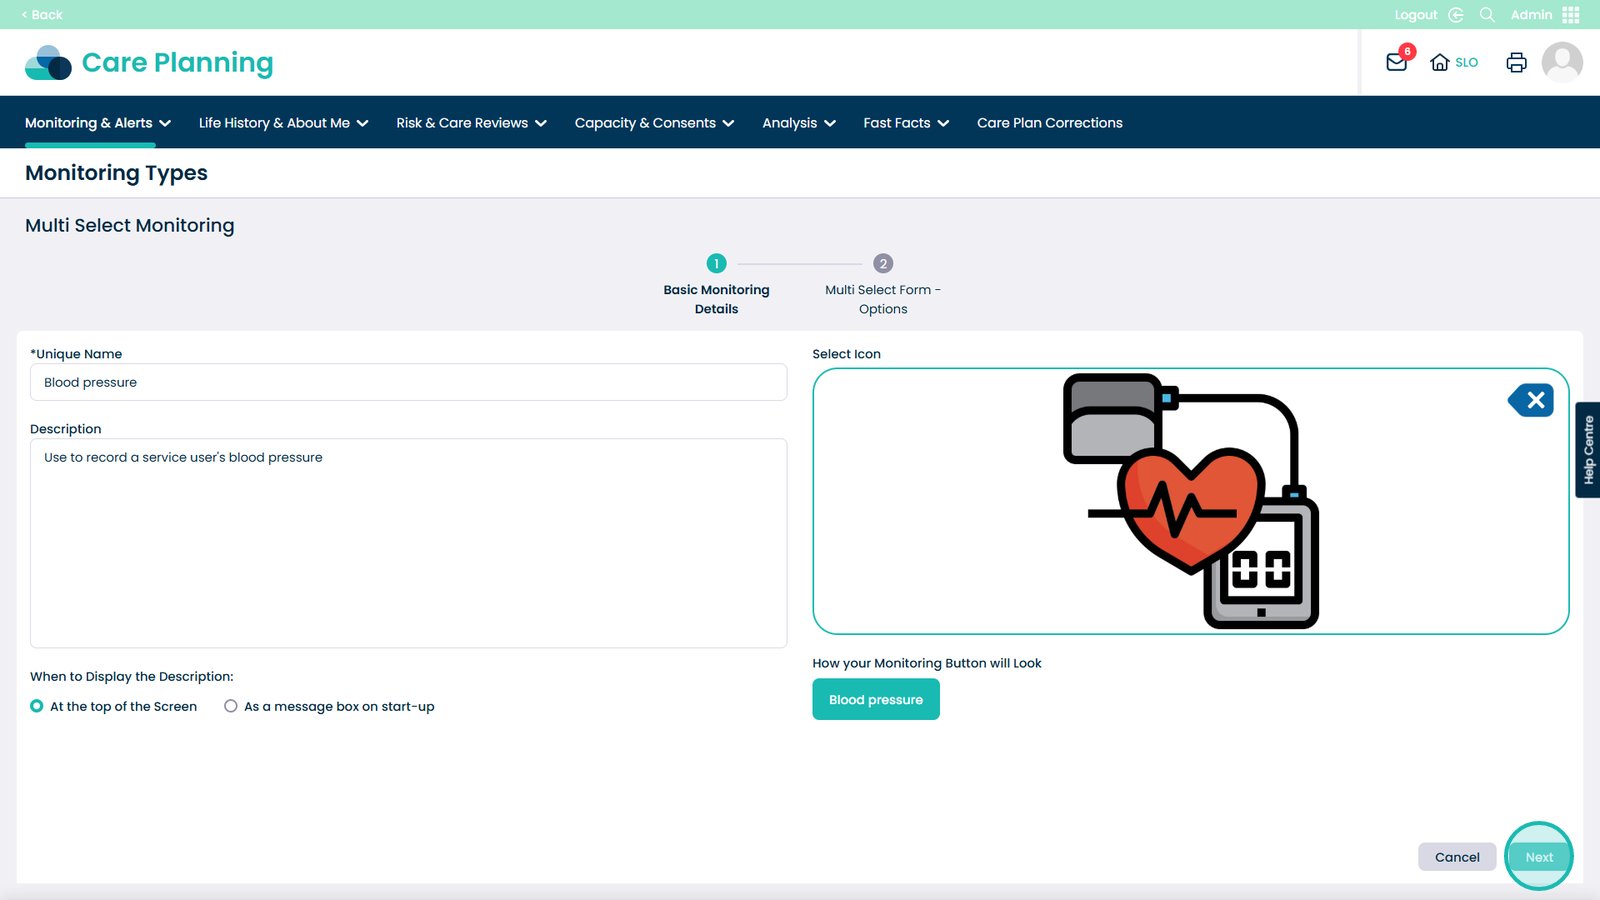
Enter the name for the monitoring within this box
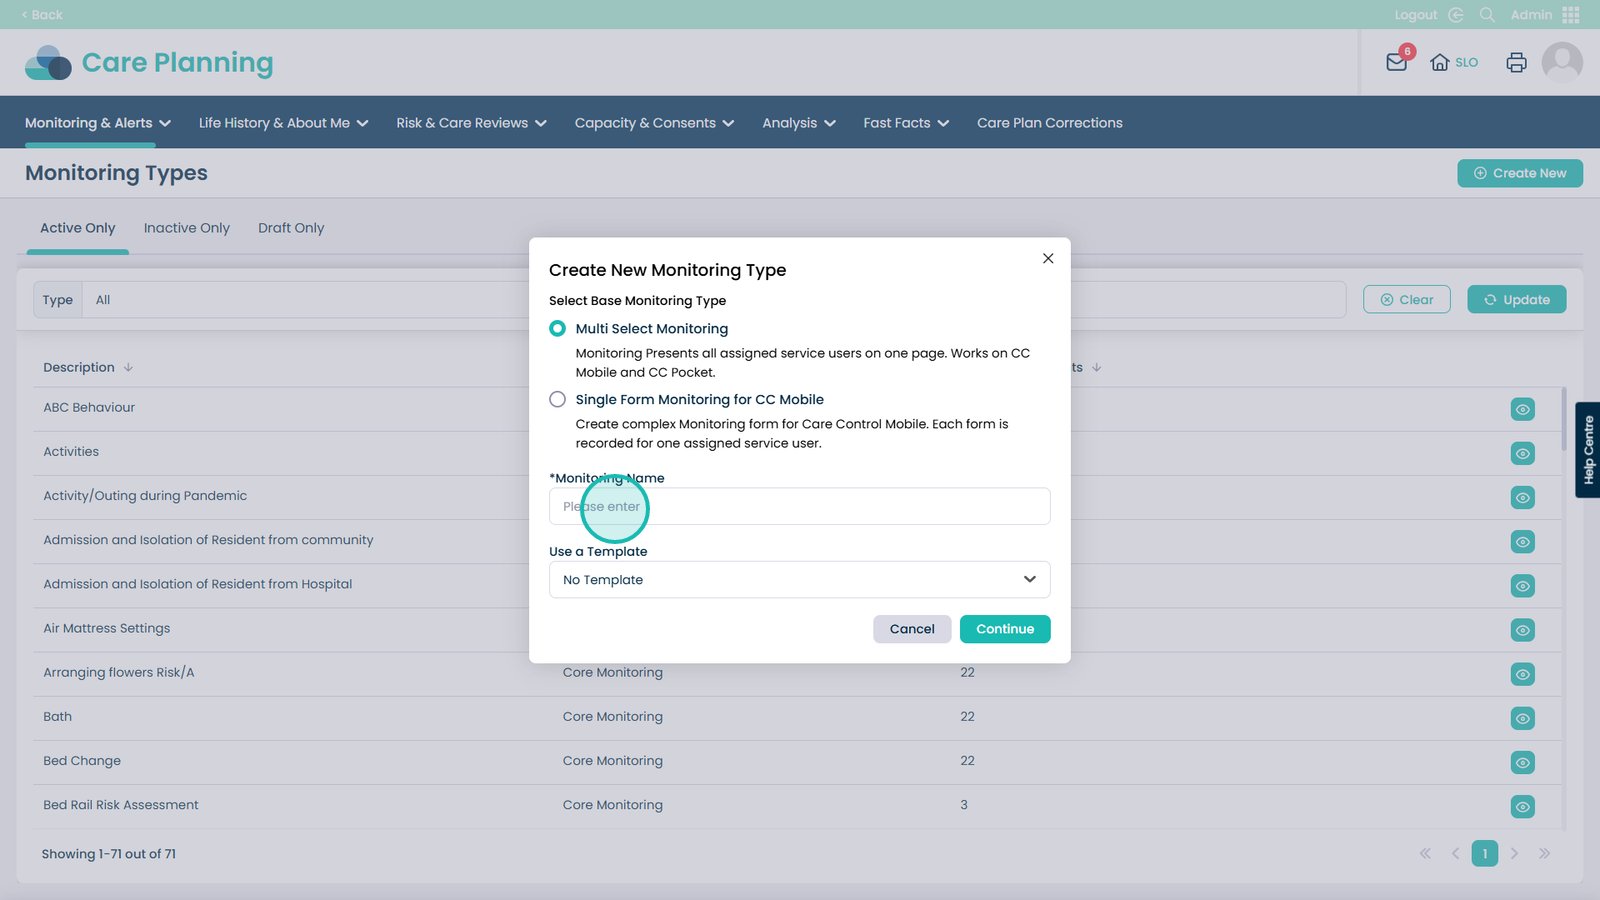
You can use a Template of a previous monitoring type if required
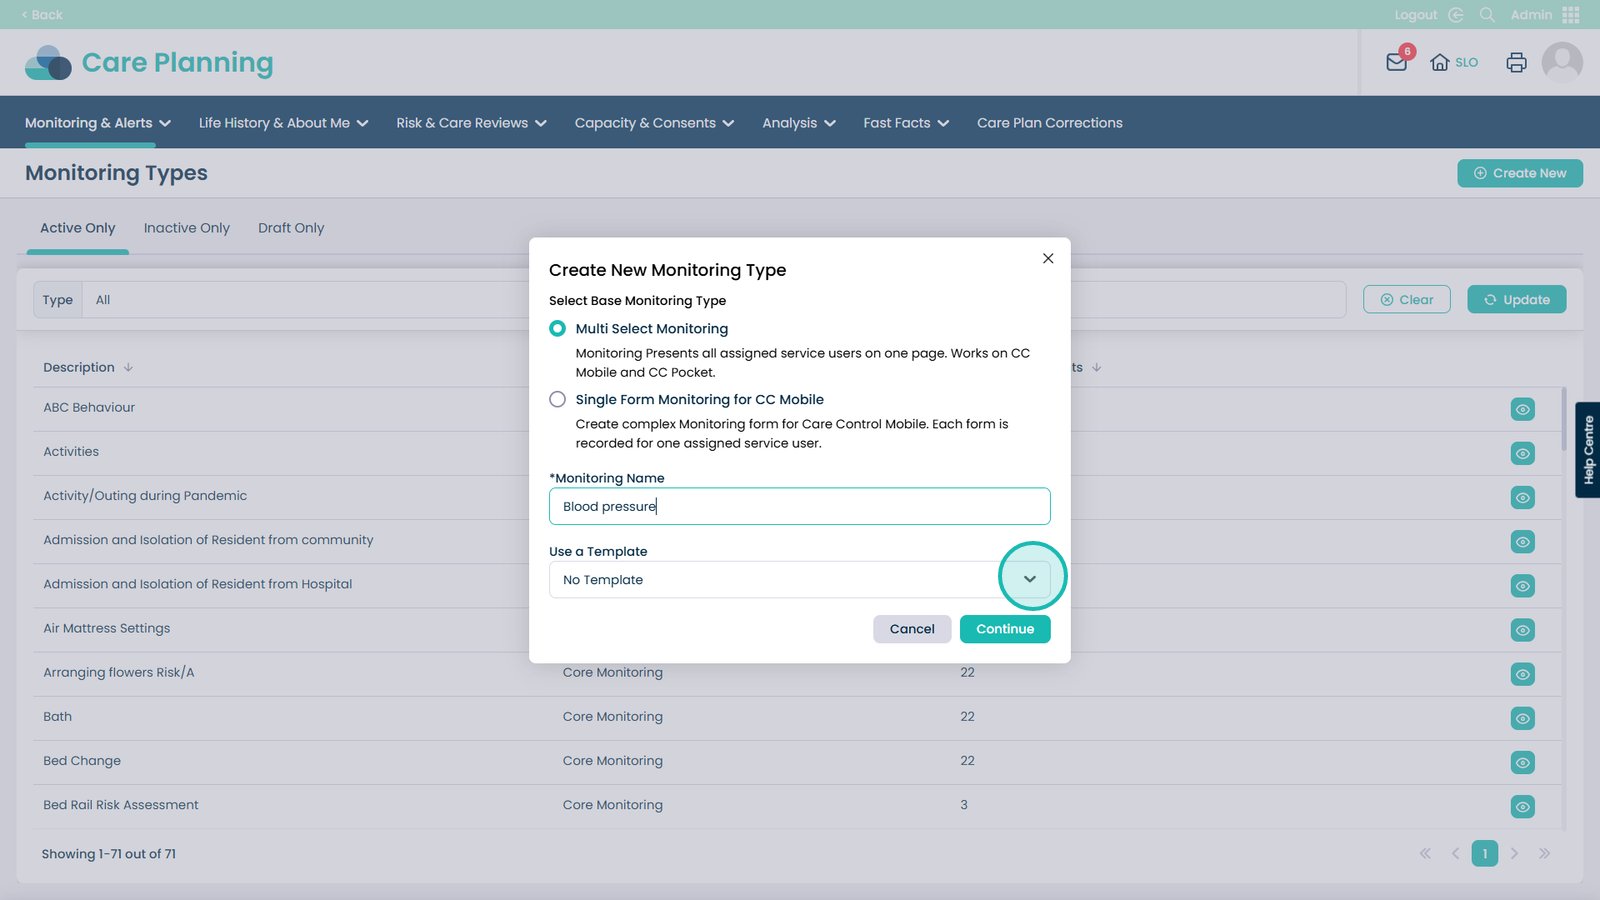
Click to Continue
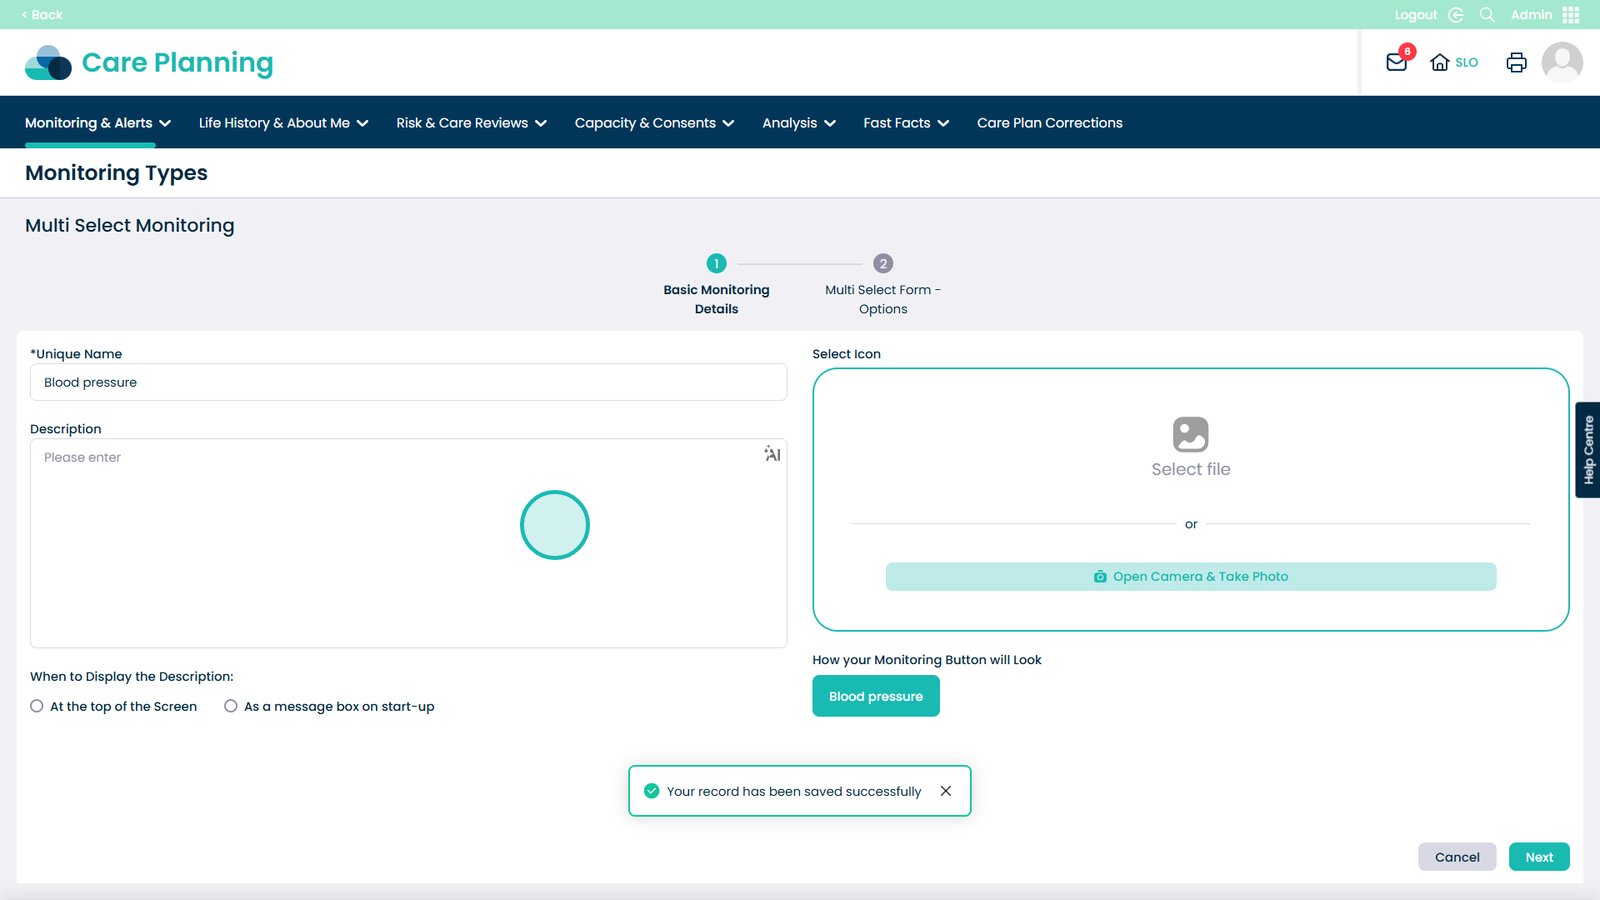
In this box enter a description of your monitoring type. You can use MargoAI to help elaborate on the description
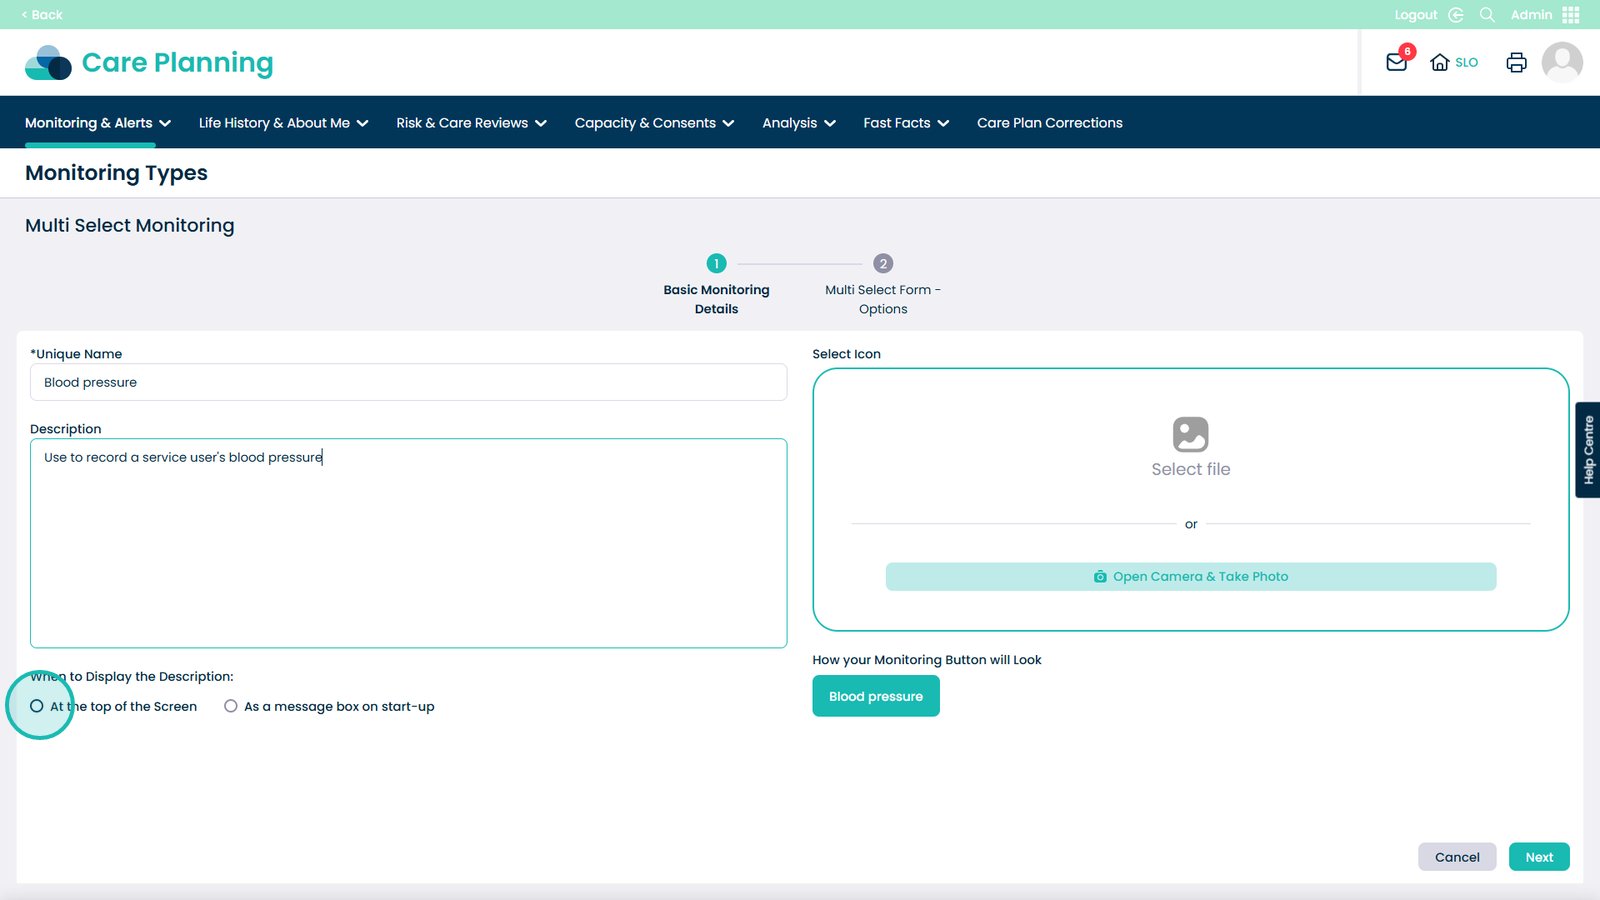
Where to display description
You can choose to display the description message at the top of the screen when monitoring or as a message box on the start-up of the monitoring
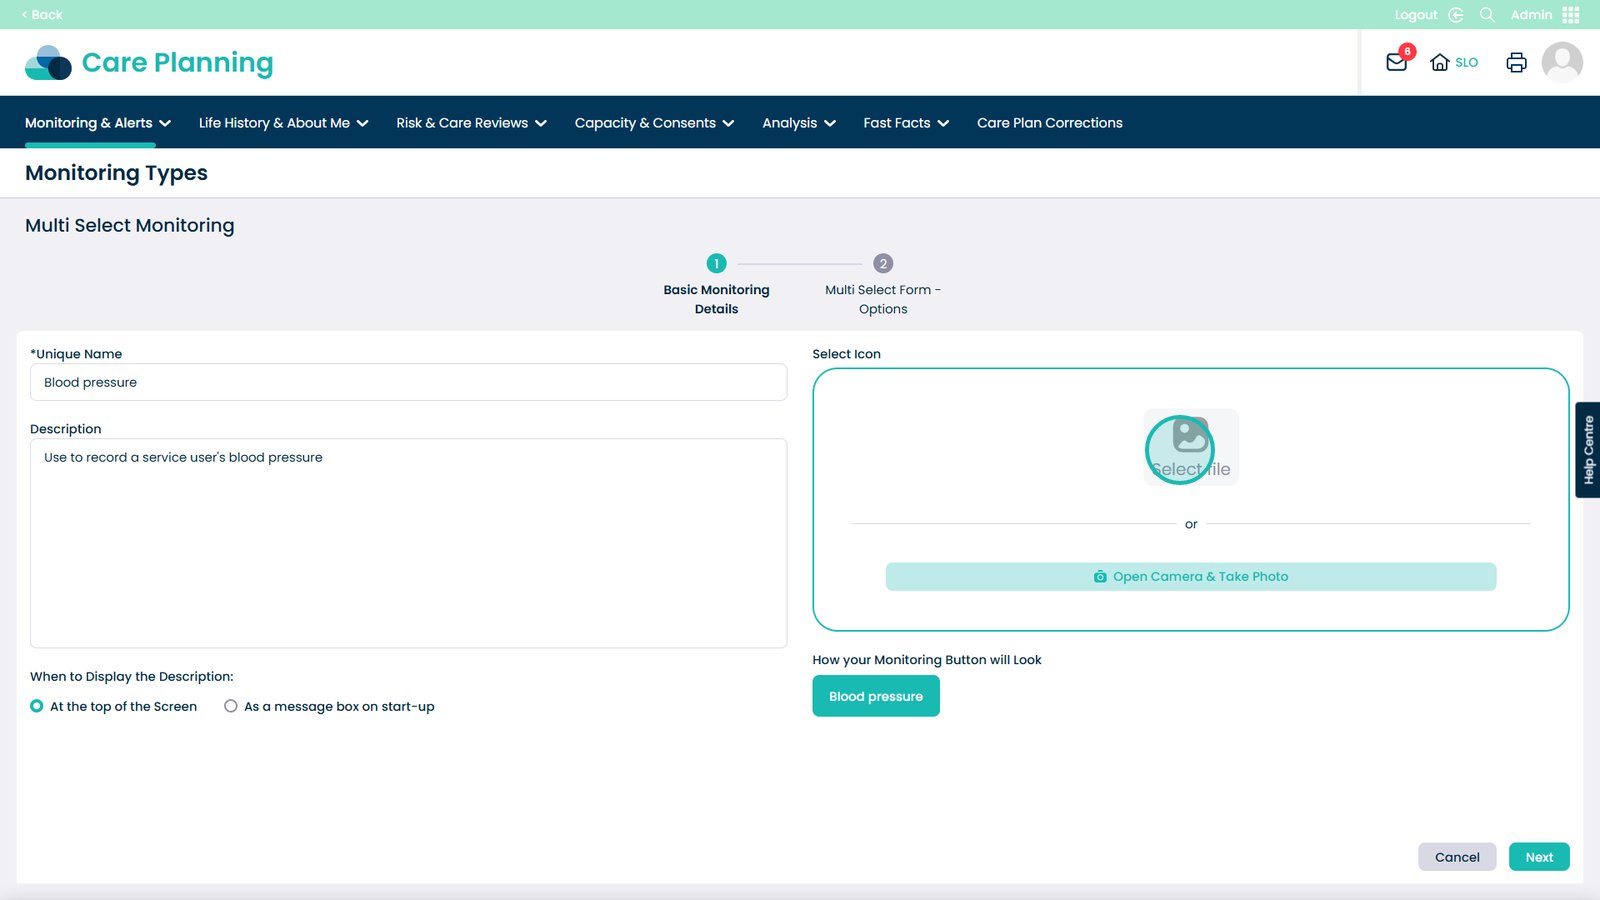
You can choose an icon for the monitoring and upload it using this box
Click Next to continue
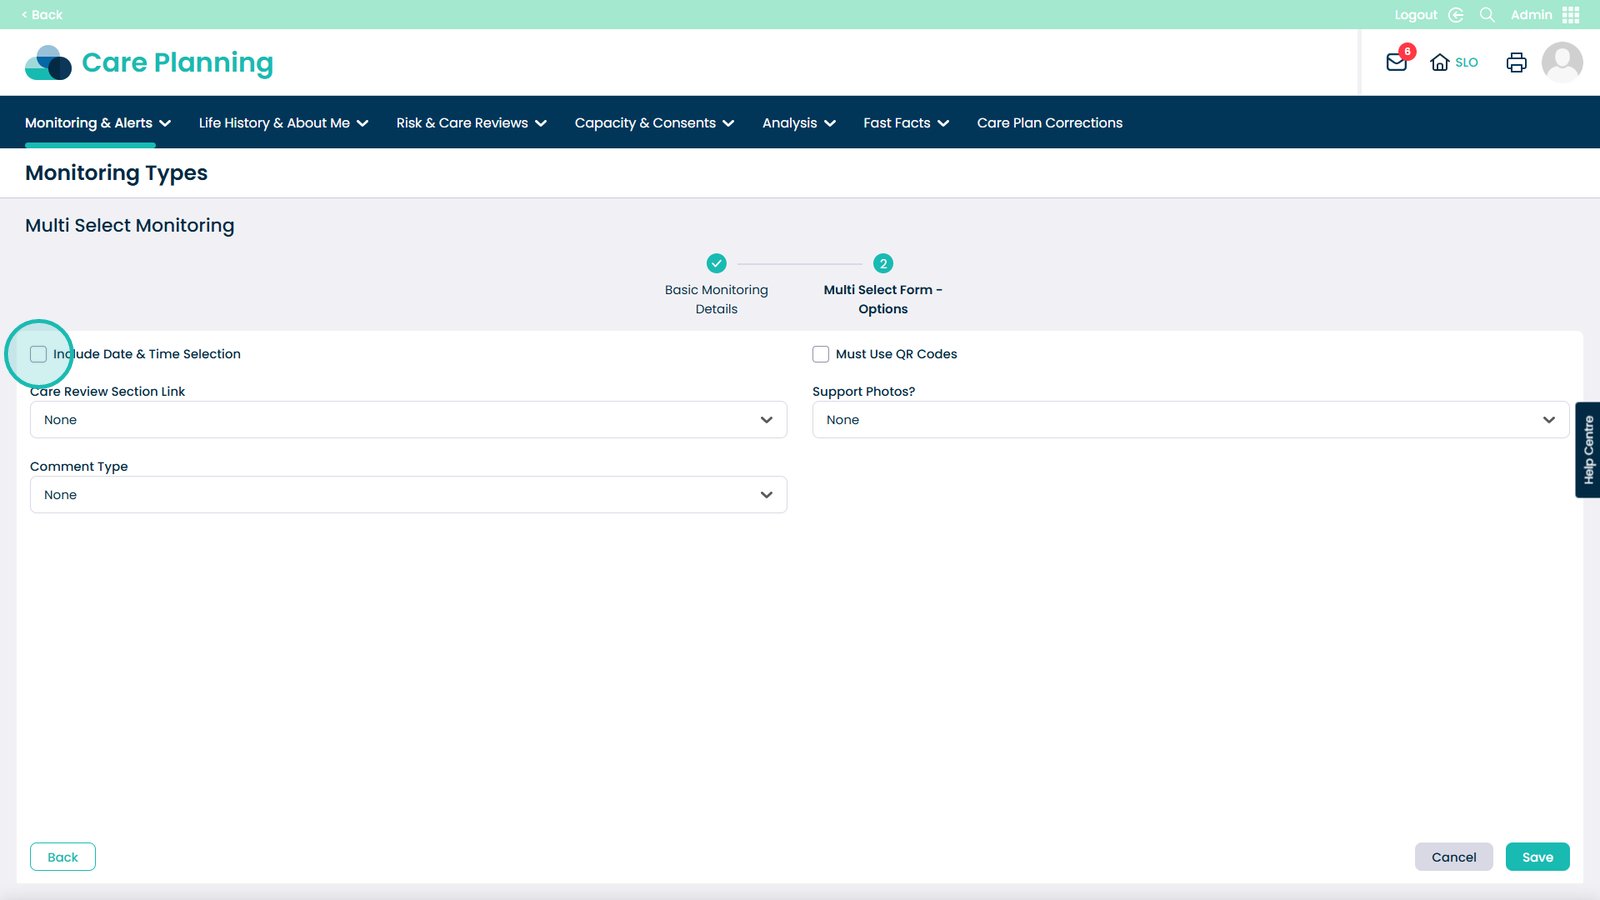
Date and Time Selector
Tick this box if you wish to include the choice to add a date and time to the monitoring. This is not mandatory
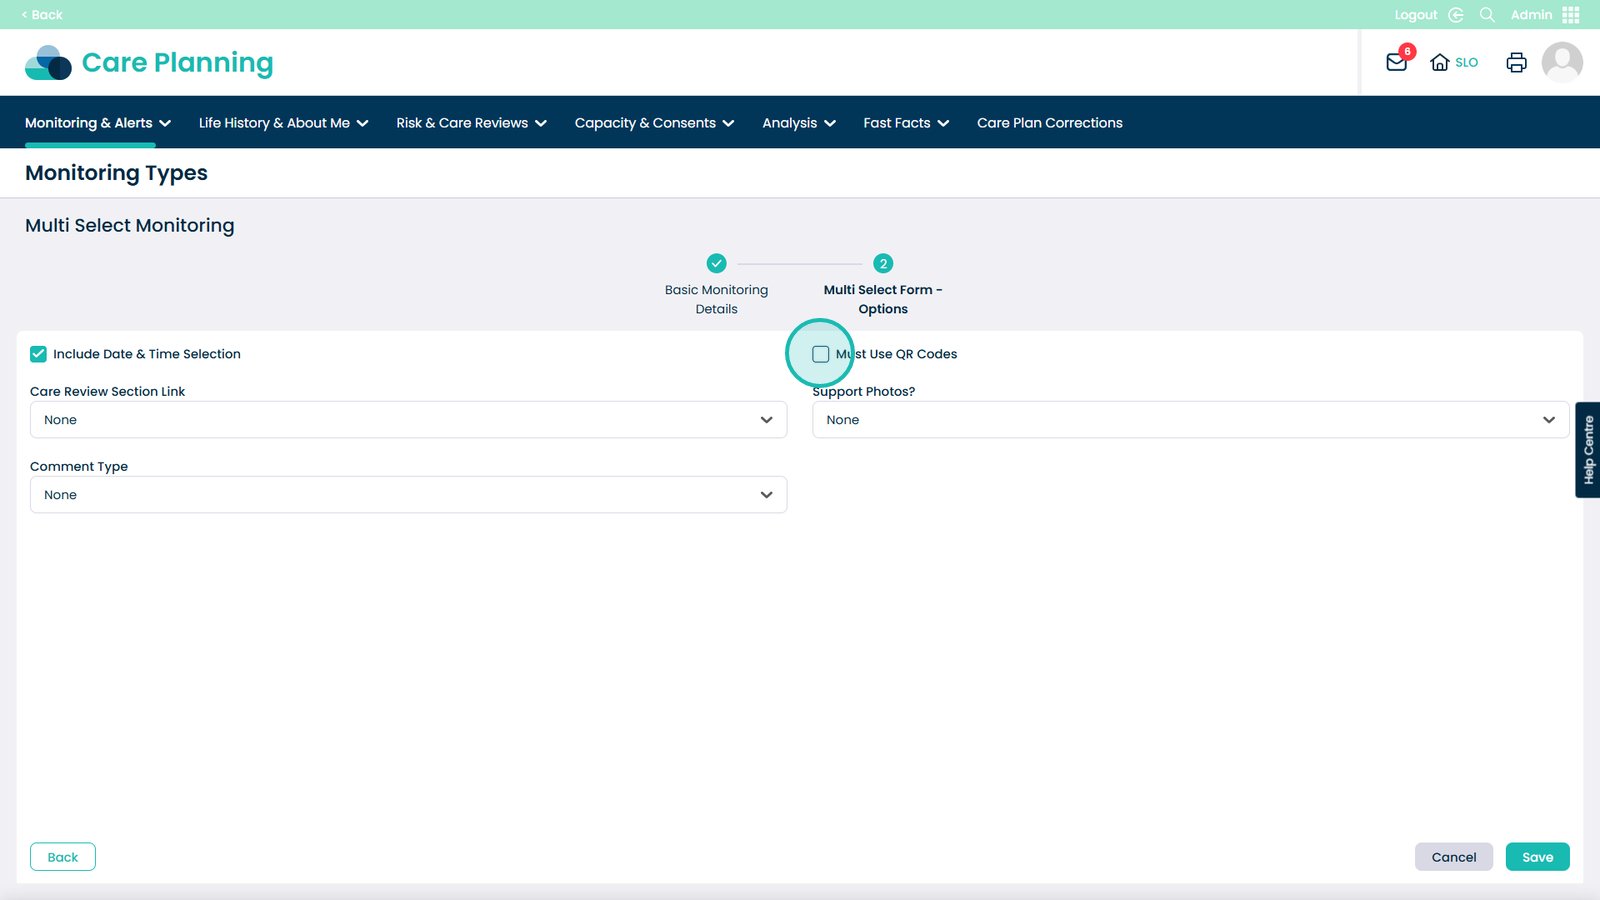
Must use QR Code
Tick this box if the staff member has to scan a QR code to begin the monitoring. This is not mandatory
Care Review Section Linking
You can open this drop-down and select a Care Review Section to link the monitoring to. This is not mandatory.
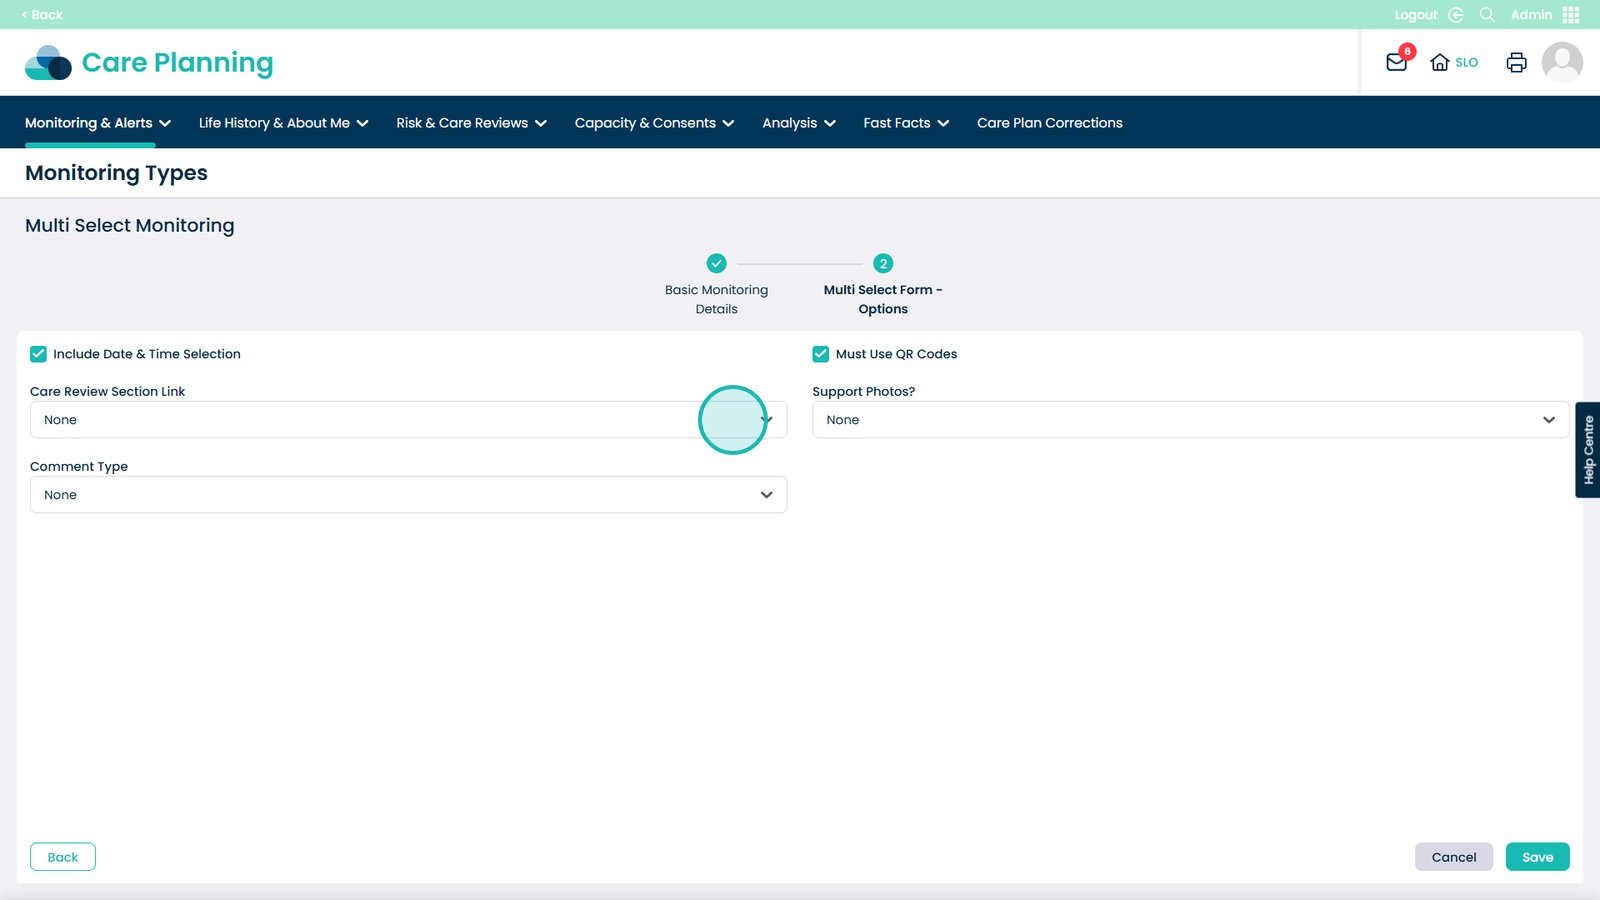
Select the most relevant choice from the drop-down if required.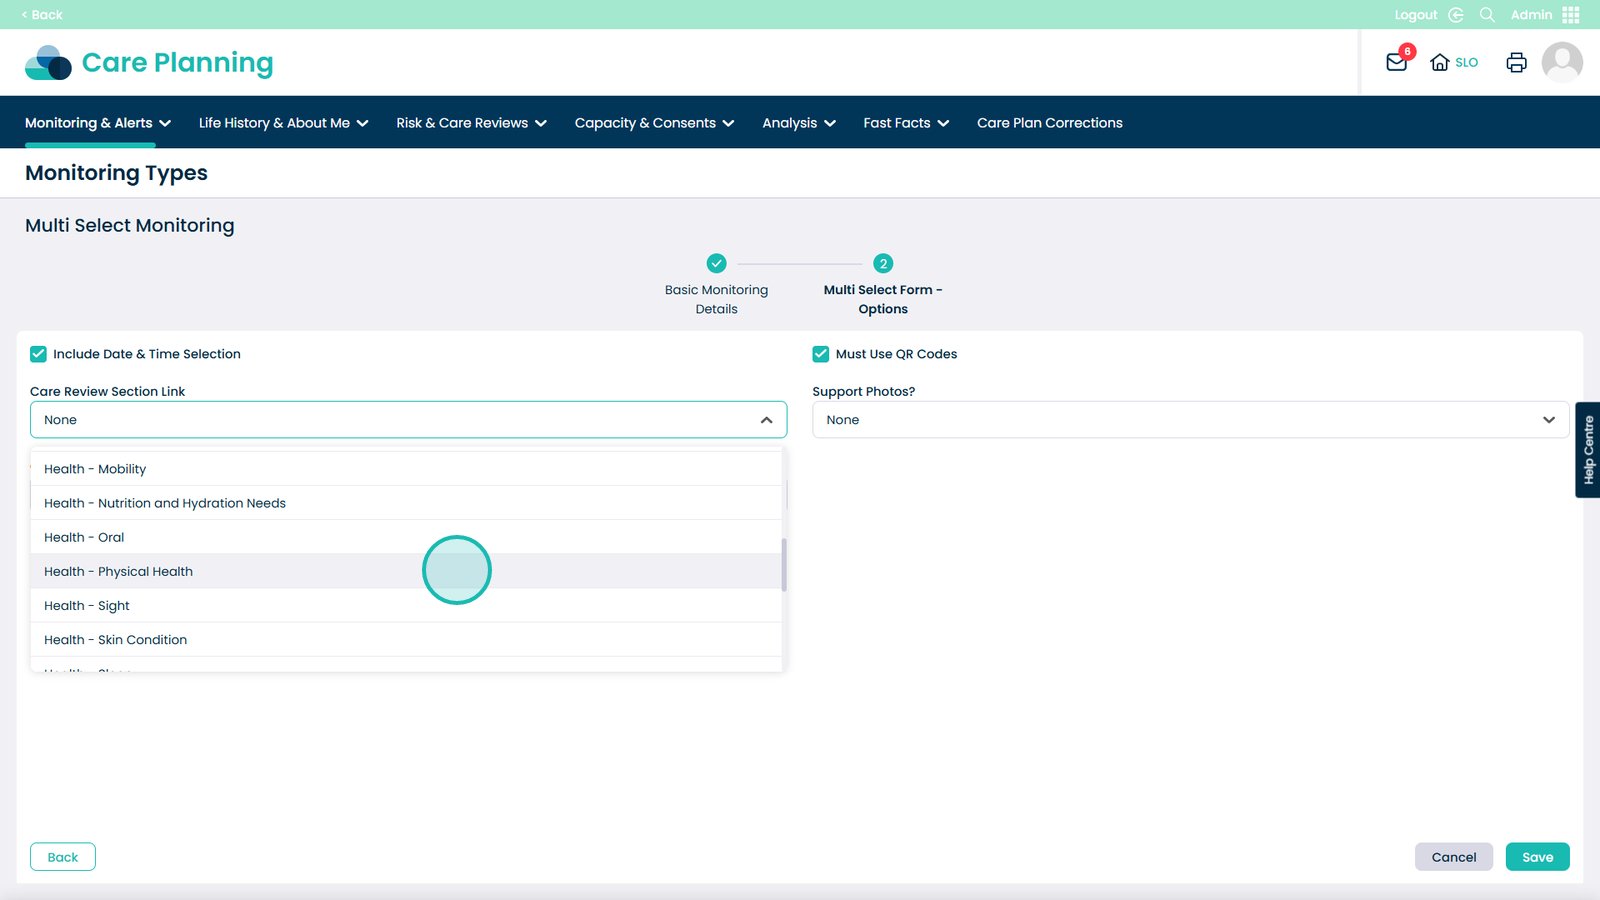
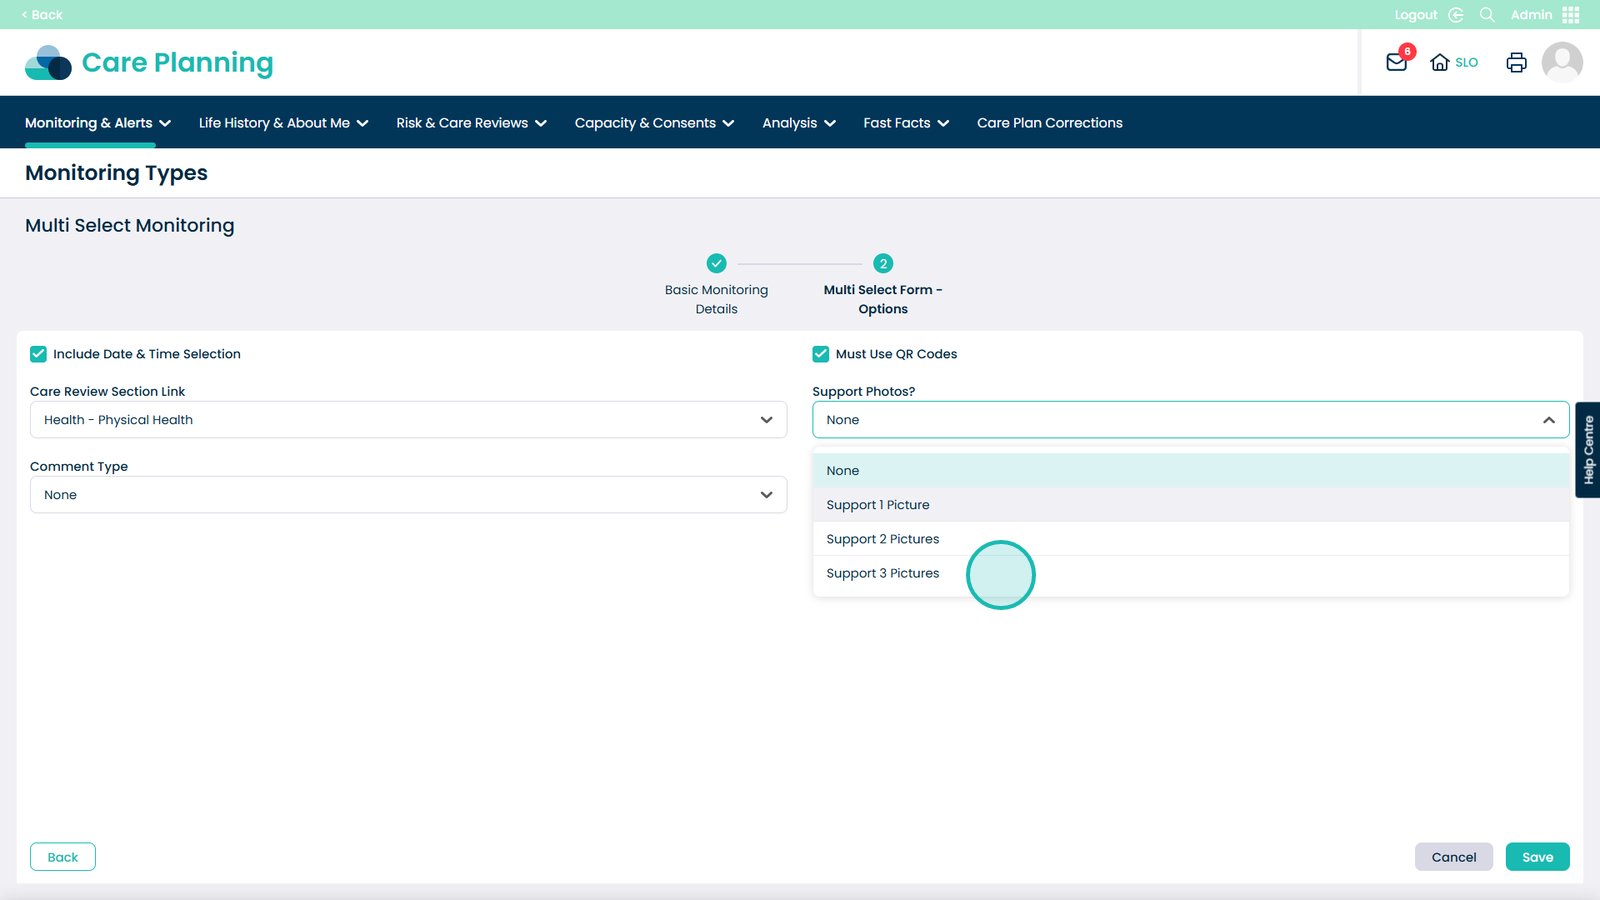
Support Photos
If you would like the staff member to be able to take a photo then you can open this drop-down.
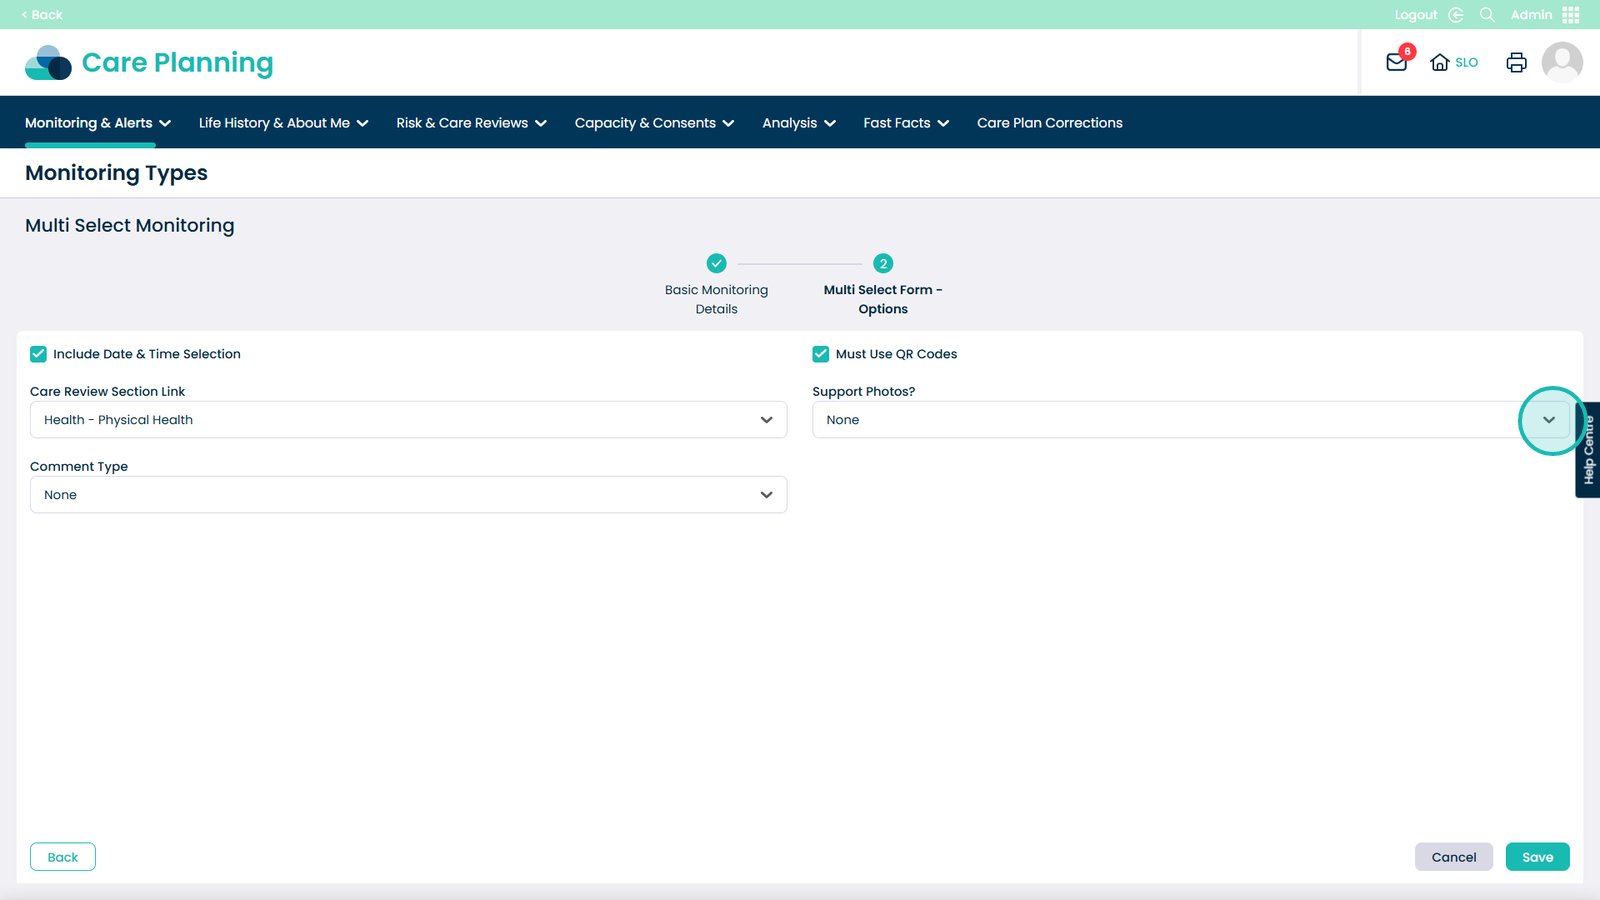
Currently you can add up to 3 photos.
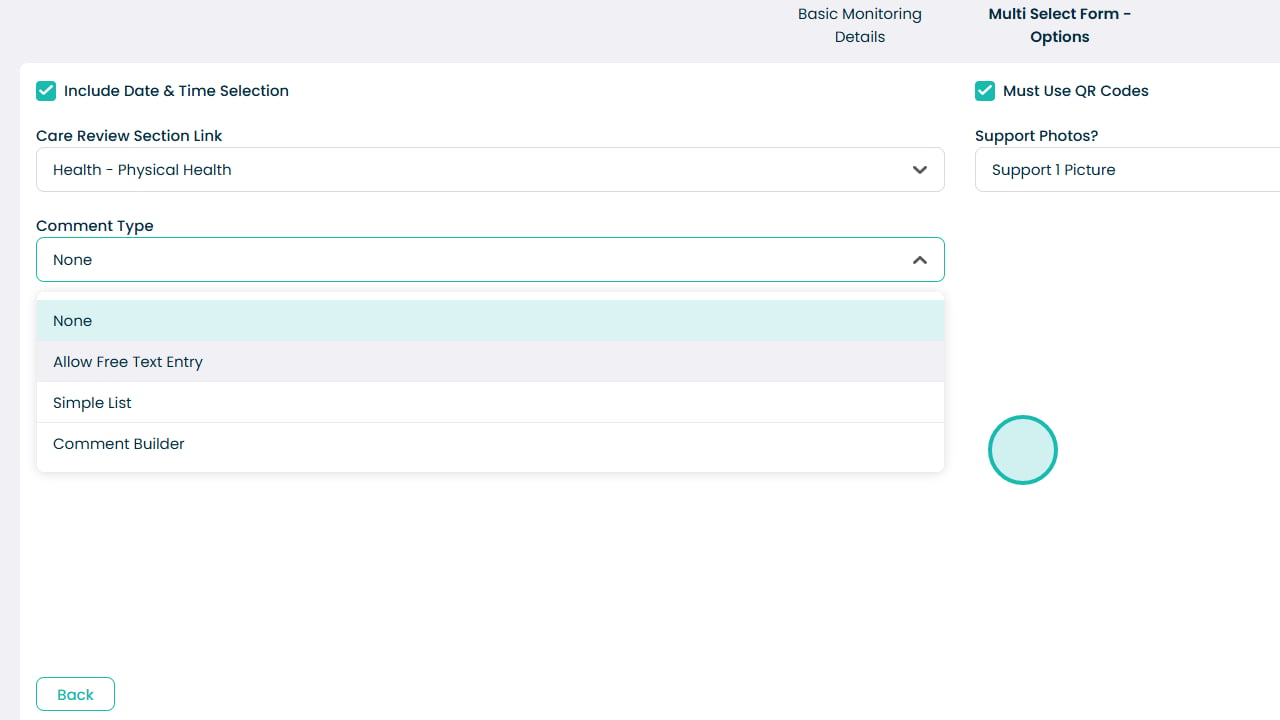
Comment type
Open this box to select how the staff member will comment on the monitoring
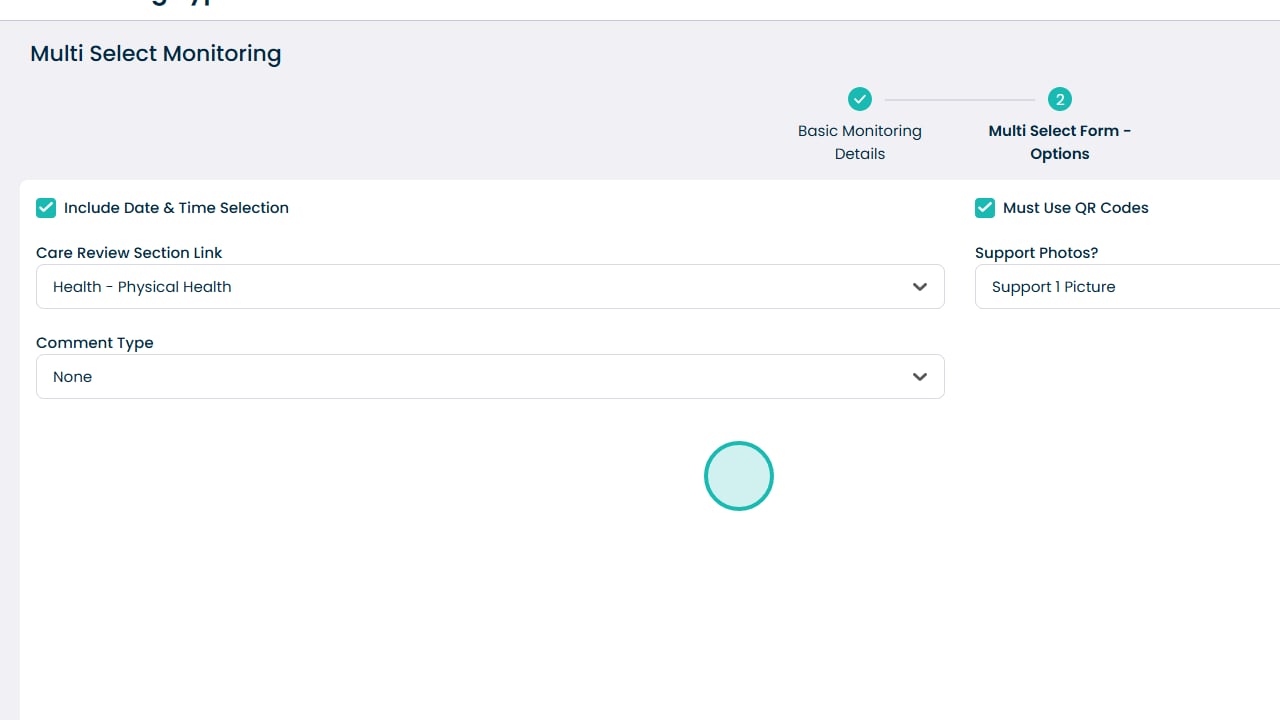
Allow free text entry: The staff member can input whatever they would like using their keyboard when recording the monitoring.
Simple List: Create or modify an existing list for the staff to go through and complete when recording the monitoring.
Comment Builder: You can use the Comment Builder to present to your staff a series of lists. Each list can be used in the templated response to build a personalised comment for the service user. You must choose the first select list and create a templated response.
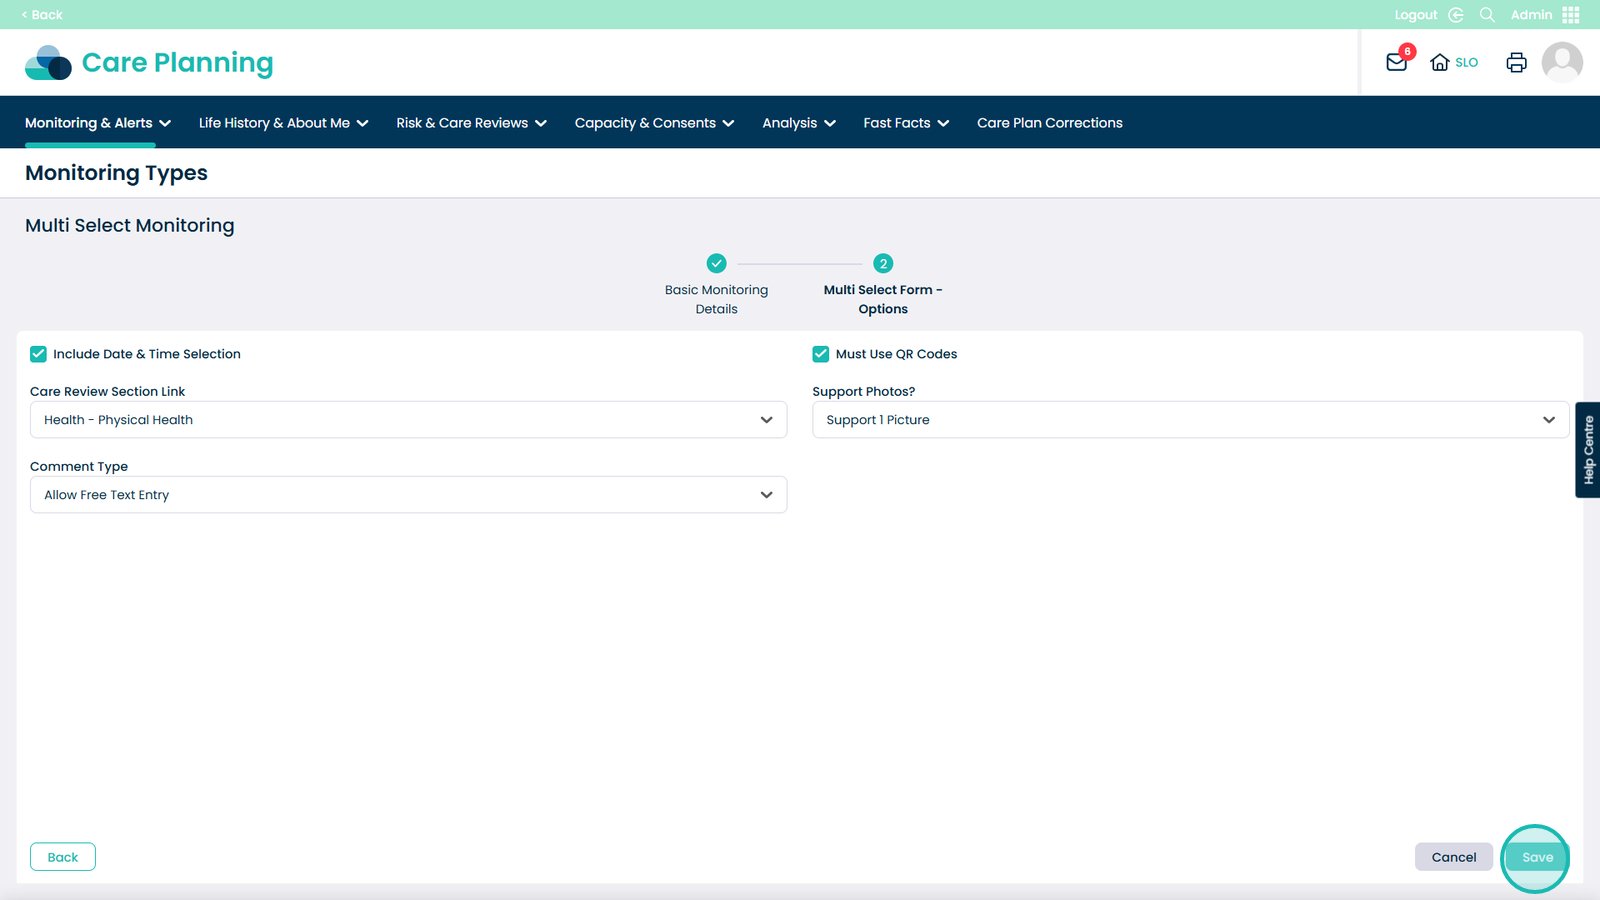
Once you are happy, select Save to save the monitoring type to drafts
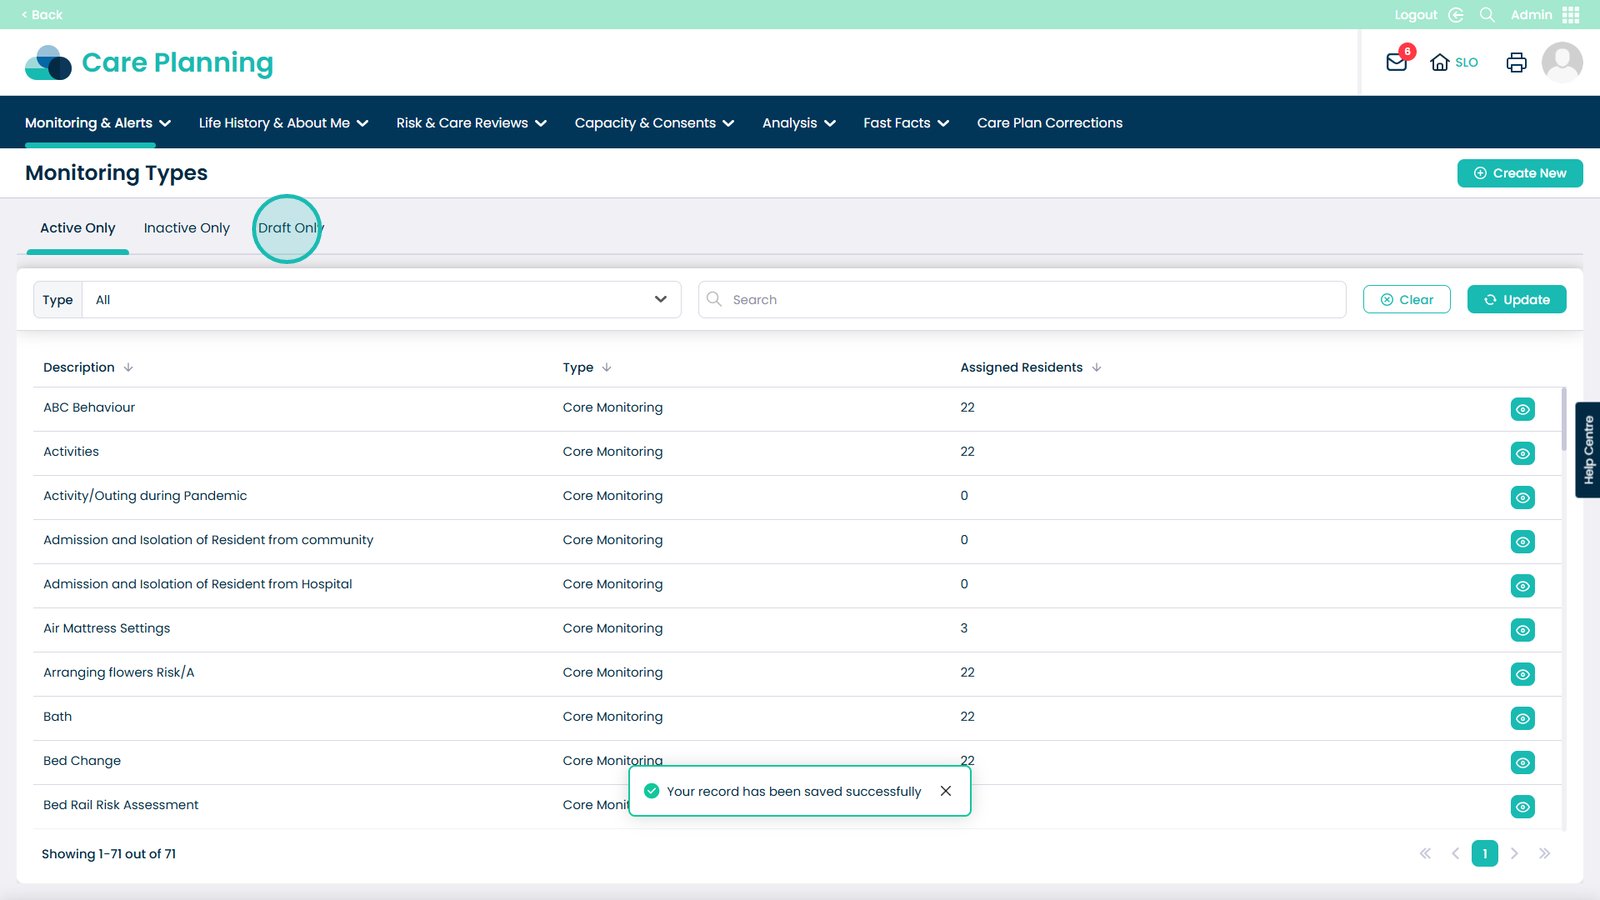
Open the Draft Only page to view the monitoring type you’ve juse created
Select the eye icon to open further details of the monitoring type

Click Edit Records to change the recording information

You can choose the time the monitoring takes place

You can also decide the frequency of the monitoring in days, hours or by time. You can also select if you can postpone the monitoring

If you select to Prevent Monitoring it will warn you that this monitoring is already in progress to avoid duplications

Once done, click Save Changes

If you need to modify any of the details of the monitoring click Edit Monitoring

Select Activate to allow the monitoring type to be used

Click Yes to enable the monitoring

